

Thank you for purchasing a minipack vacuum machine.
In order to maintain the highest level of performance please follow the
attached Quick Start Guide. Using only minipack replacement parts and
changing the oil frequently will insure the highest level of performance
for years to come.
Enjoy your purchase,
Joe Sielski
President
minipack america, Inc.
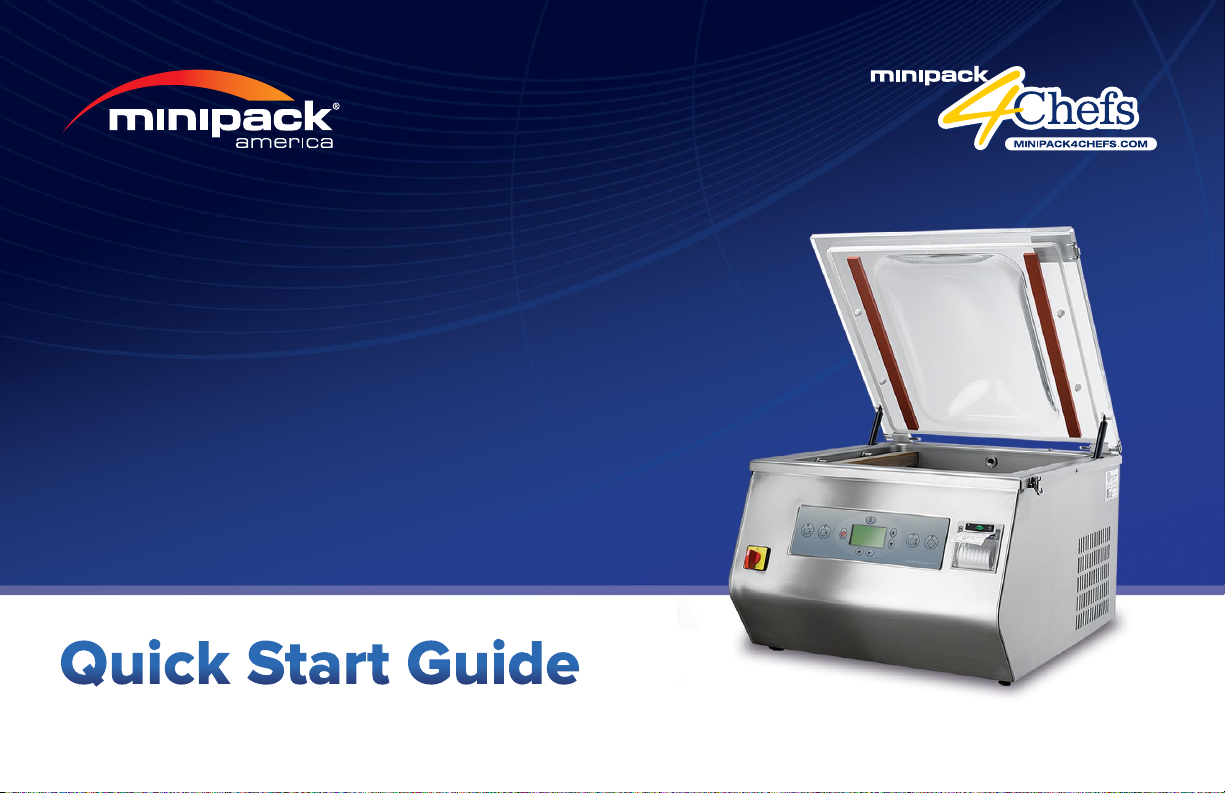
Quick Start Guide
MVS X Series · MVS XP Series · minipack4chefs Series www.minipack.us

Tips
Never lay a vacuum chamber machine on its side.
→ Pump oil can bleed into the filter, sensor, and chamber creating numerous issues.
Plug machine directly into a wall receptacle.
→ Extension cords can create a low voltage situation making the pump motor overheat.
Change oil and filter frequently.
→ Food products packaged at a high vacuum level release moisture which can contaminate the oil.
Maintain a low sealing time.
→ A seal time of 1.5 seconds is usually sucient for most bags and will extend the life of the Teflon tape.
Always use a angled tray when sealing liquids.
→
The angled liquid tray holds bags at a 50º angle preventing spillage into the chamber and sealing system.
For FAQs visit: helpcenter.minipack.us
A lower vacuum level reduces frequency of oil changes.
→ Decrease your vacuum level when sealing liquids.
Oil Kits
Machine & Pump Oil Kit Oil & Filter Kit Oil, Filter & Conditioning Kit
Model Pump 15 Wt Oil Kit # Filter Kit # Conditioning Oil Kit #
MVS20 4 m3/h 2 oz KR200000 1 KR021510 2 oz KR02151C
MVS26 6 m
MV31 / MVS31 6 m
MV31 / MVS31 8 m
MVS35 10 m
3
/h 6 oz KR070000 1 KR071510 6 oz KR07151C
3
/h 6 oz KR070000 1 KR071510 6 oz KR07151C
3
/h 6 oz KR080000 1 KR081520 6 oz KR08152C
3
/h 8 oz KR110000 1 KR111540 8 oz KR11154C
Order Oil Kits at: www.minipack.us/oil
MV41 / MVS41 20 m
MV45 / MVS45 20 m
MV52 / MVS52 * 20 m
* 120V machines only
All kits include hex wrenches and instructions.
3
/h 11 oz KR140000 1 KR141540 11 oz KR14154C
3
/h 11 oz KR140000 1 KR141540 11 oz KR14154C
3
/h 11 oz KR140000 1 KR141540 11 oz KR14154C
MAX
MIN
Check oil level before powering machine.
Oil must be clear. If not, change oil.
DO NOT overfill oil reservoir.
Oil level label for your machine is available upon request.

Step 1 – Unpacking Step 3 – Calibrating
1) With two people lift
machine straight out of
corrugated box and
place machine on a
secure table.
CAUTION:
When unpacking
DO NOT tilt
machine.
2) Using the four
adjustable rubber feet
level vacuum machine
on the secure table.
3) Remove white
protective coating
adhered to the
stainless steel.
Example pictures show the MVS 31XP. Your packaging may slightly dier.
4) Remove all packing
material.
CAUTION:
DO NOT remove brown
Teflon tape from sealing
bar(s).
LED
Display
LCD
Display
1) Open lid, confirm that main power switch is in the OFF position.
2) Simultaneously hold down , turn main power switch ON, release when CAL appears.
3) Close lid, machine will automatically start within 15 seconds.
4) As the display increments up, note the three digit number it levels o at.
5) Depress to set, open lid and turn power switch back to the OFF position.
6) Repeat procedure except this time depress when the display reaches 1 digit below the
noted number from step 4. Machine is now calibrated to its environment.
1) Open lid, turn power switch to ON position, after 30 seconds machine will display PROGRAM.
2) Hold down for 6 seconds, machine will display CALIBRATE.
3) Press 10 times until CALIBRATE is highlighted, close lid to start.
4) Display will increment down and eventually stop decreasing.
5) Depress and open lid, machine will return to operation after 6 seconds.
6) SAVING DATA appears on the display. Machine is now calibrated to its environment.
S
S
Step 2 – Adding Oil Step 4 – Programming
LED Display
1) Open lid, turn main power switch to ON, wait for P1 to display. Press to open a program and move forward.
2)
VACUUM % – Use to select vacuum % (at 99.9% machine oers extra vacuum time). Press
3) EXTRA VACUUM TIME – Use to select value (up to 30 seconds). Press to move forward.
4) INERT GAS % [OPTIONAL] – Use to select % of gas injection. Press to move forward.
5) SEALING TIME – Use to select seconds of sealing time. Press to lock in the data.
1) Remove the machine
back cover using the
supplied hex wrench.
2) Carefully remove the
upper oil fill plug using
the supplied hex wrench
or pliers.
Add supplied nondetergent pump oil until
it reaches the middle
of the sight glass and
replace the upper oil
fill plug tightly.
3) Plug female end of AC
power cord directly into
machine and the other
end into an AC outlet.
4) Turn power switch to
the ON position and cycle
machine a minimum of
three times.
IMPORTANT:
Be sure to calibrate
machine before
operating.
LCD Display
1) Open lid, turn power switch to ON, wait for program P01 to display. Press to open a program and move forward.
2) SEALING TIME – Use to select seconds of sealing time. Press to move forward.
VACUUM % – Use
3)
4) VACUUM DISPLAY – Use to select display in % or millibar. Press to move forward.
5) EXTRA VACUUM TIME – Use to select value (up to 45 seconds). Press to move forward.
to select vacuum % (at 100% machine oers extra vacuum time). Press
Refer to operational manual for detailed programming instructions.
S
to move forward.
S
S
S
S
to move forward.
Example pictures show the MVS 31XP. Your machine and tools may slightly dier.
6) INERT GAS % [OPTIONAL] – Use to select % of gas injection. Press twice to return to the main menu.
S
090815V5

Oil & Filter Change
For detailed instructions visit:
helpcenter.minipack.us
Oil Change
1) Remove the machine
back cover using the
supplied hex wrench.
3) Follow steps for
Adding Oil and
Calibrating.
2) Carefully remove the
lower oil fill plug using the
supplied hex wrench or
pliers.
CAUTION:
Have a catch basin under the
machine for oil to drain into.
Dispose according to
regulations.
Pump Conditioning
For detailed pump conditioning instructions refer to
helpcenter.minipack.us
Filter Change
1) Remove the machine
side cover using the
supplied hex wrench.
3) Using a flat blade screw
driver carefully remove
the exhaust filter.
2) Using pliers unscrew
the cover protecting the
exhaust filter.
4) Replace exhaust filter
and reassemble all
covers.
 Loading...