

Page 1
D202168-11
MIMAKI ENGINEERING CO., LTD.
URL: http: // www.mimaki. co. jp/
Page 2

2
Foreword .......................................................................... 3
About Media ............................................... 4
Media type ....................................................................4
Media characteristics ...................................................4
Notes for setting media ................................................5
Setting check before printing .................... 6
Checking the settings of the machine ..........................6
Checking the printing data ...........................................8
Check during printing ................................. 9
Daily care ................................................. 10
Other precautions .................................... 11
TABLE OF CONTENTS
Page 3

3
Foreword
Congratulations on your purchase of UJF-706 optional roll unit.
This manual describes tips for using UJF-706 with the optional roll unit easily and stably.
Especially handle 25 m-thick media with care because it is extremely delicate. To use it, please understand the characteristics of the media well and use the optional roll unit comfortably.
For printing and various settings on UJF-706, please refer to the operation manual of UJF-706.
You can also download the latest manual from our website.
Reproduction of this manual is strictly prohibited.
All Rights Reserved. Copyright
© 2011 MIMAKI ENGINEERING CO., LTD.
Page 4
4
About Media
Media type
Various media can be used on UJF-706 including PP film, PVC, Tarpaulin and FF. For details, see the operation
manual of UJF-706.
This manual explains notes for thickness and elastic force of media.
Thickness (The machine specification is 25 μm to 1 mm)
To use thin media of 50 m thick or less, take a stretched one (OPP).
Unstretched media (CPP) is strongly affected by the heat of a lamp (causing expansion of the media) or ink curing (causing contraction of the media), therefore, a printed media may cockle and strain.
Elastic force
Tarpaulin and FF are easy to stretch, and OPP, PVC or the like are hard to stretch.
Please understand the characteristics of those media to feed media stably when printing continuously.
Set a media in the center of the table, and print data in the center of the media to feed it stably. Printing an image
located to the right or left continuously may cause skew of the media, because bilateral difference of take-up
pressure may occur between a surface with ink thickness and without ink thickness. Un-withy media can be more
affected.
Media characteristics
The roll media is produced by processing media at the manufactures. Depending on the production process,
material, or seasonal effects, the surface of media can be uneven.
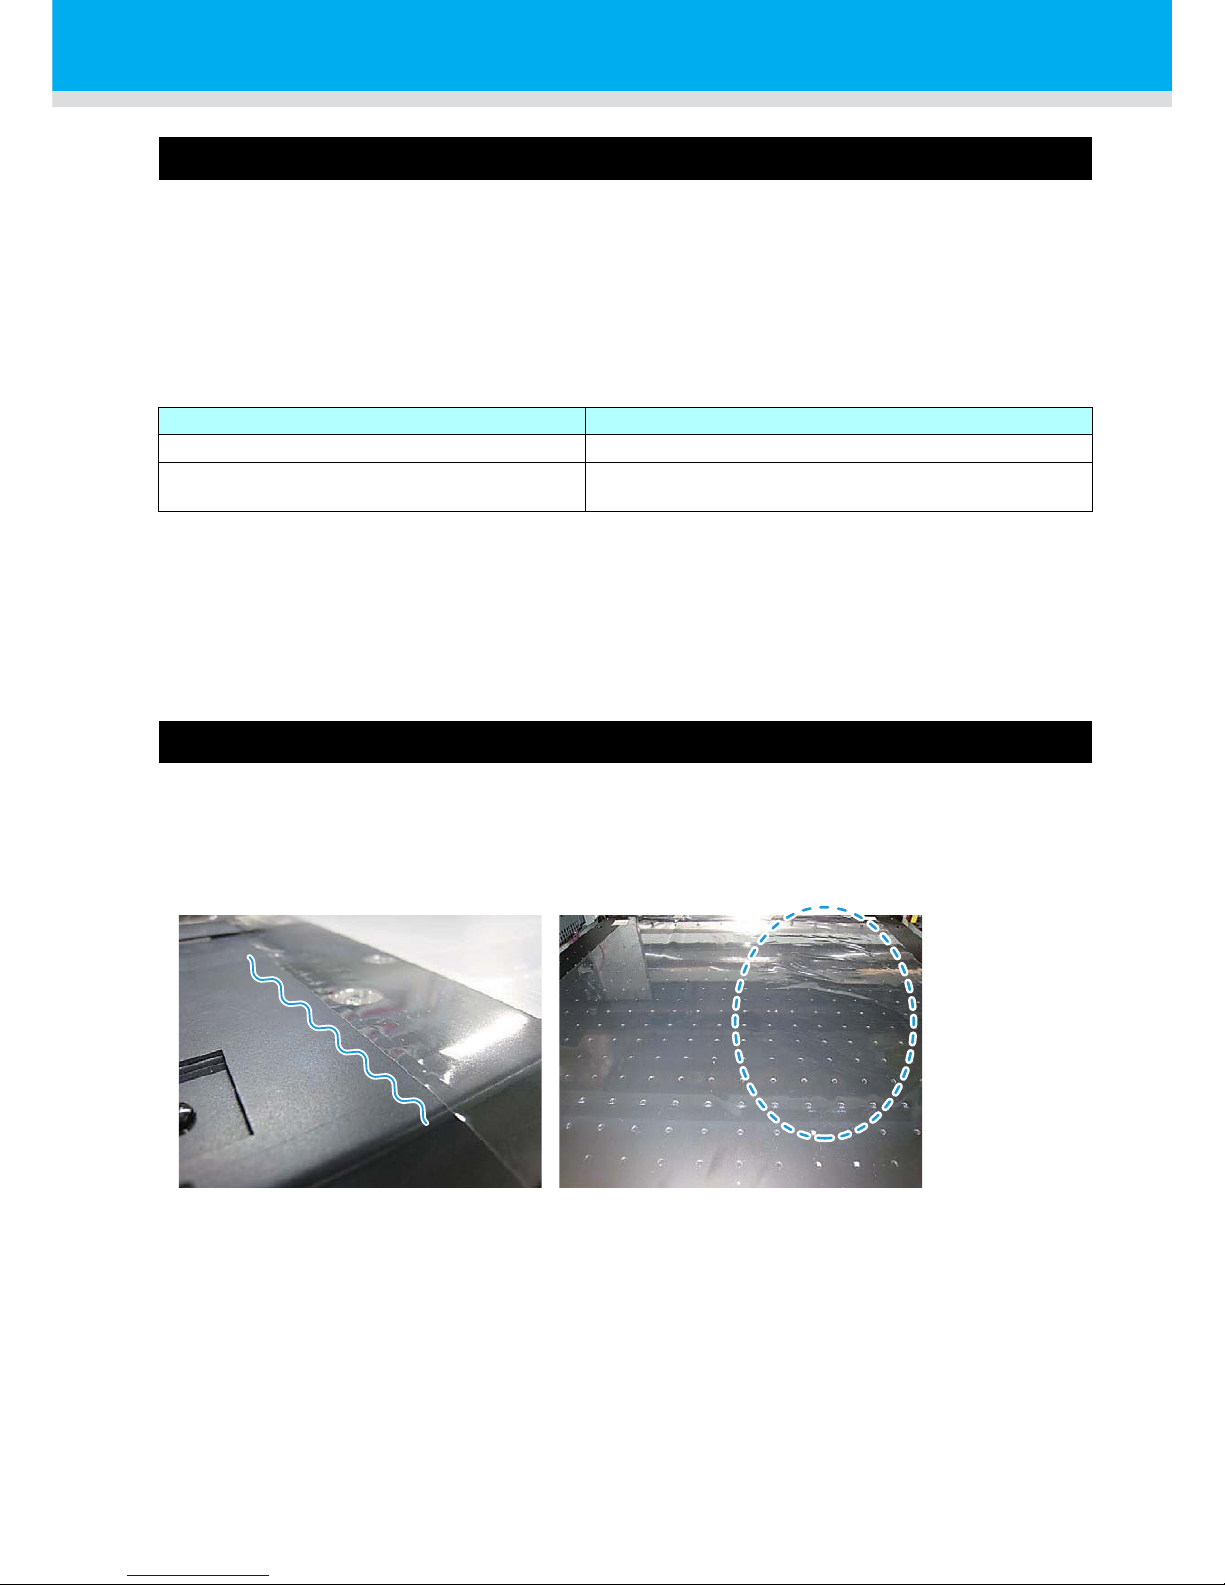
Example of media in bad condition
Media condition How to distinguish
Stretched media (OPP)
Smooth to the touch, strong with pulling force
Unstretched media (CPP)
Adhesive to the touch like a plastic wrap.
Easy to stretch by pulling.
Lifting and stretching on the left
Waving and cockling on the edge surface
Page 5

About Media
5
You can print on the media shown as the figure, however, you may have to widen the head gap (The image
becomes blurred) or the media may cockle during printing.
You should not use such a media, which is unfit for UJF-706.
Check the media to be used, and use them depending on the conditions.
Notes for setting media
Set the roll media in the center of the table face on the feeding side.
Smooth the media symmetrically (parallel to the machine), and then set it to the paper core of the take-up device.
• Setting media on a skew may cause media skew.
• For setting procedures of media, see “CHAPTER 2 How to Use” on the operation manual of the
optional roll unit.
Page 6
6
Setting check before printing
Checking the settings of the machine
Check the followings before printing. Checking them allows to print effectively and smoothly.
For setting of the media, see “CHAPTER 2 How to Use” on the operation manual of the optional roll unit.
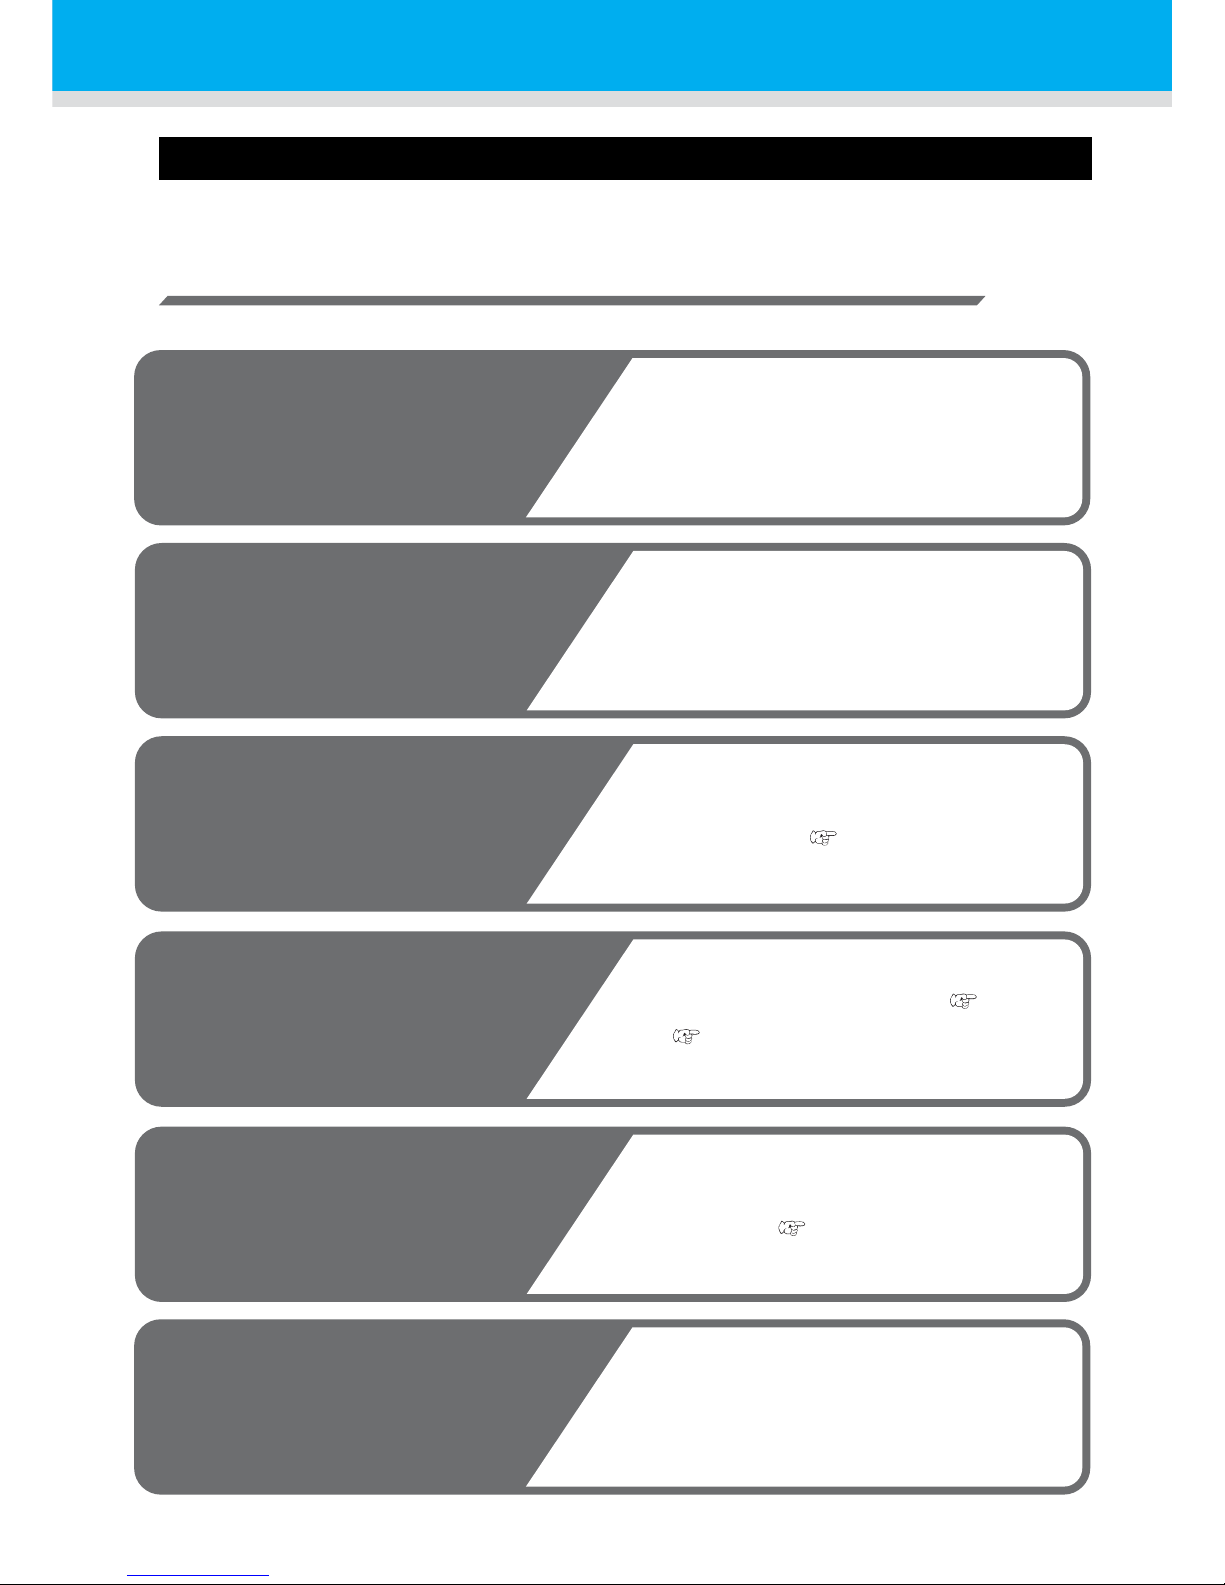
Check Flow
1
Check the table.
2
Check the setting of the media.
3
Check the operation switch
6
Before setting the media, clean the table top
surface. Remove ink, foreign object, dust, etc., if
any.
Check that the roll media has been set firmly to the
roll holder bottom edge at the feeding side. Check
that the paper core of the take-up side has been set
firmly to the roll holder bottom edge.
Check the setting of the operation switch on the roll
unit (take-up/ feeding side). (Operation Manual of
the optional roll unit P.2-2 Step 2)
4
Check the position of the ten-
sion bar.
Check the tension bar is parallel to the floor. (Opera-
tion Manual of the optional roll unit P.2-8 Step
19, P.2-9 Step 22)
5
Set the
Tension bar lifting stopper.
Pull and set the tension bar lifting stopper to the left
on the take-up side. (Operation Manual of the
optional roll unit P.2-8 Step 20)
6
2 本シャフトのセット確認
Check that media has been inserted between two
shafts to press the media onto the table top surface
at front and rear of the table unit. Also check the
shaft outside of each shaft has not floated.
Page 7
7
Setting check before printing
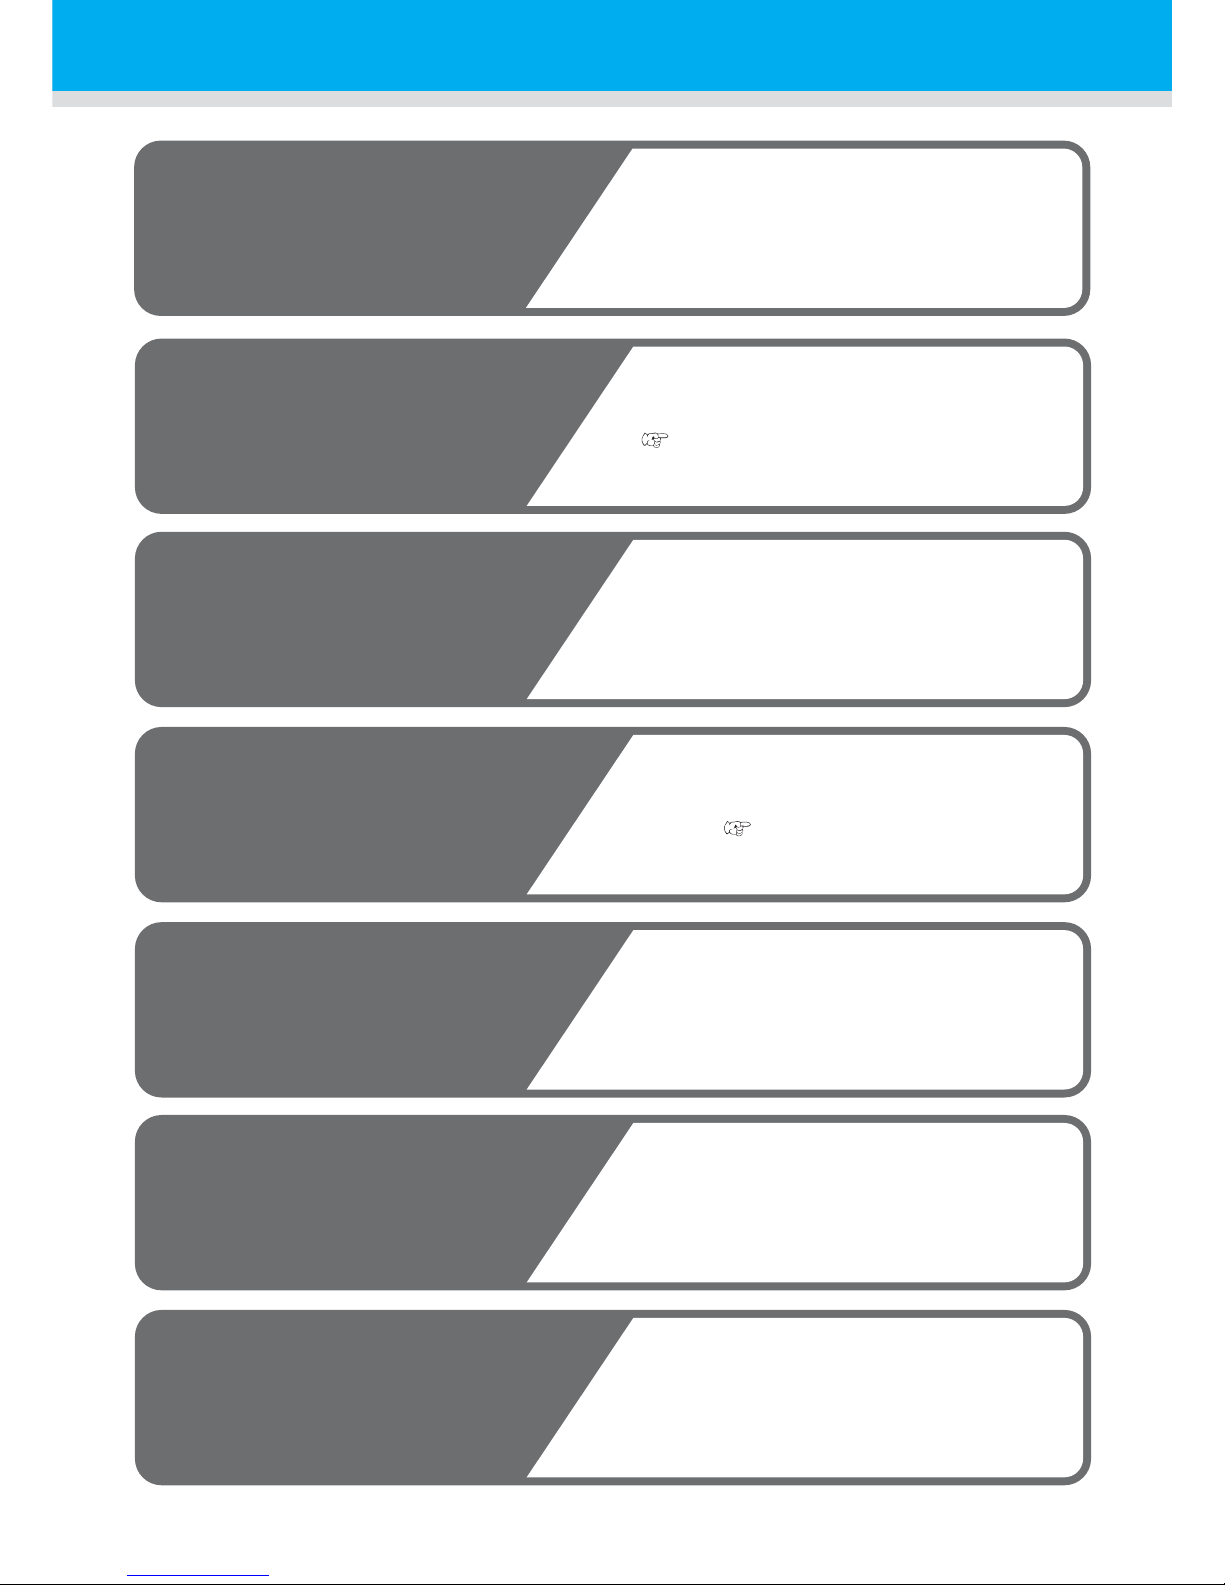
7
ロール保護カバーの確認
8
Check the setting of the UV
level.
9
Check the setting of the mist fan.
Check that the roll protection cover covering the
turning bar at the upper part of the take-up side
does not open.
For thin media of 50μm or less, set the UV level to
“LOW”. (Operation Manual of the optional roll unit
P.2-16)
Set the strength of the mist fan. (UJF-706 Operation
Manual
“Setting the strength of mist fan”)
10
Set the head gap.
1.2 mm is recommended, however, adjust the set-
ting depending on the edge surface condition of the
media. ( P.4) (UJF-706 Operation Manual
“Registering head gap value”)
11
Check the origin position of an
image data.
Check that a data is properly located to the media
on RIP (printing in the center of a media is recommended), and the origin position of the main unit is
properly set.
Perform maintenance including cleaning if necessary.
12
Check the nozzle condition
before printing.
Start printing.
13
Start printing.
Page 8
Setting check before printing
8
Checking the printing data
Location and size of the printing data
In the effective printing area of 700 mm wide x 600 mm long, locate data in the center of the media as much as
possible.
For thin media, get a non-printing area around the data (20 to 30 mm or more is preferable) to avoid turning and
cockling of the edge surface of media (causing media jam) after printing.
The followings can occur depending on the location and size of data.
Image data setting on RIP
Use the version 1.2 or later of RIP. (For details of the compliant versions, contact your local distributor or our
office.)
Non-printing area around the data can be set by RIP. If the RIP data area with the non-printing area exceeds the
effective printing area (700 x 600), a message appears on RIP.
The X and Y value of “ORIGIN SET UP” on the main unit (default is 0, 0) is also added to an input value and
detected whether it is within the printing area or not.
If an error appears, check the data area in the remote mode.
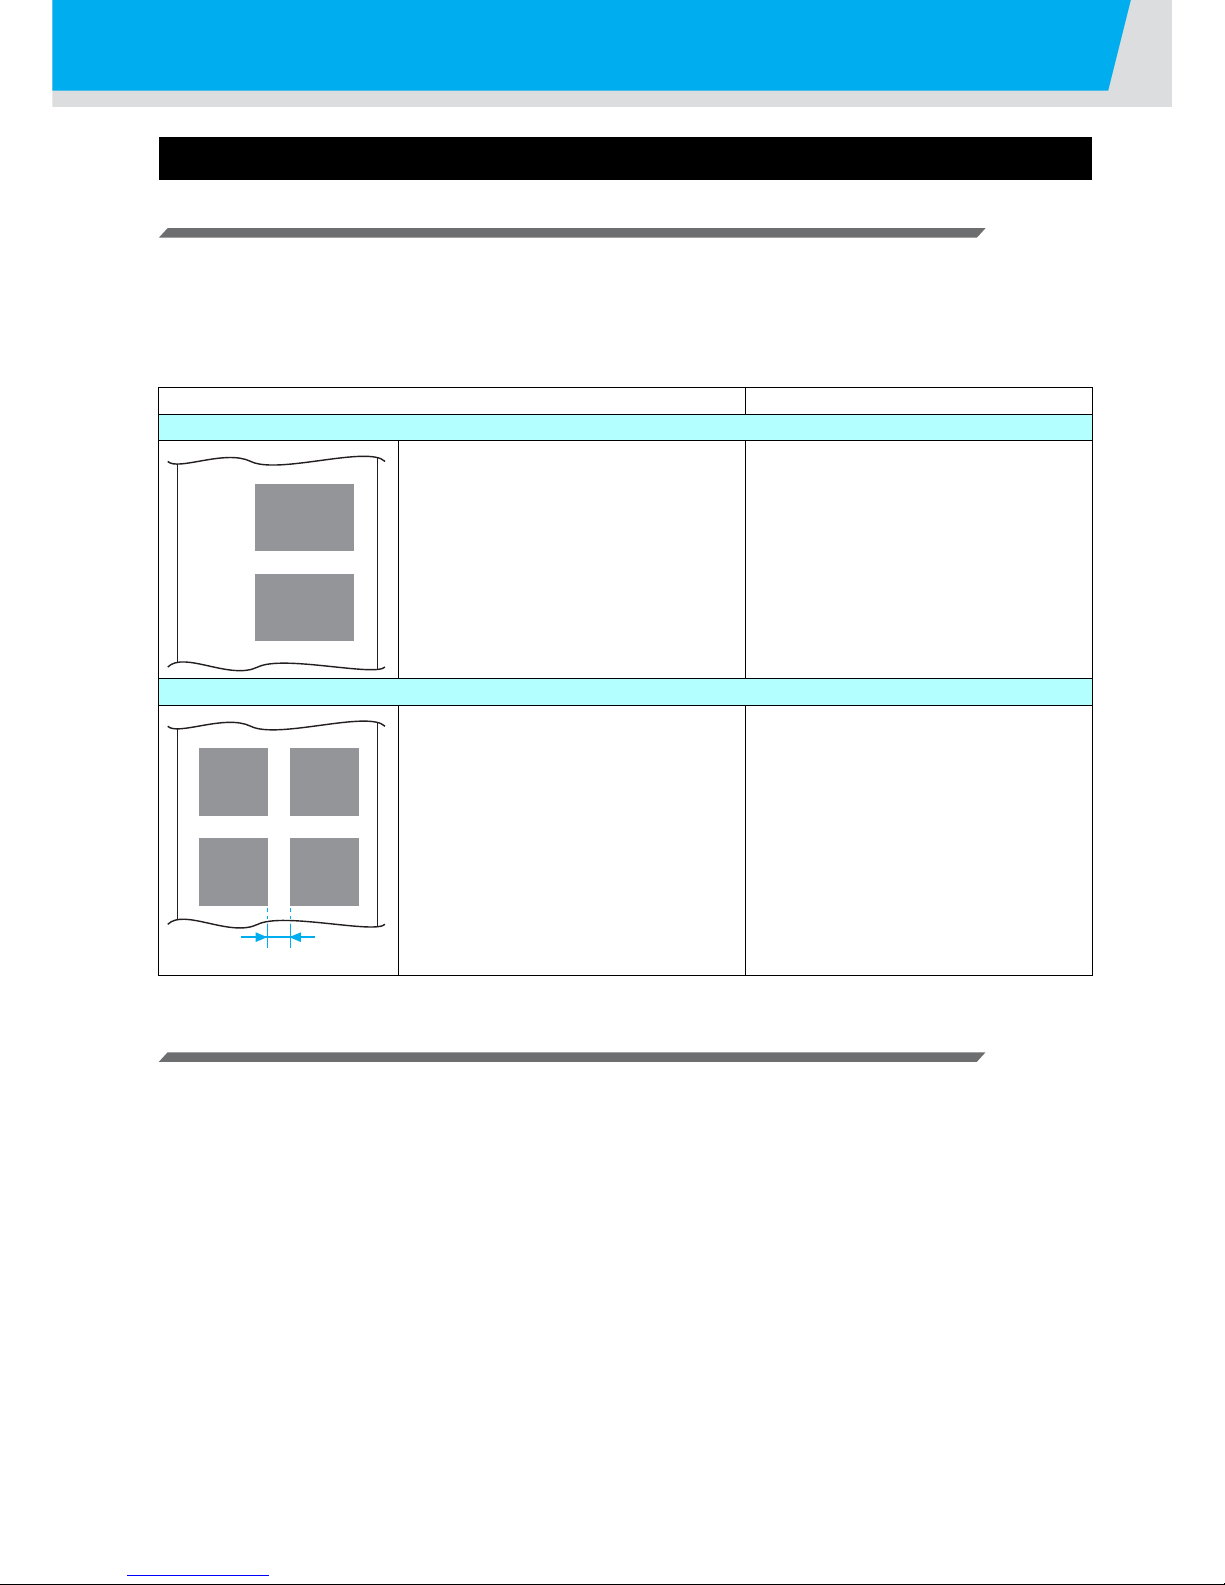
Problem Solution
When data is located to the right or left on the media
A thickened media only on one side may
lose taking up balance on the take-up part,
and the longer it is printed continuously, the
more it strains. They can cause skew of the
media.
Locate a data in the center of the media
and then print.
When data are located in rows sideways
If images are equally spaced in a row, the
media can cockle during taking up, affecting the print.
Modify the spaces among the images, or
change the location of the images to make
an improvement.
Space
Page 9
9
Check during printing
The feeding condition can change after starting printing, depending on the setting of the media, characteristics of
the media, or type of the image data.
Check the condition until it stably prints continuously for two to three meters.
Check point
If problems are not solved after checking the followings, contact a distributor in your district or our office.
For the nozzle clogging or mist, see the operation manual of UJF-706.
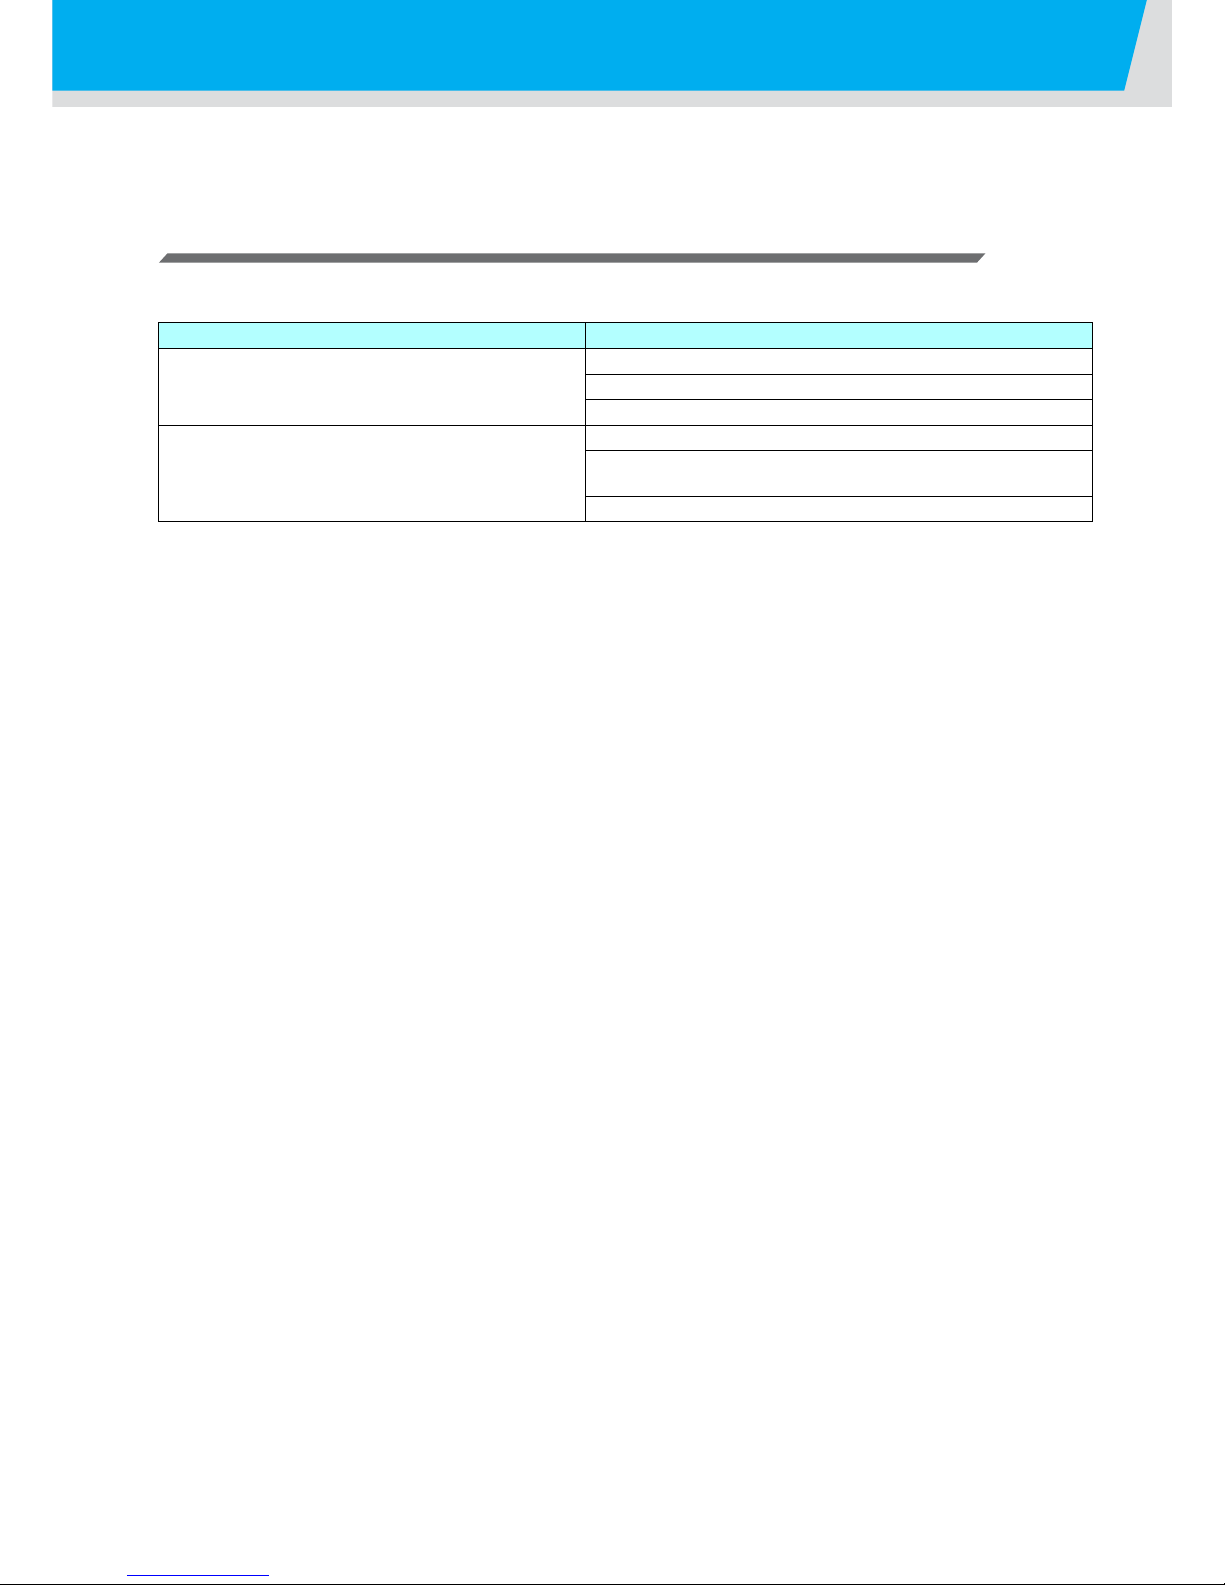
Problem The point to be checked
The media is not fed straight. Check the media is set in the center of the table correctly.
Check there is no foreign substance and no stickum on the table.
Check the media is not skewed.
There are cockles or skews on the print. Check the UV level.
Check the setting position of the media or location of the printing
data.
Check the media does not strain.
Page 10

10
Daily care
Maintenance is important to use the machine comfortably under good conditions.
Perform the followings before and after printing if necessary.
1. Cleaning of the table
• Remove foreign substances, stickums, or ink.
• Wipe out with ethyl alcohol if necessary.
• If it is used with a wide head gap, mist may be collected and piled up at the table suction holes out of the
media.
If mist has been piled up, scrape off it with a cutter, not to scratch the surface of the table.
2. Daily care of the printer (See the operation manual of UJF-706.)
• Head cleaning
• Flushing BOX
• Wiper rubber
• White maintenance
Page 11
11
Other precautions
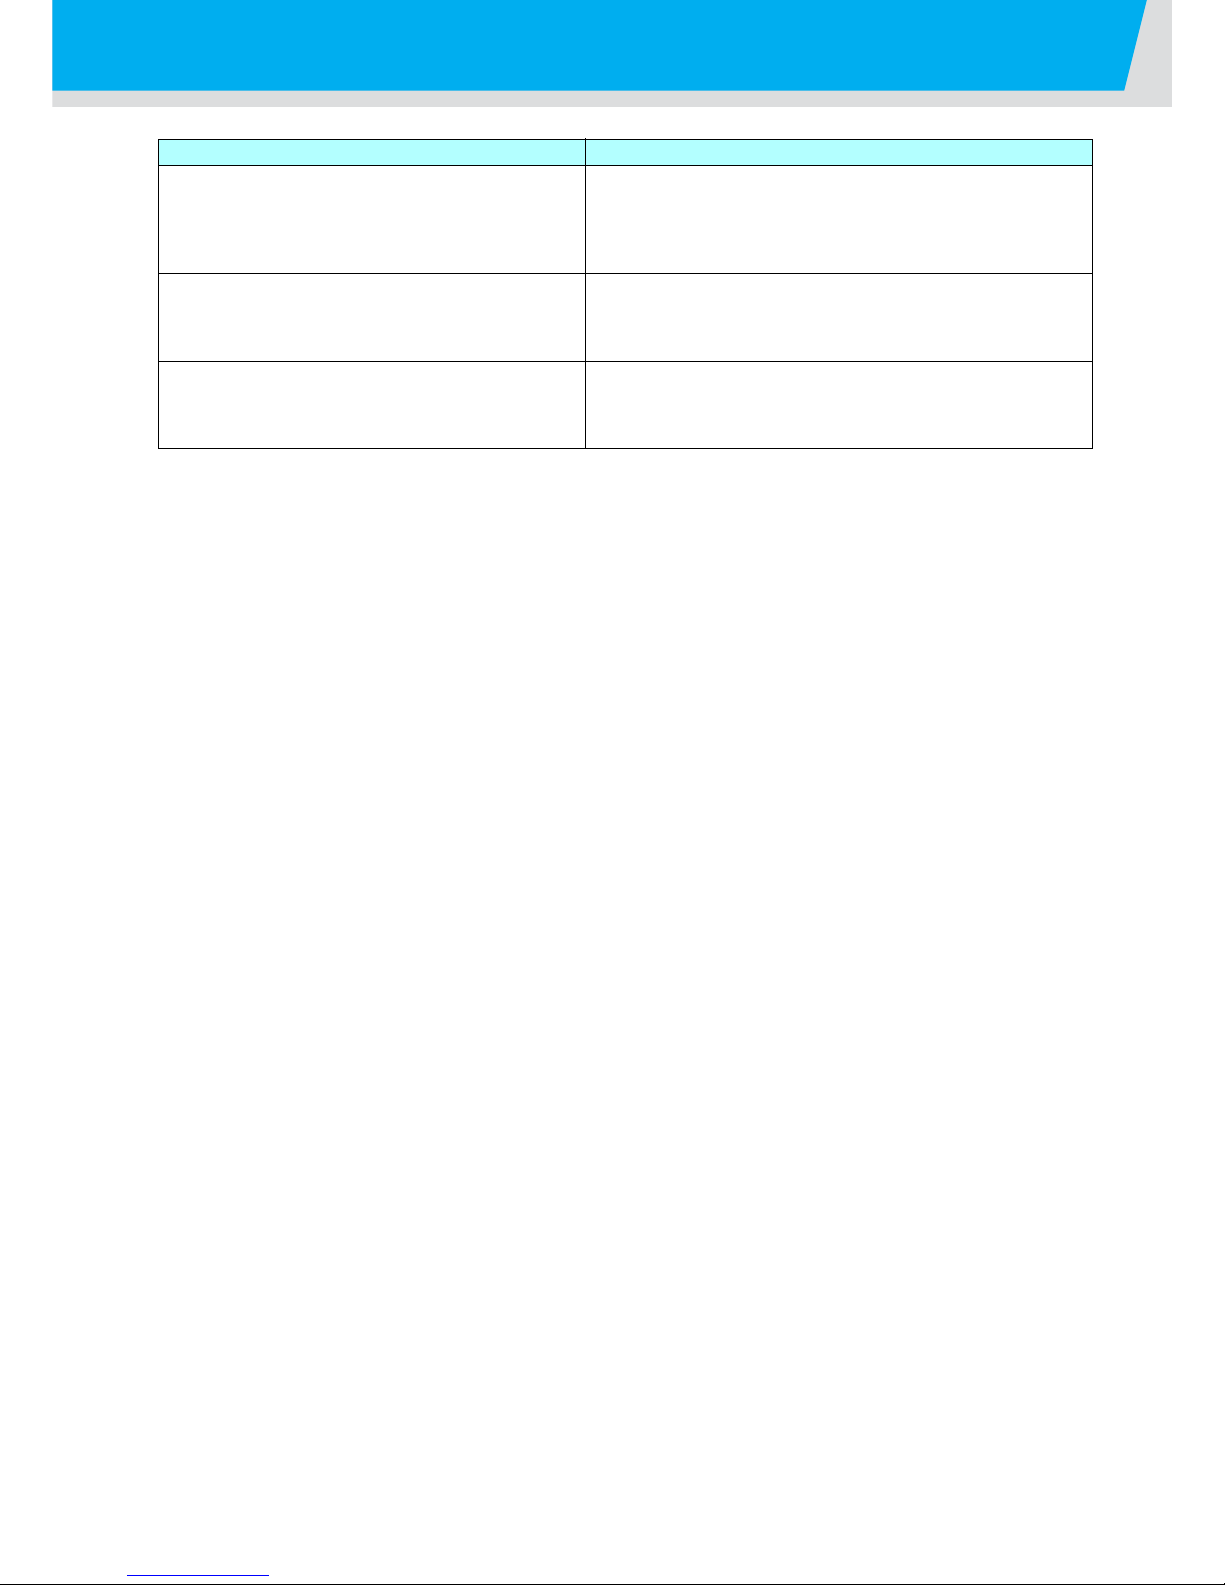
Problems or notes Causes and solutions
When the vacuum of the absorbing plate is turned off
during cutting media, the media slips.
The machine has nonslip mechanism, however, this problem can
occur from an imbalance in the tension bars which is caused by
the widely different diameter of the media roll on the take-up and
feeding side.
If the media slips, support it with your hands.
One time lock on the feeding side while printing on the
reverse
When the media is set for printing on the reverse, the one time
lock cannot be used when setting media on the feeding side.
If a stopper is necessary, use the rotation lock lever and the
holder lock lever.
The rotation is not properly locked with the holder lock
lever.
The optional roll unit is locked or unlocked by the mesh of the
gear on the drive part. It can be hard to lock depending on the
position of the mesh. In such case, turn the holder part (or the
media) several millimeters to lock.
Page 12

IT
FW : 1.8
D202168-11-30092011
Printed in Japan
© MIMAKI ENGINEERING CO., LTD.2011
 Loading...