

Page 1

Microtek MiDMS Installation SOP
System Requirement
For a Server (Supporting a Maximum of 30 Users On-line)
Windows XP 32-bit
Core 2 2 GHz CPU
Free hard disk space as required (at least 500 GB) or by the size of your scanned
images and for additional working files
CD-ROM drive (internal or external)
For a Client
Web Browser: Internet Explorer 7 or Internet Explorer 8
Free hard disk space as required by the size of your scanned images and for
additional working files
An internet connection to hook up with the server
Install XAMPP Software on Your Server
Please go to Apache Friends Website to download an installer named “xampp-win32-
1.8.0-VC9-installer” for your Windows. Apache Friends Website is:
http://www.apachefriends.org/en/xampp-windows.html.
After downloading, you can start to set the installer in your computer.
1. Execute xampp-win32-1.8.0-VC9-installer.
2. Select the installing language as English.
3. Run the Setup Wizard of XAMPP program.
4. Select a directory for installing the program. It is strongly recommended that you
should use a default directory (C:\xampp) as the directory for installing the
program.
I49-004902
Microtek
Page 2
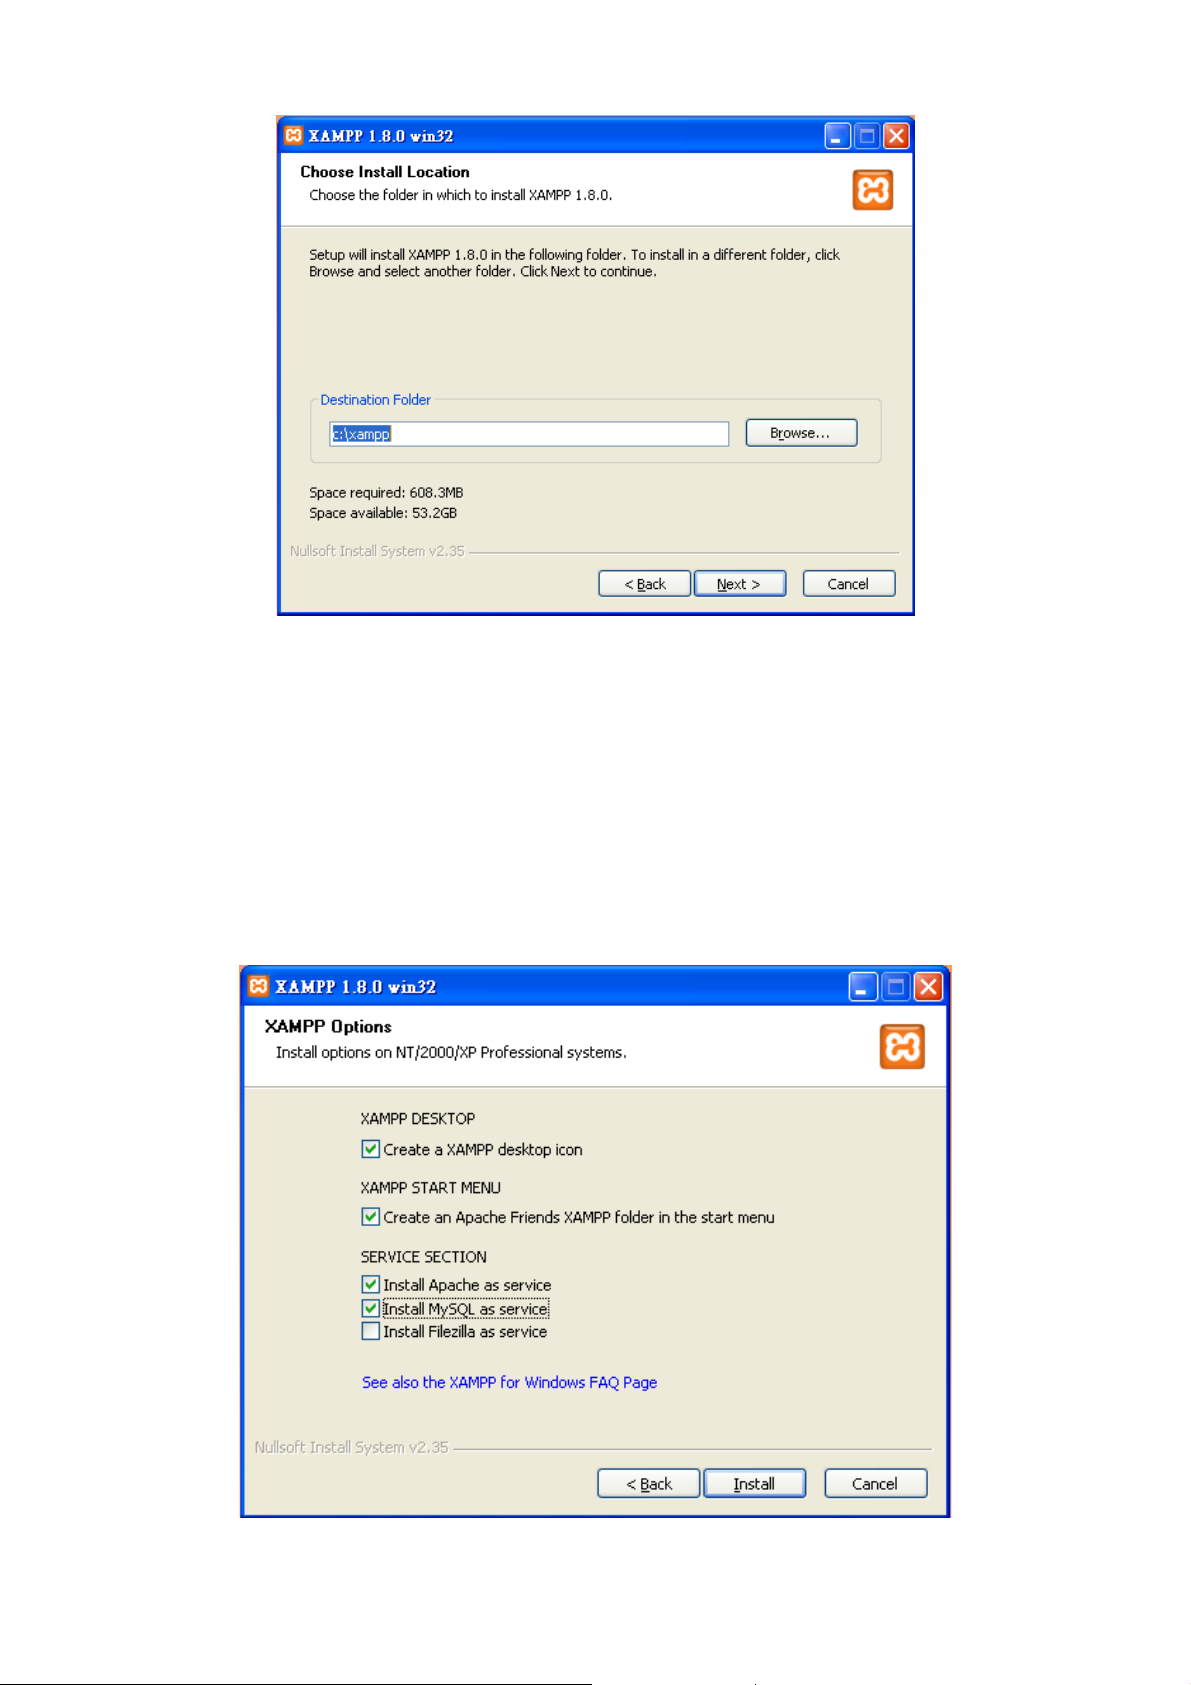
5. Please select the options as what the picture demonstrated below.
Please select:
Create a XAMPP desktop icon
Create an Apache Friends XAMPP folder in the start Menu
Install Apache as Service
Install MySQL as Service
When done, please click the Install button to start the installation.
Page 3
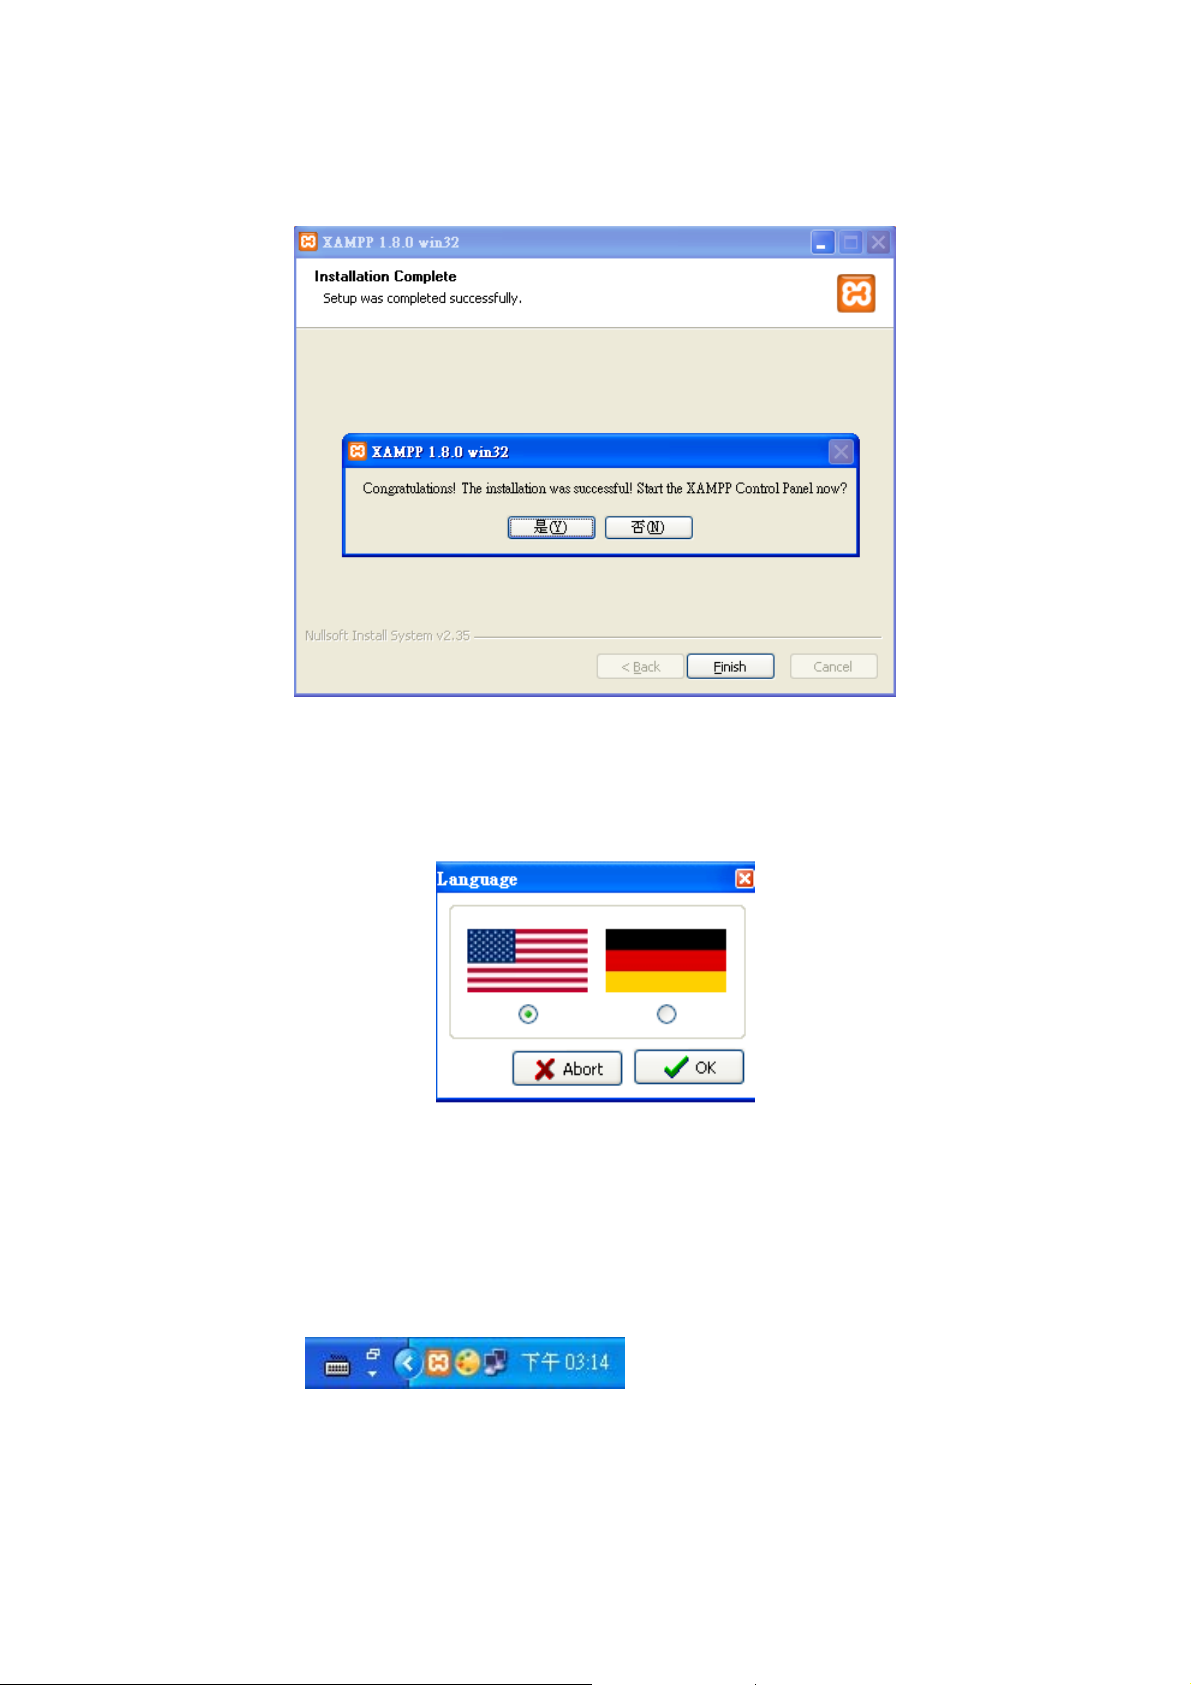
6. When the installation is finished, you will be prompted a window and asked if you
like to start the XAMPP control panel. Please choose the Yes button.
7. Before activating the control panel, you will be asked to set up the used language
on the control panel (the default setting is English).
Introduction of XAMPP Control Panel
After you finish the installation of XAMPP program in your computer, there will be an
XAMPP icon appearing at the right corner of your computer’s desktop, shown as the picture
at right.
When you double-click the left button of the mouse on this icon, XAMPP control panel will
be opened.
Page 4

The picture below is what XAMPP control panel looks like.
1. Module: This item symbolizes what programs are running at meanwhile. When the
program is marked by green, it means that the marked program is under an operation.
You can use the Actions button to stop it. On the contrary, you can use the Actions
button to start a program which is not under an operation yet.
2. We use the button to look for the data in Apache and MySQL. The most common
function we use here is Admin, which can be used to activate a graphical interface of
the database and then presented by a web page.
3. Config. Button: This button is used to configure settings related to documents. Unless
you can change them by not affecting the operation of the system, please do not
modify the settings by your own or you may bring mistakes to the settings and the
program which may cause the system crash down later.
4. Netstart button: Click to display the current status of XAMPP program and to refresh
XAMPP program.
5. Quit button: Click to exit XAMPP program. If you like to re-start XAMPP program, just
click the shortcut icon at your computer’s desktop.
Page 5

Execute the MiDMS Installer
Please execute the MiDMS installer in your computer at this moment.
Set up the Database
In order to set up the database, please activate XAMPP control panel first, and then click
the Admin button to open the graphical interface of MySQL.
Set up the Graphical Interface of MySQL
1. First, set MySQL connection collation as utf8_unicode_ciMySQL and the language as
English.
Page 6

2. Select the Users option and check items inside. Look for a user who is classified as
root in User category and localhost in Host category. When you find the user who is
qualified, in the Action category, click the Edit Privileges button to modify his/her
privileges.
3. When the setup window of Edit Privileges is activated, look for an option named
“Change Password” and then key in “root” twice in the Password column. Finally, click
the Go button to execute the action (as shown in Picture 1).
(Please take note that the keyed-in password must be root; otherwise, MiDMS cannot be started
properly.)
Next, open “C:\xampp\phpMyAdmin\ config.inc.php” in WordPad program and make a
modification there. Change it as “$cfg['Servers'][$i]['password'] ='root'” (as shown in
Picture 2).
When done, save the modification and refresh the webpage. Then, you can proceed
continuous settings.
(Please take note that if the directory is not the default directory for the installation, pl ease open the file
in the directory where you installed your program.)
Page 7

Picture 1
Picture 2
Page 8

4. In the graphical interface of MySQL, selct the Databases option. In the item named
“Create new database”, build up a new database named “midms” and set its collation
as “utf8_unicode_ci”. When done, click the Create button next to execute the action.
5 In a table of databases below, click “midms” to enter. Then, click the Import option to
transfer files to midms database.
6. Select SQL files. The default directory is set as:
C:\xampp\htdocs\MiDMS\Uploadfile\SQL\midms.sql.
(Please take note that if the directory is not the default directory for the inst allation, please save the file in
the directory where you installed your program.)
When done, click the Go button to finish the whole settings for the database.
Page 9

7. Set up for Uploading of Files:
Please open "C:\xampp\php\php.ini" in Word Pad. First, look for upload_max_filesize"
and change its value to 50M" (as shown in pic 1). Then, look for "post_max_size" and
change its value to 50M (as shown in pic 2).
Note: If this directory is not the default directory used to install the program, please find
the same command and open it in a corresponding directory.
pic 1
pic 2
8. Set up for the directory protection
Please open "C:\xampp\apache\conf\httpd.conf" in Word Pad. Look for “Options
Indexs FollowSymLinks Includes ExecCGI" (as shown in pic 3) and then change it as
“Options FollowSymLinks Includes ExecCGI” (as shown in pic 4).
Note: If this directory is not the default directory used to install the program, please find
the same command and open it in a corresponding directory.
Page 10

pic 3
pic4
When the change is complete, please restart your computer.
At this point, you may start to use MiDMS program online.
 Loading...