


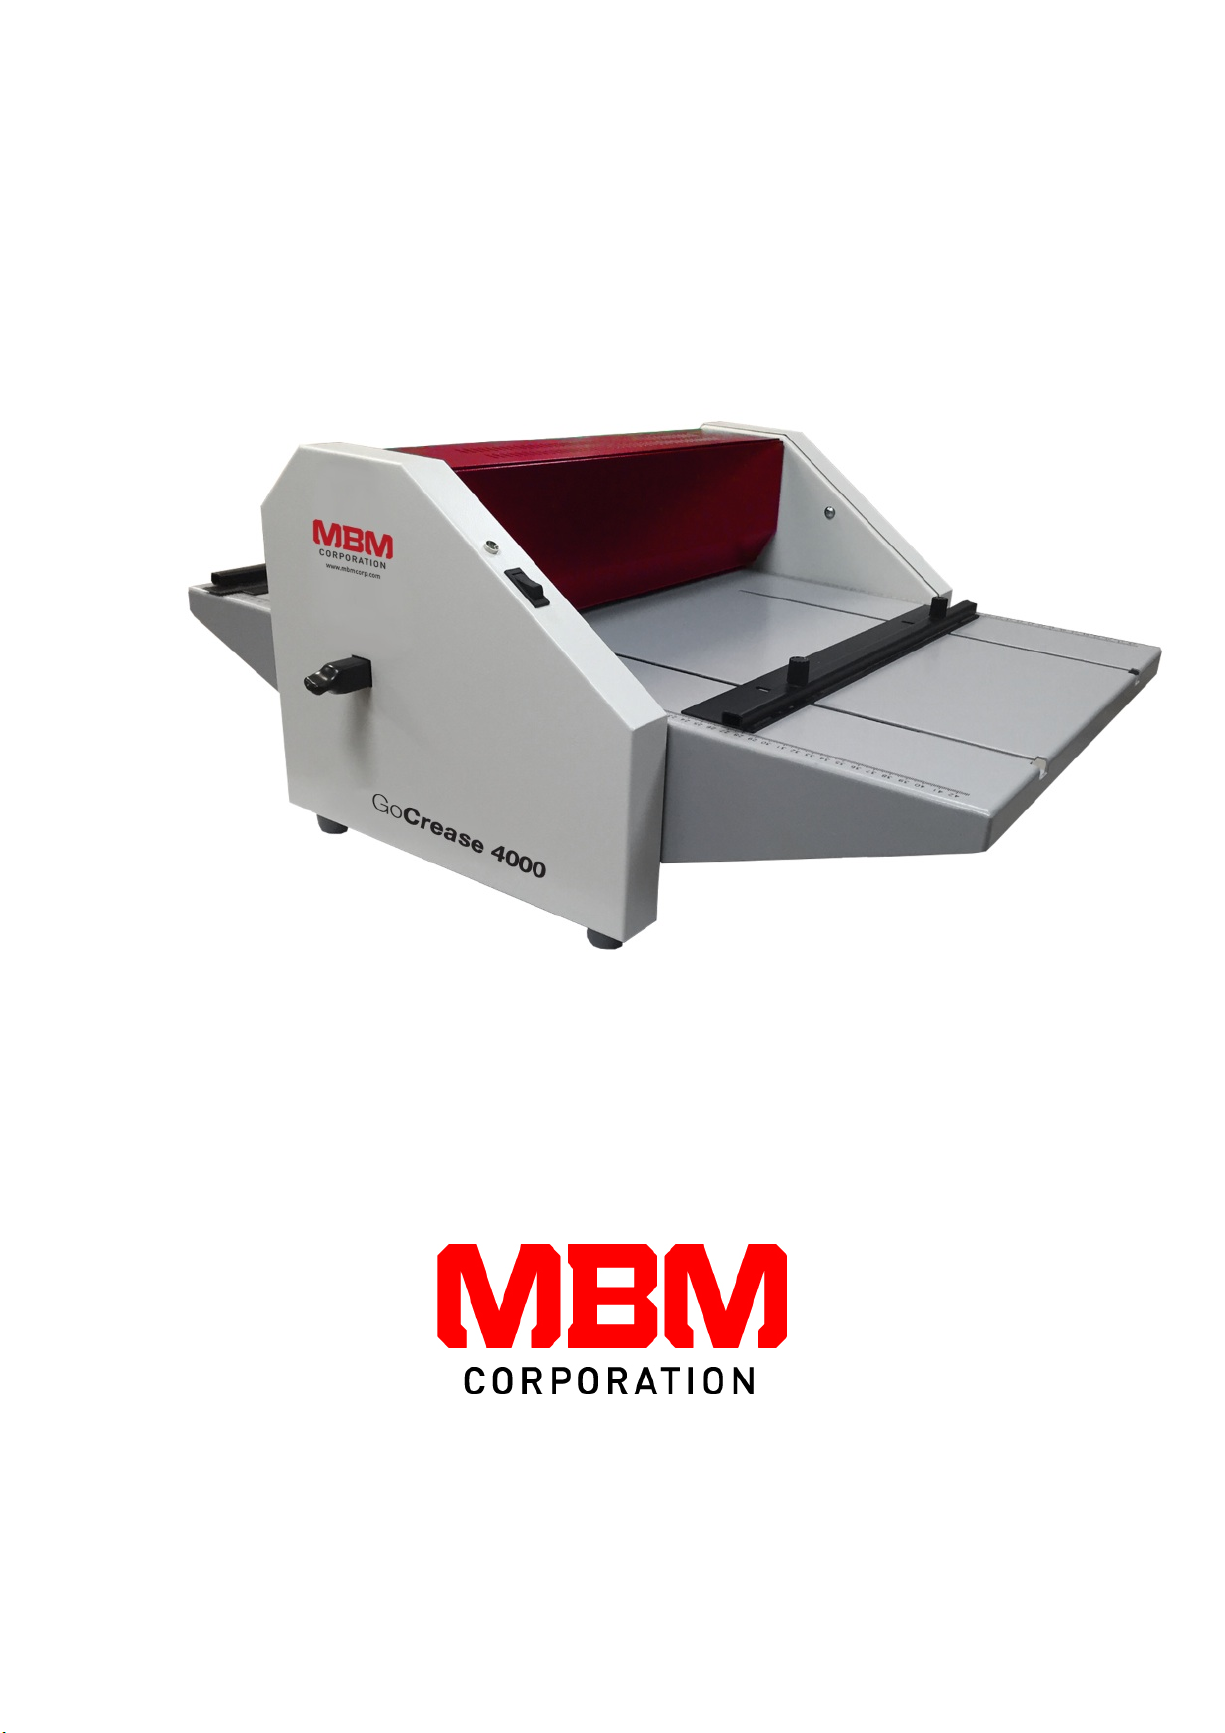
MBM GoCrease 4000
17.7" Electric Creaser
and Perforating Machine
Instruction Manual
1
Operator’s Manual
GoCrease
TM
4000
MyBinding.com
5500 NE Moore Court
Hillsboro, OR 97124
Toll Free: 1-800-944-4573
Local: 503-640-5920

2
CONTENTS:
1) Warning
2) Parameters
3) Machine description
4) Installation and adjustment
5) Troubleshooting
6) Cover removal
7) Disposal
1) Warning
a) Creasing and perforating machine is suited for creasing and perforating paper of
set parameters only.
b) It is not allowed to groove or perforate other material than paper.
c) Do not use this machine when the electrical cord has been damaged.
d) Do not plug the machine into other voltage, than the one appointed on
a
manufacturer’s label.
e) All the instructions should be read before you start using the machine.
f) To decrease risk, it is necessary to check that the machine is not being used
within the reach of children.
g) Do not put fingers in the machine after it has been plugged in.
h) After the stoppage, the machine has to be unplugged first, and then the clearing
process can start.
i) Do not replace a faulty safety fuse with a different type of fuse, or a fuse with
different electric output. The machine has to be unplugged when changing safety
fuse.
2) Parameters
a) paper size - 5.8” x 8.3”, 8.3” x 11.7”,
11.7” x 16.5”, max. width 17.7”
b) machine size - operating position: length = 28”
width = 21.25”
height = 11.4”
shipping dimensions: length = 25.6”
width = 25.2”
height = 15.7”
c) paper weight - perforation: 80 – 250 g / m²
creasing: 80 – 400g/ m²
:
d) total weight e) voltage -
3) Machine description
Electrical creasing and perforating machine is suited for final processing of graphical material
up to 17.7” width. Creasing enables easy folding of paper. Perforating can be done simply by
a blade change, and turning the square (7) head without further adjustment. Wasteless
perforation allows easy paper separation. Millimeter scales, which are used to adjust paper
stops, are placed on the sides of the table. The machine is controlled, either by a handoperated switch on the cover, or by a foot pedal. (2)
84 lbs.
120 V / 60Hz
MyBinding.com
5500 NE Moore Court
Hillsboro, OR 97124
Toll Free: 1-800-944-4573
Local: 503-640-5920

3
4) Installation and adjustment
When the machine is unpacked, it is placed on a solid flat surface. First the back table has to
be fixed, and also the food pedal if needed. (2) Then, after the machine has been plugged in,
it is set in a working order and the control diode beams constantly (5).
Standard creasing has been preset by manufacturer.
For perforating, it is necessary to replace the creasing tool with a perforating tool,
which is enclosed. Further, the square bar has to be adjusted - smooth surface up
(7).
First the machine has to be unplugged, then remove the back table (4). Open the
cover (1). There are five screws and (6) clips (8) which have to be dismounted.
Screws should not be tightened completely after insertion of perforating tool until
9
10
6
8
7

4
the check test is carried out, which secures that the square bar is parallel to the
perforating tool. Then all the screws are tightened completely.
In case of poor quality of perforating, or when having trouble with separation of the
paper after perforating is completed, it is necessary to adjust the upper bar. (10)
Upper bar adjustment
The upper bar (10) with perforating (creasing) tool can be moved down by the help of
both adjusting screws. The screws should be loosened in gradually by 1/6th
revolution to the left approx. 60˚. (the bar moves down) and then it has to be fastened
by a nut. After each 60˚ turn it is necessary to check, whether perforating (creasing)
quality is sufficient. When the upper is set-up correctly (10) it is not needed to readjust it with each change of function (perforating, creasing).
5) Troubleshooting
- the diode flickers approx. 1x /sec : options - the upper cover (1) is open, the back
table (4) is pushed out
- the diode flickers approx. 2x /sec : the upper bar travel mechanism has been
blocked, it is necessary to unplug the machine and then turn the adjusting studs (9)
to the right (approx. 2 turns) and then the upper bar moves up. After the machine is
turned back on, the unfinished travel cycle will finish automatically. It is necessary to
readjust the upper bar. (10)
- defective fuse replacement: from service manual
6) Cover removal
Cover removal (disassembly) can be conducted by a specialized person only, and
only after the machine has been switched off and unplugged.
7) Disposal
At the end of its operating life, it is not allowed to place this machine among general
mixed municipal waste. It should be taken into metal, non-metal, plastic, rubber and
electric parts. These will be committed to appropriate collection places for further
processing. Some part of the machine may contain dangerous substances, which
may be health and environment dangerous.
MyBinding.com
5500 NE Moore Court
Hillsboro, OR 97124
Toll Free: 1-800-944-4573
Local: 503-640-5920
 Loading...