

Instruction
Sheet
This instruction sheet is to be used with :
ACCESSORY MODEL NO. : MAL2000AXW, MAL2000AXQ,
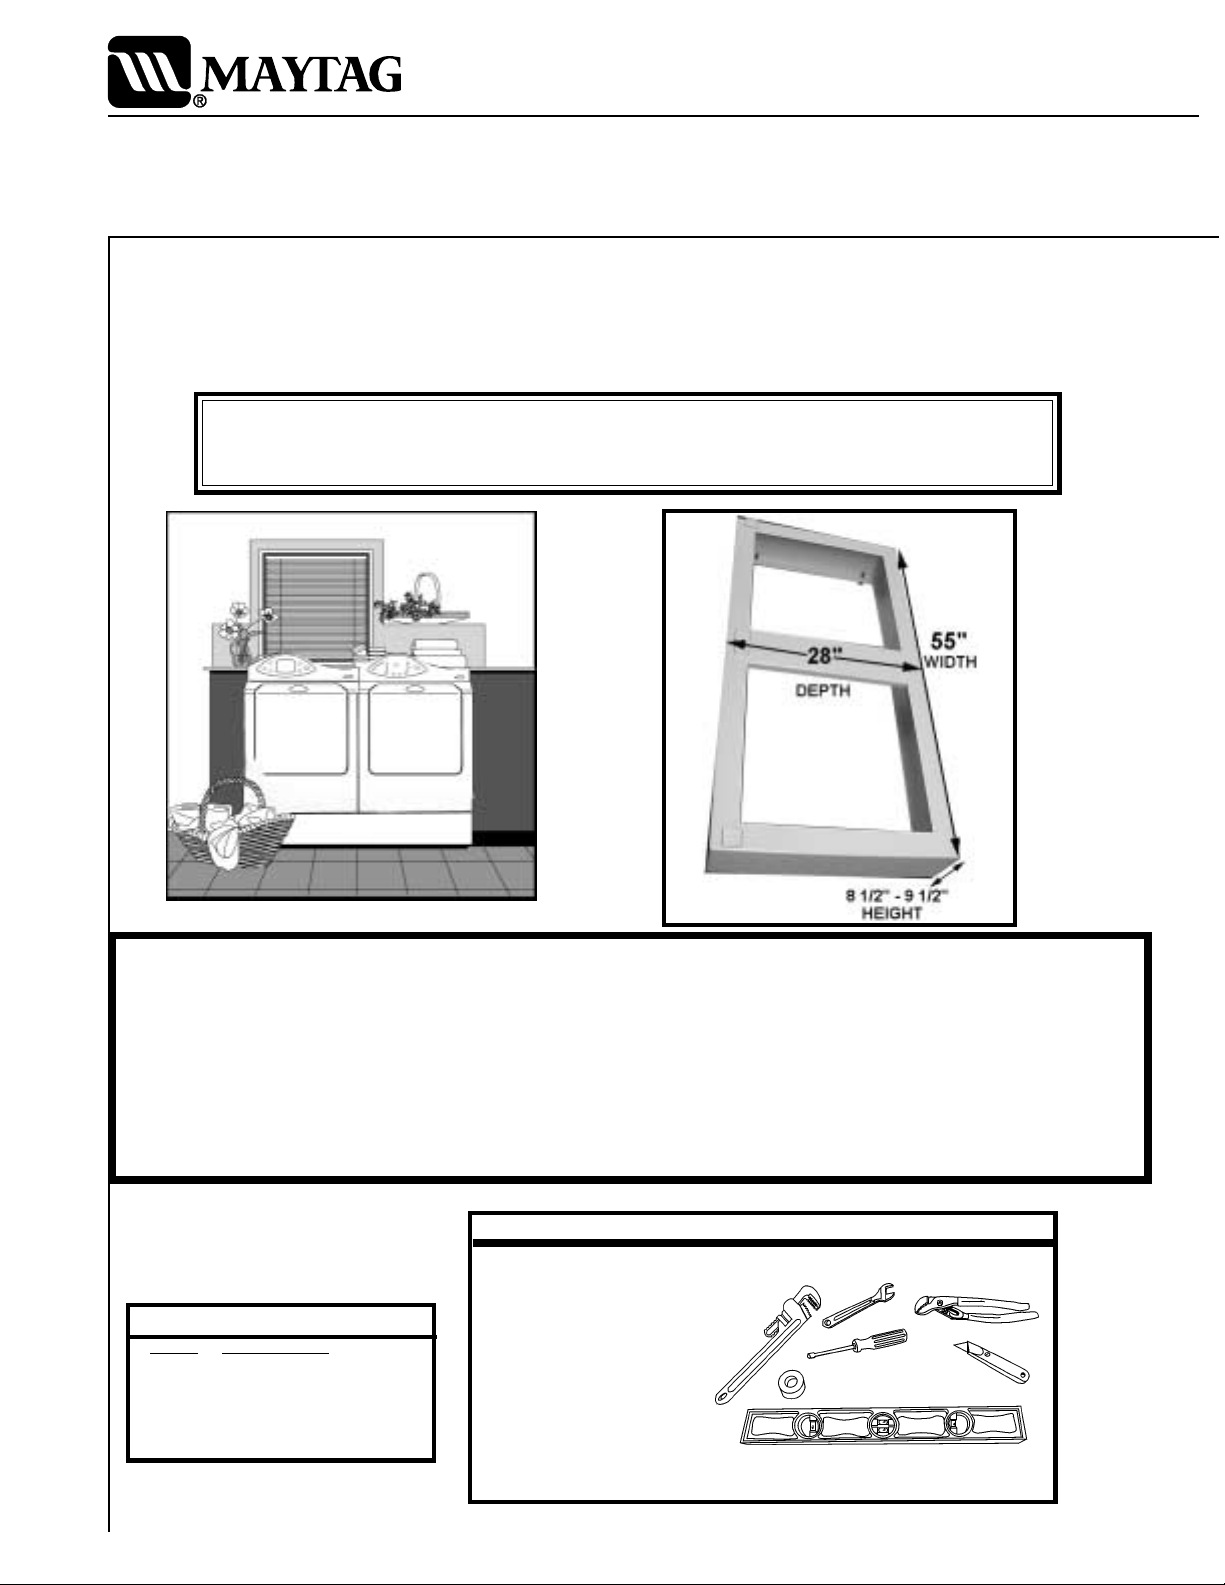
DESCRIPTION : Maytag Neptune Riser
This riser is approved for use with only the
Maytag Neptune washer and dryer pair.
6 2727950 - 1102
Weight = 70 lb/26 kg.
IMPORTANT TO INSTALLER
PLEASE READ THE FOLLOWING INSTRUCTIONS CAREFULLY BEFORE STARTING TO
UNINSTALL AND REINSTALL YOUR APPLIANCES. THESE INSTRUCTIONS SHOULD BE
RETAINED FOR FUTURE REFERENCE.
Deinstallation and Reinstallation of the Maytag NeptuneWasher and
Dryer must conform with local codes.
TOOLS REQUIRED:
• Teflon Tape or Pipe Joint Compound
(gas only)
Kit Contains:
Qnty . Description
1 Neptune Riser
4 Leveling Legs
4 Locking Nuts
1 Instruction Sheet
• Cutting Knife
• Pipe Wrench
• Nut Drivers
• Level
• Duct Tape
• Crescent Wrench
• Bucket or pail w/towels
1

Before you start....
Important: If your washer and dryer are
already installed, they MUST be uninstalled.
2. Pull the dryer away from the wall enough to
loosen the vent clamp. Loosen the vent clamp
and carefully remove the exhaust vent from the
dryer exhaust outlet.
If you need to uninstall your washer or dryer,
locate the installation instructions that came
with your laundry product. This information will
prove useful when reinstalling the products.
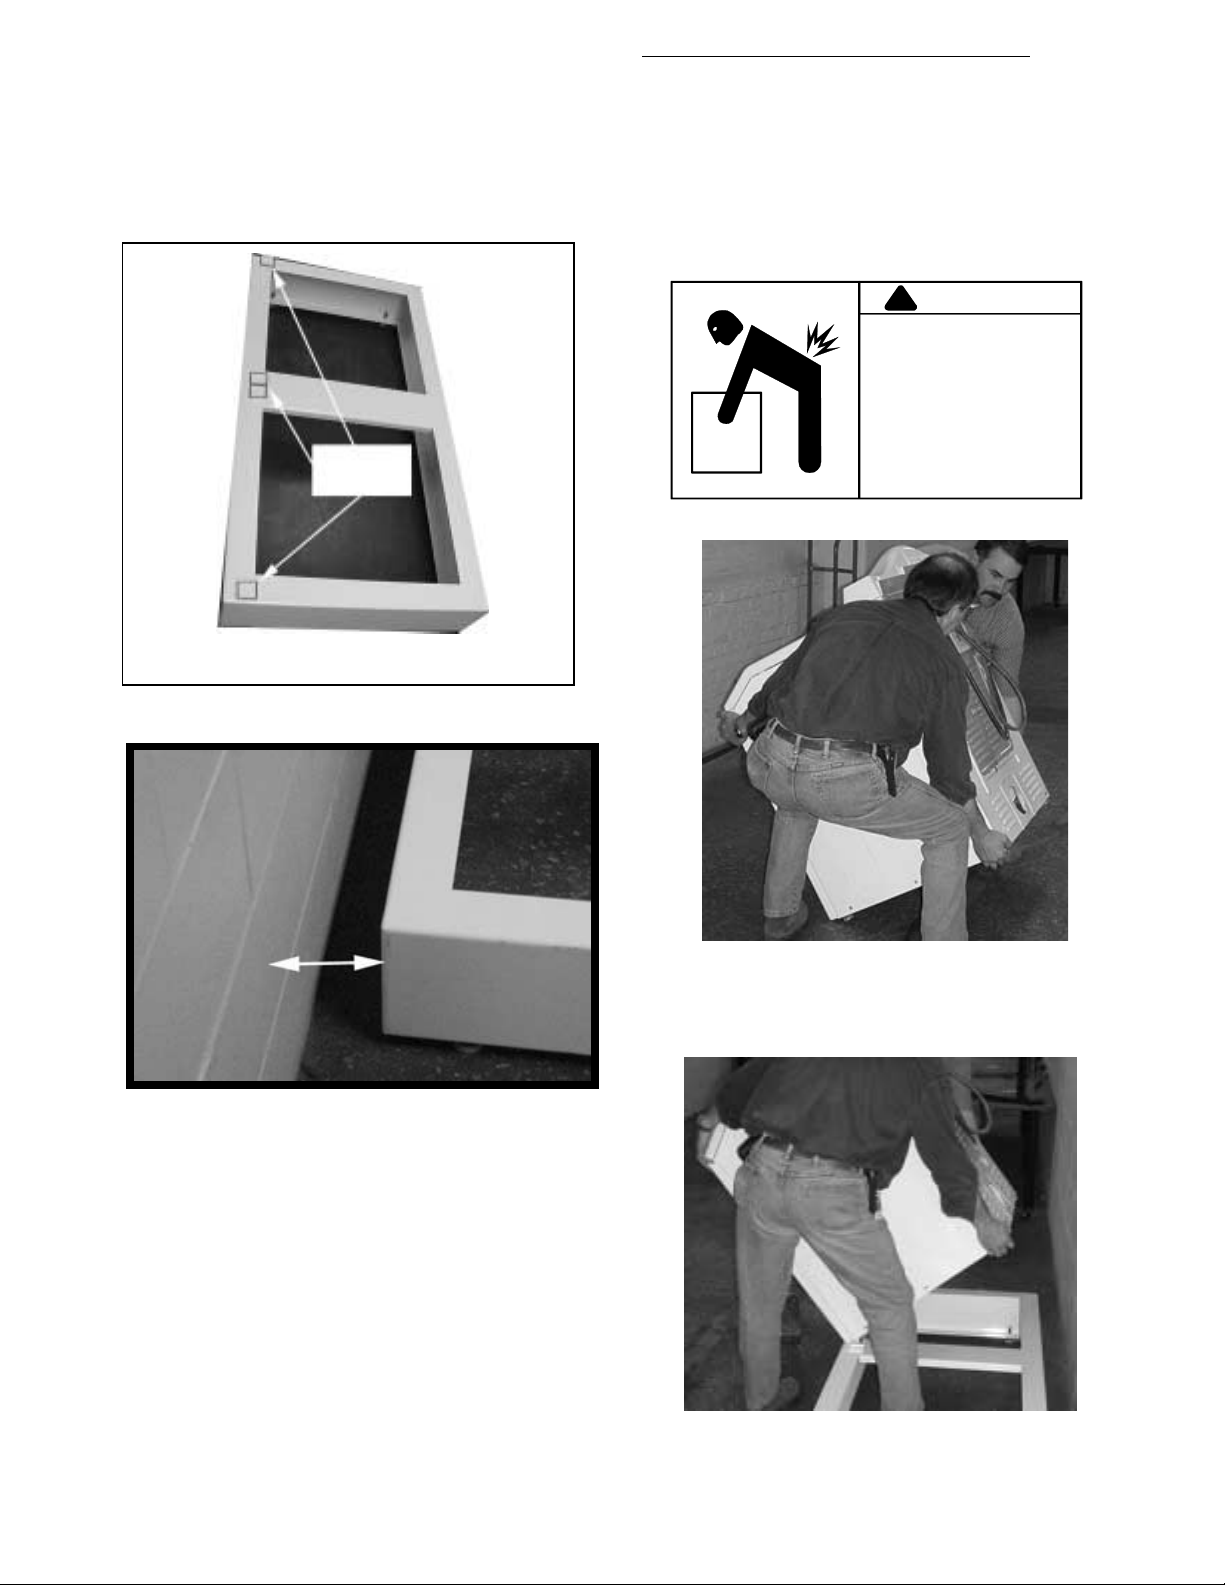
WARNING
!
Lifting hazard.
Single person lift
could cause injury.
Use assistance when
moving or lifting.
Uninstalling the washer:
1. Turn off the hot and cold water faucets.
2. Briefly start a wash cycle to release any
pressure in the fill hoses. Press "Off" to stop
the cycle.
3. Unplug the power supply cord.
4. Remove the "HOT" and "COLD" fill hoses
from the back of the washer. Have a towel
handy to catch spills. If spills occur, dry the
floor prior to pedestal installation.
5. Disconnect the drain hose from the drain
standpipe and drain any water in the hose into
a bucket.
6. Protect the floor with a large piece of cardboard cut from the pedestal carton.
7. Pull the washer away from wall to make
room for the pedestal to be positioned and
position the washer onto the cardboard.
Uninstalling the electric dryer:
1. Unplug the power cord from the outlet. Or, if
hard wired, disconnect the power supply to
the dryer at the circuit box and then remove
the wire hook up at the dryer.
3. Protect the floor with a large piece of cardboard cut from the pedestal carton.
4. Pull the dryer away from wall to make room
for the pedestal to be positioned and position the dryer onto the cardboard. Go to
" Pedestal Installation".
Uninstalling the gas dryer:
1. Unplug the power supply cord and extinguish
all open flames or smoking materials prior to
proceeding.
2. Turn off the gas supply and disconnect the
gas supply to the dryer.
3. Pull the dryer away from the wall enough to
loosen the vent clamp. Loosen the vent
clamp and carefully remove the exhaust vent
from the dryer exhaust outlet.
4. Protect the floor with a large piece of cardboard cut from the riser carton.
5. Pull the dryer away from wall to make room
for the riser to be positioned and position the
dryer onto the cardboard. Go to
" Riser Installation".
Riser Installation:
1. Locate the plastic bag containing the leveling
legs and locking nuts.
2. Thread one locking nut onto each leveling
leg. Thread the locking nut down on the
threaded leg to within one inch of the foot.
3. Position the riser into the desired location.
Figure 1 & 2
4. Position the rear of the riser a minimum of 5
inches from the wall. This will allow sufficient
room for dryer venting, inlet hoses and drain
hose attachments. This will enable access to
the exhaust system for maintenance as recommended in the Dryer care & use manual.
2
5. Level the riser front to back and side to side
before installing the washer and dryer.
Loosen the locknut above the foot and the leg
will unscrew to lift or screw in to lower. Once
the riser is level, tighten the lock nuts on the
legs up against the bottom of the riser.
Placing The Washer On The Riser:
1. With an assistant, tilt the washer forward and ,
lift the product carefully and set the unit on
the riser. Figure 3 & 4
WARNING
!
Side
Front*
Toward
The Wall
Square
Rings
* Note the squares on the top surface.
Figure 1
WALL
RISER
Lifting hazard.
Single person lift
could cause injury.
Use assistance when
moving or lifting.
5 Inches
Minimum
Figure 2
6. Tilt each laundry product forward and measure how far down the rear legs are from the
bottom of the unit. (Approximately 1 inch)
Loosen the legs and extend them to the same
height on all legs for both products. Once
satisfied, tighten the lock nuts on the rear legs
up against thebase of the appliances and
insure the rubber feet are in place.
7. Install the washer first, unless the dryer venting
requires special handling. If venting is more
challenging, install the dryer first then the
washer. The washer and dryer can be installed on either end of the riser.
Figure 3
Figure 4
3

2. Make sure the front legs are positioned into
the square rings on the front of the riser.
Figure 5
Square
Ring
Riser
Front
Figure 5
3. Reinstall the inlet hoses to the "HOT" and
"COLD" water inlets on the back of the
washer. Turn on the faucets and check hose
connections for leaks. Retighten connections
if necessary.
4. Place the drain hose into the drain standpipe.
5. Plug in the power supply cord for the washer.
Placing The Dryer On The Riser:
1. Tilt the dryer forward and with an assistant, lift
the product carefully and set the unit on the
riser. Figure 6 & 7
Figure 6
2. Make sure the front legs are positioned into
the square rings on the front of the riser.
Figure 8
3. Follow the Installation Instructions that came
with your dryer to finish installing the unit. (i.e.
electrical hookup, vents and etc.)
Note:
For gas dryers the installation must
conform with local codes, or in the absence of local codes, with the National
Fuel Gas Code ANSI/Z223.1, latest revision (for the United States), or with the
CAN/CGA-B149 installation codes (for
Canada).
Figure 7
Figure 8
Riser
Front
Square
Ring
4
 Loading...