

Maytag 6898XVB Owner's Manual
O
Owner's Guide
Electronic Controller & Self-Clean Oven
(Keepthese instructionsfor future reference)
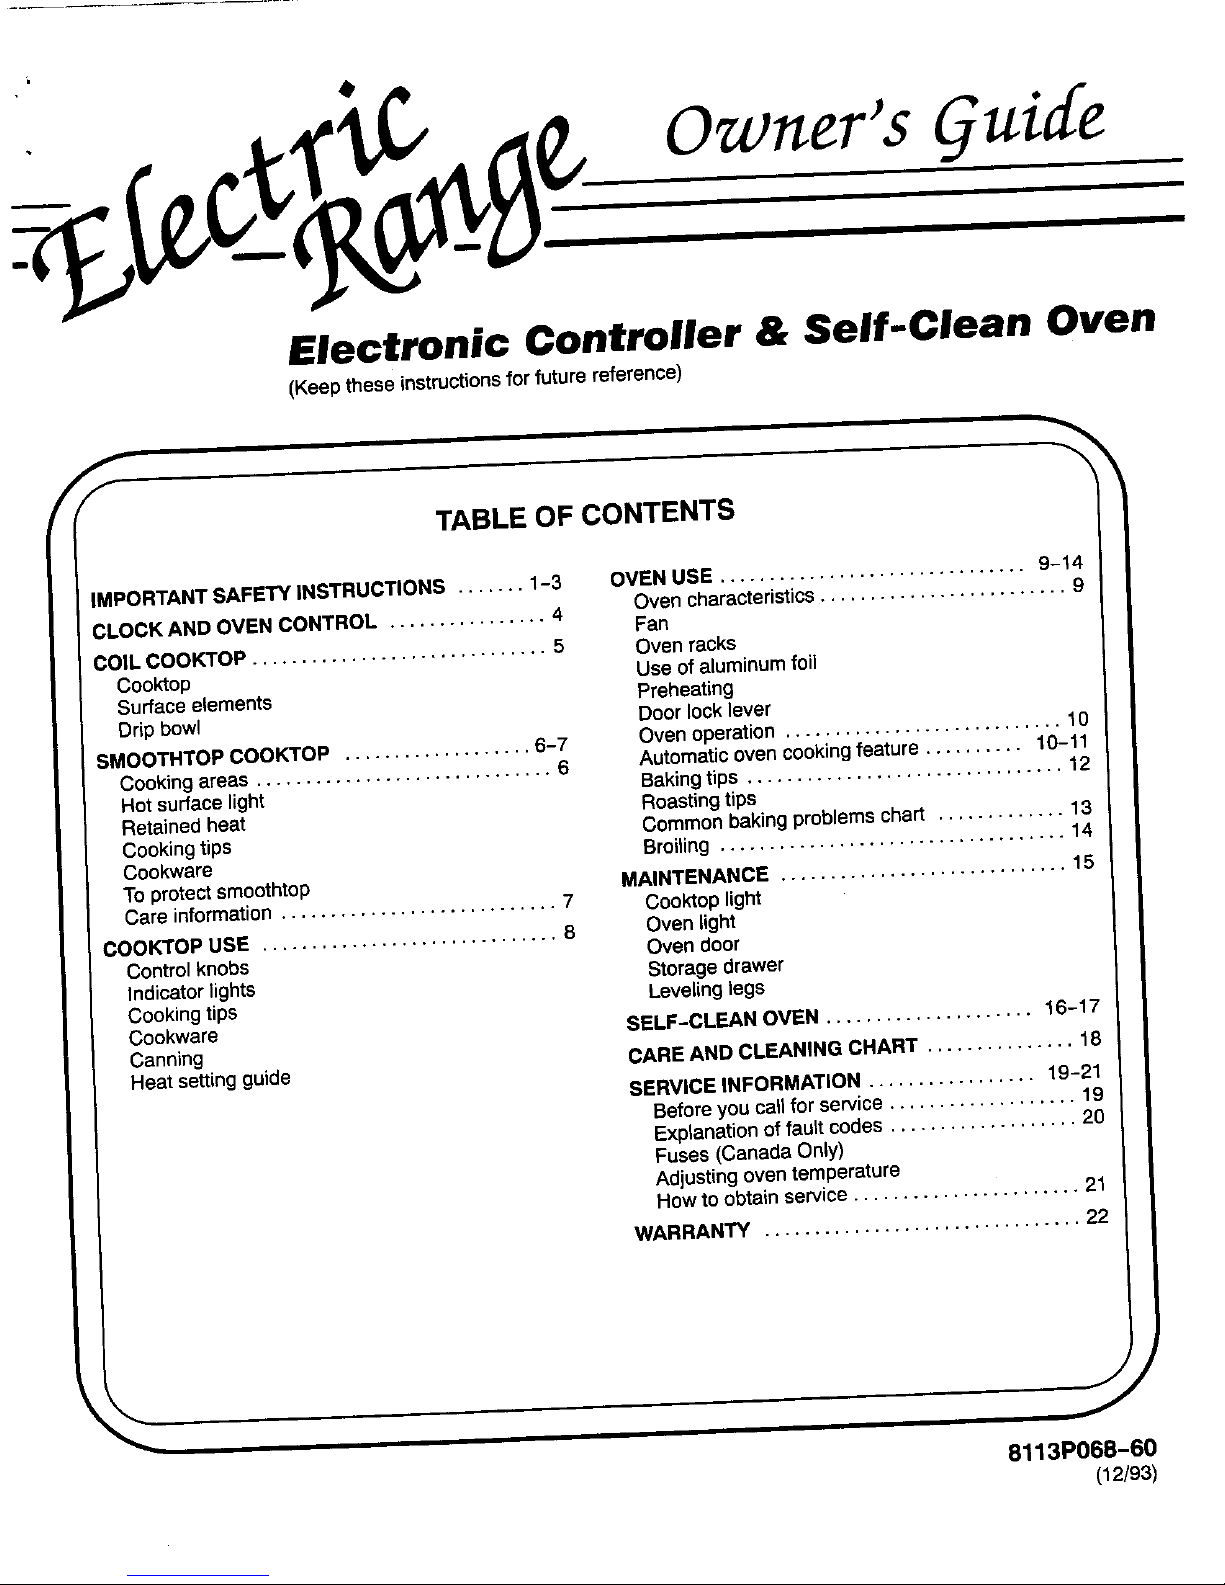
/ TABLE OF CONTENTS
IMPORTANTSAFETY INSTRUCTIONS ....... 1-3 OVEN USE ............................... 9-14
CLOCK AND OVEN CONTROL ................ 4 Oven characteristics......................... 9
Fan
COIL COOKTOP .............................. 5 Oven racks
Cooktop Use of aluminumfoil
Surfaceelements Preheating
Dripbowl Door locklever
SMOOTHTOPCOOK'FOP ................... 6-7 Ovenoperation ............................ 10
Cooking areas .............................. 6 Automaticoven cooking feature .......... 10-11
Hot surfacelight Bakingtips ................................ 12
Retainedheat Roasting tips
Cooking tips Common baking problemschart ............. 13
Cookware Broiling ................................... 14
To protect smoothtop MAINTENANCE ............................. 15
Care information ............................ 7 Cooktop light
COOK'rOP USE .............................. 8 Oven light
Control knobs Oven door
Indicator lights Storage drawer
Cookingtips Leveling legs
Cookware SELF-CLEAN OVEN ..................... 16-17
Canning
Heat settingguide CAREAND CLEANING CHART ............... 18
SERVICE INFORMATION ................. 19-21
Beforeyoucallfor service................... 19
Explanationoffaultcodes ................... 20
Fuses (CanadaOnly)
Adjustingoventemperature
Howto obtainservice ....................... 21
WARRANTY ................................ 22
8113P068-60
(12/93)
ABOUT YOUR NEW RANGE
Congratulationsonyourchoiceofthis range.Asyou use instructionscarefully,you willbe able to fully enjoy and
your new range,we knowyou willappreciate the many properly maintain your new range.
features that provide excellent performance, ease of
cleaning,convenience and dependability. Should you have any questions about usingyour new
electric range, please write to us at this address:
Newfeatures have dramatically changed today's cook-
ingappliancesand the way we cook. It is therefore very MAYTAGCUSTOMER SERVICE
importanttounderstandhow your newelectric rangeop- 240 Edwards Street, S.E.
erates BEFORE youuse it forthe first time. Cleveland, TN 37311
Inthis Owner's Guide, you will find a wealth of informa- Besureto includethe modeland serialnumbers ofyour
tion regarding all aspects of your range, By following range. For your convenience, we have provided space
the belowto record this information.
t f
IMPORTANT INFORMATION
For future reference we suggestyou retainthis DEALER FROMWHOM PURCHASED'.
manual after recording the informationin the
spacesprovided,Thisinformationcanbefoundon
the ratingdata plate located on the range front
frame aroundthe storagedrawer.Openthe stor- ADDRESS:
age drawer to see the rating plate. For drop-in
models,the rating data plate is located on the left CITY:
side of the side panel. Openthe oven door to see
the rating plate. PHONE:
MODEL NUMBER:
AUTHORIZED SERVICE CONTRACTOR:
SERIAL NUMBER:
ADDRESS:
DATEOF PURCHASE: CITY:
PHONE:
IMPORTANT:Retainthe proof of purchase docu-
ments for warranty service.
IMPORTANTSAFETYINSTRUCTIONS(continued)
Utensilhandlesshouldbeturnedin- Donotcoverovenracks,theoven Smoothtopcooktop- Donotcookon
wardandnotextendoveradjacent bottomoranyotherpartoftheoven brokencooktop.Ifcooktopshould
surfaceunits- Toreducetheriskof withaluminumfoil- Thiswillcause break,cleaningsolutionsandspillovers
bums,ignitionofflammablematerials, overheatingoftheoven.Usealuminum maypenetratethebrokencooktopand
andspillageduetounintentionalcon- foilonlyasdirectedinthismanual, createariskofelectricshock.Contact
tactwiththeutensil,thehandleofa aqualifiedtechnicianimmediately.
utensilshouldbepositionedsothatitis Cleanventilatinghoodsfrequently- Cleancooktopwithcaution.Ifawet
tumedinward,anddoesnotextend Greaseshouldnotbeallowedtoaccu- spongeorclothisusedtowipespillson
overadjacentsurfaceelements, mulateonhoodorrifler.Whenflaming ahotcookingarea,becarefultoavoid
foodsunderthehood,turnthefanoff. asteambum.Somecleanerscanpro-
Donotsoakremovableheatingele- Thefan,ifoperating,mayspreadthe ducenoxiousfumesifappliedtoahot
ments-Heatingelementsshould flame, surface.
neverbeimmersedinwater.Immersing
elementinwaterwoulddamageinsulst- Deepfatfryers- Useextremecaution Ovendoor- Donotplaceexcessive
ingmaterialinsideelement, whenmovingthegreasekettleordis- weightonanopenovendoororstand
posingofhotgrease, onanopenovendooras,insome
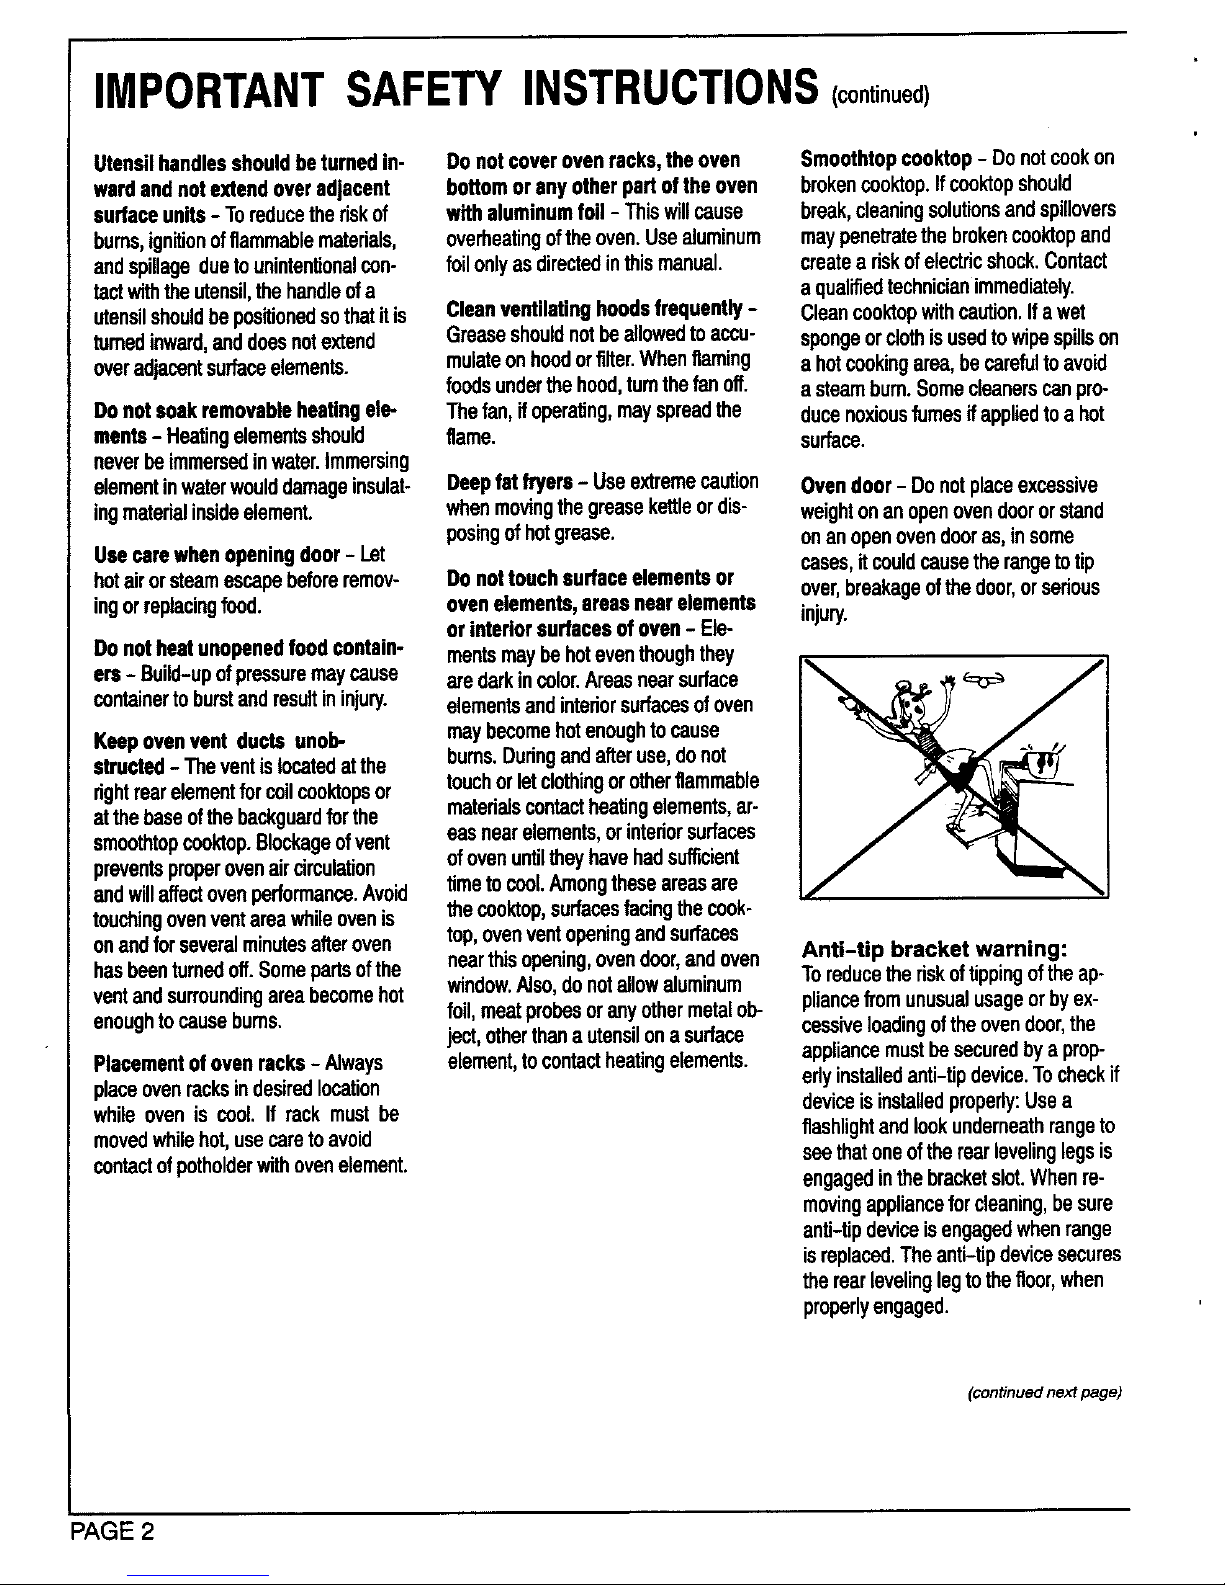
Usecarewhenopeningdoor- let cases,itcouldcausetherangetotip
hotairorsteamescapebeforeremov- Donottouchsurfaceelementsor over,breakageofthedoor,orserious
ingorreplacingfood. ovenelements,areasnearelements injury.
orintedorsudacesofoven- Ele-
Donotheatunopenedfoodcontain- mentsmaybehoteventhoughthey
era- Build-upofpressuremaycause aredarkincolor.Areasnearsurface _,:__ c_= ,_ _,:_ /
containertoburstandresultininjury, elementsandinteriorsurfacesofoven
Keepovenventductsunob- maybecomehotenoughtocause
struated- Theventislocatedatthe bums.Duringandafteruse,donot
rightrearelementforceilcooktopsor touchorletclothingorotherflammable
atthebaseofthebackguardforthe matedalscontactheatingelements,ar-
smoothtopcooktop.Blockageofvent easnearelements,orinteriorsurfaces
preventspmporovenaircirculation ofovenuntiltheyhavehadsufficient
andwillaffectovenperformance.Avoid timetocool.Amongtheseareasare
touchingovenventareawhileovenis thecooktap,surfacesfacingthecook-
onandforseveralminutesafteroven top,ovenventopeningandsurfaces
hasbeenturnedoff.Somepartsofthe nearthisopening,ovendoor,andoven Anti-tip bracket warning:
ventandsurroundingareabecomehot window.Also,donotallowaluminum Toreducetheriskoftippingoftheap-
enoughtocausebums. foil,meatprobesoranyothermetaloh- pliancefromunusualusageorbyex-
ject,otherthanautensilonasurface cessiveloadingoftheovendoor,the
Placementofovenracks- Always element,tocontactheatingelements, appliancemustbesecuredbyaprop-
placeovenracksindesiredlocation edyinstalledanti-tipdevice.Tocheckif
whileoveniscool.Ifrackmustbe deviceisinstalledproperly:Usea
flashlightandlookunderneathrangeto
movedwhilehot,usecaretoavoid seethatoneoftherearlevelinglegsis
contactofpotholdarwithovenelement, engagedinthebracketslot.Whenre-
movingapplianceforcleaning,besure
anti-tipdeviceisengagedwhenrange
isreplaced.Theanti-tipdevicesecures
therearlevelinglegtothefloor,when
properlyengaged.
(continuednext page)
PAGE 2
IMPORTANTSAFETYINSTRUCTIONS(continued)
Circuitbreakerorfuse- Locateand Donotleavechildrenalone- Chil- Thisappliancehasbeentestedfor
markbreakerorfuse.Neverreplacea drenshouldnotbeleftaloneorunat- safeperformanceusingconvention-
blownfuseorreseta breakeruntilyou tendedinanareawhereapplianceisin alcookware.Donotuseanydevices
knowwhathascausedtheproblem, use.Theyshouldneverbeallowedto oraccessoriesthatarenotspecifically
Alwaysreplaceablownfusewithone sitorstandonanypartoftheappli- recommendedinthismanual.Donot
ofthecorrectamperage,donotusea ance.CAUTION:Donotstoreitemsof useeyelidcoversforthesurfaceunits,
substitute, interesttochildrenincabinetsabove stovetopgrills,oradd-onovencon-
anapplianceoronthebackguardofa vectionsystems.Theuseofdevicesor
Controlknobs- "rumoffcontrolatthe range, accessoriesthatarenotexpresslyrec-
completionofacookingoperation, emmendedinthismanualcancreate
Serf-cleaningoven- Donotclean _ _:_r-. / serioussafetyhazards,resultinparlor-
doorgasket.Thedoorgasketisessen- _ / manceproblems,andreducethelifeof
thecomponentsoftheappliance.
tialforagoodseal.Careshouldbe
takennottorub,damage,ormovethe Preparedfoodwarning- Followfood
gasket.Donotuseovencleanersor __]..._ manufacturer'sinstructions.Ifaplastic
ovenlinerprotectivecoatingofanykind /_," _,,_ frozenfoodcontainerand/oritsfilm
inoraroundanypartoftheself-clean coverdistorts,warps,orisotherwise
oven.Cleanonlypartslistedinthis damagedduringcooking,immediately
manual.Beforeself-cleaningtheoven, discardthefoodanditscontainer.The
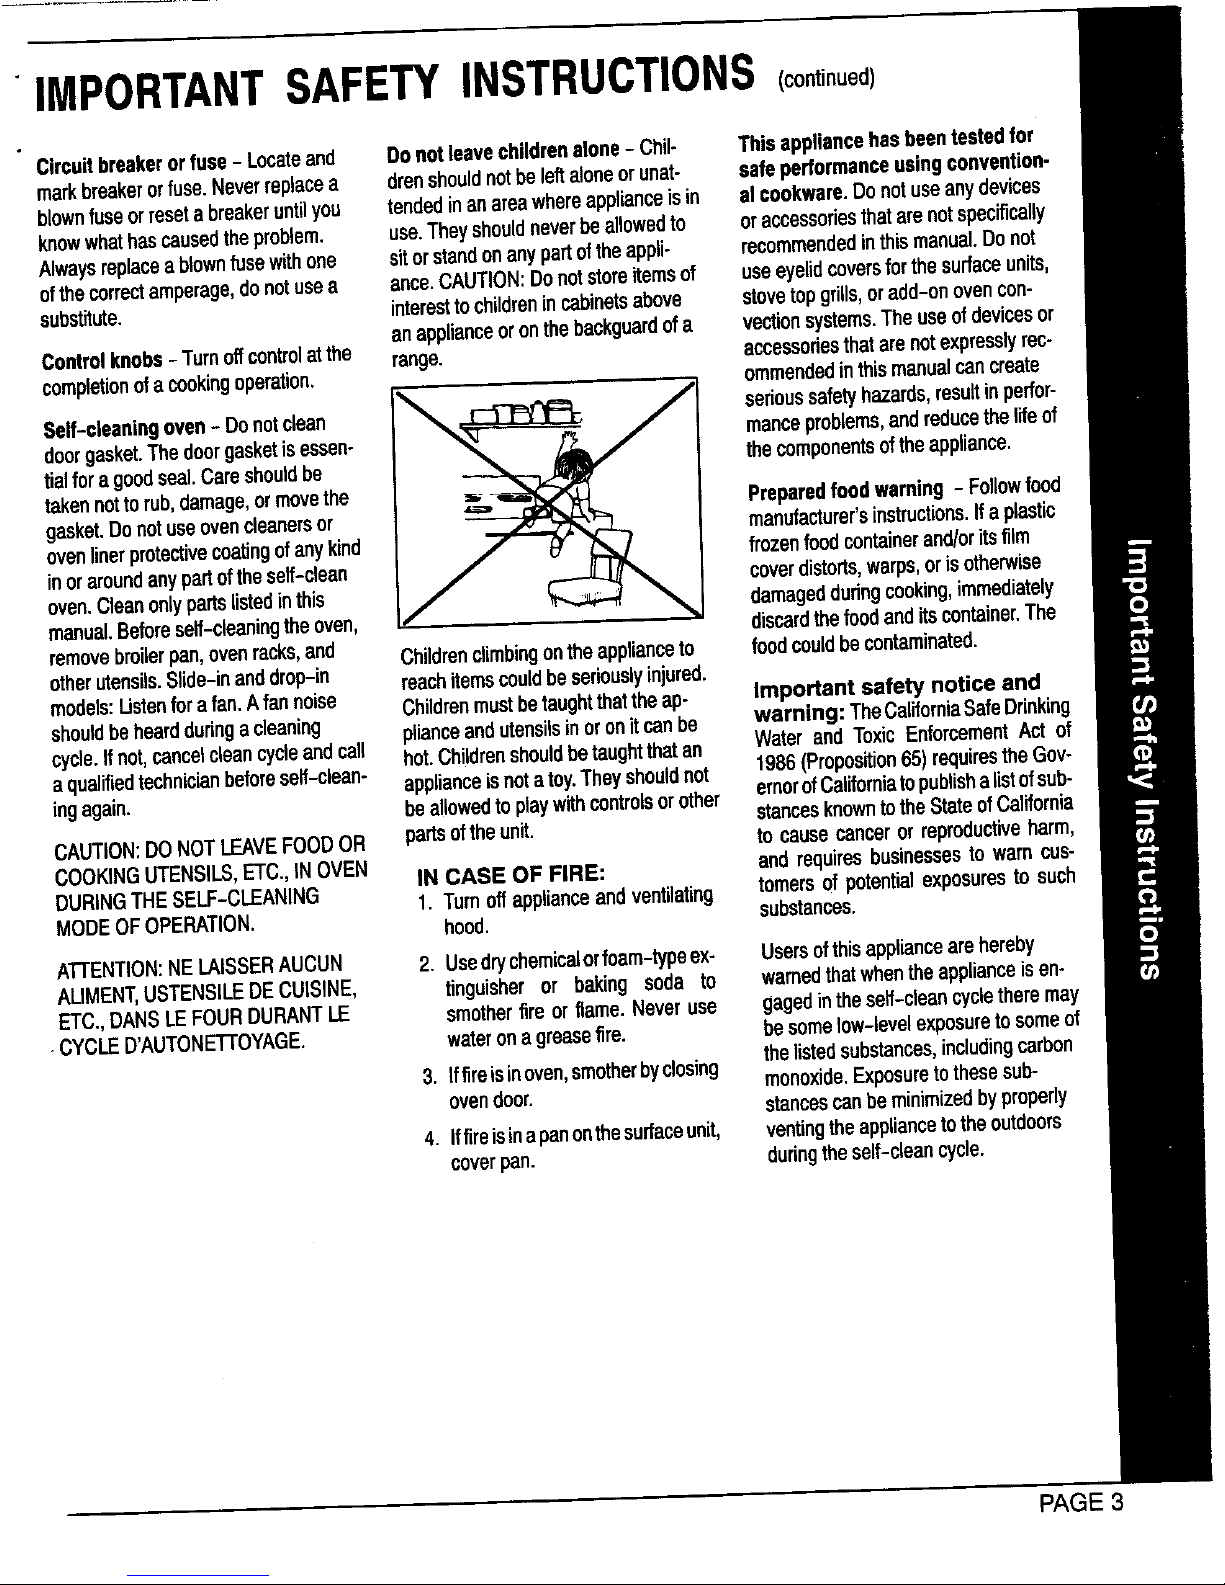
removebroilerpan,ovenracks,and Childrenclimbingontheapplianceto foodcouldbecontaminated.
otherutensils.Slide-inanddrop-in reachitemscouldbeseriouslyinjured.
models:Ustanforafan.Afannoise Childrenmustbetaughtthattheap- Important safety notice and
shouldbeheardduringacleaning plianceandutensilsinoronitcanbe warning: TheCaliforniaSafeDrinking
cycle.Ifnot,cancelcleancycleandcall hot.Childrenshouldbetaughtthatan WaterandToxicEnforcementACtof
aqualifiedtechnicianbeforeserf-clean- applianceisnotatoy.Theyshouldnot 1986(Proposition65)requirestheCov-
ingagain, beallowedtoplaywithcontrolsorother ernorofCaliforniatopublishalistofsub-
stancesknowntotheStateofCalifornia
CAUTION:DONOTLEAVEFOODOR partsoftheunit. tocausecancerorreproductiveharm,
COOKINGUTENSILS,ETC.,INOVEN IN CASE OF FIRE: andrequiresbusinessestowarncus-
DURINGTHESELF-CLEANING 1. Turnoffapplianceandventilating tomersofpotentialexposurestosuch
MODEOFOPERATION. hood. substances.
AT/ENTION:NELAISSERAUCUN 2. Usedrychemicalorfoam-typeex- Usersofthisappliancearehereby
ALIMENT,USTENSILEDECUISINE, tinguisheror bakingsoda to warnedthatwhentheapplianceisan-
ETC,DANSLEFOURDURANTLE smotherfireorflame.Neveruse gagedintheself-cleancycletheremay
•CYCLED'AUTONETrOYAGE. wateronagreasefire. besomelow-levelexposuretosomeof
thelistedsubstances,includingcarbon
3. Iffireisinoven,smotherbyclosing monoxide.Exposuretothesesub-
ovendoor.
stancescanbeminimizedbyproperly
4. Iffireisinapanonthesurfaceunit, ventingtheappliancetotheoutdoors
coverpan. duringtheself-cleancycle.
PAGE 3

CLOCKAND OVEN CONTROL
I • I-I1-1nnn I
[ ] y '-"-"-'
STOP CLEANBROILLOCK SET O
CLEAR * I__1
CLEAN
J 1[ 1
(Note:Allindicatorwords are displayedto showtheir location.Functionpads on
some modelsare round. Round pads will operate as described inthis manual.)
STOP/CLEAR CLEAN SET KNOB
Pressthispadto cancelallprogram- 1.PressCLEAN. Turnthisknobineitherdirectiontoen-
mingexceptthe ClockandTimer. 2. Closeandlockovendoor. tertime or temperature.Thisknob is
3. Oven willautomaticallycleanfor3 alsousedto selectHI or Lobroil.
TIMER hours.Select2 or4 hoursby turn-
1. PressTIMER. ingSET knob. OVEN TEMP
2. Turn SET knobto desired time. "door"will appear in display untilthe t. Press OVEN TEMP.
TIMER can be set from 1 minute doorisproperlylocked.Seepages 16 2. TurnSET knobuntildesiredoven
(0HR:01) up to 9 hoursand 50 rain- and17 foradditionalinformation, temperature appears in the dis-
utes(9 HR:50). play.
COOK TIME/STOP TIME See pages9 to 13 for additionalin-
The timingoperationwill start auto- To begin cooking immediately: formationon bakingand roasting.
matically.Colonswillflash inthe dis-
play to indicate a timing operation. 1. PressCOOK TIME. Enter desired
cookingtime by turningthe SET BROIL
Onelongcontinuousbeepsignalsthe knob.
endofthetimingoperationand"End" 2. Press OVEN TEMP. Enter oven 1. PressBROIL.
briefly appears in the display.The 2. TurnSET knobclockwisetoselect
time of day will automaticallyreap- temperaturewithSET knob. HI broilorcounterclockwisetose-
pearinthe display.TheTIMER does lect Lobroil.
notcontrolthe oven. Todelay the start of cooking:
1. PressCOOKTIME. Entercooking See page 14 for additionalinforma-
Tocancel: PressTIMER andholdfor timewithSET knob. tion.
3 seconds.Time ofday willreappear 2. PressSTOP TIME. Enterthetime
aftera slightdelay, you wish the oven to turn off with ADDITIONAL INFORMATION
SET knob. A beep soundseachtime a pad is
CLOCK 3. Press OVEN TEMP. Enter oven pressed.
1. PressCLOCK. temperaturewith SET knob.
Ifafaultcode (example:F2) isdis-
2. TurnSET knobuntildisplayshows The oven will automaticallyturn on played and beeps sound, press
correct time of day. and off at the preset times. 3 beeps STOP/CLEAR. Iffault code contin-
When power is first supplied to oven will signal the end of cooking. "End"
ues, see page20.
or if there has been a power failure, will appear inthe display andcontinu- ,
the display will flash. Follow above ous beeps will prompt you to remove
instructions to set clock. Clock time thefood from the oven.
cannot be changed when oven is set Press STOP/CLEAR to cancel end-
for a cook or self-clean operation, of-cooking beeps.
Canceloperation to set clock.
Press CLOCK to recall time of day Seepages 10and 11for additional in-
when another function is displayed, formation,
PAGE 4
COIL COOKTOP
•Cooktop IndicatorLights
Freestandingrangeswithacoil-typecooktopwillfeature Rangesareequippedwithtwoindicatorlightswhichglow
an "upswept"cooktop, whena surface elementison.The indicatorlightwillre-
main onuntiltheelement isturned off.After a cooking
(NOTE:Thecooktoponaslide-inordrop-inrangedoes operation,besuretheelementandindicatorlightareoff.
NOT lift up.The cooktopon a Canadian freestanding
rangedoesNOTliftup.)
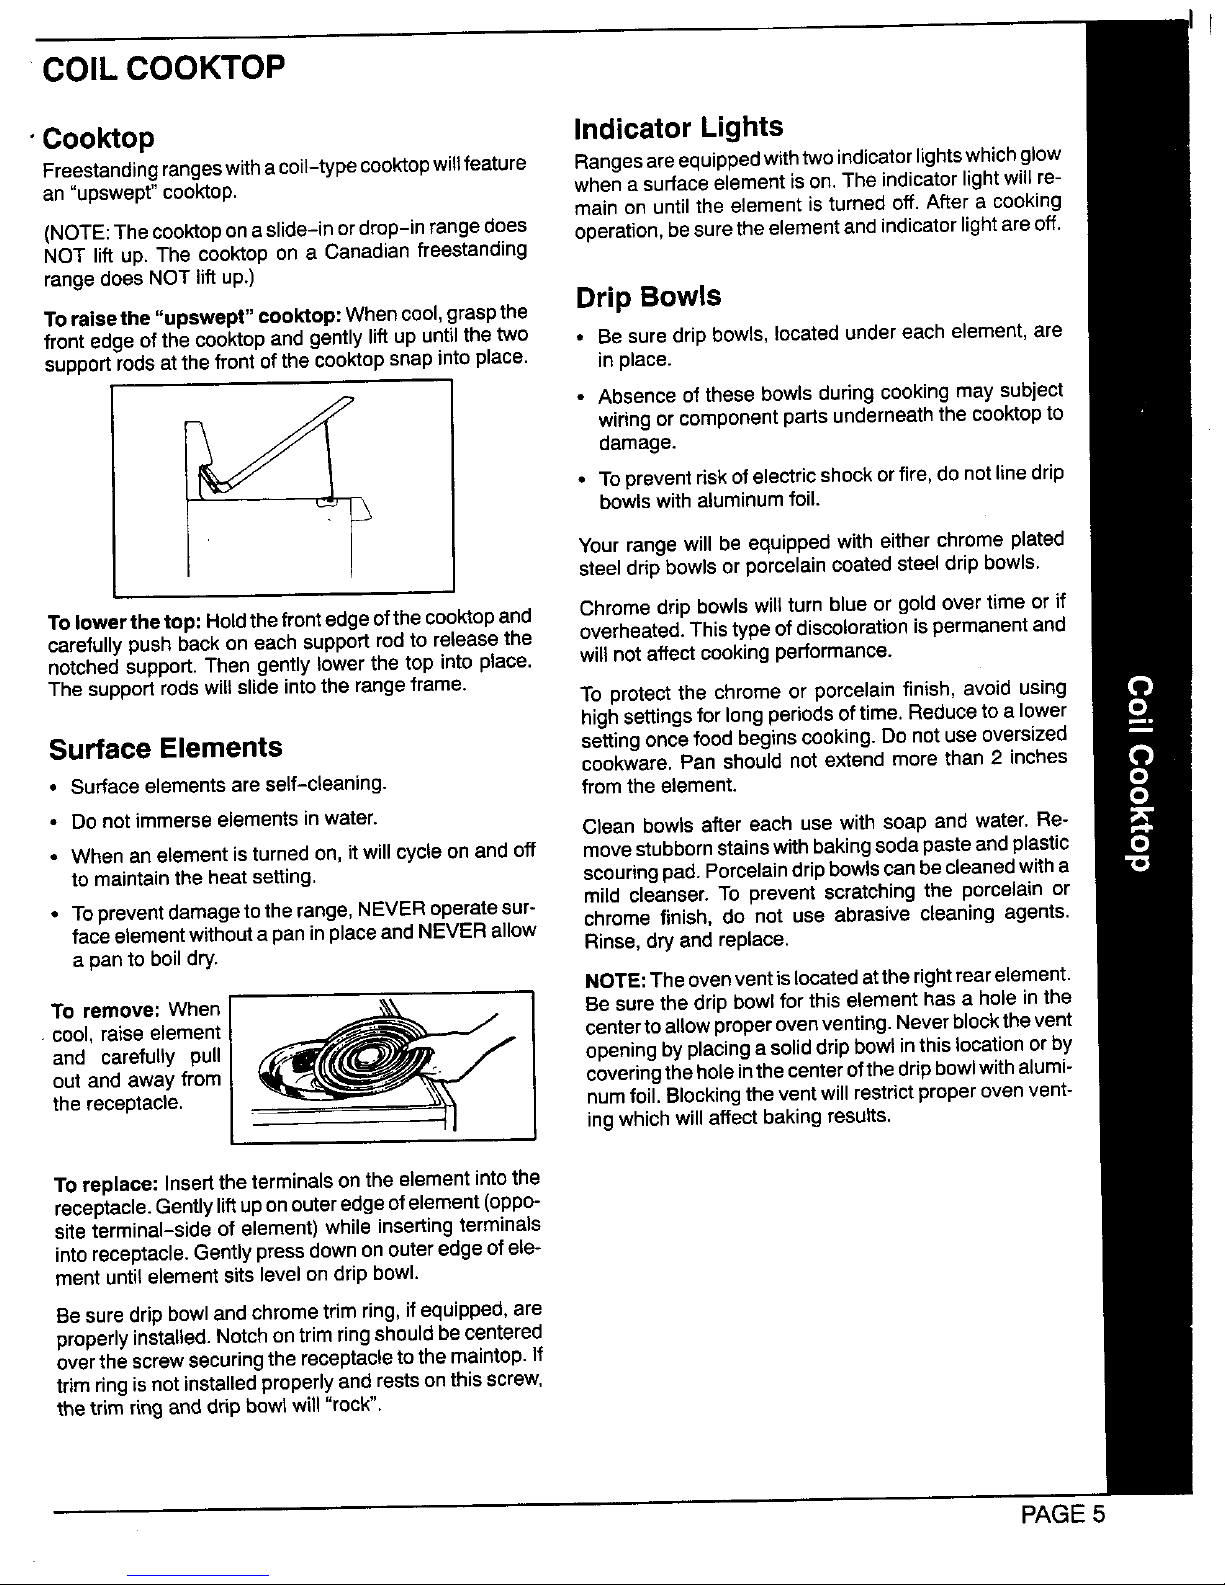
Toraisethe "upswept" cooktop:Whencool,graspthe Drip Bowls
front edge of the cooktop and gently lift up untilthetwo • Besuredripbowls,locatedundereach element,are
supportrodsat the frontofthe cooktopsnap intoplace, in place.
• Absence of these bowls duringcookingmaysubject
wiringor component parts underneaththecooktopto
damage.
• Topreventriskof electric shockor fire, do notline drip
__ bowlswith aluminum foil.
I Your range will be equipped with either chrome plated
steel drip bowlsor porcelaincoatedsteel dripbowls.
To lower the top: Holdthe frontedgeofthe cooktop and Chrome drip bowls will turn blue or gold over time or if
carefully push back on each support rod to release the overheated.This type of discolorationis permanent and
notched support. Then gently lower the top into place, will not affectcooking performance.
The support rods will slide intothe rangeframe.
To protect the chrome or porcelain finish, avoid using
highsettingsfor long periodsof time. Reduceto a lower
Surface Elements setting oncefood beginscooking.Do not use oversized
cookware.Pan should notextendmore than 2 inches
• Surfaceelementsare self-cleaning, from the element.
• Do not immerse elements in water.
Clean bowls after each use with soap and water. Re-
- When an element is turned on, it will cycle onand off movestubborn stainswith bakingsoda paste andplastic
to maintainthe heat setting, scouringpad. Porcelaindripbowls canbecleanedwith a
• Toprevent damagetothe range, NEVERoperateBur- mild cleanser. To prevent scratching the porcelain or
face elementwithout a pan inplace and NEVERallow chrome finish, do not use abrasive cleaning agents.
a panto boildry. Rinse,dry and replace.
NOTE:The ovenventislocatedatthe rightrear element.
Toremove:When[ _ I Besurethedripbowlforthiselementhasaholeinthe
. cool,raiseelement centertoallowproperovertventing,Neverblockthevent
and carefully pull openingbyplacing a soliddrip bowl inthislocationor by
out and away from coveringtheholeinthecenter ofthe dripbowlwith alumi-
thereceptacle, humfoil. Blockingthe vent willrestrict proper oven vent-
ing which will affect baking results.
Toreplace: Insertthe terminals onthe element into the
receptacle.Gentlyliftuponouteredge ofelement (oppo-
site terminal-side of element) while inserting terminals
into receptacle.Gently pressdown on outeredge ofele-
ment until element sits level on drip bowl.
Besure drip bowland chrome trim ring, ifequipped, are
properlyinstalled. Notchontrim ring should becentered
overthe screw securingthe receptacleto the maintop. If
trim ring isnotinstalled properly and restsonthis screw,
thetrim ring and drip bowlwill "rock".
PAGE 5
SMOOTHTOP COOKTOP
Cooking Areas Cooking Tips
On Canadianmodelsonly:The surface units willnotop- When cooking delicate foods which easily scorch or
erate during a clean cycle. This is normal, overcook, start with a lower heat setting then gradually
increase the setting until you find the optimum setting.
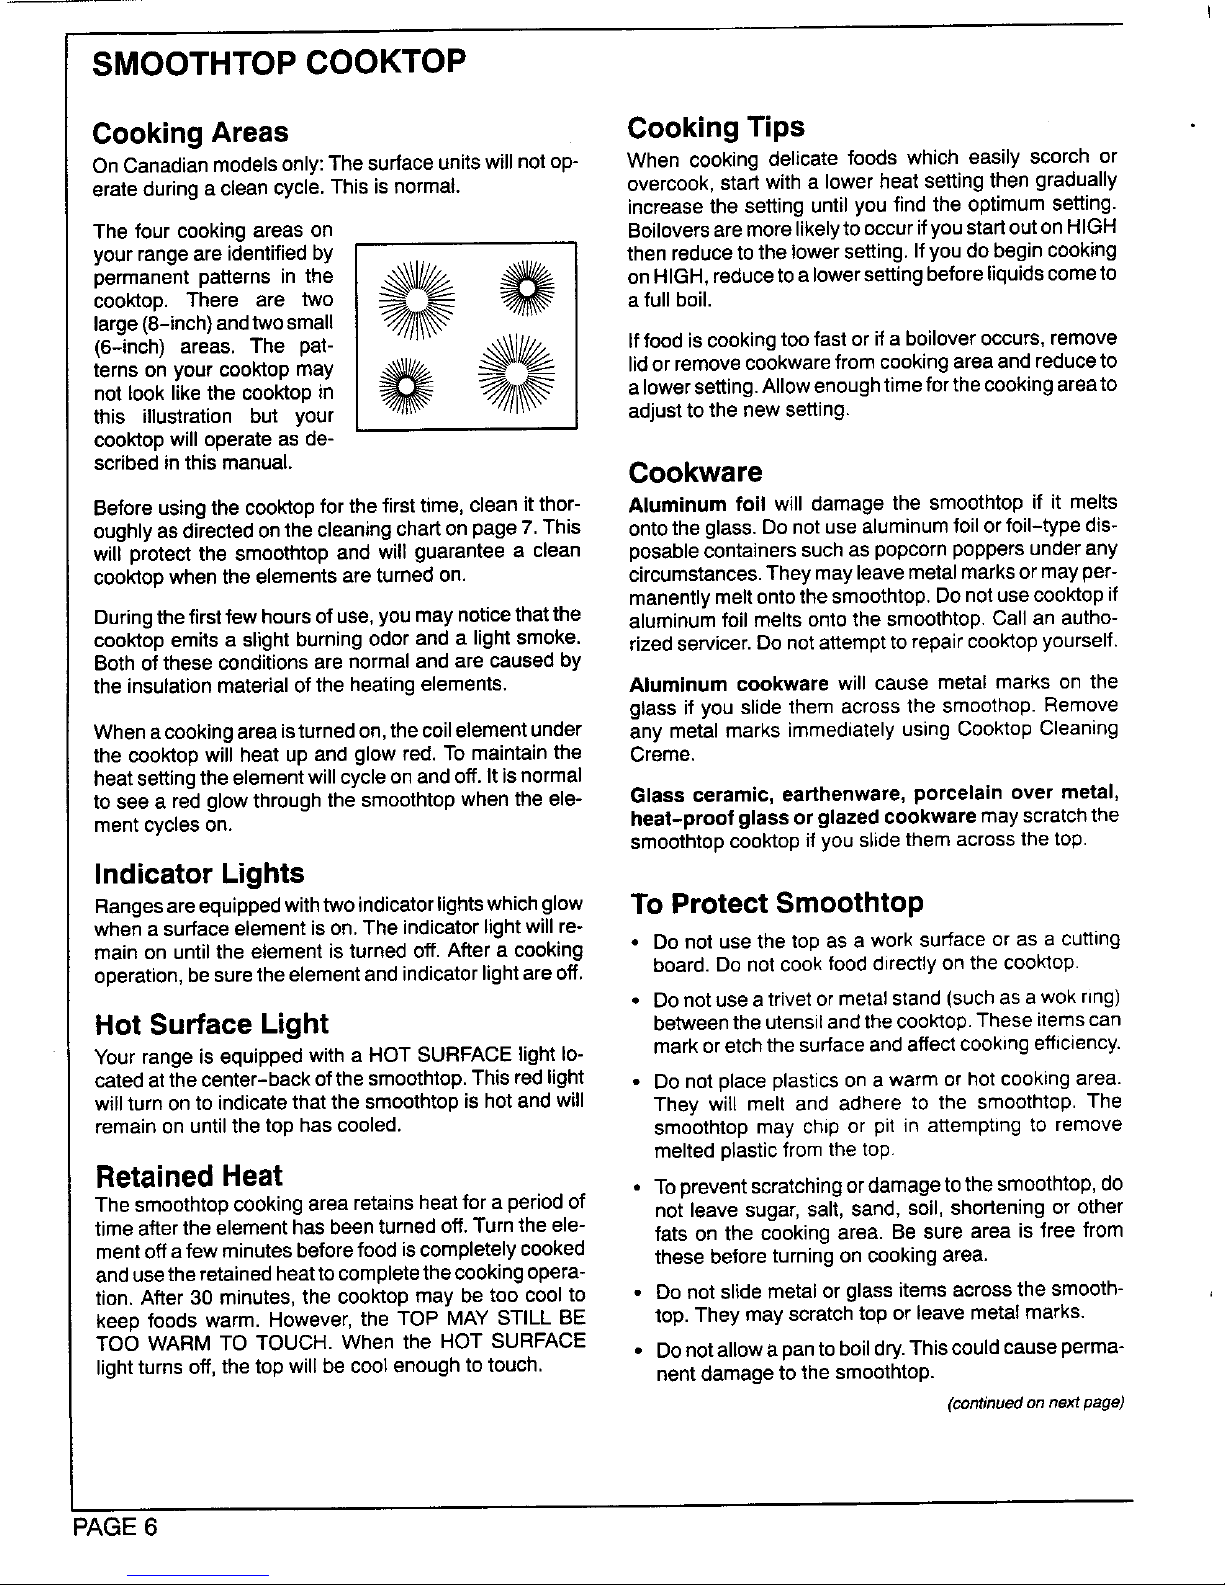
The four cooking areas on Boilovers aremore likelyto occur ifyou startout on HIGH
your rangeare identified by then reducetothe lower setting. Ifyou do begin cooking
cooktop.permanentpatterns intheThereare two "_/_-- _ afull°nHIGH,reduceto alowersetting beforeliquidscometOboil.
large(8-inch)and two small "_///li_
(6-inch) areas. The pat- ._1/_ Iffood iscooking toofast or if a boilover occurs, remove
terns on your cooktopmay _ _1_ lidorremovecookwarefromcookingarea andreduceto
not look like the cooktop in alowersetting.Allow enoughtime forthe cookingareato
this illustration but your adjust to the new setting.
cooktop will operate as de-
scribed in this manual.
Cookware
Before using the cooktop forthefirsttime,clean itthor- Aluminum foil will damage the smoothtopif it melts
oughlyas directedonthecleaningchartonpage7. This ontotheglass.Donotuse aluminumfoilorfoil-typedis-
will protectthe smoothtopand will guaranteea clean posablecontainerssuchaspopcornpoppersunderany
cooklopwhentheelementsare turned on. circumstances.They may leavemetalmarksormayper-
manently melt ontothe smoothtop. Do not use cooktopif
Duringthe first few hours of use,you may noticethat the aluminum foil melts onto the smoothtop. Call an autho-
cooktop emits a slightburning odor and a light smoke, rized servicer. Do not attemptto repair cooktopyourself.
Both of these conditions are normal and are caused by
the insulation materialof the heating elements. Aluminum ¢ookware will cause metal marks on the
glass if you slide them across the smoothop. Remove
Whena cookingareaisturnedon,the coilelementunder any metal marks immediately using Ceektop Cleaning
the cooktop will heat up and glow red. To maintain the Creme.
heat settingthe elementwill cycle onand off. It isnormal
to see a red glow through the smoothtop when the ele- Glass ceramic, earthenware, porcelain over metal,
mentcycles on. heat-proof glass or glazed cookware mayscratchthe
smoothtopcooktopif you slide themacrossthetop.
Indicator Lights
Rangesareequippedwithtwoindicatorlightswhichglow TO Protect Smoothtop
whena surfaceelementison.The indicatorlightwillre-
main on untilthe element is turned off.After a cooking • Do not use the top as a work surface or as a cutting
operation, be surethe element and indicator lightare off. board. Do not cook food directly onthe cocktop.
• Donotuse atrivet ormetal stand (suchas a wok ring)
Hot Surface Light betweenthe utensil and thecooktop.These itemscan
Yourrange isequippedwitha HOT SURFACE lightIo- markoretchthe surfaceandaffectcookingefficiency.
caredatthecenter-backofthesmoothtop.Thisredlight • Do notplaceplasticson a warm or hotcookingarea.
willturnontoindicatethatthe smoothtopishotandwill They will melt and adhere to the smoothtop. The
remainon untilthetophas cooled, smoothtopmay chip or pit in attempting to remove
meltedplasticfromthe top.
Retained Heat
• Topreventscratchingordamagetothesmoothtop,do
The smoothtopcookingarea retainsheatfora periodof not leave sugar,salt, sand, soil,shortening orother
timeaftertheelement has been turned off. Turnthe ele- fats on the cooking area. Be sure area is free from
mentoff afew minutes beforefood is completely cooked these before turning on cooking area.
and usetheretained heatto completethe cookingopera-
tion, After 30 minutes, the cooktop may be too cool to • Do notslide metal or glass items across the smooth-
keep foods warm. However, the TOP MAY STILL BE top. They may scratch top or leave metal marks.
TOO WARM TO TOUCH. When the HOT SURFACE • Donotallowapantoboildry.Thiscouldcauseperma-
light turns off, the top will be cool enough to touch, nent damage to the smoothtop.
(continued on next page)
PAGE6
 Loading...