

Maxx Cold MXCR96B Operator’s Manual
BOTTLE COOLER
Service, Installation and Care Manual
Please read this manual completely before attempting to install or operate this equipment.
Notify carrier of damage! Inspect all components immediately.
IMPORTANT INFORMATION
READ BEFORE USE
PLEASE SA VE TH ESE INSTRUCT IONS!
Service and Installation Manual
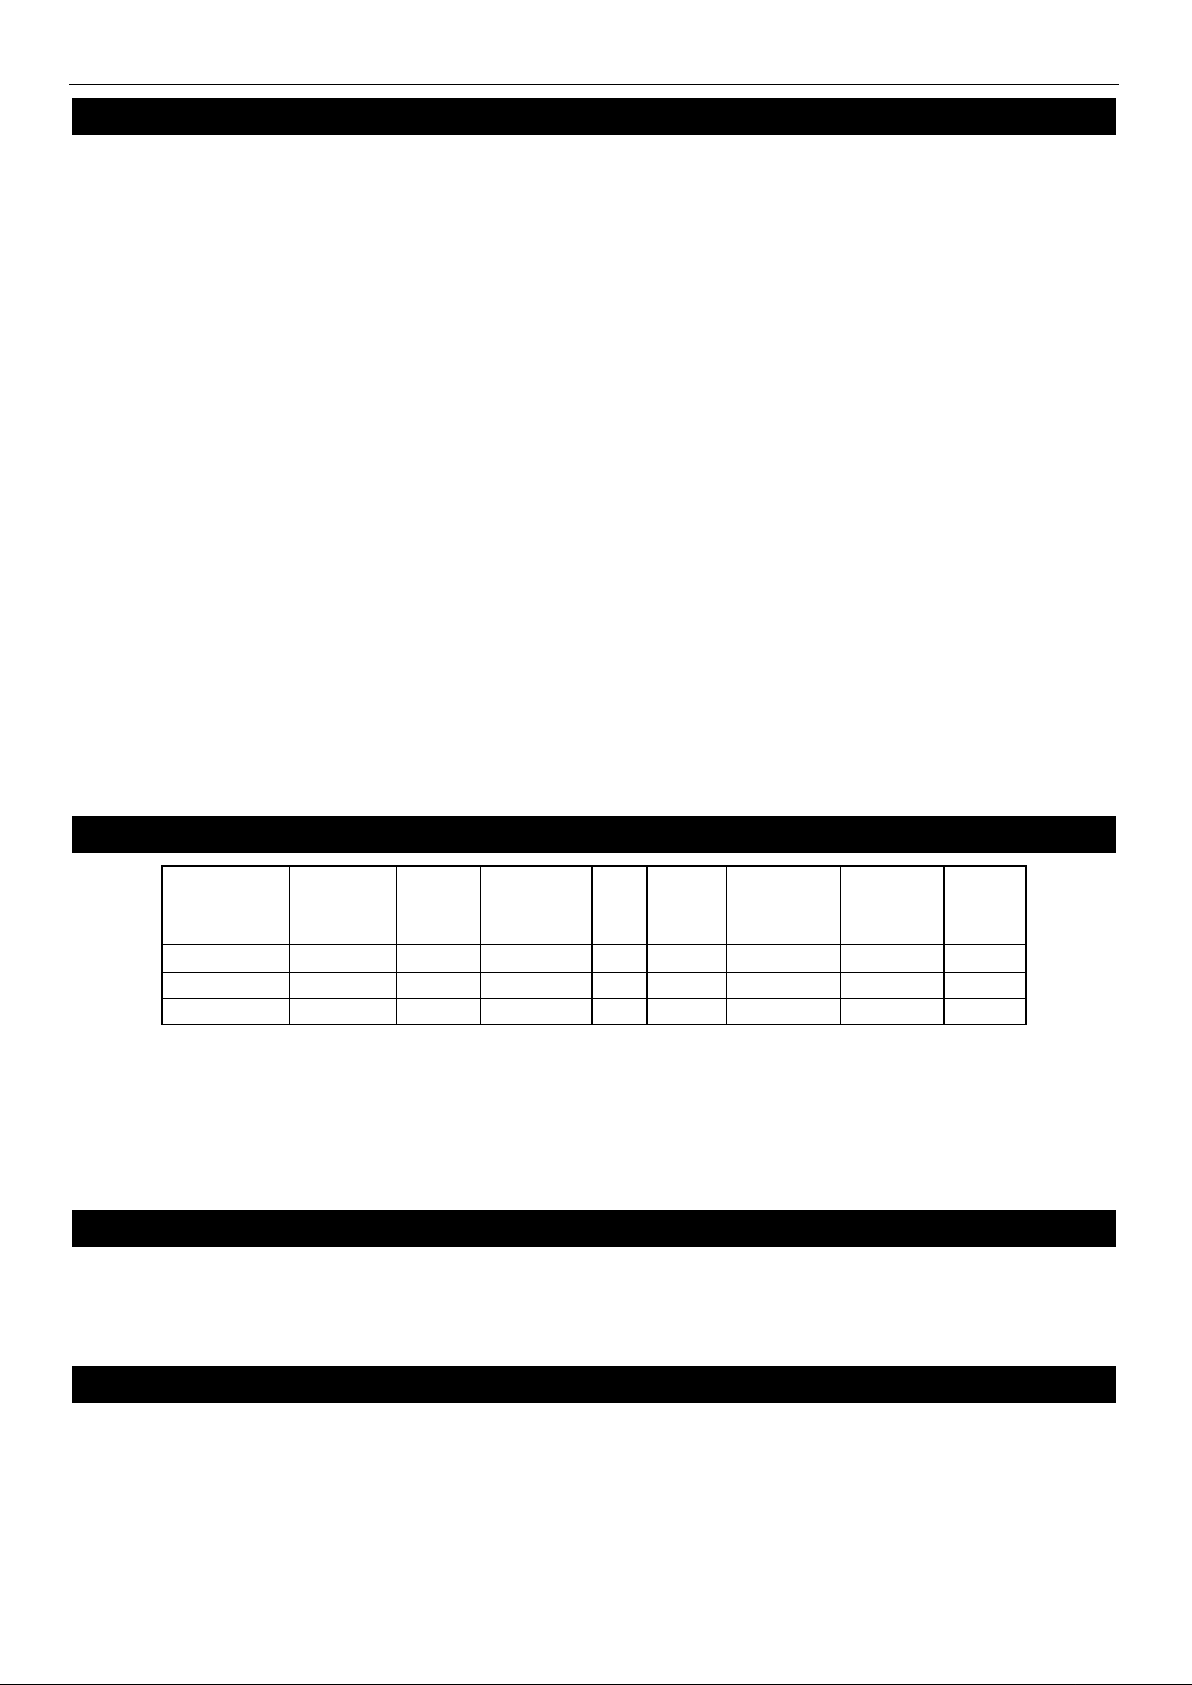
MODEL#
V/Hz/Ph
AMPS
STORAGE
Cu-ft
HP
BTU
OZ
SHIP
LBS
PLUG
MXCR50B
115/60/1
7
15
1/2
3200
10.6
310
5-15P
MXCR65B
115/60/1
7
20
1/2
5400
11.3
353
5-15P
MXCR96B
115/60/1
7
26
1/2
7600
12.0
439
5-15P
CONTENTS
SPECIFICATIONS…………………………………………………….……………………….………2
CONGRATULATIONS ON YOUR NEW COOLER…………………………………….………2
INSTALLATION………………………………………………………………………….…………..….2
ELECTRICAL CONNECTION………………………………………………………………………….....3
OPERATION INSTRUCTIONS………………………………………………………………..……………3
STORAGE OF FOOD STUFFS..………………………………………………………………………3
DEFROSTING THE CABINET…………………………………………………………………………3
MAINTENANCE……………………………………………………………………….……………….3
SAFETY PRECAUTIONS................................................................................................................6
ELECTRICAL WARNING..............................................................................................................6
TROUBLE SHOOTING……………………………………………………………………………………….7
DISPOSAL……………………………………………………………………………………………………8
SPECIAL PIONTS TO NOTE………………………………………………………………………………8
WIRING DIAGRAM…………………………………………………………………………………9
SPECIFICATION
CAPACITY
NOTICE:
LOSS OR SPOILAGE OF PRODUCTS IN YOUR REFRIGERATOR/FREEZER IS NOT COVERED BY
WARRANTY. IN ADDITION TO FOLLOWING RECOMMENDED INSTALLATION PROCEDURES.
PLEASE RUN THE REFRIGERATOR/FREEZER 24 HOURS PRIOR TO USAGE. THANK YOU.
CHARGE
WEIGHT
NEMA
CONGRATULATIONS ON YOUR NEW COOLER
Note these instructions apply to all coolers. Installations of equipment may not exactly correspond to your
model.
INSTALLATION
Make sure that the cooler is not damaged on arrival. Your supplier must be notified of any transport damage,
within 24 hours of delivery.
The cooler should be placed in a warm, dry room, with suitable ventilation.
Place the cooler in such a way, as to allow the free circulation of air around it. That is, with at least 100mm
2

Service and Installation Manual
space all around it.
Never place the cooler in strong sunlight. The cooler be placed on a level surface. Make sure that it does not
rock.
If the cooler has been stored or transported cold, it must not be started before the compressor is judged to
have reached a temperature at least 41°F. It is recommended to clean up the cooler before starting it.
ELECTRICAL CONNECTION
The cooler must be connected to a socket with the correct voltage/frequency, as show on the nameplate.
The standard for u.s is 115V/50HZ. Voltage variations of ±10% are acceptable. Greater variations can
damage the cooler, and in such cases the factory warranty is not valid. In the case of extreme voltage
variation, above or below the standard, your local supplier will be able to advise you, what to do.
The cooler requires extra protection according to the Danish Heavy Current Regulations.
This also applies, if a new cooler is replaced, which did not have such protection. The purpose of extra
protection, is to protect the user from dangerous electric shocks, in the case of defect.
OPERATION INSTRUCTIONS
The temperature in the cooler is automatically regulated by a pre adjusted thermostat.
The position of the cooler, the ambient temperature, the number of times the lid is opened and for how long
the lid is opened, all these factors affect the temperature in the cooler, which should therefore not be placed
in sunlight or closed to a heat-radiating surface.
If your cooler is fitted with a lock, the key should be kept out of the reach of children. If your new cooler is to replace an older one, which is not in use any more, you should remove the lock mechanism, on the old one, before disposing it.
STORAGE OFF FOOD STUFF S
The cooler is only designed as a conserver, and is the not suited to cold freeze foodstuffs. In other words,
only refrozen food must be placed in the cooler. Next to that the cooler must not be filled beyond the height
limit of the contents line, or in cases where there is no such line, to within 100mm below the lid. This is to
ensure the product temperature less than 36°F..
DEFROSTING THE CABINET
In the course of time, a frost layer will be naturally formed within the cooler.
When this layer is 5-8mm thick, the cabinet should be defrosted the following way:
—remove the plug from the socket;
—open the lid and leave it open;
—loosen the frost layer using a plastic or wooden scraper.
The defrosting process can be speeded up by using bowls of hot water.
Never use sharp or pointed instruments
After final defrosting, the cabinet should be cleaned as described in section: Maintenance. the cabinet should be thoroughly dried after cleaning.
3
Service and Installation Manual
OPERATION
Do not throw items into the storage area. Failure to heed these recommendations could result in damage to
the interior of the cabinet.
Refrigerated cycle
Refrigerators: During the refrigeration cycle, the evaporator fans wilt run continuously even when one or
more doors are open. The door switch will activate the lights when opened.
1. Every 6 hours, the unit will turn off and to allow the evaporator coil to defrost. The controller now
displays the defrost symbol. When the coil temperature reaches 41°F or after 20 minutes of defrost, the
unit will turn on again.
2. Anti-condensation heaters on door frames work in conjunction with the compressor.
3. The factory setting for the temperature range is 34°F to 38° F.
On/Off Switch:
An on/off switch is located on the front of the panel. When t he unit is on, the switch w ill glow gre en.
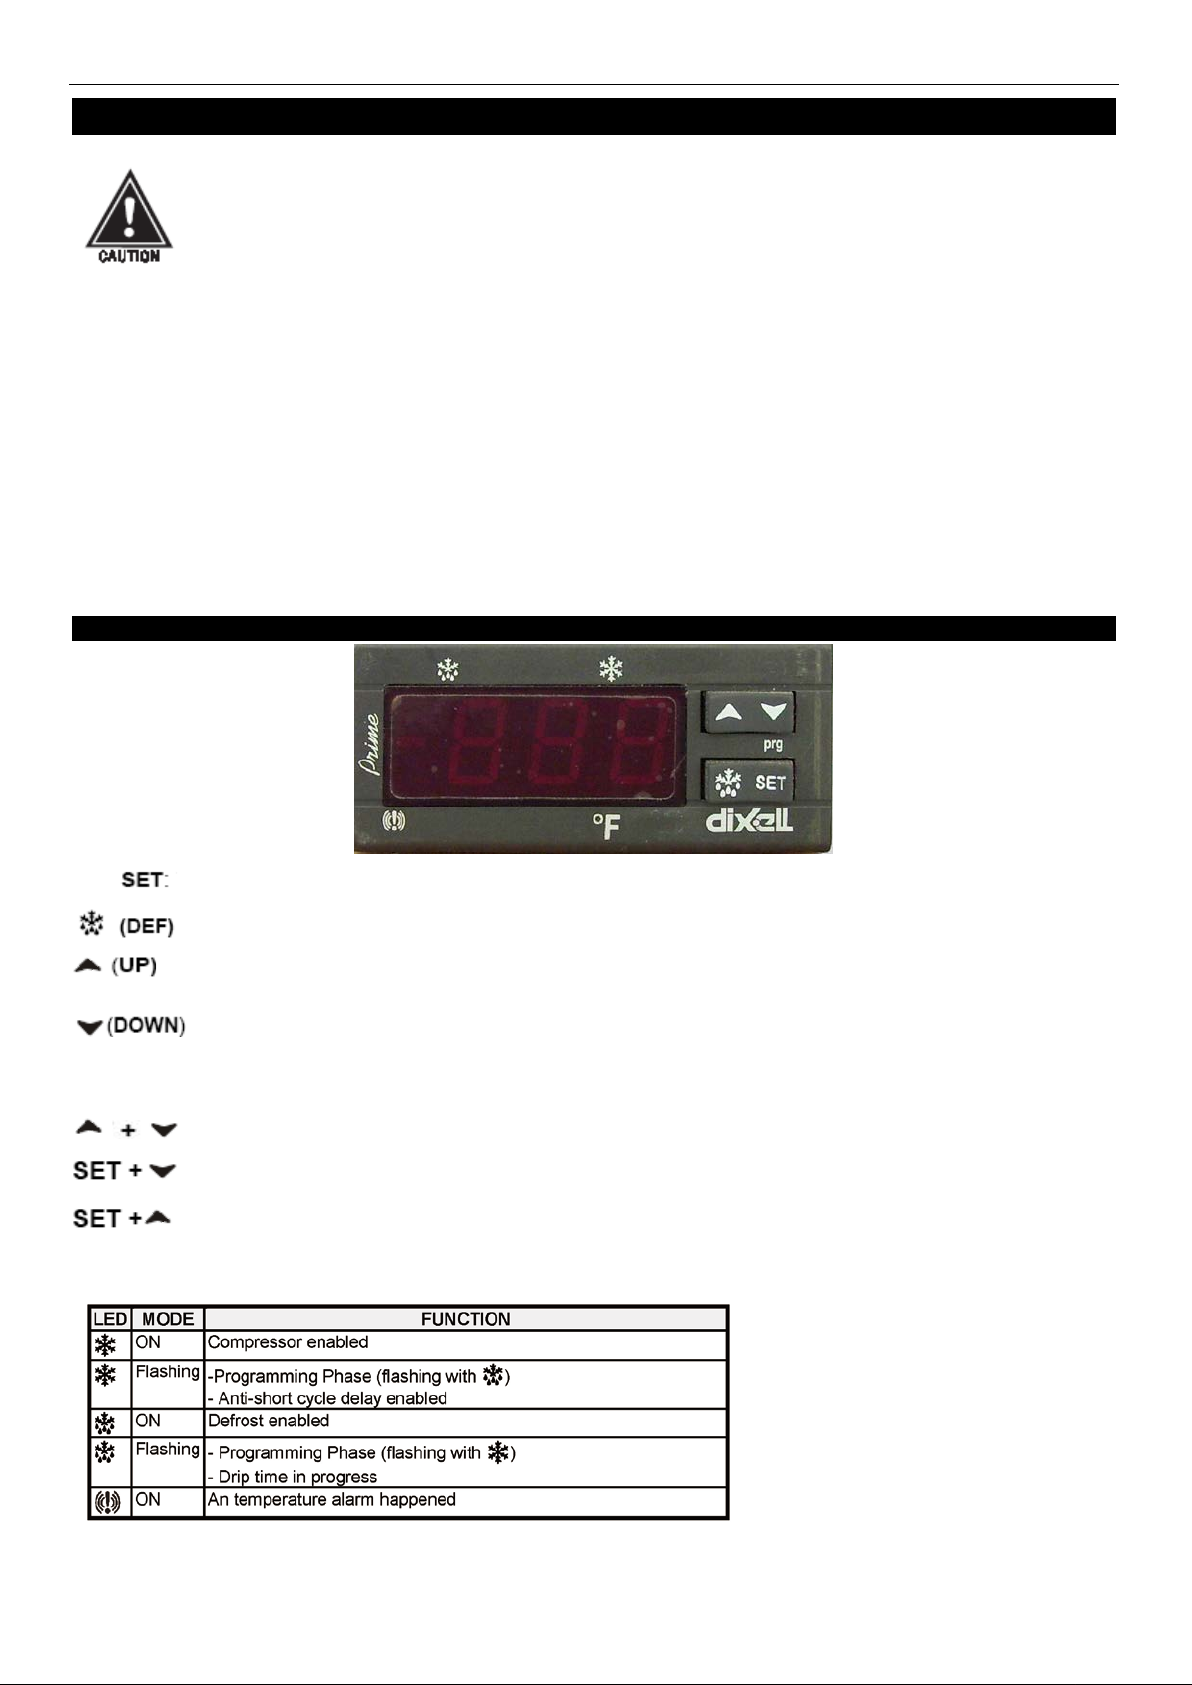
SOLID-STATE THERMOSTAT DESCRIPTIONS
1. FRONT PANEL COMMANDS
To display tar get set point ; in program ming mo de it selects a parameter or confirms an operat ion.
To start a manual defrost
To view the latest alarm occurrence; in programming mode it browses the parameter
codes or increases the disp lay value
To view the latest alarm occurrence; in programming mode it browses the parameter
codes or decreases the display value
KEY COMBINATION
To lock & unlock the keyboar d
To enter in programming mode
To return to the room temperatur e display
1.1 Function of LEDS
4
 Loading...