

Page 1

Instruction Book
16" Pedestal Fan
MAT-PFS16
GB
Page 2
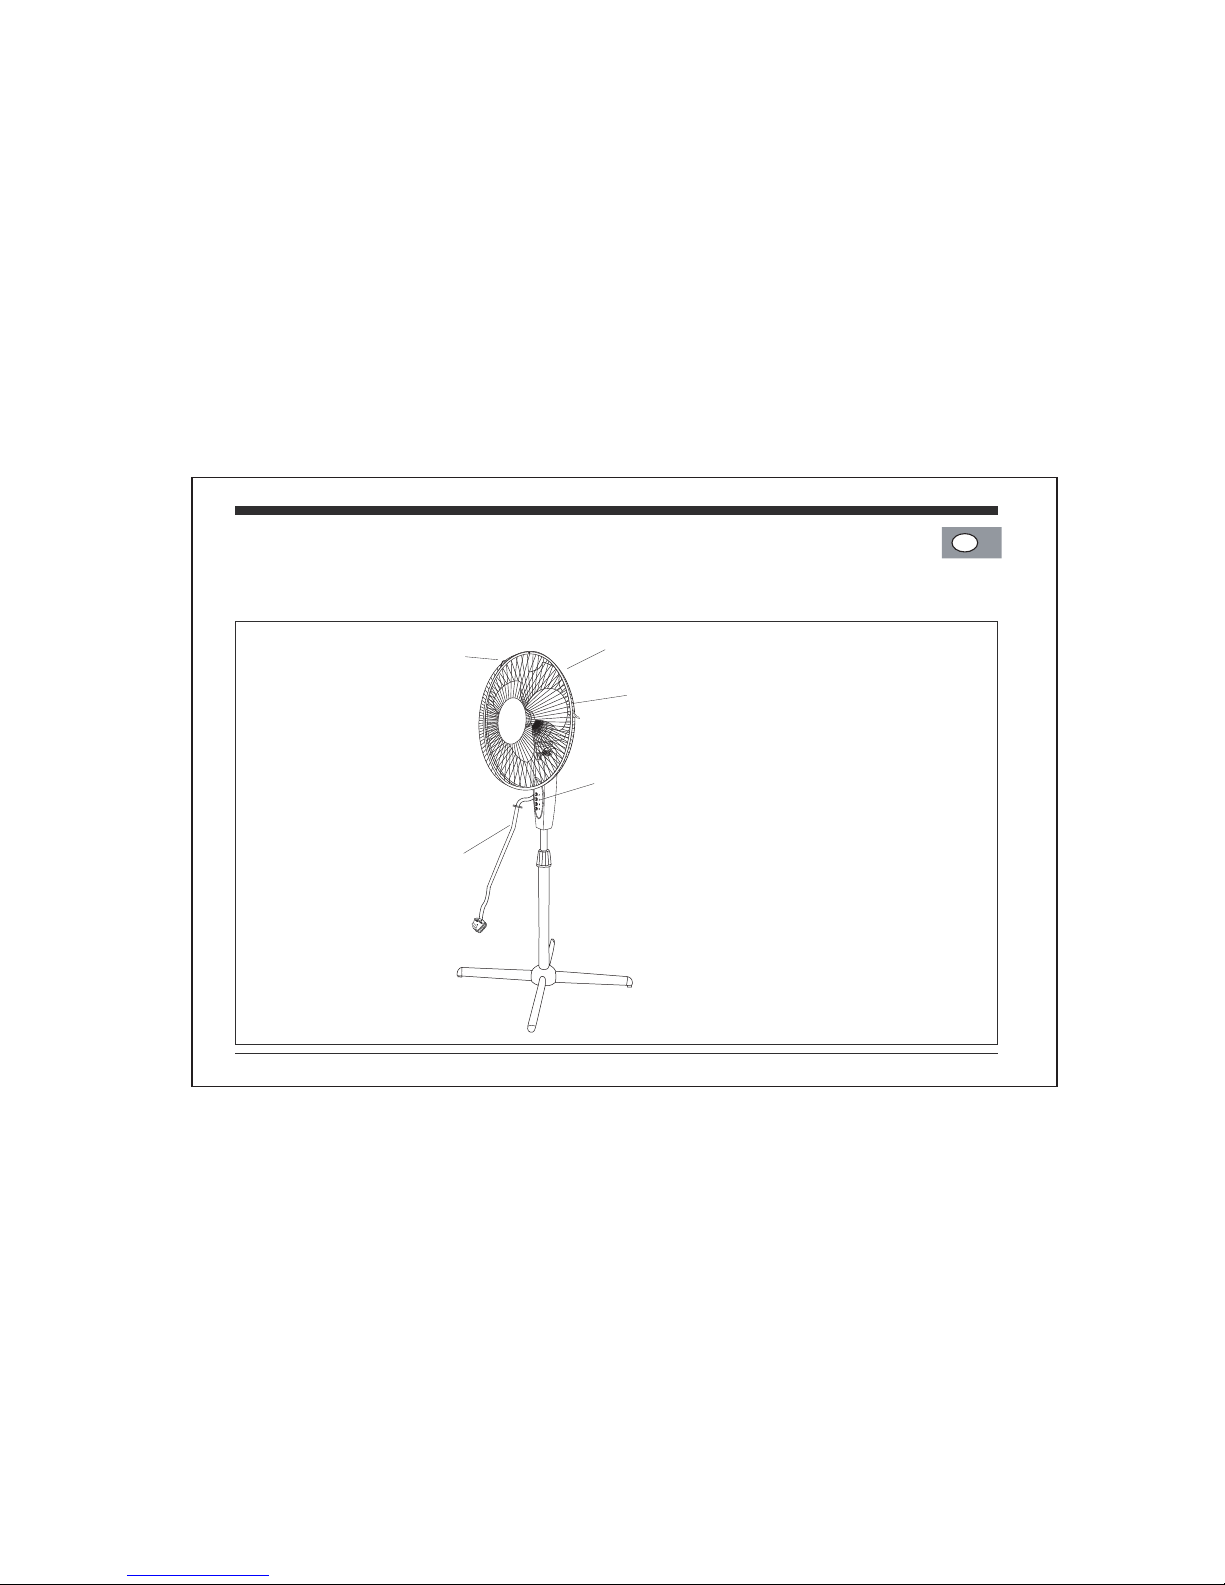
Getting to know your fan
Please read these instructions and have a good look
at
the illustrations before using your fan.
We con tinual ly str ive to improv e our produc ts, sp ecific ations may c hange with out pr ior no tice
Osc ill ati ng pi n
On
/ o ff
and
sp ee d b ut to ns
Po we r
c or d
Fr on t
guard
Re ar
g uar d
GB
Page 3
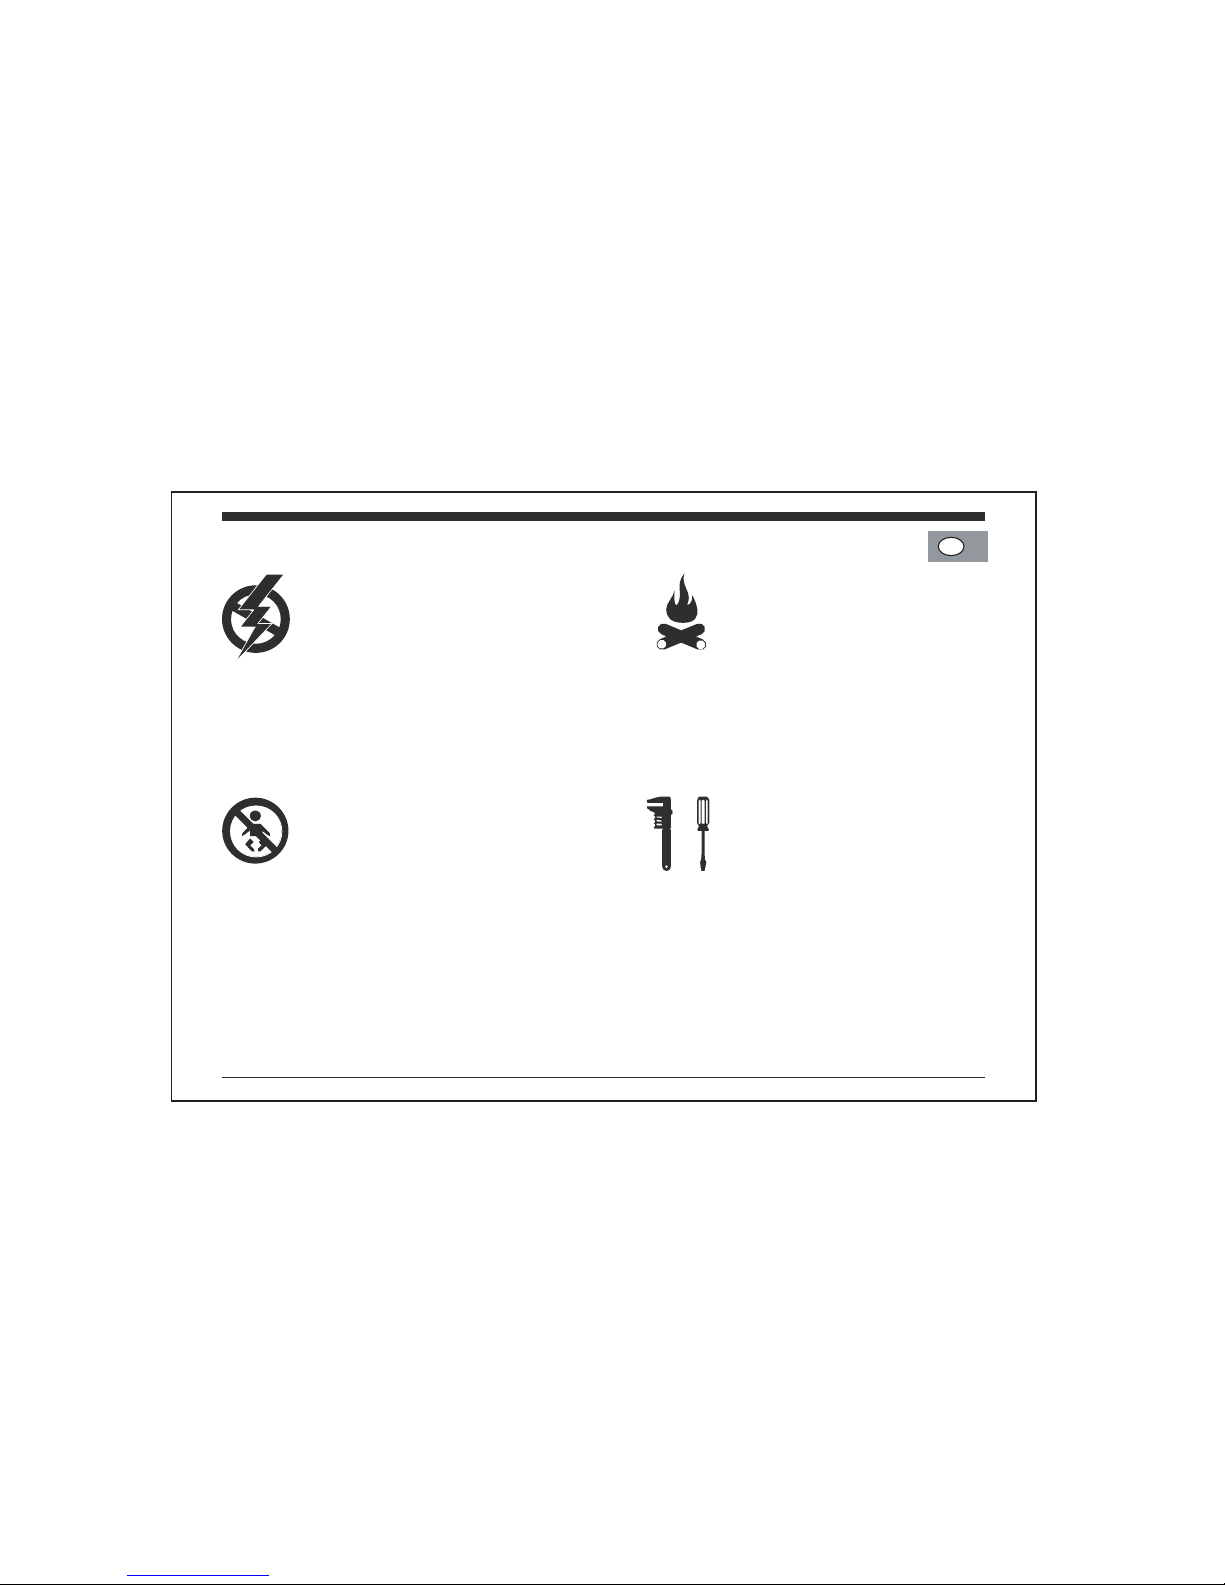
Safety first !
Your fan should be used in such a
way
that it is protected from moisture. e.g.
condensation,
splashed water etc
Stand
your fan on a stable, level
surface
during use.
Do
not place or store your fan where
it
can fall or be pulled into water or any
other
liquid.
Do
not reach for the appliance if it
has
fallen in any water or any
other
liq uid. Unplug immediately.
Your fan should be unplugged
from
the wall socket when left unused
for
a long time.
Your
fan should be placed away
from
heat sources such as radiators,
gas/electric
fires and direct sunlight.
Keep
the power cord away from any
heated
surfaces.
Use
the appliance only for its intended
use,
as described in this manual.
Do
not use outdoors.
It is DANGEROUS to insert fingers or
objects
into the grill. Do not allow young
children
to play with your fan.
Close
supervision is necessary when your
fan
is used near children.
Never use your fan if it is
damaged
in any way.
Do
not remove any fixed covers. Never
use
this appliance if it is not working
properly,
or if it has been dropped or
damaged
.
If the supply cord is damaged it MUST
be
repaired by a qualified person.
GB
Page 4

Align the BASE with th e neck o f
the
fan and use the BASE SET
SCR EW
to join the two together.
1
How to assemble your fan
Make sure
your fan
is
unplugge
d
before
you
attempt
to
assembl
e
Push
the BLADE onto the MOTOR
SHAFT.
Ensure the slot in the BLADE
matches
up with the notch on the
MOTOR
SHAFT.
3
2
Align
the
rear guard with the three
pins on
the MOTOR
(ensuring the
handle is
positioned
at the top of the
fan).
Insert
the plastic nut and tighten.
Adjusting Knob
Motor
Oscillating pin
Rear Guard
Screw
Nut
ON/OFF
Base
Power Cord
Front Guard
Blade
Screw cover
Plastic nut
Height Adjusting
Knob
and Speed Buttons
GB
Page 5

4
Tighten the screw cover to secure
the blades
.
Insert a screw into the hole at the
top of the fan guards and tighte
n
6
5
Fit the front guard by securing it with
the 4 locking grips. Ensure that
with a nut.
the
hole is aligned at the top of the fan.
Note: The screw tighte
ns in a
n
anti-clockwise directio
n
GB
Page 6

321
How to use your fan
Plug into a mains socket and
switch
on at the wall.
To
make the fan move from side to
side press the
OSCILLATING PI N
down.To stop, pull the pin up.
Loosen the ADJUSTING KNOB,
4
p
lug
i
n
t
o th
e
main
s s
ocke
t
.
E
n
s
ure
the
fan i
s
swi
t
c
hed
o
ff at th
e co
n
t
rol switch befo
re inse
rting th
e
adjust the tilt angle, retighten an
d
switch the unit back on
.
Press
the
buttons 1, 2 or
3 to control
the
fan
speed. Use the ‘0’ button
to stop the fan.
5
Loosen HEIGHT ADJUSTING
KNOB and move the tube up or
down then tighten the
knob t
o
adjust the height level
.
GB
Page 7

Cleaning
The fan blade and body of the unit should be cleaned
using
a cloth dampened with warm water and
detergent.
Make sure you do not allow water to seep
into
the controls or motor housing of your fan.
Always
unplug your fan from the mains supply
before
attempting cleaning. Do not use harsh cleaners
or
solvents on the fan as they may damage the casing.
Specifications
Po we r Su ppl y. ... .. . .2 3 0V ~50 Hz
Ra ted
Po
we r. ... .. ... 50
W
GB
No part of this publication may be reproduc ed,
stored
in a retrieval sy stem or transmi tted, in any
form
or by any means, without the pr ior permission
in
writing of Dixons Stores Group, nor be otherwise
circulated
in any for m of binding or cov er other
than
that in which is p ublished and witho ut a
similar
condi tion i ncluding this condition being
imposed
on the subsequen t purchaser
Page 8

aw tseis
a
e
e
h
t
r
o
f y
a
d
o
t k
u
.
oc
.
r
e
tsam
t
r
a
P
tisi
V
.
s
e
i
r
o
sse
c
c
a
d
n
a
s
e
r
a
ps l
a
c
i
r
t
c
e
l
e
y
u
b
ot
y
v
i
l
e
d
na
c
e
w
kc
o
t
s
n
i
s
t
cud
orp 00
0
,05 re
vo hti
W
.y
a
d
t
x
e
n y
r
ev
e
h
t
r
o
o
d
r
u
oy
o
t
t
c
e
ri
d
r
e
t
isi
V
k
u
.oc
.
r
ets
a
m
trap.
w
w
w
l
l
a
c
ro
8
3
3
1
0
0
6
0
7
8
0
)
y
l
n
o
s
r
e
mo
tsu
c
KU
(
.
e
taR la
no
i
ta
N
ta deg
rah
c
s
l
l
a
C
This symbol on the product or in the instructions means that your electrical and electronic
equipment
should be disposed at the end of its life separately from your household waste.
There
are separate collection systems for recycling in the EU.
For
more information, please contact the local authority or your retailer where you purchased
the
product.
 Loading...