

Page 1
DSL 100& DSL 50
Valve Heads
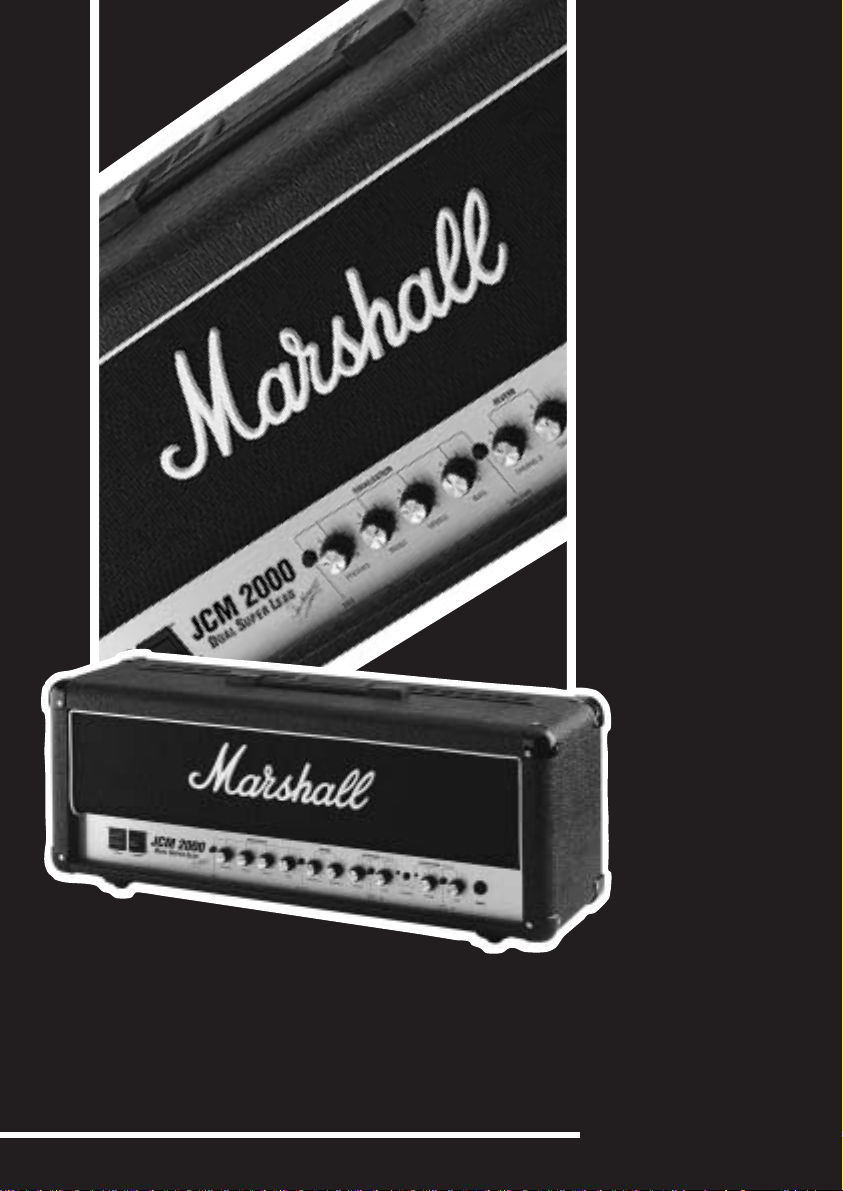
JCM 2000
Page 2

From Jim Marshall
I would like to personally thank you for selecting one
of our JCM 2000 Dual Super Lead valve heads.
Since I started Marshall Amplification in 1962 I have
witnessed some incredible breakthroughs and advances in
amplifier design technology, such as master volume amps,
switchable channels, reverb, MIDI technology, speaker
emulation and digital effects processing, to name just a
few. These may seem like every day features nowadays
but this certainly wasn’t always the case. However, the
same values that were present in the first Marshalls are
still here today. That is, solid workmanship, reliability,
stylish looks and above all great Marshall tone.
The DSL 100 and DSL 50 are our latest all valve heads
and as such are really direct descendants of our classic all
valve heads. Combining all of the aforementioned values
plus a few extra attributes such as versatility, switchable
channels, reverb, a big sound and of course, I am proud to
say, all of the magical Marshall tone that you could want.
The JCM 2000 range is truly a testament to the Marshall
legacy of great guitar products.
I would like to wish you every success with all of your
musical endeavours and also your new Marshall
JCM 2000 Dual Super Lead valve head, which I am sure
you will find a pleasure to play for many years to come.
Yours Sincerely,
ENGLISH
2
Page 3

WARNING! - Important safety instructions
WARNING: This apparatus must be earthed!
A PLEASE read this instruction manual carefully before switching on.
B ALWAYS use the supplied mains lead, if a replacement is required please contact your authorised Marshall Dealer.
C NEVER attempt to by-pass the fuses or fit ones of the incorrect value.
D DO NOT attempt to remove the amplifier chassis, there are no user serviceable parts.
E Refer all servicing to qualified service personnel including replacement of fuses and valves.
Servicing is required when the apparatus has been damaged in any way, such as when the power supply cord or plug
is damaged, liquid has been spilled or objects have fallen into the apparatus, the apparatus has been exposed to rain
or moisture, does not operate normally or has been dropped.
F NEVER use an amplifier in damp or wet conditions. No objects filled with liquids should be placed on the
apparatus.
G ALWA YSunplug this apparatus during lightning storms or if unused for long periods of time.
H Protect the power cord from being walked on or pinched particularly at plugs, convenience receptacles and at the
point where they exit from the apparatus.
I DO NOT switch the amplifier on without the loudspeaker connected.
J ENSURE that any extension cabinets used are of the correct impedance.
➲
Note: This equipment has been tested and found to comply with the requirements of the EMC directive (Environments
E1, E2 and E3 EN 55103-1/2) and Low Voltage directive in the E.U.
EUROPE ONLY - Note: The Peak Inrush current for the DSL50 is 33 amps and DSL100 is 40 amps.
➲
Caution: Any changes or modifications not expressly approved by the party responsible for compliance may void the
user’s authority to operate the equipment.
➲
Note: It is recommended that all audio cables, with the exception of the speaker lead, used to connect to the DSL50 and
DSL100 are of a high quality screened type. These should not exceed 10 metres in length.
Always use a non-screened Marshall approved speaker lead with the DSL50 or DSL100 and extension cabinets.
➲
WARNING: Do not obstruct ventilation grilles and always ensure free movement of air around the amplifier!
USA ONLY - DO NOT defeat the purpose of the polarised or grounding type plug. A polarised plug has two
blades with one wider than the other. A grounding type plug has two blades and a third grounding prong. The
wide blade or the third prong is provided for your safety. When the provided plug does not fit into your outlet, consult
an electrician for replacement of the obsolete outlet.
Follow all instructions and heed all warnings - KEEP THESE INSTRUCTIONS !
ENGLISH
3
JCM 2000 Introduction
The Marshall 1959 Super Lead Plexi head and the JCM 800 Master Volume 2203 are recognised the world over as
benchmarks in tone, feel, musical power and sheer size of sound. Imagine then, an amp which is like two footswitchable
1959 Super Leads in one, with the addition of reverb plus extra gain to take you into 2203 territory and beyond. If this
sounds like a dream, it is no longer - now that the JCM 2000 Dual Super Lead range is here.
The 100 Watt DSL 100 and 50 Watt DSL 50 Dual Super Lead heads feature two footswitchable channels, Classic Gain /
Channel A and Ultra Gain / Channel B. As the names imply, each channel has a very different character, with Classic Gain
/ Channel A taking you from a clean to crunch 1959 and then, via a mode switch, up to a 2203 style brute. Ultra Gain /
Channel B takes you from a hot rodded 2203, via a mode switch, to a higher gain response with the addition of mid-boost.
Each channel also has its own individual Reverb level.
The amps also feature a Deep Switch and Tone Shift which are common to both channels. The Deep Switch adds a
resonant bass boost to your sound without muddying it up, while the Tone Shift selector shifts out the mid frequencies
making the amp ideal for brutal metal tones, especially when combined with high gain settings. Their all round versatility
and sheer size of sound make the DSL 100 and DSL 50 superb performance tools for today’s most demanding playing
situations and you can rest assured they are packed full of the famed Marshall TONE.
Please read this handbook carefully before plugging in.
!
Page 4

1. Power Switch
On / Off Switch for mains power to the amplifier.
2. Standby Switch
Controls H.T. or high voltage to the valves to allow
them to attain correct working temperature before playing.
To prolong the life of the valves it is always advisable to
switch on the Mains Power Switch (item 1) about 2 minutes
before switching on the Standby (item 2).
On switching off, the Standby should always be
switched before the Power Switch.
The standby facility is particularly useful between sets
and before playing, as it allows you to keep the valves
operating at a functional temperature but without any sound
being produced.
3. Deep Switch
The Deep Switch adds a tuned or resonant bass boost to
your sound, increasing bottom end thud, without making
your tone woolly around the all important low end.
4. Presence Control
Adds higher frequencies to the guitar tone, creating
crispness and bite. Turning this up will make the sound
more cutting and in your face.
5. Treble Control
Controls the high frequencies of the guitar tone, making
your guitar sound brighter when increased.
6. Middle Control
Dictates the middle register of the amplifier. Turning
this up will make your guitar sound fatter. Conversely
reducing the amount of middle in your tone will result in a
sharper and thinner guitar sound for the classic “scooped”
tone.
7. Bass Control
Controls the amount of low frequencies or bottom end in
your tone.
8. Tone Shift
The Tone Shift Switch reconfigures the tone network
components to give a new dimension to passive tone
shaping. With the switch selected to the “in” position and
the Middle Control (item 6) turned down the result is a
scooped mid sound ideal for certain classic metal styles.
Reverb
9. Channel B
Controls the reverb level on Channel B.
10. Channel A
Controls the reverb level on Channel A.
Ultra Gain / Channel B
11. Volume
Governs the volume level of Channel B.
12. Lead 1 / Lead 2 Switch
The DSL 100 and DSL 50‘s Channel B features two
modes. The first, Lead 1, gives an open high gain crunch,
with traditional Marshall characteristics, similar to a hotrodded JCM 800 2203 master volume. The Lead 2 mode
however gives a mid-boosted tone coupled with even
higher gain possibilities.
13. Gain
Controls the gain level for Channel B. As the amount of
gain increases so will the distortion level in your sound.
14. LED
Indicates when Channel B has been selected.
15. Channel Switch
Selects Channel A or Channel B.
16. LED
Indicates when Channel A has been selected.
Classic Gain / Channel A
17. Volume
Governs the volume level of Channel A
18. Clean / Crunch
As with Channel B, Channel A features two modes.
The first, Clean, is reminiscent of an early 1959 Plexi Super
Lead head. Depending on Gain settings (item .19) this
mode will take you from clean to a controlled Plexi style
crunch. Crunch will take you up to a JCM 800 2203 style
grind.
19. Gain
Controls the gain level for Channel A. As the amount of
gain increases so will the distortion level in your tone.
20. Input
Jack input for guitar.
4
ENGLISH
TREBLE
MIDDLE
EQUALISATION
BASS CHANNEL B CHANNEL A GAIN CHANNEL VOLUME
CLEAN
CRUNCH
POWER
STANDBY
GAIN
INPUT
REVERB ULTRA GAIN
/ CHANNEL B
CLASSIC GAIN
/ CHANNEL A
TONE SHIFT
LEAD 1
LEAD 2
DEEP
PRESENCE
OFF
ON
OFF
ON
2468
10
0
2468
10
0
2468
10
0
2468
10
0
2468
10
0
2468
10
0
2468
10
0
2468
10
0
2468
10
0
2468
10
0
VOLUME
DSL 100
DUAL
SUPER LEAD
JCM 2000
1 2
3
4
5
6 7 9
10 11 13 15 17 19 20
8 12 14 16 18
DSL 100 & DSL 50 Front Panel functions
Page 5

Footswitch
1. Channel
By connecting the supplied PED801 footswitch to
this jack it is possible to footswitch between Channel
A and Channel B. The footswitch will override the
front panel Channel switch position (item 15).
2. Reverb Footswitch
By connecting another PED801 footswitch
(optional) to this jack it is possible to remotely switch
reverb on and off.
Effects Loop
3. Send
For connection to the input of an external effects
processor.
4. Return
For connection from the output of an external
effects processor.
5. Loop Level
The loop level on the DSL 100 and DSL 50 can be
adjusted to match either floor pedals, requiring a low
level or effects processors which require a high level.
Loudspeaker Outputs
With all valve amplifiers it is imperative that the
amp is connected to a load whilst in operation and
that the impedance selected on the amp matches the
total impedance of the speaker cabinet(s) being used.
Failure to comply with these points will result in
damage to the amplifier.
The DSL 100 and DSL 50 feature three outputs, a
dedicated 16 Ohm output and two outputs selectable
between 4 and 8 Ohms.
The DSL 100 and DSL 50 should not be run into
an impedance less than 4 Ohms.
6. 16 Ohm Output
For the connection of a 16 Ohm speaker cabinet.
It should be noted that when this Speaker Output is in
use the remaining Speaker Outputs, items 7 and 8,
will become inoperational.
7. & 8. 4 & 8 Ohm Outputs
For use when the total impedance of speaker
cabinets used is either 4 or 8 Ohms. That is, when
using either a single 4 Ohm cab, a single 8 Ohm, two
8 Ohm cabs or two 16 Ohm cabs.
9. Impedance Selector
Allows selection of 4 or 8 Ohms impedance for
items 7 & 8.
See Loading Points.
10. Mains fuse
See rear panel for correct value.
11. Mains Input
Your amp is provided with a detachable mains
(power) lead which is connected here. The specific
mains input voltage rating that your amplifier has
been built for is shown on the back panel. Before
connecting for the first time, please ensure that your
amplifier is compatible with your electricity supply.
If you have any doubt, please get advice from a
qualified person. Your Marshall dealer will help in
this respect.
12. H.T. fuse
See rear panel for correct value.
Loading Points
One 4 Ohm cabinet, set to 4 Ohms
One 8 Ohm cabinet, set to 8 Ohms
Two 8 Ohm cabinets, set to 4 Ohms
Two 16 Ohm cabinets, set to 8 Ohms
N.B. Always ensure that proper speaker leads are
used to connect speakers to the DSL 100 and DSL 50,
not guitar leads!
WARNING !
If loudspeaker is disconnected a high voltage can
be present at these output terminals. Operation in this
manner can damage your amplifier, therefore ensure
that loudspeaker is properly connected.
Your amp should be completely powered down
before changing loads.
ENGLISH
5
DSL 100 & DSL 50 Rear Panel functions
WARNING : RISK OF HAZARDOUS ENERGY!
AVIS : ENERGIE ELECTRIQUE DANGEREUSE!
EFFECTSLOOP
LOUDSPEAKEROUTPUTS
FOOTSWITCH
CHANNEL REVERB
100 Watts RMS
4 Ohm / 8 Ohm
16 Ohm ONLY
HT
FUSE
(T1A)
MAINS
FUSE
(T2A - 230V)
(T4A - 120V)
SELECT
Made in England by:
Marshall Amplificationplc,
Bletchley, Milton Keynes,
England.
MAINSINPUT
120V ~ 60 Hz
375 Watts
RETURN
SEND
LOOP
LEVEL
CAUTION!:
TO REDUCE THE RISK OF FIRE REPLACE FUSES WITH THE SAME TYPE
AND RATING ONLY. DISCONNECT SUPPLY CORD BEFORE CHANGING FUSE.
TO REDUCE THE RISK OF ELECTRIC SHOCK DO NOT REMOVE COVER. NO USER
SERVICEABLE PARTS INSIDE. REFER SERVICING TO QUALIFIED SERVICE PERSONNEL.
ATTENTION!:
POUR EVITER LES RISQUES D’INCENDIE UTILISER UN FUSIBLE DE
MEME TYPE ET DE MEME CALIBRE. DEBRANCHER AVANT DE REMPLACER LE FUSIBLE.
POUR EVITER LES RISQUES DE DECHARGES ELECTRIQUES, NE PAS OUVRIR LE
COUVERCLE. CET APPAREIL NE COMPORTE AUCUNE PIECE SUSCEPTIBLE D’ETRE
REPAREE PAR VOS SOINS. FAITES TOUJOURS APPEL A UN TECHNICIEN QUALIFIE POUR
TOUTE REPARATION.
WARNING!:
SHOCK HAZARD. DO NOT OPEN. TO REDUCE THE RISK OF FIRE OR
ELECTRIC SHOCK DO NOT EXPOSE THIS EQUIPMENT TO RAIN OR MOISTURE. THIS
APPARATUS MUST BE EARTHED.
AVIS!:
RISQUE DE CHOC ELECTRIQUE. NE PAS OUVRIR. POUR EVITER LES RISQUES
D’INCENDIE ET DE DECHARGES ELECTRIQUES, N’EXPOSEZ JAMAIS CET APPAREIL A
L’HUMIDITE OU A LA PLUIE. CONNECTER CET APPAREIL A LA TERRE.
(4&8 Ohm PARALLELJACKS)
Note:
16 Ohm Output Jack negates use of others.
REFERTO MANUALFOR FULLDETAILS. SEREFERER AUMANUEL POURPLUS DEDETAILS.
WARNING!:RISK OF HAZARDOUS ENERGY!
AVIS!: ENERGIE ELECTRIQUE DANGEREUSE!
1
324 5 6 7
8 9 10 11 12
 Loading...