

Page 1
Recycling
The only way
to
recycle it. The law prohibits any other
method
To
recycle the battery:
1)
Remove belt from the battery
2)
Ship
or
take battery to your nearest Makita Factory Service Center or Distributor that
the battery
to
dispose
of
disposal.
of
a Makita battery
is
sells Makita lead batteries.
(Call your nearest Makita Service Center or Distributor to determine the location that
provides Makita lead battery recycling. See your local Yellow pages under
Electric". Please note that
to
be provided at the time you purchase a new lead battery or else a deposit
charged on the purchase
..............................................
*
*
*
*
*
1
*
*
*
*
*
*
*
*
*
*
*
*
*
*
*
*
*
*
*
8
*
*
*
*
*
*
**********************************************
MAKITA LIMITED ONE YEAR WARRANTY
Every
Makita
be free of defects from workmanship and materials for the period of ONE YEAR from the date of
original purchase. Should any trouble develop during
tool,
the
without charge.
This Warranty does
repairs have been made or attempted by others:
repairs are required because of normal wear and tear:
The
alterations have been made
The battery
IN
NO EVENT
DAMAGES FROM THE
DURING
MAKITA DISCLAIMS LIABILITY FOR
RANTIES
ONE-YEAR TERM
This Warranty gives
state
damages,
tion
tool
freight prepaid,
trouble
is
caused by defective workmanship or material, Makita will repair (or
tool
has been abused, misused or improperly maintained;
has
SHALL
AND
AFTER THE TERM OF THIS WARRANTY.
OF
"MERCHANTABILITY"
to
state. Some states do not allow the exclusion or limitation of incidental or consequential
so
the above limitation or exclusion may not apply
on
how long an implied warranty lasts, so
in
some states a battery that has reached the end
of
the new lead battery.)
Warranty Policy
is
thoroughly inspected and tested before leaving
this
to
one
of
Makita's Factory or Authorized Service Centers.
not
apply where:
to
the
not
been charged uI"diately after purchase.
MAKITA BE
SALE
OF THIS WARRANTY.
you
specific legal rights, and
tool.
LIABLE
OR
USE
ANY
AND
Ma
kita
3-11
-8,
Sumiyoshi-cho,
Anjo, Aichi
883995 - 985
FOR
ANY
OF
THE PRODUCT. THIS DISCLAIMER APPLIES BOTH
IMPLIED WARRANTIES, INCLUDING IMPLIED WAR-
"FITNESS
the
Corporation
446
one-year period,
INDIRECT, INCIDENTAL
FOR A SPECIFIC PURPOSE," AFTER THE
you
may also have other rights which vary from
to
above limitation may not apply
Japan
the
factory.
It
is
warranted
return
the
COMPLETE
If
inspection shows
at
our option, replace)
OR
CONSEQUENTIAL
you.
Some states do not allow limita-
to
you.
PRINTED IN JAPAN
of
to
1995
"Tools
life
- 5 -
needs
will
*
*
*
*
*
*
*
*
*
1
*
*
*
*
*
*
*
*
*
*
*
*
*
*
*
*
*
*
*
*
*
*
be
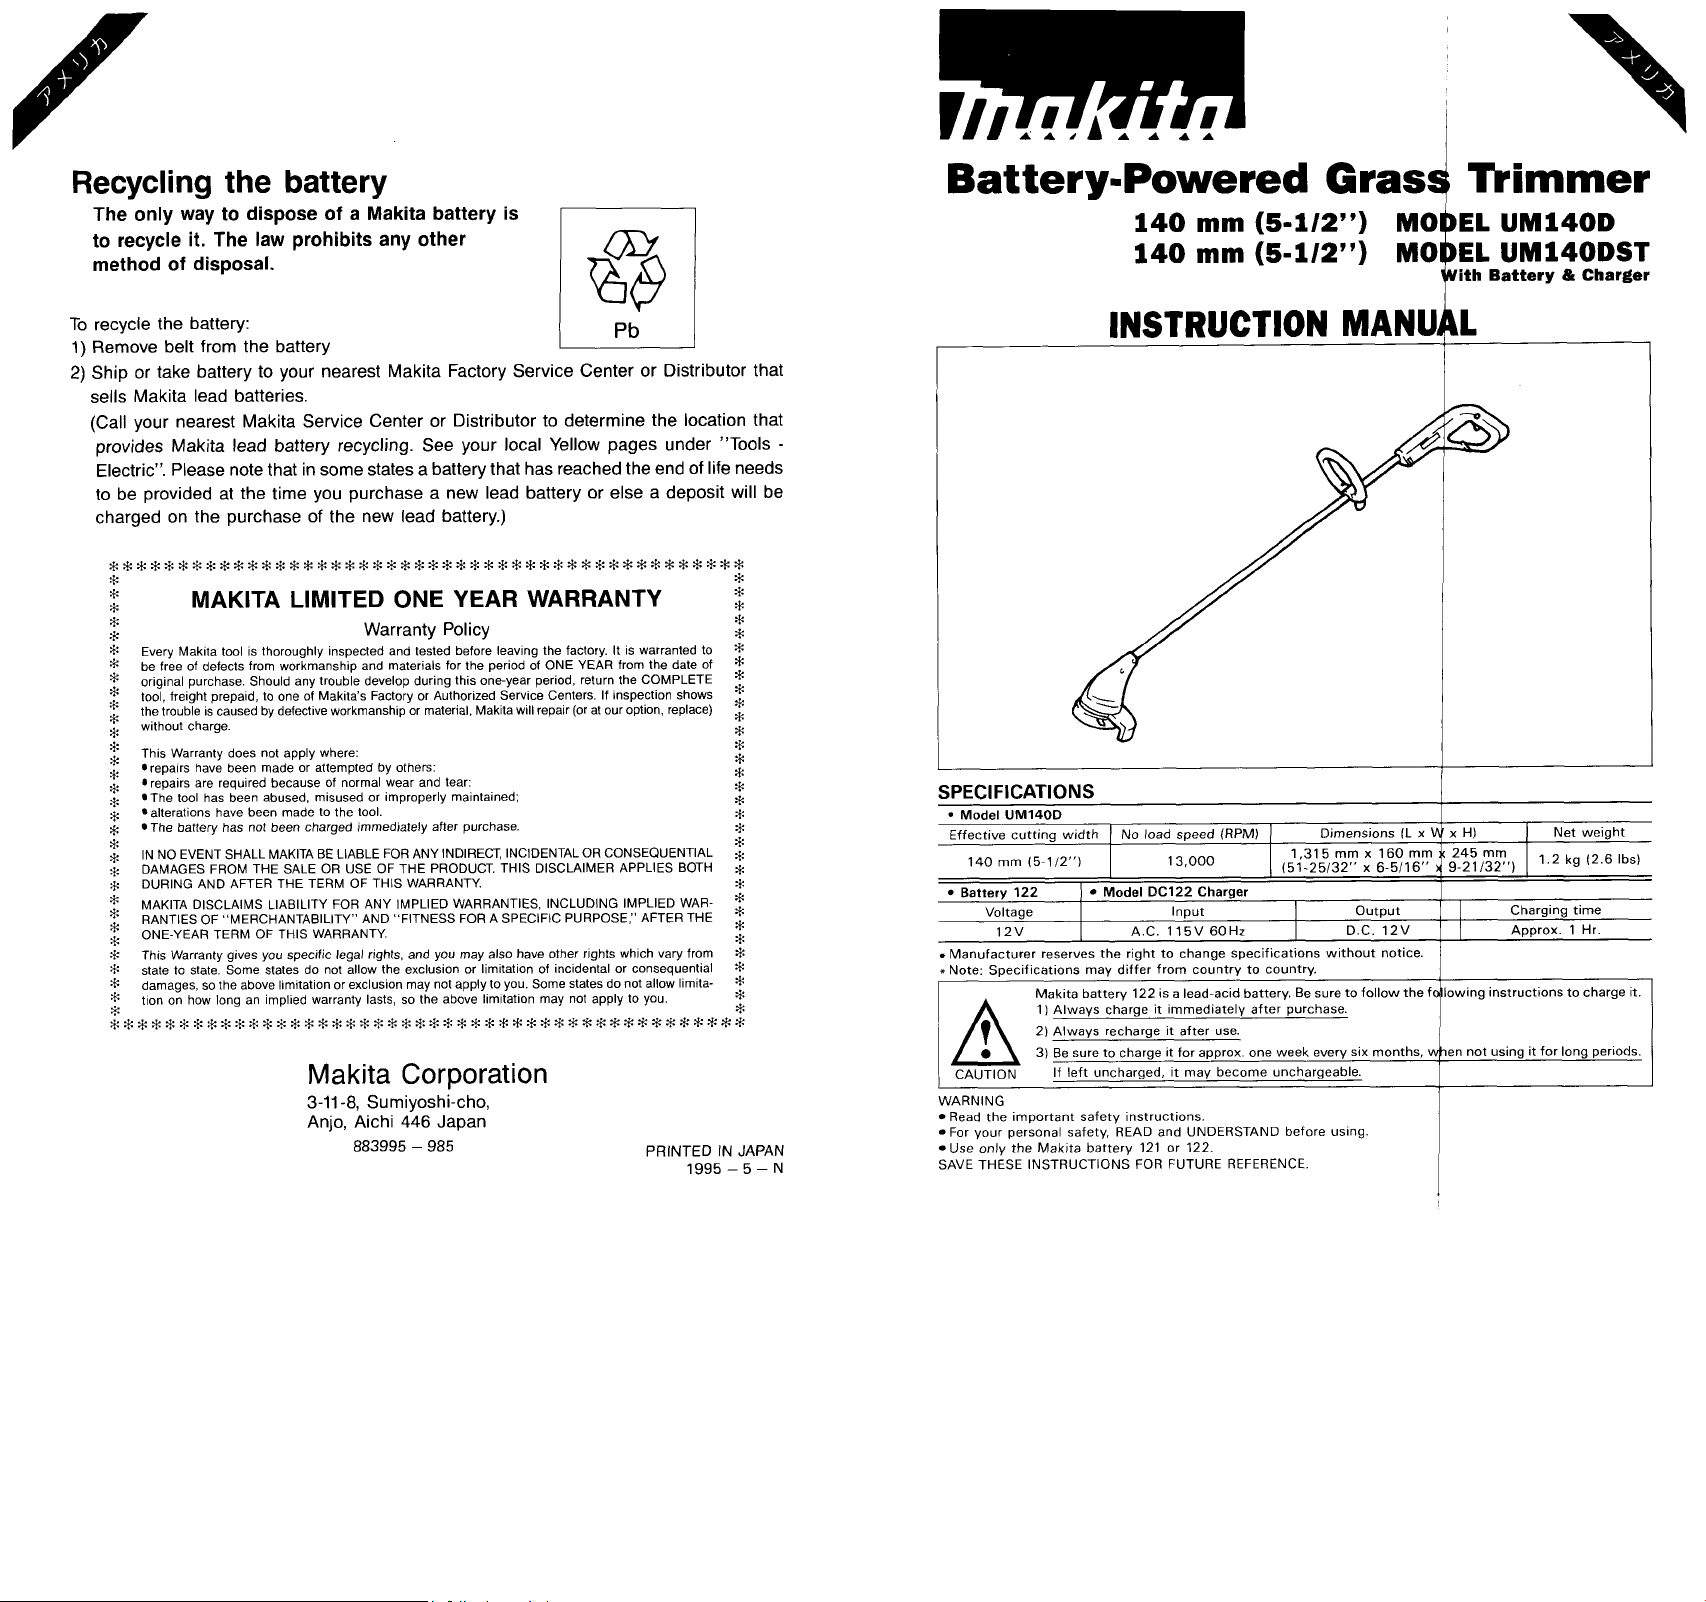
BatterylPowered
140
140
INSTRUCTION
mm
mm
(5-1/2")
(5-1/2")
Grass
MO
MO
Trimmer
EL
EL
ith Battery & Charger
MAN
UMl4OD
UMl40DST
-
I
Effective cutting width
140 mm 15
Battery
Voltage Input output
Manufacturer reserves the right to change specifications without notice.
*Note.
A
CAUTION
WARN
IN
Read the important safety instructions
For your personal safety, READ and UNDERSTAND before using
Use
only
N
SAVE THESE INSTRUCTIONS
112")
122
12v AC 115V60Hz DC 12V
Snecifications mav differ from countrv to countrv.
Makita battery 122
11 Always charge it immediately after purchase.
2)
Always recharge it after use.
3)
Be sure to charge it for approx. one week every six months,
If
G
the Makita battery 121 or
No load speed
Model
DC122
is
left uncharged, it may become unchargeable.
FOR
(RPM)
13,000 (51-25132'' x 6-5/16" :9-21!32")
Charger
a lead-acid battery.
122.
FUTURE REFERENCE.
Dimensions
1,315
Be sure
mm
x 160
to follow the
IL
x
W/
x H)
mm
245
following instructions to charge it.
wClen not using it for
mm
Charging time
Approx 1
Net weight
kg
(2
Hr
long
periods.
Ibsl
Page 2
IMPORTANT
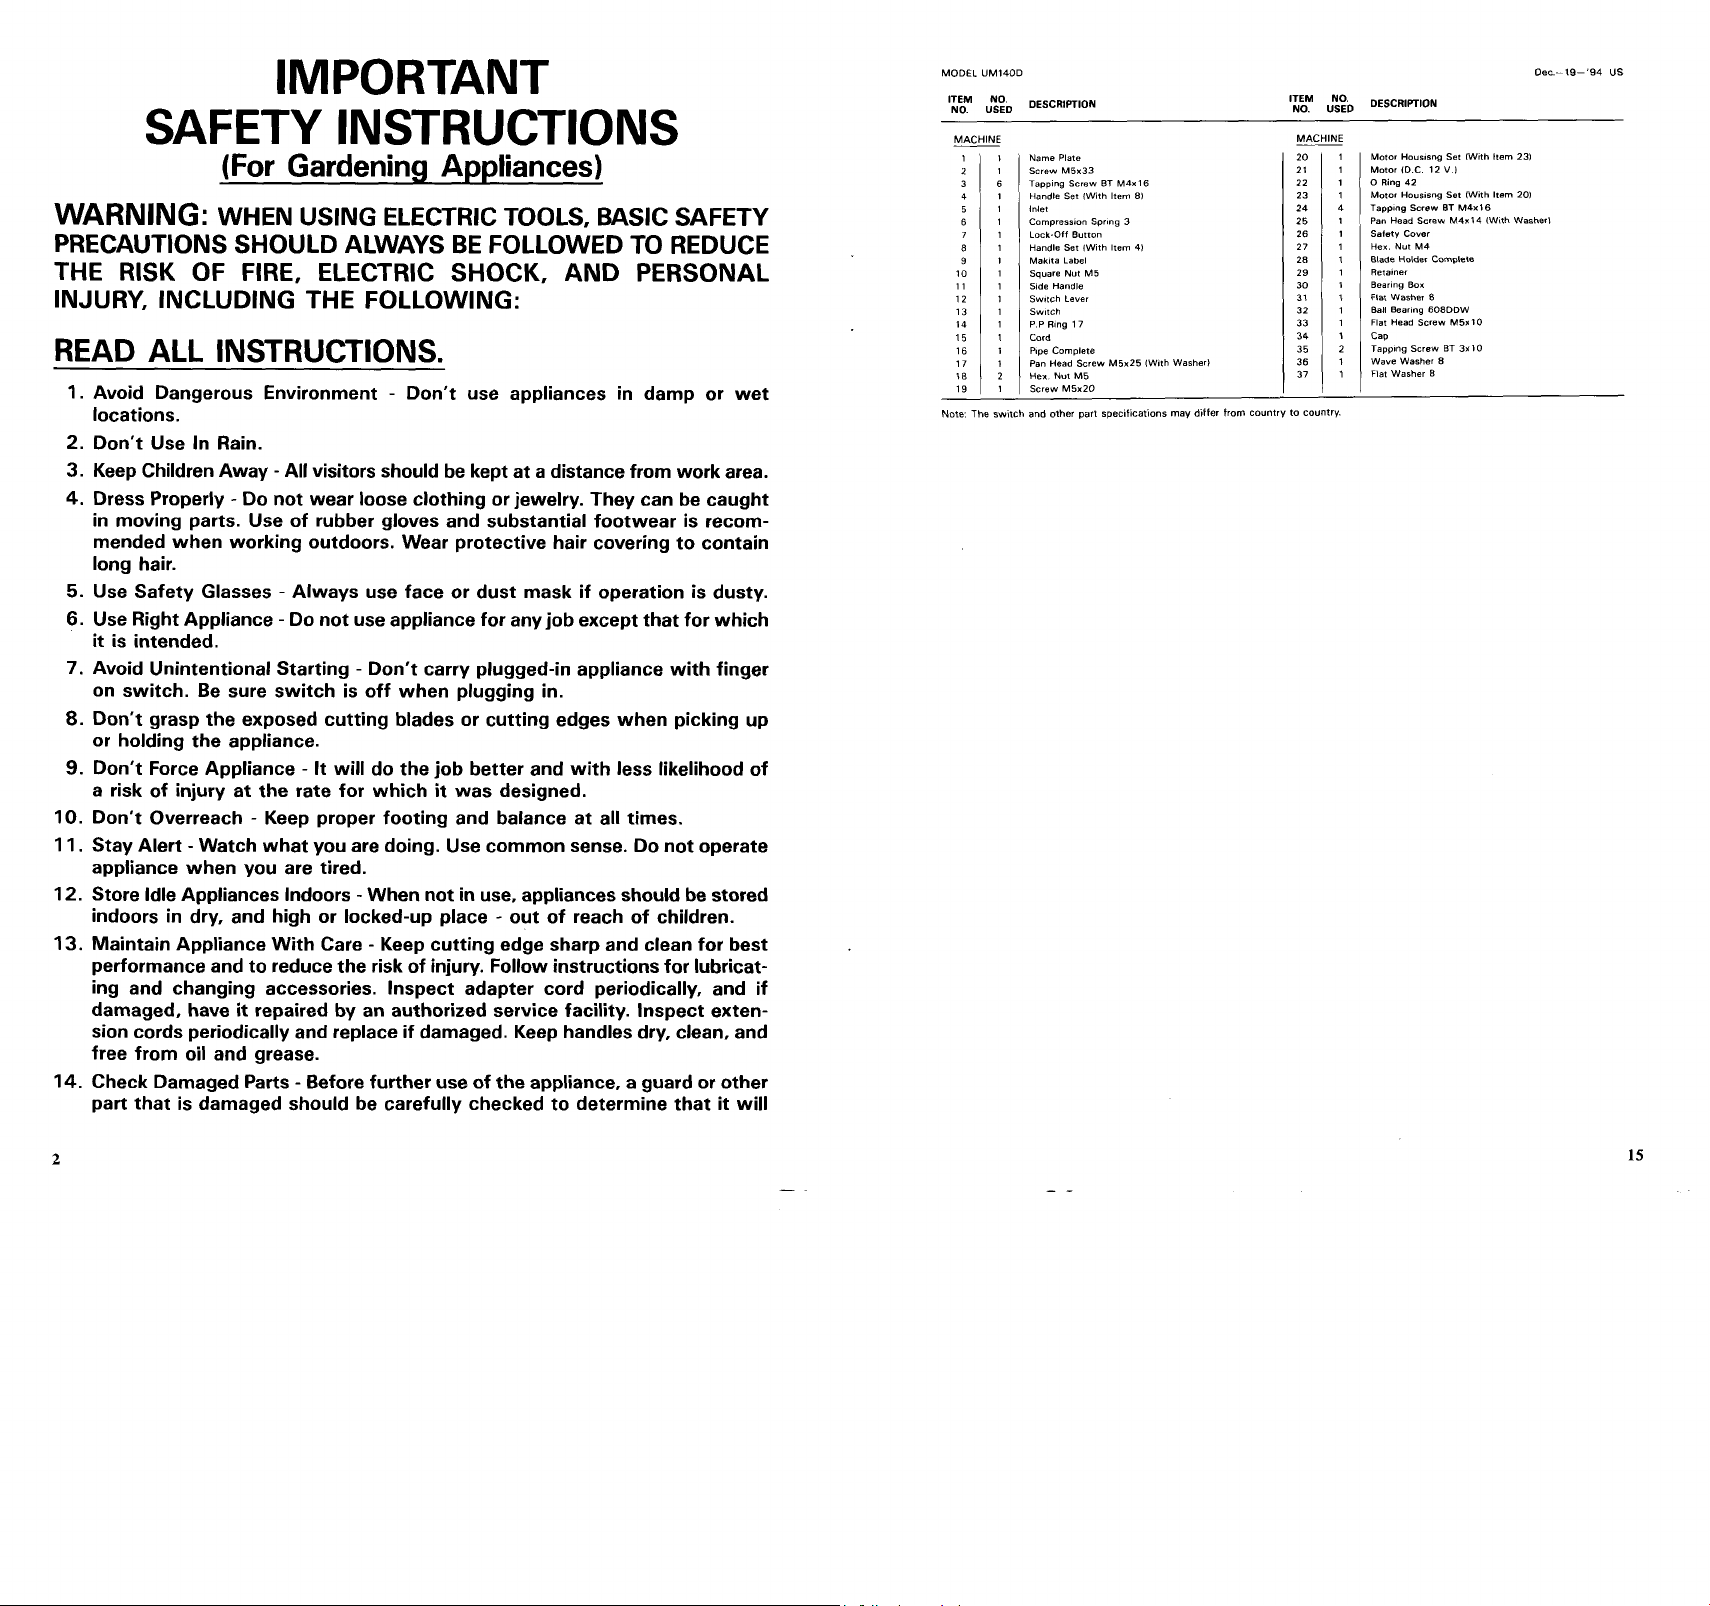
MODEL UM140D Dec.-19-'94
'LiM
,&
DESCRIPTION
'EM
DESCRIPTION
US
SAFETY INSTRUCTIONS
(For
WARNING:
PRECAUTIONS SHOULD ALWAYS
THE
INJURY, INCLUDING THE FOLLOWING:
RISK
WHEN
OF
READ ALL INSTRUCTIONS.
1.
Avoid Dangerous Environment - Don't use appliances in damp
locations.
2.
Don't
Use
In Rain.
3.
Keep Children Away
4.
Dress Properly
in moving parts.
mended when working outdoors. Wear protective hair covering to contain
long hair.
5.
Use
Safety Glasses - Always use face
6.
Use
Right Appliance
it
is
intended.
7.
Avoid Unintentional Starting
on switch.
8.
Don't grasp the exposed cutting blades
or
holding the appliance.
Don't
9.
a
risk
IO.
Don't Overreach
11.
Stay Alert -Watch what you are doing.
appliance when you are tired.
12.
Store Idle Appliances Indoors
indoors in dry, and high
13.
Maintain Appliance With Care
performance and to reduce the
ing and changing accessories. Inspect adapter cord periodically, and
damaged, have it repaired by an authorized service facility. Inspect extension cords periodically and replace if damaged. Keep handles dry, clean, and
free
from
14.
Check Damaged Parts - Before further use of the appliance, a guard
part that
Be
Force
Appliance - It
of injury at the rate
oil
and grease.
is
damaged should be carefully checked to determine that it will
Gardening Appliances)
USING
FIRE,
-
Do
Use
sure switch
-
ELECTRIC SHOCK, AND PERSONAL
-
All visitors should be kept at a distance from work area.
not wear
of
rubber gloves and substantial footwear
-
Do
not use appliance
Keep proper footing and balance at
or
ELECTRIC TOOLS, BASIC SAFETY
BE
FOLLOWED
loose
clothing
-
Don't carry plugged-in appliance with finger
is
off when plugging in.
will
do the job better and with
for
which it was designed.
-
When not in use. appliances should be stored
locked-up place - out of reach of children.
-
Keep cutting edge sharp and clean for best
risk
of injury.
or
jewelry. They can be caught
or
dust mask if operation
for
any job except that for which
or
cutting edges when picking up
Use
common sense. Do not operate
Follow
instructions for lubricat-
less
all
TO
times.
REDUCE
is
likelihood of
or
recom-
is
dusty.
or
other
wet
if
__
1 1
2 1
3
4 1 Handle
5 1
6
1
8
9
10 1 Square
11 1
12 1 Switch
13
14 1 PPRing17
15 1 Cord
16 1 Pipe Complete
17 1 Pan Head
18
19 1 Screw M5x2O
Name
Plate
Screw
Tapping
Inlet
Lock.Off
Side
Handle
Switch
M5x33
Screw
Set
Button
Label
Nu1
Lever
Screw
6
1 Compression Spring
1
1 Handle Set Wth Item
1 Makita
1
2 Hex Nul M5
8T
M4x16
Wth Item
81
3
41
M5
M5x25 lWith Washer)
20 1
21 1
22 1
23 1
24 4
25 1
26 1
27 1
28 1
29 1
30
31
32
33
34
35 2
36 1
37
Motor Housisng
Motor 1D.C. 12
0
Ring 42
Motor Housmng
Tapping Screw
Pan Head
Safety
Hex.
Blade
Retainer
Bearing
1
Flat
Washer
1
Ball Bearing 608DOW
1
Flat
Head
1
1
Cap
Tapping
Wave
Flat Washer Washer
1
cover
Nut M4
Holder
BOX
Screw
Screw
8
Screw
8
Set
IWith
Item
V
I
Set
IWith Item 201
BT
M4x16
M4x14 (With Washer1
Complete
M5r10
BT
3x10
8
231
2
15
Page 3
Dec
-19-'94
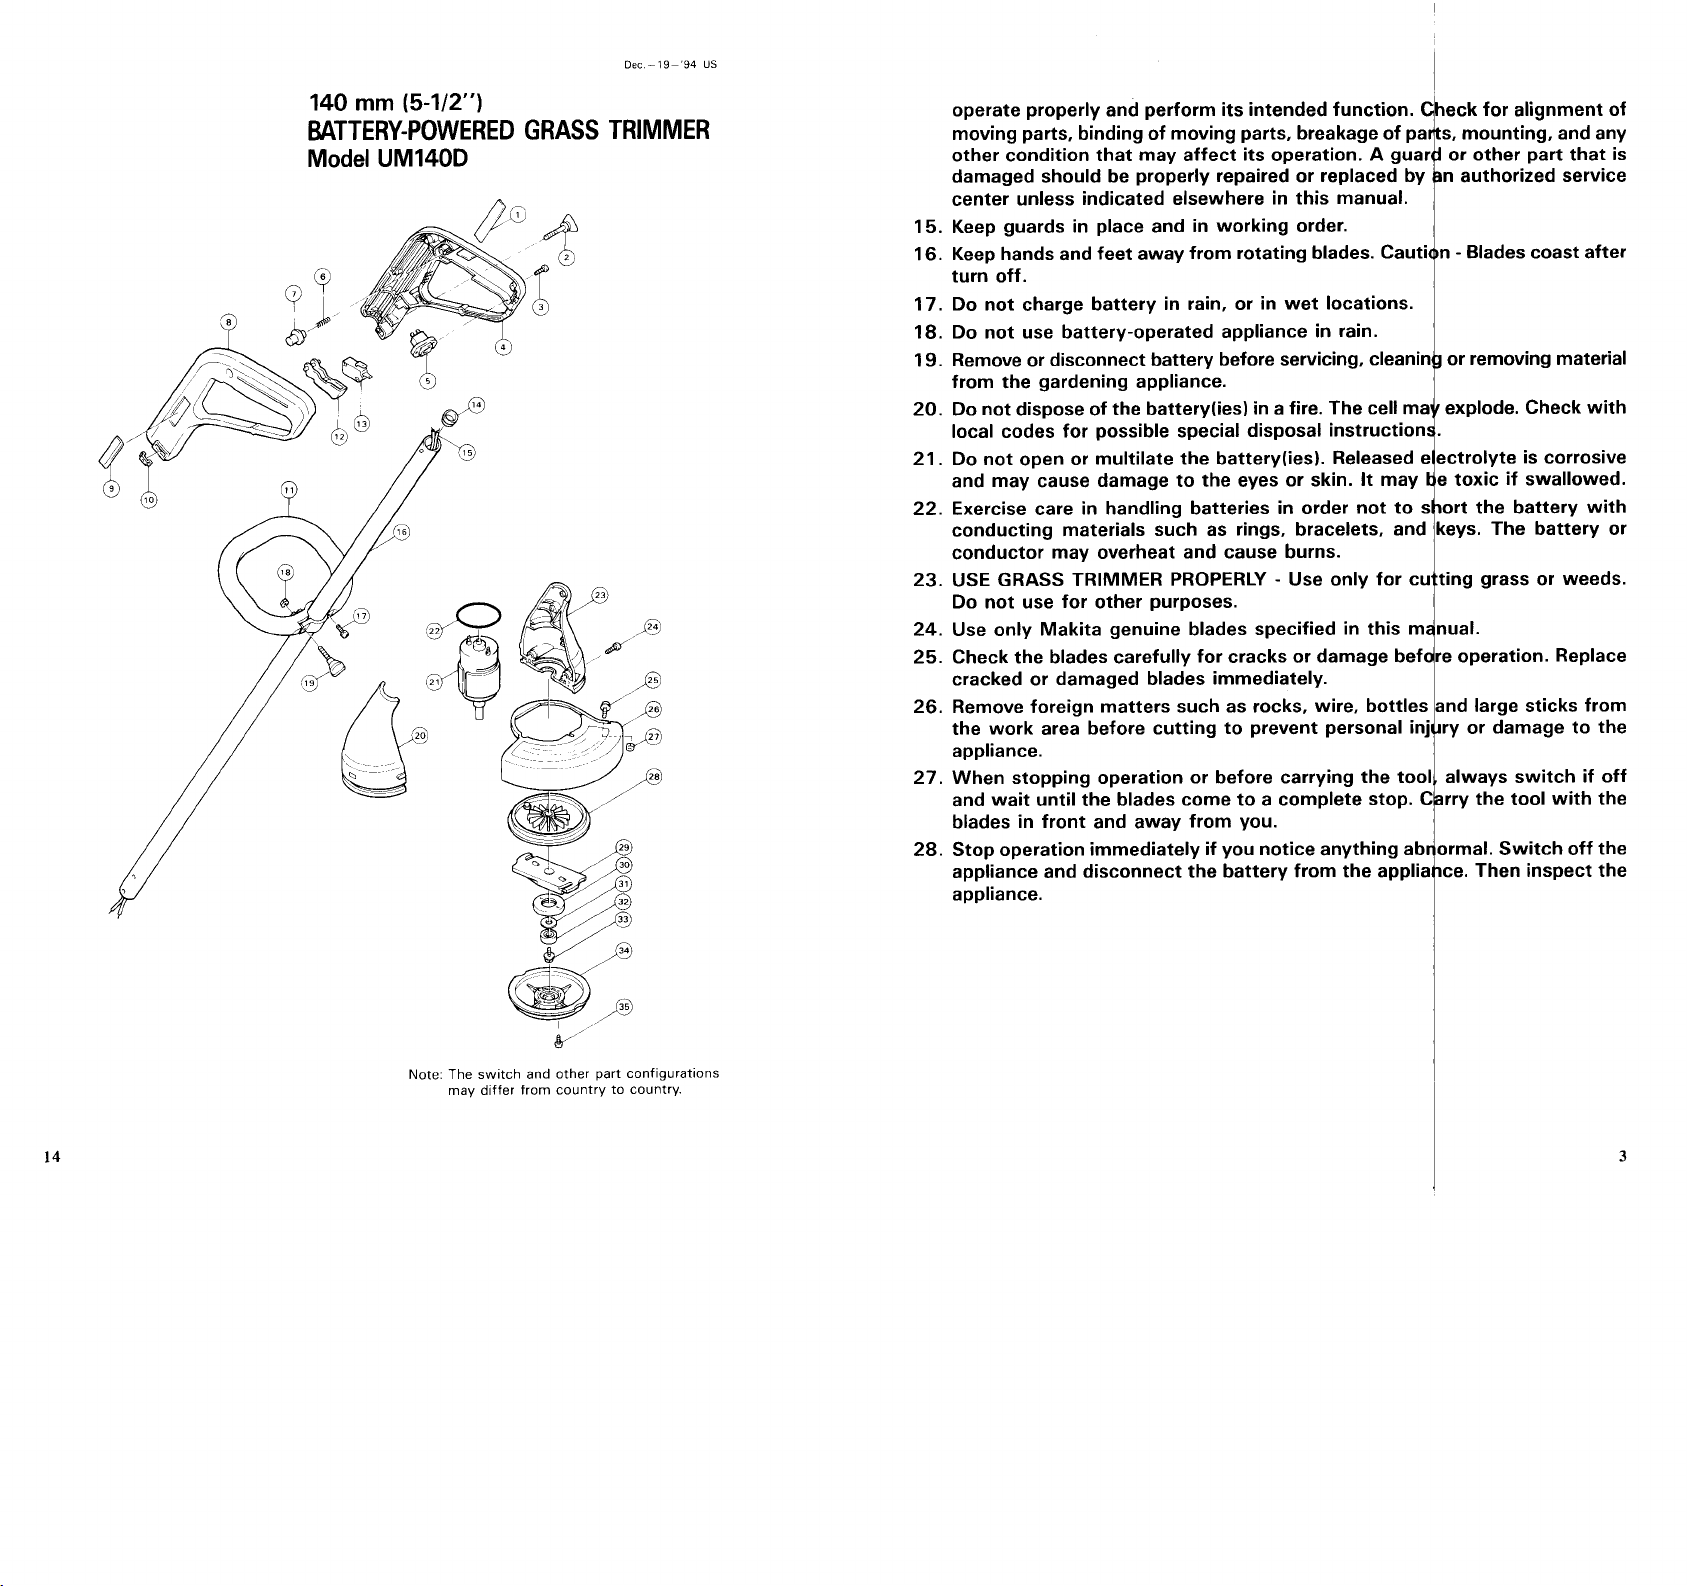
140
mm
(5-1/2")
BATTERY-POWERED GRASS TRIMMER
Model UM140D
3
//
US
operate properly and perform its intended functio
moving parts, binding
other condition that may affect
damaged should be properly repaired
center unless indicated elsewhere in this manual.
15.
Keep guards in place and in working order.
Keep hands and feet away from rotating blades.
16.
turn off.
Do
17.
18.
19.
20.
21.
22.
23.
24.
25.
not charge battery in rain,
Do
not use battery-operated appliance in rain.
Remove
from the gardening appliance.
Do
local codes for possible special disposal instructi
Do
and may cause damage to the eyes
Exercise care in handling batteries in order no
conducting materials such as rings, bracelets
conductor may overheat and cause burns.
or
disconnect battery before servicing,
not dispose
not open
or
of
moving parts, break
its
operation.
or
replaced
or
in wet locations.
of
the battery(ies) in a
multilate the battery(ies1. Releas
fire.
or
skin. It
The
A
cle
cel
g
C
ck
for
alignment
mounting, and any
r
other part that
authorized service
lades coast after
of
is
14
iv
Note: The switch and other part configurations
may differ from country to country.
Remove foreign matters such as
26.
the work area before cutting to prevent personal
appliance.
When stopping operation
27.
blades in front and away from you.
Stop operation immediately
28.
appliance and disconnect the battery from the appl
appliance.
or
rocks,
before carrying
if
you notice anything a
wire,
bottl
large sticks from
or
damage to the
al. Switch off the
Then inspect the
3
Page 4

IMPORTANT
FOR
SAVE THESE INSTRUCTIONS
1.
contains important safety and operating instructions for battery charger.
Before using battery charger, read all instructions and cautionary markings
2.
on (1) battery charger,
CAUTION - To reduce
3.
122.
Other types of batteries may burst causing personal injury and damage.
Non-rechargeable batteries can not be charged with this battery charger.
4.
Do
not expose charger to rain
Use
5.
6.
7.
8.
of an attachment not recommended
manufacturer may result in a
To reduce risk
cord when disconnecting charger.
Make
sure
or
otherwise subjected to damage
An extension cord should not be used unless absolutely necessary.
improper extension cord could result in a
extension cord must be used, make sure:
a. That pins on plug of extension cord are the same number, size, and shape
as those
b. That extension cord
c.
That
wire
of
damage to electric plug and cord, pull by plug rather than
cord
is
of
plug on charger;
size
is
RECOMMENDED
EXTENSION CORDS
SAFETY
BATTERY
(2)
battery, and
risk
of
injury, charge only MAKITA battery
or
snow.
risk
of
located
at least as large as the one specified in the table below.
so
that it will not be stepped on, tripped over,
is
properly wired and
TABLE
MINIMUM
FOR
INSTRUCTIONS
&
CHARGER
-
(3)
product using battery.
or
sold by the battery charger
fire,
electric shock,
or
stress.
risk
of
in
good electrical condition; and
1
AWG
BATTERY CHARGERS
or
injury to persons.
fire
and electric shock. If
SIZE
FOR
This manual
121
Use
or
of
ACCESSORIES
CAUTION
These accessories or attachments are recommended for use with your Makita tool specified
manual. The use of any other accessories or attachments might present a risk of
The accessories or attachments should
0
Charger
Model DC122
0
Blade
:
injury
be
used only
in
the proper and intended manner.
0
Battery 122
0
Extension cord
to persons.
in
this
I
Length of Cord (Feet)
AWG Size of Cord
9.
Do not operate charger with damaged cord
mediately.
IO.
Do
not operate charger if it has received a sharp blow, been dropped,
otherwise damaged in any way; take it to a qualified serviceman.
11.
Do
not disassemble charger
service
electric shock
12.
To reduce
ing any maintenance
4
or
repair
risk
is
required. Incorrect reassembly may result in a
or
fire.
of electric shock, unplug charger from outlet before attempt-
or
or
cleaning. Turning off controls will not reduce this
I
25
I
50
I
100
I
I
18
I
18
1
18
I
or
plug - replace them
battery; take it to a qualified serviceman when
150
16
I
I
risk
risk.
im-
or
of
13
Page 5

MAINTENANCE
CAUTION
Always be sure that the
before attempting to perform inspection
:
tool
is switched
off
and the battery
or
maintenance.
is
disconnected
from
the
tool
ADDITIONAL SAFETY
RULES
FOFq BATTERY
Cleaning the cap and safety guard
After use, clean
guard with a soft brush. Failure
off
the cap may cause difficulty installing
the blade.
Storage
Do
not clean the
cals. Cracks and discoloration may be caused.
To
maintain product SAFETY and RELIABILITY, repairs, maintenance
should be performed by Makita Authorized
Makita replacement parts.
off
the cap and safety
to
clean
tool,
charger and/or battery with benzine, thinner
I
I
/-
or
Factory Service Centers, always using
Safety
guard
or
cleaning chemi-
or
adjustment
the Makita battery
5.
Do
not charge inside a box
6.
Do
not short the battery:
3)
Do
not
expose battery
4)
Do
not cut the adaptor cord.
away.
122.
or
container of any kind
to
water
or
rain.
12
Replace
release
it
with a new one.
of
injurious material.
5
Page 6

ADDITIONAL SAFETY RULES FOR CHARGER
1.
The Makita charger Model DC122
or
the Makita battery 121
122.
with this charger.
2.
Handle the charger carefully. Do not drop
3.
Never carry the charger by cord
4.
Keep cord from heat,
5.
Use
only a power source of the same voltage as indicated on the nameplate
of
the charger when charging.
6.
Do not attempt
oil,
chemicals, and sharp edges.
to
use a step-up transformer, an engine generator
power receptacle.
7. Charge the battery at a room temperature
8.
Do not charge in place exposed to direct sunlight.
9.
Do
not allow the charger to get wet.
IO.
Do
not charge inside a box
11.
Do not charge near volatile, flammable material such as gasoline, paint, gas,
or
adhesive, etc.
12.
Do
13.
not charge on top
Do
not allow anything to cover
of
paper, carpet, vinyl sheeting, cloth materials, etc.
to insert anything into the vents.
14.
Do
not charge in dusty place.
15.
Stop charging immediately if you notice anything abnormal. Ship
charger and the battery to your nearest Makita Service Center
for
checking them.
16.
Do
not attempt to disassemble
17.
Do
not put any metal objects
Short-circuit will occur, causing a burn injury and charger breakdown.
is
specifically designed to charge only
Do
not attempt to charge any other battery
or
strike it.
or
yank it to disconnect from receptacle.
of
10°C
(5OOF)
-
4OoC
container of any kind.
or
clog
the charger vents.
Do
not attempt
or
or
Distributor
or
make
modifications to the charger.
or
foreign matter into the inlet of the charger.
or
DC
(104OF).
take the
Operation
Hold/support the
and loop handle. Switch
blades are not contacting the ground. Cut
an even swath while swinging the
from right
slightly while doing
or
weeds next
and the like, move the
smooth
I
y
a
tool
firmly with the grip
ON
only when the
to
left, angling the cutting head
so.
When cutting grass
to
walls, curbs, sidewalks
tool
slowly and
Io
ng them.
tool
Swith
the
from right
tool
to
left
SAVE THESE INSTRUCTIONS.
6
11
Page 7

Switch
action
To
prevent the trigger from being acciden-
tally pulled, a
To
start the
lock-off
tool,
button is provided.
push
in
the lock-off
button and pull the trigger. Release the
trigger
to
stop.
CAUTION:
0
Before connecting the battery
actuates properly and returns
0
Do
not
switch
on
the
tool
to
the
tool,
to
the “OFF” position when released,
when someone is nearby or when the blades are contacting
the ground.
Connecting the battery
Connect the battery
to
to
the
the
tool
tool
using the adaptor cord. To prevent the adaptor cord
being accidentally disconnected, hook the cord
the battery.
Switch trigger
always check
to
both strain relief hooks on the
I
to
see that the switch trigger
Lock-off button
from
tool
and
Adaptor cord
I
Charging
Connect the battery
to
the charger using the adaptor cord. Thc
power source. The charging light will illuminate and charging
ing light goes
(Note: Refer
Batterv-,
out
at a certain time, the charging is complete.
to
the table below for the charging time.)
Battery
121
,
Charger
Outlet
DC122
Approx.
AoDrox.
1
hour
2
hours
UI
Charger
plug the charger
ill
begin. When the charg-
into
llug the charger.
DC121
ox. 4 hours
light
Connector
Adaptor cord
the
//I
Carrying the battery
Hook
the battery
adaptor cord is
the band provided
it
shorter.
10
to
too
Straight relief hook
your waist belt. If the
long for your work, use
to
hold
it
when you
coil
CAUTION:
Always charge the Makita battery 122 immediately after purc
ise.
.Always recharge the Makita battery 122 after use.
If
the Makita battery 122 has not been used for long periods,
I
Strain relief hook
time specified in the table above. (Example:
it
for
approx. one week). Charging continues even after the ch,
battery is left uncharged for more than six months,
If
it
has not been
it
may be
light does not come on within five minutes after you start the
be unchargeable. Ship
Center
or
Distributor
or
take the charger and the battery
for
checking.
large
it
for
i
?d for six months, charge
more than the
ging light goes
,me unchargeable.
harging, the battery may
to
y
ur
nearest Makita Service
out.
If
the
If
the
7
Page 8

Installing the safety guard (safety cover)
Install the safety guard on the motor housing as shown in the figure. Then secure the
safety guard with the screw.
Installing
CAUTION
Always be sure that the
before installing
Align the notches in the cap and the blade retainer. Turn the cap and the blade retainer
together counterclockwise
or
removing the blade
:
tool
or
removing the blade.
is switched
to
release the blade retainer from the pins.
Align
notches
I
off
and the battery is disconnected form the
tool
,Tighten
Installing the loop handle
Install the loop handle on the shaft at the
desired position. Then secure the loop
handle with the screw.
Adjusting the grip position
The grip position can be adjusted approx.
100
mm
(3-15/16").
screw and move the grip backward as desired
for
easy
tool
the clamp screw
Loosen the clamp
operation. Then tighten
to
secure the grip.
1
Id
L
\
Loop
handle
a
Shaft
Grip
LScrewdriver
Safety guard
Blade retainer
Install the blades onto the pins.
Turn the cap and the blade retainer
wise until the pins fit into the holes in the
blade retainer with a
A
little
clock-
click.
I
Blade
U
Pin
I
NOTE
:
A set
of
spare blades can be kept in the
storage area for them inside the grip.
I
8
Screw
:Spare blades
9
 Loading...