

Makita SL 7000 Instruction Manual
Wall sander Instruction manual
Ponceuse murale Manuel d’instructions
Langhalsschleifer Betriebsanleitung
Levigatrice per muri Istruzioni per l’uso
Lijadora de paredes Manual de instrucciones
GB
F
E
D
I
ORIGINAL INSTRUCTION
SL 7000

Symbols
The following show the symbols used for the tool.
Be sure that you under stand their meaning before use.
Symboles
Nous donnons ci-dessous les symboles utilisés pour
l’outil. Assurez-vous que vous en avez bien compris la
signification avant d’utiliser l’outil.
Symbole
Die folgenden Symbole werden für die Maschinen
venwerdet. Machen Sie sich vor der Benutzung
unbedingt mit ihner Bedeutung vertraut.
Simboli
Per questo utensile vengono usati i simboli seguenti.
Bisogna capire il loro significato prima di utilizzare
l’utensile.
Símbolos
A continuación se maestra los simbolos utilizados
con esta herramienta. Asegúrese de que entiende
su significado antes de usarla.
A
2
B C
1
Read instruction manual
Lire le mode d’emploi
Bitte Bediennungsanleitung lesen
Leggete il manuale d’istruzione
Lea el manual de instrucciones
DOUBLE INSULATION
DOUBLE ISOLATION
DOPPELT SCHUTZISOLIERT
DOPPIO ISOLAMENTO
DOBLE AISLAMIENTO
Wear safety glasses
Porter des lunettes de protection
Schutzbrille tragen
Indossare occhiali di protezione
Póngase gafas de seguridad
1
1
3
4

ENGLISH
Explanation of general view
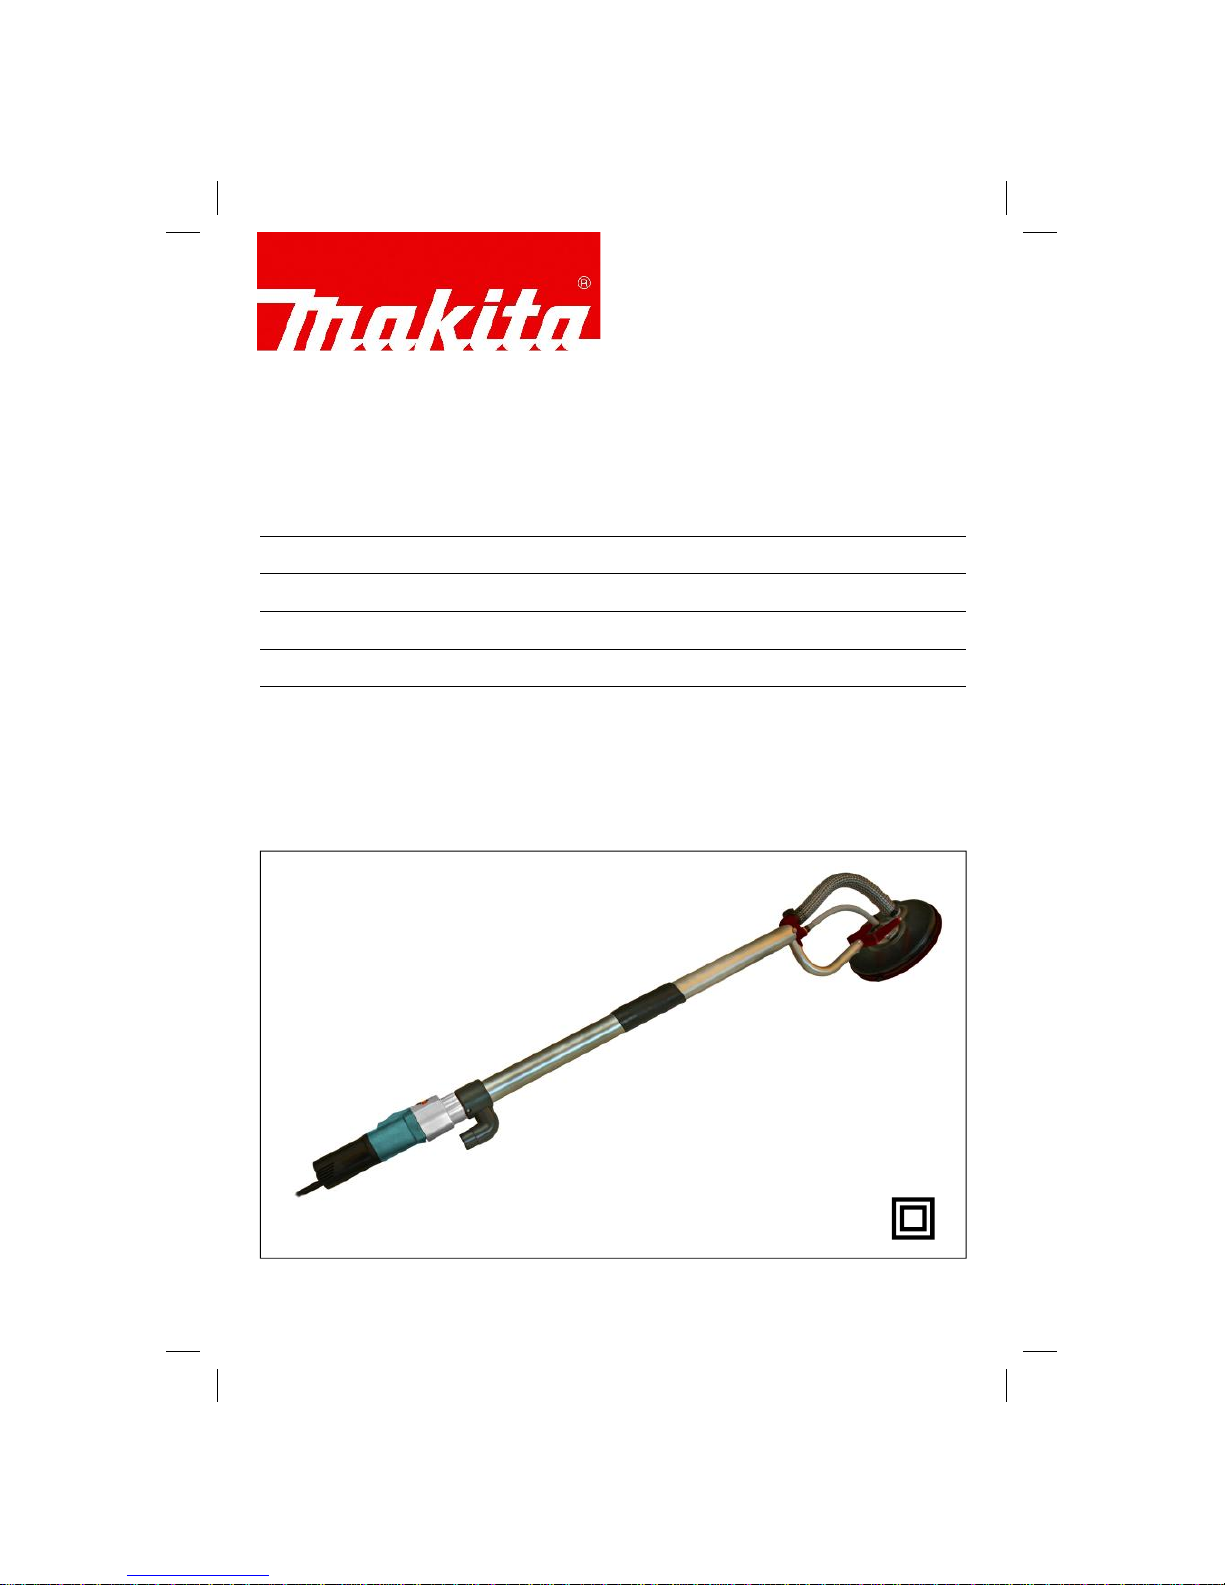
A
Rigging tube
1
Dust suction
4
Electronic speed control
B
Use on the ceiling
2
Mechanical transmission
C
Use on the wall
3
Switch
SPECIFICATIONS
Model …………………………………………...………
SL 7000
Rated power ………………………………………...… 500 W
Rated speed ……...………………………………..…. 800 - 1.450 min
ˉ
¹
Ø max sand paper ………………………………..….. 225 mm
Lenght ………………………………………….…..….. 150 cm
Net weight ………………………………………...…… 4,6 Kg.
Spindle thread ………………………………………... M14
Due to our continuing program of research and
development, the specifications herein are subject to
change without notice.
Note: Specifications may differ country to country.
Power supply
The tool should be connected only to a power supply of
the same voltage as indicated on the nameplate and
can only be operated on single-phase AC supply.
They are double insulated in accordante with European
Standard and can, therefore, also be used from sockets
without earth wire.
Safety hints
For your own safety, please refer to the enclosed
safety instructions.
Safety instructions
1.This power tool is intented to function as a san-
der. Read all safety warnings, instructions, illustrations and specifications provided with this
power tool. Failure to follow all instructions listed
below may result in electric shock, fire and/or serious
injury.
2.Operations such as grinding, polishing, wire
brushing or cutting-off are not recommended to
be performed with this power tool. Operations for
which the power tool was not designed may create a
hazard and cause personal injury.
3.Do not use accessories which are not specifically
designed and recommended by the tool manufacturer. Just becouse the accessory can be attached
to your power tool, it does not assure safe operation.
4.The rated speed of the accessory must be at least
equal to the maximum speed marked on the
power tool. Accessories running faster than their
rated speed can break and fly apart.
5.The outsider diameter and the thickness of your
accessory must be within the capacity rating of
your power tool. Incorrectly sized accessories can-
not be adequately guarded or controller.
6.The arbour size of discs, backing pads or any
other accessory must be properly fit the spindle of the power tool. Accessories with arbour holes
that do not match the mounting hardware of the
power tool will run out of balance, vibrate excessively
and may cause lost of control.
7.Do not use a damaged accessory. Before each
use inspect the accessory such as sanding disc
for chips and cracks or backing pad for cracks. If
power tool accessory is dropped, inspect the
damage or install an undamaged accessory. After
inspecting and installing an accessory, position
yourself and bystanders away from the plane of
the rotating accessory and run the power tool at
maximum no-load speed for one minute. Damaged
accessory will normally break apart during this test
time.
8.Wear personal protective equipment. Depending
on application, use face shield, safety goggles or
safaty glasses. As appropriate, wear dust mask,
hearing protectors, gloves and workshop apron
capable of stopping small abrasive or workpiece
fragments. The eye protection must be capable of
stopping flying debris generated by various operations. The dust mask or respirator must be capable of
filtrating particles generated by your operation. Prolonged exposure to high intensity noise may cause
hearing loss.
9.Keep bystanders a safe distance away from work
area. Anyone entering the work area must wear
personal protective equipment. Fragments of wor-
kpiece or of a broken accessory may fly away and
cause injury beyond immediate area operation.
1

10.Position the cord clear of the spinning
accessory. If you lose control, the cord may be cut
or sagge and your hand or arm may be pulled into
the spinning accesory.
11.Never lay the power tool down untill the
accessory has come to a complete stop. The
spinning accessory may grab the surface and pull
the power tool out of your control.
12.Do not run the power tool while carrying it at
your side. Accidental contact with the spinning
accessory could snag your clothing, polling the
accessory into your body.
13.Regularly clean the power tool’s air vents. The
motor’s fan will draw the dust inside the housing
and excessive accumulation of powdered metal
may cause electrical hazards.
14.Do not operate the power tool near flammable
materials. Sparks could ignite these materials.
15.Do not use accessories that require liquid coo-
lants. Using water or other liquid coolant may result
in electrocution or shock.
KICKBACK AND RELATE WARNINGS
Kickback is a sudden reaction to a pinched or sagge
rotation wheel, backing pad, brush or any other accessory. Pinching or snagging causes rapid stalling of the
rotating accessory which in turn causes the uncontrolled power tool to be forced in the direction opposite of
the accessory’s rotation at the point of the binding.
For example, if an abrasive wheel is sagge or pinched
by the workpiece, the edge of the wheel that is entering
into the pinch point can dig into the surface of the material causing the wheel to climb out or kick out. The
wheel may either jump toward or away from the
operator, depending on direction of the wheel’s movement at the point of pinching. Abrasive wheels may also
break under these conditions.
Kickback is the result of power tool misuse and/or
incorrect operating procedures or conditions and can
be avoided by taking proper precautions as given below.
Maintain a firm grip on the power tool and
position your body and arm to allow you to resist
kickback forces. Always use auxiliary handle, if
provided, for maximum control over kickback or
torque reaction during star-up. The operator can
control torque reactions or kickback forces, if proper
precautions as given below.
Never place your hand near the rotating acces-
sory. Accessory may kickback over your hand.
Do not position your body in the area where
power tool will move if kickback occurs. Kickback
will propel the tool in direction opposite to the wheel’s
movement at the point of snagging.
Use special care when working corners, sharp
edges etc. Avoid bounching and snagging the
accessory. Corners, sharp edges or bouncing have a
tendency to snag the rotating accessory and causes
loss of control or kickback.
Do not attach a saw chain woodcarving blade ot
toothed saw blade. Such blades create frequent
kickback and loss of control.
OPERATING INSTRUCTIONS
IMPORTANT!
The sanding of materials may cause irreparable damage to the health of the operator. Inhaling the dust
produced can cause respiratory diseases, therefore we
strongly recommend using all due precautions to avoid
all risks, in particular the use of approved dust masks
and suction cleaners fitted with fine-dust filters.
The sanding of surfaces coated with lead paint must be
carried out exclusively by qualified staff.
Our sanders are designed and produced for use on
plasterwork, gypsum and other wall facings; we strongly
advise against using the sanders to remove reinforced
concrete.
WARNING!
The electric motor may cut off in the event of excessive
strain. In this case, we recommend switching the
machine off and then rapidly on again.
Handle
The tool's handle (A) has been designed to ensure
optimal hold at all times, and allows awkward, far away
places to be reached more easily than using a classic
sander. Unlike other similar products, the downward
position of the electric motor considerably reduces the
strain to which the machine is put.
In this way, the upper block of the backing plate will
weigh less.
The operator's hand may slide along the aluminium
tube, settling on the handiest, most suitable position.
The handle may be held with either the right or the left
hand.
Finally, the balancing head allows the abrasive disc to
be adapted to the wall to be sanded, without the risk of
scratching or staining.
Starting up and stopping.
Connect the cable to the power supply, checking that
the power corresponds to the voltage indicated on the
motor plate.
Hold firmly onto the sander and switch it on (3).
Unlike other models, the switch is easy to reach, providing a further element of safety.
The switch is designed to prevent accidental start-up.
To switch the sander off, simply press the rear of the
switch lightly and replace it in its housing.
2

Speed adjustment
Rotate the selector (4) on the rear of the electric motor
to adjust the speed of rotation of the abrasive disc.
The sander may make a minimum of 800 and a maximum of 1.450 revolutions per minute.
In general, sanding is less thorough at high speeds
than lower ones.
Always conduct tests before settling on the optimal
speed. The grain of the abrasive disc is an important
factor in the selection of the optimal speed.
Replacing the backing plate
First of all, ensure the tool is not connected to the
power supply.
Then, remove the abrasive disc and the velcroed
sponge backing.
Use the spanner provided to block the central pull shaft
and unscrew the entire backing plate with the other
hand.
Replacing the abrasive disc
The abrasive disc is placed on a velcroed backing for
rapid replacement: pull the disc to be replaced upwards
and replace it with the new one, ensuring the suction
holes coincide with the sponge backing.
There is no need to exert particular pressure as the
disc will adhere by simple handling.
The sponge backing is particularly soft, to avoid
scratches or imperfections forming due to excessive
pressure being exerted on the backing plate.
Connection to a dust vacuum cleaner (1)
For the important reasons specified in the paragraph
dedicated to the operator's safety, we strongly recommend always using the product in conjunction with a
dust vacuum cleaner.
Before every start-up, carefully read the vacuum
cleaner's operating instructions; in the event of a
manual vacuum cleaner, simply switch on the machine.
MAINTENANCE
Caution
Always be sure that the tool is switched off and un-
plugged before attempting to perform inspection or
maintenance.
Never use gasoline, benzine, thinner, alcohol or the
like. Discoloration, deformation or cracks may result.
The tool and its air vents have to be kept clean. Regularly clean the tool’s air vents or whenever the vents
atart to become obstructed.
To maintain product SAFETY and RELIABILITY, repairs, carbon brush inspection and replacement, any
other maintenance or adjustment should be performer
by Makita Authorized Service Centers, always using
Makita replacement parts.
SAVE THESE INSTRUCTIONS
3

FRANÇAIS
Descriptif
A
Tube de manoeuvre
1
Aspiration des poussières
4
Cadran de réglage de la vitesse
B
Utilisation sur le plafond
2
Transmission flexible
C
Utilisation sur le mur
3
Interrupteur
Etant donné l’évolution constante de notre program-
me de recherche et de développement, les spécifications contenues dans ce manuel sont sujettes à
modifications sans préavis.
Note: Les spécifications peuvent varier suivant les
pays.
Alimentation
L’outil ne devra être raccordé qu’à une alimentation de
la même tension que celle qui figure sur le plaque
signalétique, et il ne pourra fonctionner que sur un
courant secteur monophasé.
Réalisé avec une double isolation, il est conforme à la
réglementation européenne et peut de ce fait être
alimenté sans mise à la terre.
Conseils de sécurité
Pour votre propre sécurité, reportez-vous aux con-
segne de sécurité qui accompagnent l’outil.
Consignes de sécurité
1.Cet outil électrique est conçu pour être utilisé en
tant que ponceuse murale. Veuillez lire les consegnes de sécurité, instructions, illustrations et
spécifications qui accompagnent cet outil électrique. Il y a risque de choc électrique, d’incendie et/ou
de blessure grave si les instructions ci-dessous ne
sont pas toutes respectées.
2.Il est recommandé de ne pas effectuer de travaux
de meulage, polissage, brossage ou à tronçonner. Il y a risque de danger et de blessure si l’outil
électrique est utilisé pour exécuter des travaux pour
lesquels il n’a pas été conçu.
3.N’utilisez pas d’accessoires non spécifiquement
conçus et recommandés par le fabricant de l’outil. Même s’il est possible de fixer un accessoire à
l’outil électrique, cela ne garantit pas qu’il fonctionnera de manière sûre.
4.La vitesse nominale de l’accessoire doit être au
moins égale à la vitesse maximale indiquée sur
l’outil électrique. Les accessoires utilisés à une
vitesse supérieure à leur vitesse nominale peuvent se
casser et voler en énclats.
5.Le diamètre extérieur et l’éoaisseur de l’accessoi-
re ne doivent pas dépasser la capacité nominale
de l’outil électrique. La maîtrise et la protection des
accessoires de format incorrect ne peuvent être
garantis.
6.La taille de l’alésage des meules, flasques, gemel-
le ou autres accessoires doit être bien adaptée à
la taille de l’axe de l’outil électrique. Un accessoire
dont les àlesages ne sont pas bien adaptés à la taille
de la pièce où il est monté sur l’outil électrique se
déséquilibrera, vibrera trop et pourra entraîner une
perte de maîtrise de l’outil.
7.N’utilisez jamais un accessoire endommagé.
Avant chaque utilisation, assurez-vous que le
papier abrasif est exempt de copeaux et fissures,
déchiré ou trop usé. Si vous échappez l’outil
électrique ou un accessoire, assurez-vous qu’il
n’est pas endommagé et remplacez-le en case de
dommage. Après avoir vérifié et installé un accessoire, assurez-vous que personne, y compris
vous même, ne se trouve au même niveau que
l’accessoire rotatif, et faites tourner l’outil électrique à vitesse maximale, sans charge, pendant
une minute. Normalement l’accessoire se cassera
lors de ce test s’il est endommagé.
8.Portez des dispositifs de protection personelle.
Suivant le type de travail à effectuer, utilisez un
écran facial, des lunettes étanches ou des lunettes de sécurité. Selon le cas, portez un masque
antipoussiéres, des protecteurs d’oreilles, des
gants ou un tablier de travail assurant une protection contre les petits éclats de disque abrasif ou
de l’accessoire.
SPÉCIFICATIONS
Modèle …….……………...…...……………….…..……
SL 7000
Puissance …………….….……………………………… 500 W
Vitesse à vide ………..…………………………………. 800 - 1.450 min
ˉ¹
Ø Papier abrasif ………….…………………………….. 225 mm
Longueur ….…………………………………………….. 150 cm
Poids net ……...………………………………………… 4,6 Kg.
4

MODE D’EMPLOI
Les ponceuses ont été étudiées et réalisées pour l'utilisation sur les enduits, gypse et divers types de revêtements; par contre, il n'est pas conseillé d'enlever le
béton armé avec cet outil.
ATTENTION!
Le moteur électrique peut arrêter de fonctionner en cas
d'effort excessif; alors il est recommandé de pousser
l'interrupteur pour l'éteindre et pour le démarrer aussitôt.
La poignée supplémentaire
La position de la poignée (A) a été étudiée et réalisée
pour garantir une prise parfaite et sûre de l’outil et
permet d'atteindre les lieux du travail plus distants ce
que l'on peut faire avec une structure classique. La
main peut glisser sur le tube d'aluminium pour trouver
une position du travail plus adéquate et plus confortable. La poignée est ambidextre. L'outil permet d'ajuster
continuellement le disque abrasif à la surface du travail
en évitant de laisser des griffures et des traces.
La protection des yeux doit pouvoir arrêter les débris
éjectés lors des divers travaux. La masque antipoussières ou le masque filtrant doit pouvoir filtrer les
particules générées lors des travaux. L’exposition
prolongée à un bruit d’intensité élevée peut entraîner
la surdité.
9.Assurez-vous que les curieux demeurent à une
distance sûre de la zone de travail. Toute
personne pénétrant dans la zone de travail doit
porter des dispositifs de protection personelle.
Des fragments de pièce ou un accessoire cassé
peuvent être éjectés et blesser les personnes
présentes dans la zone de travail.
10. Placez le cordon à l’écart de l’accessorie tour-
nant. Si vous perdez la maîtrise de l’outil, vous
risquez de couper ou d’accrocher le cordon, et
l’accessoire tournant risque de vous happer une
main ou un bras.
11. Ne déposez jamais l’outil électrique avant que
l’accessoire n’ait complètement cessé de tourner. L’accessoire tournant risquerait d’accrocher la
surface et d’entraîner une perte de maîtrise de
l’outil électrique.
12. Ne lassez pas tourner l’outil électrique lorsque
vous le transportez. L’accessoire tournant risquerait d’entrer accidentellement en contact avec vos
vêtements et d’être ensuite attiré vers votre corps.
13. Nettoyez régulièrement les orifices de ventila-
tion de l’outil électrique. Le ventilateur du moteur
attire la poussière à l’intérieur du carter et l’accumulation excessive de poudre métallique peut causer
un danger électrique.
14. N’utilisez pas l’outil électrique près des maté-
riaux inflammables. Les étincelles peuvent allumer
ces matériaux.
15. N’utilisez pas d’accessoires pour lesquels l’utili-
sation d’un liquide de refroidissement est nécessaire. L’utilisation d’eau ou d’un liquide de
refroidissement comporte un risque d’électrocution
ou de choc électrique.
MISE EN GARDE CONCERNANT LES CHOC EN
RETOUR
Le choc en retour est une réaction soudaine qui survient lorsque la meule, la semelle, la brosse ou un
autre accessoire en rotation se coince ou accroche, il
s’arrête soudainement et l’utilisateur perd alors la maîtrise de l’outil électrique projeté dans le sens contraire
de sa rotation au point où il se coince dans la pièce.
Par exemple, si une meule abrasive accroche ou se
coince dans la pièce, son tranchant risque d’y creuser
la surface du matériau, avec pour conséquence que la
meule remontera ou rebondir. La meule risque alors de
rebondir vers l’utilisateur ou en sens opposé, suivant
son sens de déplacement au point où elle se coince
dans la piéce. Dans de telles situations, la meule abrasive risque aussi de casser.
Le choc en retour est le résultant d’une mauvaise utilisation de l’outil électrique et/ou de procédures ou conditions inadéquates de travail. Il peut être évité en prenant les mesures appropriées, tel qu’indiqué cidessous.
Maintenez une poigne ferme sur l’outil électrique,
et placez corps et bras de façon à assurer une
bonne résistance aux forces de choc en retour.
Utilisez toujours la poignée auxiliaire lorsque
cette dernière est disponible, pour assurer une
maîtrise maximale de l’outil en cas de choc en
retour ou de réaction de couple au moment du
démarrage. L’utilisateur peut maîtriser l’effet de la
réaction de couple ou du choc en retour s’il prend les
précautions nécessaires
Ne placez jamais la main près d’un accessoire en
rotation. L’accessoire risquerait de passer sur la
main en cas de choc en retour.
Ne vous placez pas dans la zone vers laquelle
l’outil électrique se déplacera en cas de choc en
retour. Le choc en retour projettera l’outil dans le
sens opposé au mouvement de la meule au point où
elle accroche dans la pièce.
Soyez tout particulièrement prudent lorsque vous
travaillez dans les bords tranchant, etc. Évitez de
laisser l’accessoire rebondir ou accrocher. L’ac-
cessoire en rotation a tendance à accrocher, entraînant une perte de maîtrise ou un choc en retour, au
contact des coins et des bords tranchants, ou lorsqu’il
rebondit.
Ne fixez pas de lame de tronçonneuse ou de lame
dentée. De telles lames causent fréquemment des
choc en retour et des pertes de maîtrise.
5
 Loading...