

Page 1
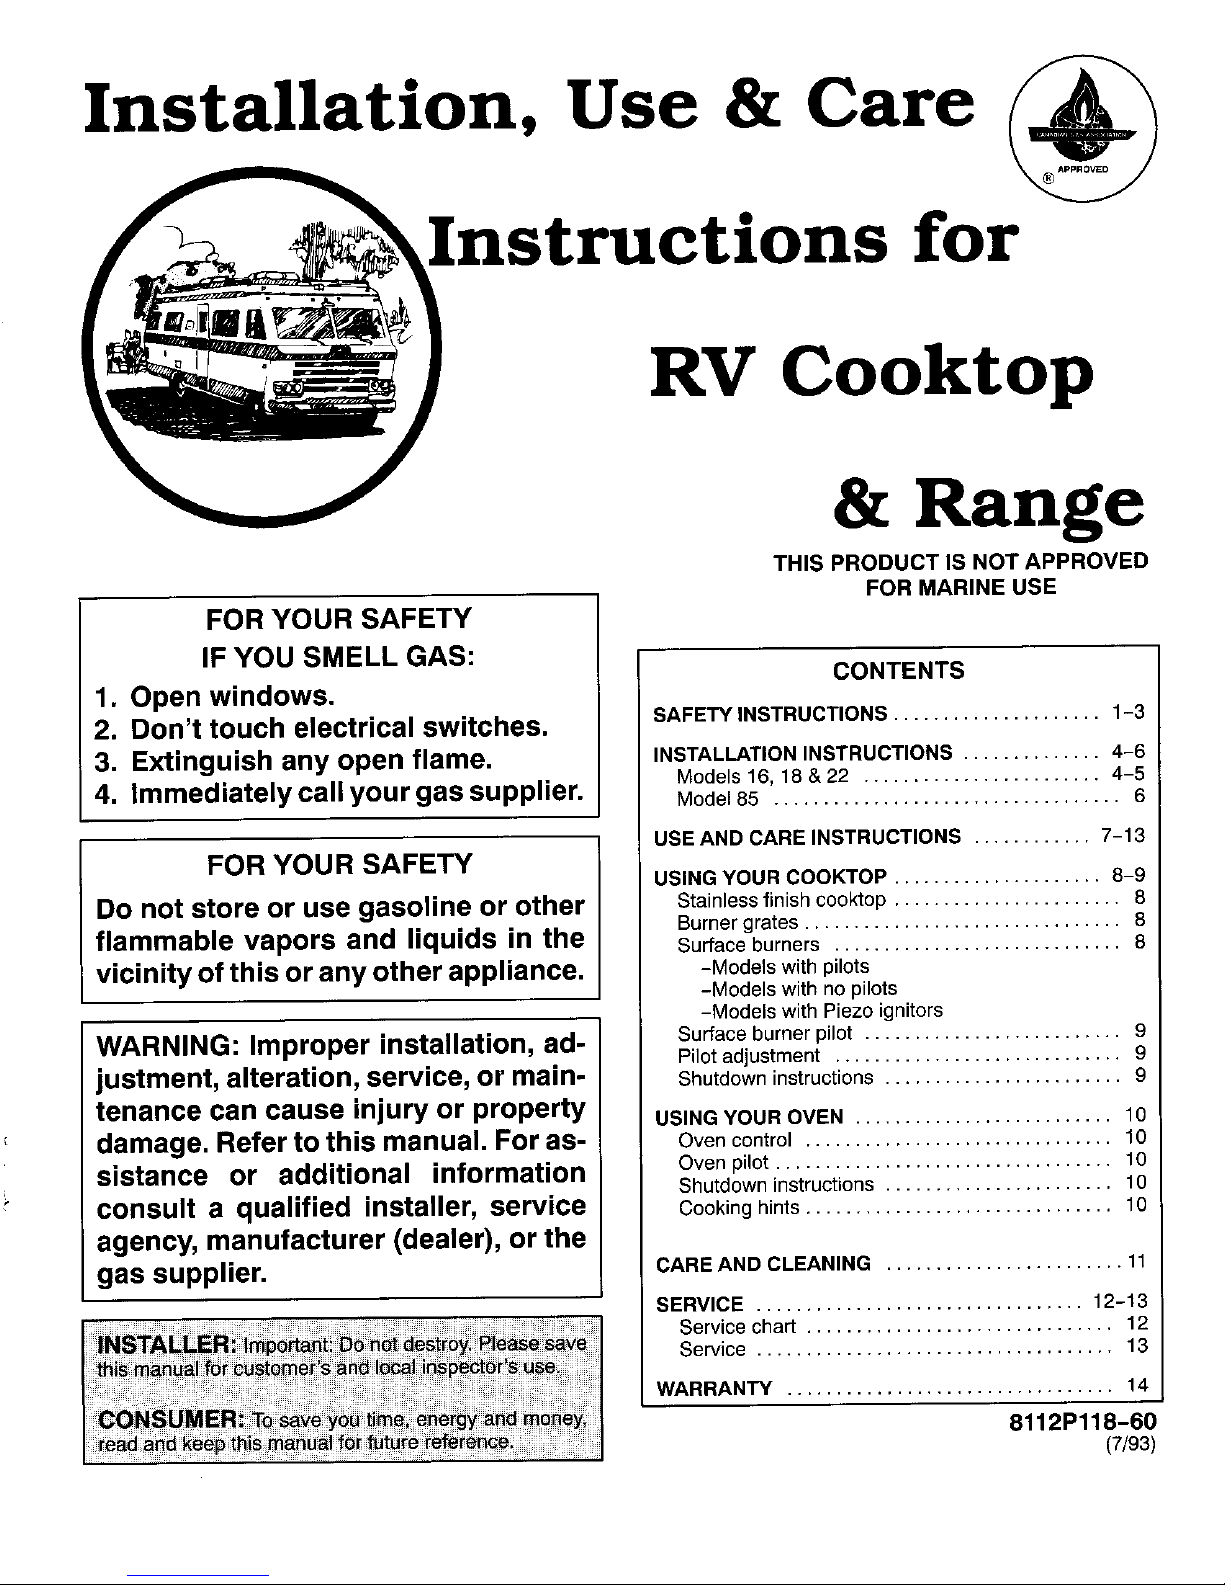
Installation, Use & Care
" for
RV Cooktop
& Range
THIS PRODUCT IS NOT APPROVED
FOR MARINE USE
FOR YOUR SAFETY
IF YOU SMELL GAS: CONTENTS
1. Open windows.
2. Don't touch electrical switches. SAFETYINSTRUCTIONS..................... 1-3
3. Extinguish any open flame. INSTALLATIONINSTRUCTIONS.............. 4-6
Models16, 18 &22 ........................ 4-5
4. Immediately call your gas supplier. Model 85 ................................... 6
USEAND CARE INSTRUCTIONS ............ 7-13
FOR YOUR SAFETY
USING YOUR COOKTOP ..................... 8-9
Do not store or use gasoline or other Stainlessfinishcooktop....................... 8
Burnergrates ................................ 8
flammable vapors and liquids in the Surface burners ............................. 8
vicinity of this or any other appliance. -Modelswithpilots
-Models with nopilots
-Models with Piezoignitors
WARNING: Improper installation, ad- Surface burner pilot .......................... 9
Pilot adjustment ............................. 9
justment, alteration, service, or main- Shutdown instructions ........................ 9
tenance can cause injury or property USINGYOUROVEN.......................... 10
damage. Refer to this manual. For as- Ovencontrol............................... 10
sistance or additional information Ovenpilot.................................. 10
Shutdown instructions ....................... 10
consult a qualified installer, service Cooking hints ............................... 10
agency, manufacturer (dealer), or the
gas supplier. CAREAND CLEANING ........................ 11
SERVICE ................................. 12-13
Service chart ............................... 12
Service .................................... 13
WARRANTY ................................. 14
8112Pl18-60
(7/93)
Page 2
SAFETY INSTRUCTIONS
No cooking appliance should be used Turn offall controlsand wait for range
as a space heater. This instruction is partsto coolbeforetouchingorcleaning
based on safety considerations to pre- " them. Do not touch the burner gratesor
vent potential hazard to the consumer surrounding areas until they have had
as well as damage to the appliance, sufficient timeto cool.
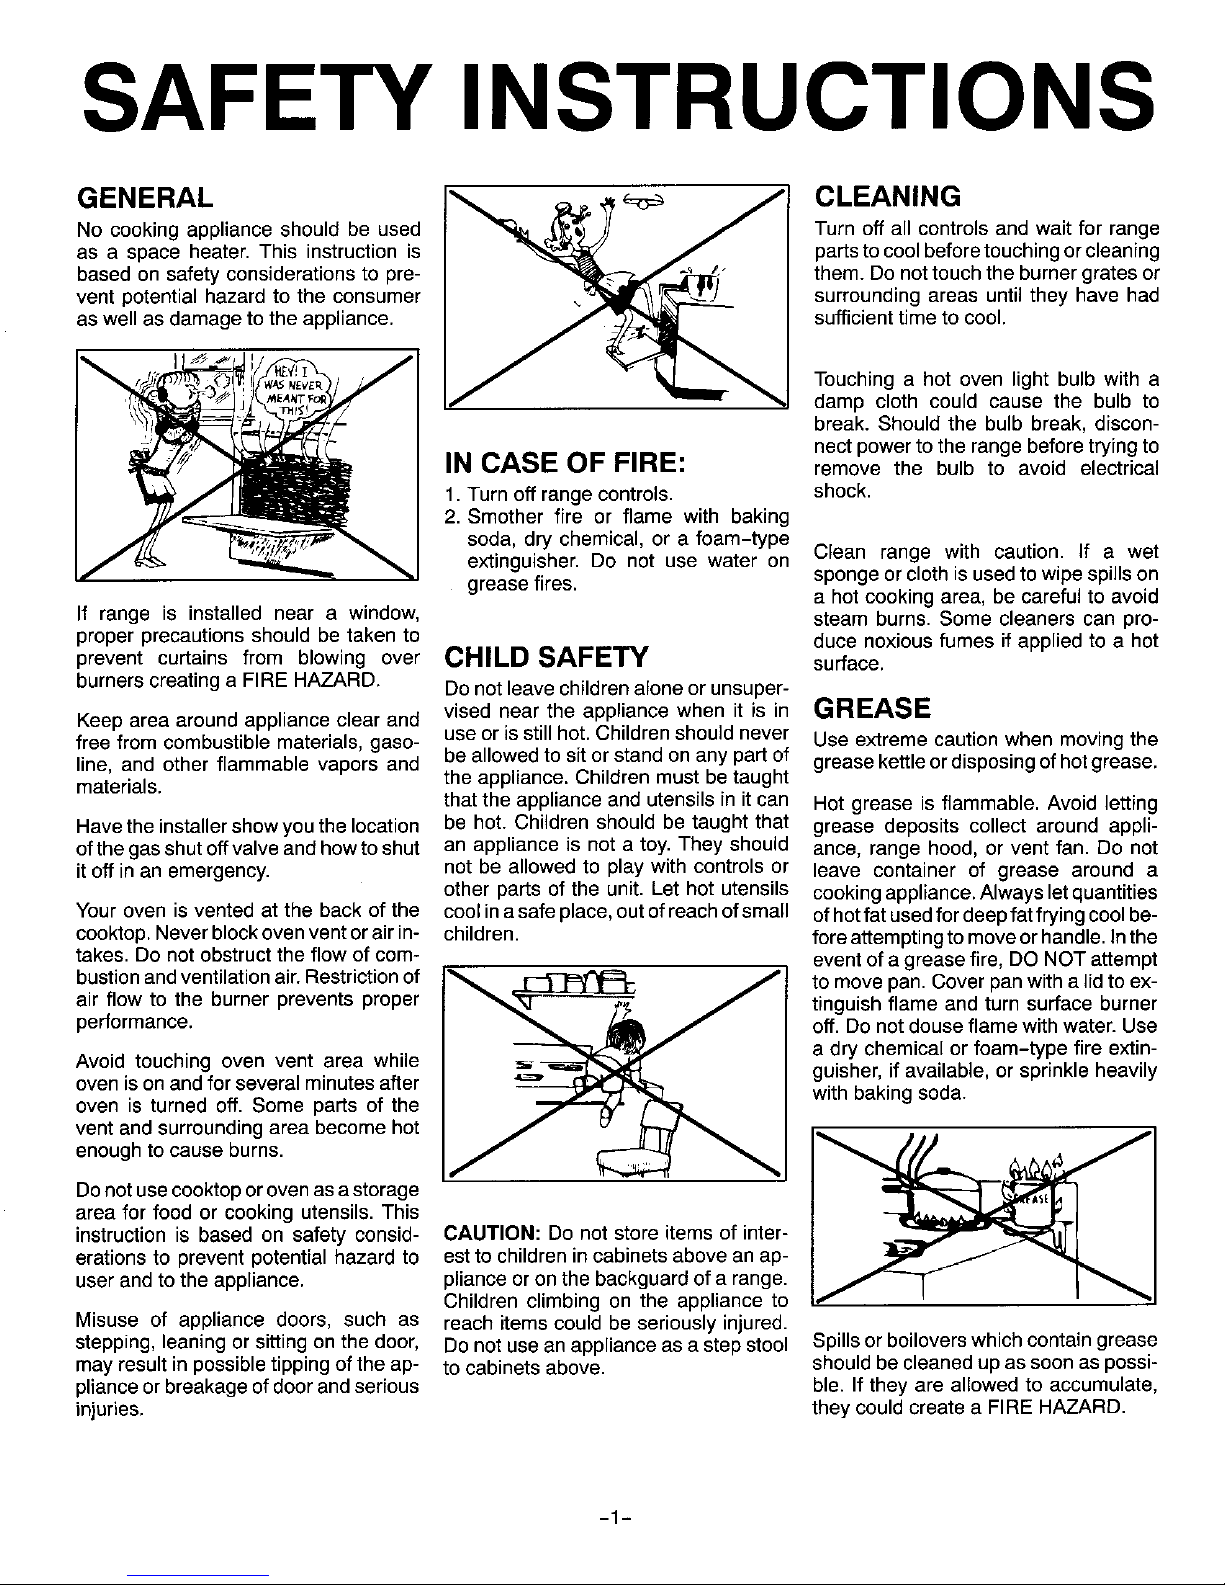
Ilfw_-_;_;,_,/_" Touching a hot oven light bulb with a
tL._:_o_j_" damp cloth could cause the bulb to
__ break. Should the bulb break, discon-nectpower to therange beforetrying to
IN CASE OF FIRE: remove the bulb to avoid electrical
1.Turn off range controls, shock.
2. Smother fire or flame with baking
soda, dry chemical, or a foam-type
extinguisher. Do not use water on Clean range with caution. If a wet
sponge or cloth is used towipe spills on
grease fires, a hotcooking area, be careful to avoid
If range is installed near a window, steam burns. Some cleaners can pro-
proper precautions should be taken to duce noxious fumes ifapplied to a hot
prevent curtains from blowing over CHILD SAFETY surface.
burnerscreating a FIRE HAZARD. Do not leave childrenalone or unsuper-
Keep area around appliance clear and vised near the appliance when it is in GREASE
free from combustible materials, gaso- use or is still hot. Children should never Use extreme caution when moving the
line, and other flammable vapors and be allowed to sit or stand on anypart of grease kettle ordisposing of hotgrease.
materials, the appliance. Children must be taught
that the appliance and utensils in it can Hot grease is flammable. Avoid letting
Havethe installershowyou the location be hot. Children should be taught that grease deposits collect around appli-
ofthegas shutoffvalve and howto shut an appliance is not a toy. They should ance, range hood, or vent fan. Do not
it off in an emergency, not be allowed to play with controls or leave container of grease around a
other parts of the unit. Let hot utensils cookingappliance.Always letquantities
Youroven is vented at the back of the coolina safe place,outofreachofsmall ofhotfatusedfordeepfatfryingcoolbe-
cooktop. Neverblockoven ventor airin- children, foreattemptingto moveorhandle. Inthe
takes. Do not obstruct the flow of com- event of a greasefire, DONOTattempt
bustionandventilationair.Restrictionof _,_.rt_e_Jt_e_ to move pan. Cover panwith a lidto ex-
air flow to the burner prevents proper __j ,,,_ tinguish flame and turn surface burner
performance, off. Do not douse flame with water. Use
a dry chemical or foam-type fire extin-
Avoid touching oven vent area while guisher, if available, or sprinkle heavily
oven isonand for severalminutes after with baking soda.
oven is turned off. Some parts of the
vent and surroundingarea become hot
enoughtocause burns. "_"_//_ _,h,^_.J
Donot usecooktopor ovenas astorage
area for food or cooking utensils. This
instruction is based on safety consid- CAUTION: Do not store items of inter-
erations to prevent potential hazard to estto children in cabinets above anap-
user and tothe appliance, pliance or onthe backguardof a range.
Children climbing on the appliance to
Misuse of appliance doors, such as reach items could be seriously injured.
stepping, leaning or sitting on the door, Donot use an appliance as a step stool Spillsor boiloverswhich contain grease
mayresult in possible tipping of the ap- to cabinets above, should becleaned upas soon as possi-
plianceor breakage ofdoor and serious ble. If they are allowed to accumulate,
injuries, theycould create a FIREHAZARD.
-1-
Page 3
SAFETY INSTRUCTIONS
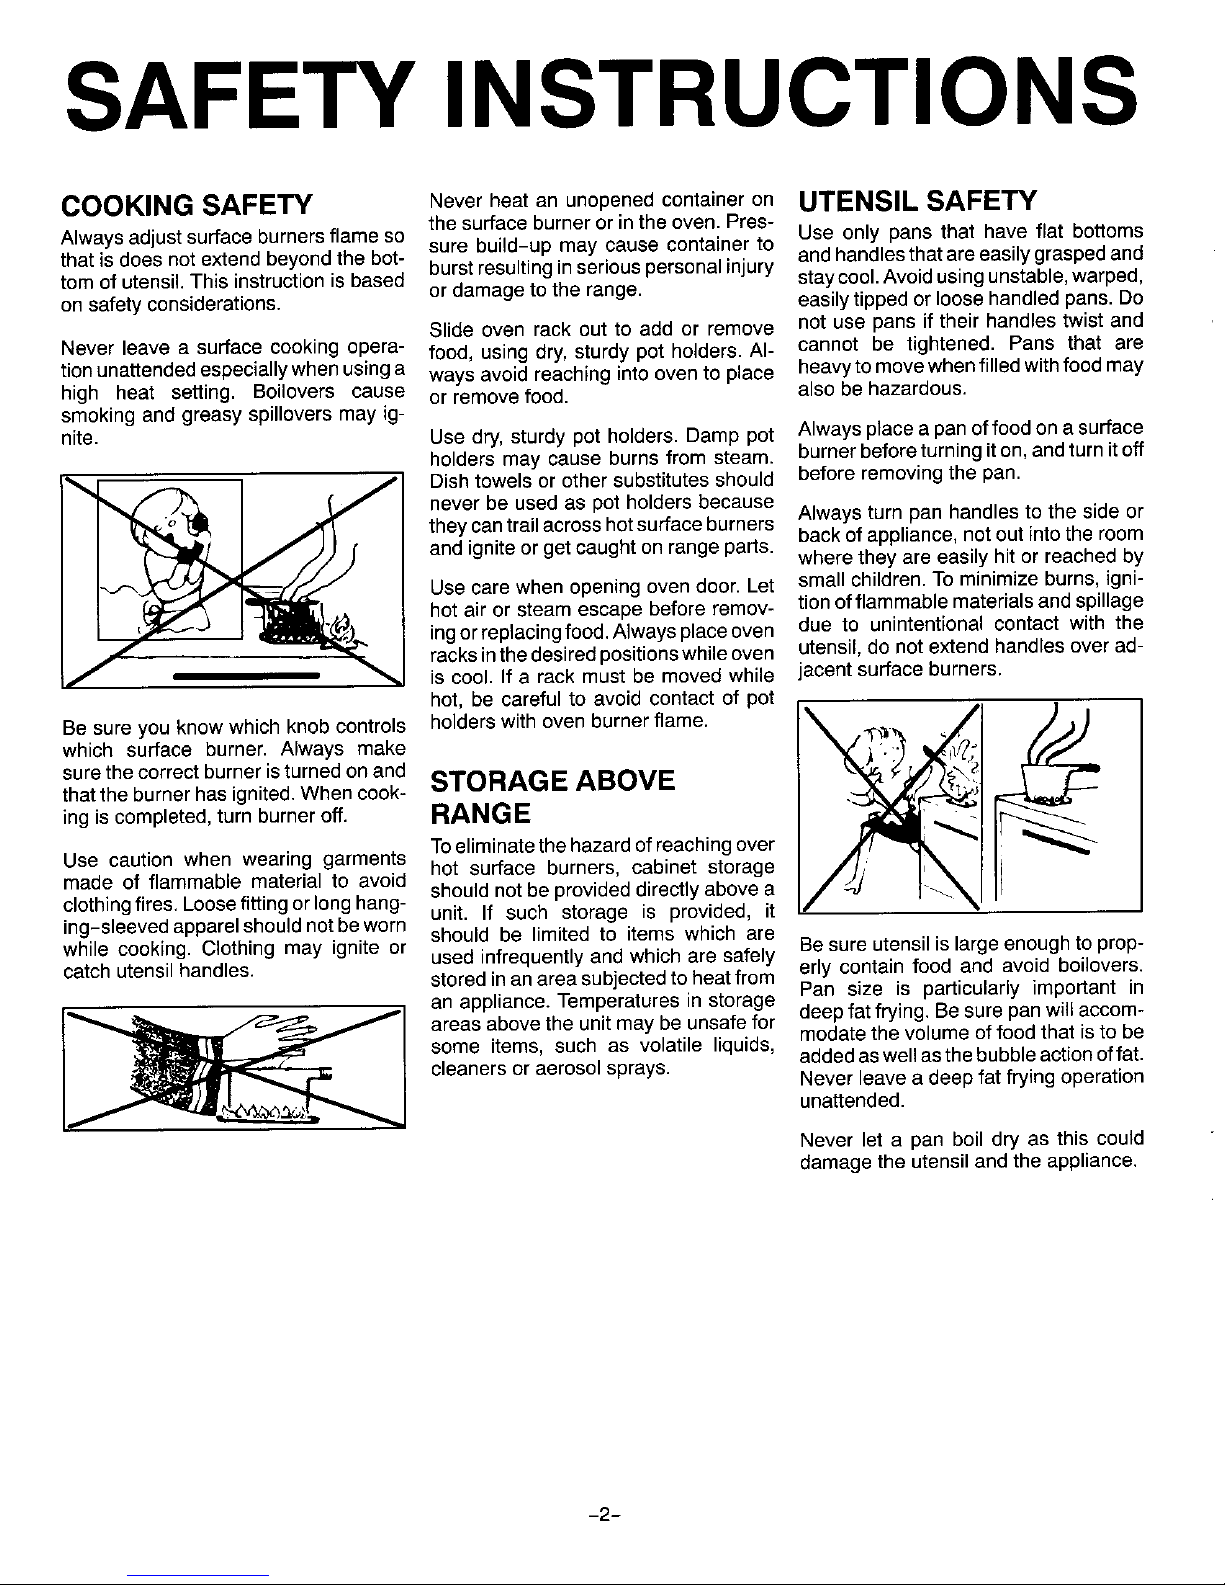
COOKING SAFETY Never heat an unopened container on UTENSIL SAFETY
Always adjustsurface burnersflame so the surface burner or inthe oven. Pres- Use only pans that have flat bottoms
sure build-up may cause container to
that is does notextend beyond the bet- burst resultingin seriouspersonal injury andhandlesthat areeasily grasped and
staycool. Avoidusing unstable,warped,
tom of utensil.This instruction is based or damageto the range.
on safety considerations, easilytipped or loose handled pans. Do
Slide oven rack out to add or remove not use pans if their handles twist and
Never leave a surface cooking opera- food, using dry,sturdy pot holders. AI- cannot be tightened. Pans that are
tionunattendedespeciallywhenusinga ways avoid reaching into oven to place heavytomovewhenfilledwithfoedmay
high heat setting. Believers cause or remove food. also be hazardous.
smoking and greasy spillovers may ig-
nite. Use dry,sturdy pot holders. Damp pot Alwaysplace a panof foodon a surface
holders may cause burns from steam, burnerbeforeturning it on, andturn itoff
Dishtowels or other substitutes should before removing the pan.
never be used as pot holders because Alwaysturn pan handles to the side or
theycan trailacross hotsurface burners
and igniteor getcaught on range parts, backof appliance, not out intothe room
where they are easily hit or reached by
Use care when opening oven door.Let small children. To minimize burns, igni-
hot air or steam escape before remov- tionofflammable materials and spillage
ingorreplacingfood.AIwaysplaceoven due to unintentional contact with the
racksinthedesired positionswhileoven utensil,do not extend handles over ad-
is cool. If a rack must be moved while jacent surfaceburners.
hot, be careful to avoid contact of pot
Be sure you know which knob oontrols holderswith oven burner flame. _l_)__
which surface burner. Always make
surethe correct burneristurned onand _-_¢ _'_ _'_._1
thatthe burner has ignited.Whencook- STORAGE ABOVE _:';
ing is completed, turn burneroff. RANG E
Toeliminatethehazardofreachingover
Use caution when wearing garments hot surface burners, cabinet storage
made of flammable materialto avoid shouldnotbe provideddirectlyabovea
clothingfires,Loesefittingorlonghang- unit. If such storage is provided, it
ing-sleevedapparelshouldnetbeworn should be limitedto items which are
whilecooking. Clothingmay ignite or used infrequentlyand which are safely Besureutensilis largeenoughtoprop-
catch utensilhandles, storedinanarea subjectedtoheatfrom erly containfood and avoid believers.
an appliance.Temperaturesin storage Pan size is particularly important in
areas abovethe unitmay be unsafefor deep fatfrying. Be surepanwillaccom-
I_ some items, such as volatile liquids, modatethevolume°ffo°dthatistobe
added aswell asthe bubbleactionoffat.
cleaners oraerosol sprays. Never leave a deep fat frying operation
unattended.
Never let a pan boil dry as this could
damagethe utensiland the appliance.
-2-
Page 4

SAFETY INSTRUCTIONS
ALUMINUM FOIL IMPORTANT SAFETY VENTILATING HOOD
UsealuminumfoilONLYasinstructedinNOTICE AND WARNING Toreducethehazardofstorageabovea
thisbook.Improperuseofaluminumfoil range,installaventilatinghoodthatpro-
maycausedamageto the oven,affect The CaliforniaSafe DrinkingWaterand jectsat least 5 inchesbeyondthe bot-
cookingresults,and can also resultin ToxicEnforcementActof 1986 (Propo- tom edge of the cabinets. Clean hood
shockand/orfirehazards, sition65) requirestheGovernorofCall- frequentlytopreventgreasefromaccu-
fornia to publisha list of substances mulatingon hood oritsfilter. Shoulda
knowntotheStateofCalifomiatocause boiloveror spilloverresultin an open
PLASTICS cancer or reproductive harm, and re- flame, immediately turn off the hood's
Many plastics are vulnerable to heat. quires businessestowarn customers of fan to avoid spreading the flame. After
Keepplasticsawayfrom partsoftheap- potential exposures to such sub- thoroughly extinguishing flame, the fan
pliance that may become warm or hot. stances, maybe turned onto remove unpleasant
odoror smoke.
AEROSOL SPRAYS Users of this appliance are hereby
Manyaerosol-typespray cansare EX- warnedthatthe burningof gas can re-
PLOSIVE when exposed to heat and sultinlow-levelexposuretosome ofthe
may be highly flammable.Avoidtheir listed substances,including benzene,
use orstoragenearan appliance, formaldehydeandsoot,dueprimarilyto
the incompletecombustionof natural
gasor liquidpetroleum(LP)fuels.Prop-
erly adjustedburnerswill minimizein-
complete combustion. Exposure to
these substances can also be mini-
mizedbyproperlyventingthe burnersto
theoutdoors.
-3-
Page 5

INSTALLATION INSTRUCTIONS
FOR R.V. RANGES 16, 18 & 22 SERIES
IMPORTANT - "THIS PRODUCT IS NOT APPROVED FOR MARINE USE."
NOTE TO INSTALLER: ceptacle directly behind the range (forcorrect location
Alwayscheckwithlocalandstatecodesbeforeinstallation, see sketch below.) On range withsuffix letter "V" in
Requirementsbeyondthoseasshownmay affectthesein- modelnumberconnect12 voltDC-power tothetagged
structions,forwhichthe manufactureris notresponsible, wires.
Theinstallationofappliancesdesignedfor recreationalve- 3. Placerange in openingand fasten in place.Six screw
hiclesmustconformwithstateorprovincialcodes,orinthe holesthat areprovidedarelocatedatpointsAA andBB.
absenceofsuchcodes,withtheStandardforRecreational A minimumoffourscrewsmustbeusedtofastenrange.
VehiclesANSI/NFPA No.501C-1990. Recreationalvehiclemanufacturersmay use appropri-
ateholesasfoundnecessarytosuittheapplication.Use
C.G.A. range must be installedin accordancewith CAN/ No.8 flat head woodscrews.
CSA Z240.4 Series Standards, "Gas equippedrecrea-
tionalvehiclesandmobilehomes"and/orlocalcodeshav- 4. Make gas connectionsand checkfor leakswithsoapy
water.Do not check for leaks with open flame.
ing jurisdiction.Minimum clearance from countertopto
combustibleceilingas approvedby U.L. is 24", C.G.A. is 5. CAUTION: Inletpressureshouldbebetween11inches
19". watercolumnand14 incheswatercolumn.
INSTALLATION WARNING: PorcelainEnamel is glass which has been
1.Cutopeningas shownbelow(rangecan be suspended fusedtometal.Itisthoroughlyinspectedandwillgivegood
fromtopflange;no othersupportisnecessary.) serviceifcarefullyhandled,butit is breakableandcannot
be guaranteed.Likeallglassorporcelainarticles,wecan-
2. Rangeequippedwith a 120 voltlight in the oven willre- notreplaceenamel partsthat aredamaged afterdeliveryto
quirethe installation of a 120Vthree prong groundedre- carriers except at customer's expense.
1HE COIJNTE_TOP 7/8" N,TN.
DZSTANCE TO VE_TZCL_ REAR WALL.
I
12m
20 # _-120 VAC GROUNDED
NOTE: Clearance spaces _ tz_Eouz_)
shall be framed in or ="
guarded to prevent storage
space within the clearance MODEL CUTOUTnT.j"/ PIPE LOC._/ FRONTVZEU
specified. Cabinet enclo- 16 _/ 17/8" /
sures shall be designed to 18 18 1/16 / 17/8" I
prevent draftsthat will affect
/ /
pilotstability. 22 21 13/16" / 2 5/8" /
-4-
Page 6

INSTRUCTIONS FOR PROPER ADJUSTMENT
OVENSECTION
1. Theoven thermostatin thisrangewiltenable youto turn NOTE:A unithaving an externalelectricalsupply mustbe
offtheOvenConstantPilotbysimplyturningthethermo- electricallygroundedinaccordancewithNationalElectric
statdialto the "OFF" position.Tolightovenpilot,push Code.ANSI/NFPA No. 70-1990. In Canada CAN/CSA -
the Controlknob and rotatecounterclockwiseto the C22.2 ElectricalCode.
"OVEN PILOT ON" positionand then lightthe oven
standingpilot. WIRING DIAGRAM FOR MODELS WITH
EXTERNAL ELECTRICAL SUPPLY
2. The air shutterhas been adjustedat the factory,how-
ever,itmay requiresome additionaladjustmentwhen ! 20 VOLTS N
used at high altitudes. (12 VOLTS +) (_)
3. Toadjust, open the air shutter to the full open position
whereyou will have a blowing condition. Begin closing
the shutter slowly, when you reach the correct adjust-
mentthe blowing will stop and the burner shouldhave a
sharp blue flame approximately 3 inches long.
4. There is no oven pilot adjustment onthe thermostat,the 0 V F"N
controlhas been factory presetfor use on LP gas, no L IGHT LAMP
fieldadjustment necessary. SWITCH /.... ,
TOP SECTION _ L_.._e/_
BLK
1. On models equipped with a top burner pilot adjustthe L m J _s
toppilotsothatthetipoftheflameisjustovertheedgeof
theinnerconeandthe lightingofthe burnersiswithin4
seconds.
ELECTRICAL REQUIREMENTS AND
GROUNDING INSTRUCTIONS FOR
120V 60HZ AC (IF EQUIPPED)
RECOMMENDED GROUNDING METHOD
Observeallgoverningcodes and ordiances.All ranges re-
quiring electrical supply must be grounded.
If this appliance is factory equipped with a power supply RATING PLATELOCATION
cord it has a three-pronged grounding plug. It must be Therating plate is located underthe cooktop. (Seeillustra-
plugged intoa matinggrounding type receptaclein accor- tion.) This plate lists the following information:
dance with National Electrical Code and applicable local
codes and ordinances. If the circuit does not have a 1. Modelnumber, serial numberand speccode number of
grounding type receptacle, it is the responsibility and obli- your range.
gation ofthe customerto changethe existingreceptacleto 2. When inquiringabout your range,be sure to includethe
a propergrounded receptacle in accordance with the Na- model number,serial numberand speccode alongwith
tional ElectricalCodeand applicablelocal codes and ordi- your inquiry.
nances. THE THIRD GROUNDING PRONG SHOULD
NOT,UNDER ANY CIRCUMSTANCES, BECUT OR RE-
MOVED as it provides protection against shock haz-
ird.
POWERSUPPLYCORD
WITH3 PRONG
GROUNDINGPLUG
0 \
""RATINGPLATE
GROUNDINGTYPE _ y
WALLRECEPTACLE
FIGURE 1
--S--
Page 7

INSTALLATION INSTRUCTIONS
FOR R.V. COOKTOP 85 SERIES
IMPORTANT - "THIS PRODUCT IS NOT APPROVED FOR MARINE USE."
NOTE TO INSTALLER: 2. Align the 3/8" gas supply line with the hole provided in
Always checkwithlocalandstate codesbefore installation, burner box so it will slide into place when the range is
Requirementsbeyondthoseas shown mayaffectthese in- placed intothe opening.
structions, for which the manufacturer is not responsible. 3. Placethe range in position and fasten down with four
woodscrews through holes provided in the sidetrim Io-
The installationofappliances designedfor recreational ve- cated at point "A" in the diagram below.
hiclesmustconform with state orprovincialcodes, or inthe 4. Connect gas supply line.
absence of suchcodes,withthe Standardfor Recreational
Vehicles ANSI/NFPA No. 501C-1990. 5. Checkall gas connectionsfor leakswith soap andwater
solution. Do not use open flames for checking gas
leaks.
C.G.A. range must be installed in accordance with CAN/
CSA Z240.4 Series Standards, "Gas equipped recrea- 6. CAUTION: Inlet pressure should be between 11inches
tionalvehicles and mobile homes"and/or localcodes hav- water column and 14 inches water column.
ing jurisdiction. Minimum clearance from countertop to
combustible ceiling as approved by U.L.is 24"" C.G.A. is WARNING: Porcelain Enamel is glass which has been
19". fusedto metal. It isthoroughly inspectedand will givegood
service ifcarefully handled,but it isbreakable and cannot
beguaranteed. Like all glass or porcelain articles,we can-
INSTALLATION notreplaceenamel partsthat are damaged afterdeliveryto
1. Cut opening in accordance with diagram shown below, carriers except at customer's expense.
Min. Vertical _ _ 18 9/16"
BackWall 7/8" ! I _ ,,
to Vertical _ _,, _
TI I'h--" IJ
4 3/8"-_}---J._,__ If countertop has overhang, it must be
FrontCut-out ___._-217/16/;_ notched to suit 21 7/16" dimension. _.._._l_ _ j_ /2"
20 1/2 . t_ . _ ]-_.J 7 _,.
_ j],_.__ 20 1/2" --_ Countertop overhang in excess of 1 will P
require radius return to trim of range.
Minimum clearances zero from intergral
casing spacers below countertop.
Min. Distance Min.distance to back wall
to side wall 1 1/16" _.- _. 21 3/8" 11/16" _ 189/16 _7/8 ---
i
!
Dottedline indicates
_t_ t,.m
Front Cut-out 43/8" 23_" 41/2"
, T
NOTE: Clearance spaces shall be framed in or T "__ : T - Overl2p
guarded to prevent storage space within the -_-, 7" Service
clearance specified. Cabinet enclosures shall 2o 1/2". "_'_-Pipe
be designed to prevent drafts that will affect pilot Opening Rangeto be supporte<
stability, on countertop only
Instruction For Proper Adjustment
PILOT ADJUSTMENT
Top Pilot Models - Adjust top pilotso that the tip
o_the _lame is just over the edge of the inner i
cone and the lighting of the burners is within 4 '
seconds. Adjusting screw is located in left front __.
corner of top burner box.
-6-
Page 8

USING YOUR COOKTOP
STAINLESS FINISH COOKTOP SURFACE BURNERS MODELS WITH PIEZO
Due to certain atmospheric conditions The surface burner control knob has no IGNITORS
and becauseof oxidationfromthe sur- pre-set position.The flame can be ad- To light the surface burner:
face burnerpilot,the stainless top on justed to any desired height between 1. Push in and turn the surface burner
yourappliancemay show signsof rust "OFF"and "HI". control knob to the left (counter-
on the underneathside. This is espe- clockwise)to the LITE position.
ciallytrueinareas of highhumidityand If burner doesnotigniteor ifthe burner IMPORTANT:Onlylightonesurface
salt airareas, flameshouldgooutduringcooking,turn burnerat a time.
the burneroff. IF GAS HAS ACCUMU-
Tohelpeliminatethis condition,caution LATEDAND A STRONGGASODOR IS
should be taken to make sure that the DETECTED, WAIT 5 MINUTES FOR
underneath side of the maintop is kept THE GAS ODOR TO DISAPPEARBE-
dry.This isespeciallyimportant inareas FORERELIGHTING THE BURNER.
of high humidity where moisture accu-
mulates. If you detect signs of rust, we Yourappliancewillfeature oneofthefol-
havefound ithelpfultospraytheunder- lowing three types of surface burners.
neath side with a coat of high-heat Follow the instructions that match the
tested rustoliumor silicone paint, surface burners onyour appliance.
CAUTION: Removetop from appliance Models with surface burner pilots: 2. Immediately rotate thetop burnerig-
nitorknobtothe right (clockwise)sev-
and spray ina well vented area. See page 9 for instructions on lighting eral clicks or untilthe surface burner
Topreventdamagetothe stainlesssteel thesurface burner pilot, lights.The burnershouldlightwithin4
seconds (approximately 6 clicks or
cooktop, do not use oversized utensil To lightthe surface burner, push in and one full rotation of the ignitor knob).
(1-inch largerthan the burnergrate), turnthe control knobto the left (counter-
clockwise) to the "Lite" position. When
the burner lights, adjustthe knobto de-
BURNER GRATES siredflamesize.
Burner grates must be properly in-
stalled.Do not operateburnerswithout Models without surface burner pi-
a panonthe grate.The porcelainfinish lots:
may chipwithouta pan to absorbthe Lightmatch.Pushinandturnthecontrol
heat. knobto the left (counter-clockwise)to
the "Lite" position and apply lighted
To install grates: matchimmediatelytothe burner.Adjust 3. When the burner lights,adjust the
1. Place grate on cooktop, locating theknobtothedesiredflamesize. surfaceburnercontrolknobtothede-
each of thefourgratelegs ontop of siredflame size.
thefour blackplasticgrommets.
If the burner does not lightwithin 4 se-
conds, turn the surface burner knob to
__ the OFF positionand wait5minutes be-
fore relighting the burner.
To operate the surface burner during a
__ powerfailure orifthe Piezoignitoris not
functional:
_-Jf_ CAUTION 1. Be sure all controls are in the OFF
Do not turn the control knob on and al- positions.
Iowgasto escape before lightingmatch. 2. Hold a lighted match to the desired
surface burnerhead.
2. Pressdownat each corner to secure 3. Push in and turn the surface burner
burner grate to cooktop, control knob to the LITE position.
4. When the burner lights, adjust the
surface burnercontrolknobtothe de-
sired flame size.
-8-
Page 9

USING YOUR COOKTOP
SURFACE BURNER PILOT
if equipped _
PILOT FLAME
Ifappliance has not been operatedfora I LIGHTER
longperiod of time, a longer waiting pe- it_,, J cup CONE
riod for ignition of the pilot may be nec- __i__ _ --_ _ _
essary due to air in thegas line. -'-
To light pilot:
1. Be sureall controlvalvesare inthe FLASHTUBE
"OFF" position before turning on
main gas supply to the range.
2. Turn on main gas supply to range. LIGHTING TOP PILOT SHUTDOWN INSTRUCTIONS
When surface burner cooking is fin-
3. Lift cooktop and turn pilot shut off PILOT ADJUSTMENT ished,the control knob shouldbeturned
valve to "ON" position. To adjust pilot: to "OFF" position.The top burner pilot
will remain lit.Whenthe recreationalve-
Lift the main top. Turn pilot adjustment hicle is not in use or whiletraveling, lift
Pilot adjustment screw screw with a screwdriver. The surface the cooktop andturn pilot shut-off valve
_'_ burner pilotflame should be about 1/8 handle to "OFF" position and turn off
0FF,.---\ inch above the lighter cup as shown in main gas supply.
illustration.
P/LOTSHUT OFF VALVE _"___'...._
4. Touch lighted match to pilot.
-9-
Page 10

USING YOUR OVEN
OVEN CONTROL COOKING HINTS
Depressandturn theoven control knob _ Baking
(counter-clockwise) to the desired tem- _/_.__ Makesure oven is level, otherwise bak-
perature setting. There is a delay of ing may be uneven. After turning the
about45 seconds beforethe main burn- OvenControl
erignites.This isnormal and no gases- Knob in "PILOT oven control knob to the desired tem-
capes duringthis delay. Itis also normal ON'position, perature, letthe oven preheatfor about
for theovenburnerflametocycle offand 10 minutes.
on at all set temperatures except broil.
This maintains a constant temperature When baking in one pan place it in the
in the oven. center of the oven. If a flat cookie sheet
4. Open oven door and light oven pilot is used, allow two inches of space be-
with a match. Small flame will be tween back, side, and front of oven.
noted atthe top of the pilot burner. When glass or very dark metals are
used for baking, reduce temperature
setting recommended in the recipe by
,_ 25°"
Roasting
Seasonmeat,ifdesired•Placemeatfat
sideupontherackinanuncoveredpan.
OVEN PILOT Turn oven control knob to the desired
• temperature. Most meats can be
Ifappliancehasnotbeenoperatedfora [_¢ _ cooked at 300-350°F. Small poultry
longperiodof time, a longerwaiting pe-
riodfor ignition of the pilot may be nec- Lighting oven pilot (when pilot is may be cooked at 375°R, for best
essary due to air in the gas line. Iocatedon therightside ofburner.) browning.Cook pork to an internal tem-
perature of 170°R The only accurate
way to tell internal doneness of meat
To light pilot: (rare,medium, welldone) iswith a meat
1. Besureallvalvesareinthe "OFF"po- thermometer. Be sure thermometer is
sition.The oven control knob should _ inserted into meat portion of the roast
be in "OFF"position. _ withtip not restinginfat oragainst bone.
Addno water. Roastinoventothe done-
ness desired. No basting is necessary.
OvenControl Broiling
Knob in "OFF" Broiling in your recreationalvehicle ap-
position.
piiance isvery much like broiling inyour
Lighting oven pilot (when pilot is kitchen appliance at home. Generally,
located on the leftside ofburner.) the distance between the meat and the
burnerflame regulates degree of done-
2. Turn on main gas supply to appli- ness and broilingtime. Set oven control
ance. SHUTDOWN INSTRUCTIONS knobto broil"BR"position. Place foodto
Whenoven cooking isfinished,turn the be broiled on a broiler grille and pan.
3• Depress and turn control knobto the ovencontrol knobto the"PILOT ON" pc- Place pan inbroiler (areadirectly below
"PILOT ON" position. This will allow sition. The oven standby pilot will re- ovenburner.)Youcancountonyourgas
gasto oven pilot, main lit• appliance broilerto providesmokeless,
"closed-door" broiling.
When the recreational vehicle is not in
useorwhile traveling,turn theovencon-
trol knob to "OFF" position and turn off
main gas supply, this will turn off the
oven pilot.
-10-
Page 11

CARE AND CLEANING
Burner box Soap& water. Paste of Burnerbox, locatedunder cooktop, shouldbe cleaned frequentlyto removespillovers. If soil is not
bakingsoda &water, removedand is allowedto accumulate, itmay damagethe finish. Toclean,removesurface burners
and clean with soap and water, rinseanddry.
Door gasket Soap & water. Washwith soapand water, rinseand dry. Do not remove door gaskets.
Silicone rubber
Metal finishes Soap& water. Paste of Wash with soap and water. Removestubborn soilwith pasteofbaking soda and water. Do not use
Aluminum - bakingsoda &water, abrasive or caustic agents. They will damage the finish. Use achrome polishto removestubborn
backguard&con- stains on chrome parts. See page8 forcooktop instructions.
trol panel.
Chrome&stain- CAUTION: Protect aluminum gastubing from exposureto caustic cleaners suchas oven cleaners.
less steel - trim See note below.
parts.
Porcelain finish, Mildsoap &water. Paste Porcelain enamel is glass fused on metal. It may crack or chip with misuse. Clean with soapand
exterior of baking soda & water, water when parts arecool. Allspillovers, especially acid spillovers, should bewiped upimmediately
with a dry cloth. When surface iscool, clean with warm soapy water. NEVER WIPEOFF A WARM
OR HOTENAMEL SURFACEWITHA DAMP CLOTH.THIS MAYCAUSECRACKING ANDCHIP-
PING. Neveruse abrasive or caustic cleaning agents on exteriorfinish of appliance.
Surface burners Soap & water. Pasteof Cleanas necessarywithwarmsoapy water. Removestubbornsoil byscouringwithanon-abrasive
baking soda&water, plastic scouring pad and a paste of bakingsoda and water. Clean portswith a straight pin. Do not
Plasticscouring pad enlargeor distortthe ports. Do not usea wooden toothpick. Itmay break offand clog port. DONOT
such as Tufty® CLEAN BURNERS WITH THE FOLLOWINGcaustic cleaners: oven cleaners, steel wool or abra-
sive cleaning agents. These may damage finish. CAUTION: Burner and burner tube must be dry
before use.
Ma_!d
NOTE: Commercial Oven Cleaners - Never use cleaners on the oven burner, exterior finishes, trim parts. These parts willbe permanently
damaged by the cleaner.
-11-
Page 12

SERVICE
BEFORE CALLING A SERVICE TECHNICIAN, CHECK THE FOLLOWING:
1. No gasto oven pilot, a. Check and make sure oven control knob is in"PILOT ON" position.
2. Oven slow heating up. a. These conditions may be caused by the gas pressure regulator. Have the
Poorbaking, regulatortested by your gasdealer.
Poorignition of burners.
Pilotswon't stay lit.
Poppingsound from top burners.
Carbon on pilotshield.
Burnerflame too low or too high.
3. Oven pilot will not light or stay lit. a. Check pilottubings: May be kinked, clogged or leaking at fittings.
b. Have gas pressure regulator tested.
c. Besure oven control knob is not in the "OFF" position.
4. Surface burners won't light, a. Checkinstallation of surface burners. (SeefigureA below.)DoesburnertubeO
fit over orifice hood Q?
b. Checkinstallationofflashtubing. (SeefigureB below.)Arethetwotabsonthe
flashtubeOsecurely inserted intothe two slots on the burner head Q?
c. Check installationofflashtube hold-down clips. (See figure Cbelow.) Dothe
clipsO holdthe flashtubes Qsecurely in place?
d. Check pilotflame.
e. Clogged burner ports, clean with atoothpick.
5. Gassmell, a. Ifyousmell gas: (1)Openwindows, (2)don'ttouch electrical switches, (3)ex-
tinguish any open flame, and (4) immediately callyour gas supplier.
b. Becauseofvibrations dueto travel, connections on a recreationalvehicle may
loosen. Therefore, periodically check all connections for leaks with soapy
water. NEVER use a match or flame to check for leaks.
6. Cake rises higheron oneside. a. Pans set too close to side of oven. Allow two inches from all sides.
b. Range not level.
7. Cakes burn on bottom, a. Oven too full for proper circulation (see baking instructions on page 10.)
b. Using pan with dark bottom.
8. Oven will not operate, a. Check and make sure oven pilot is lit.
SURFACEBURNER FLASHTUBING FLASHTUBE HOLD-DOWN CLIPS
FIGUREA FIGURE B FIGURE C
-12-
Page 13

SERVIC
SERVICING
Electricalsupply, if equipped, must be Ifyouare unableto obtainservice, write If you did not receivesatisfactoryserv-
disconnectedfromthewalloutletbefore tous. Ouraddressisfoundontherating ice through your servicer or Maycor you
servicing appliance. Donot repair orre- plate. See front cover for locationof rat- may contact the Major Appliance Con-
placeanypartofyourrangeunlessspe- ing plate, sumer Action Panel by letter including
cifically recommended in this manual, your name, address, and telephone
All other servicing should be referred to number, aswell as the modeland serial
numbers of the appliance.
a qualified technician. If you are notsatisfied with the local re-
sponse to your service requirements,
HOWTO OBTAIN callor write MAYCOR Appliance Parts MajorApplianceConsumerActionPanel
SERVICE and Service Company, 240 Edwards 20 NorthWackerDrive
Street, S.E., Cleveland, TN 37311, or Chicago,IL 60606
When your appliance requires service phone our RV customer consultants at
or replacement parts, contact your 1-800-544-5513. (In California call
DealerorAuthorized Servicer.Use only 1-818-961-3674 for parts.) Include or MACAP (Major Appliance Consumer
genuine factory or Maycor parts if re- haveavailable the complete model and Action Panel)is an independentagency
placementpartsarenecessary.Consult serial numbers of the appliance, the sponsored by three trade associations
the Yellow Pages in your telephone di- name and address of the dealer from asacourtofappealson consumercom-
rectory under appliance for the service whomyou purchasedthe appliance,the plaints which have not been resolved
center nearest you. Be sure to include dateofpurchaseanddetailsconcerning satisfactorilywithinareasonable period
your name, address, and phone num- your problem, of time.
ber, along with the model and serial
numbers of the appliance. (See front
coverfor locationof your model and se-
rialnumbers.)
-13-
Page 14

LIMITED ONE-YEAR WARRANTY
!J[iiiii!!i!iii!i ii _i:i_,
RECREATIONAL VEHICLE RANGE
Maycor Appliance Parts & Service Company will replace, without charge (except for the cost of delivery and labor
iii!iiiiii_iiii! _ _ ::
involved inthe removal ofthe defective part and installation of the replacement), any part ofyour productwhich has a
;i!tiiiiiii;iii!_
.......... defect in material or workmanship for a period of one year from the date ofthe original installation.The replacement
part assumes the unused portion of this warranty. This warranty extends to any owner during the one-year warranty
period.
=t
HOW TO OBTAIN SERVICE
ii!!!iiiiiiiiiiil =ti_! i_i
To obtain the repair or replacement of a defective part under this warranty, you should contact the dealer from whom :
you purchased the appliance or a servicer authorized by Maycor.
t
WHAT IS NOT COVERED BY THESE WARRANTIES
1. Conditions and damage resulting from improper in- 6. Any product used for other than normal household
stallation, delivery, unauthorized repair, modifica- use. It does not extend to products purchased for
tion, or damage notattributable to a defect in mate- commercial or industrial use.
rial or workmanship.
!i]iiii[_iiiitii t
7. Any expense incurred for service calls to correct in-
2. Conditions resulting from damage, such as: (1) im- stallation errors or to instruct you on how to use the :
......... proper maintenance, (b) misuse, abuse, accident, products. .......
or (c) incorrect electrical current or voltage.
8. CONSEQUENTIAL OR INCIDENTAL DAMAGES
3. Warranties are void if the original serial number has SUSTAINED BY ANY PERSON AS A RESULT OF ............
.... been removed, altered, or cannot be readily deter- ANY BREACH OF THESE WARRANTIES OR ANY
mined. IMPLIED WARRANTY. Some states do not allow
the exclusion or limitation of consequential or inci- :
dental damages, so the above exclusion may not
4. Light bulbs, pply t :
a o you. ::
iiii_iii_;iiiill i!;il'i_!
5. This warranty does not apply to porcelain enamel or ' :
other finishes or to scratches in or discoloration of
decorative finishes.
ADDITIONAL HELP
ii!_ii_!iiiiit i
If you are net satisfied with the local response to your service requirements and wish to contact Maycor, please ad-
dress your letter to the Customer Relations Department, Maycor Appliance Parts & Service Company, 240 Edwards :
Street, S.E., Cleveland, TN 37311 or call (1-800-544-5513). To save time, your letter should include the complete
f he y p cha
............model ial softh ted ppli dadd fthede ......
and ser number ewarran a ance, the namean resso aler romw m ou ur sed ..............
the appliance, the date of purchase and details concerning your problem.
These warranties are the only written or expressed warranties given by Maycor. No one is authorized to increase, alter, ........
or enlarge Maycor's responsibilities or obligations under these warranties. These warranties give you specific legal
may also have other rights which vary from state to state.
8109P060-60
(5/92)
 Loading...