

Page 1
GUsc
c.And
Care
Instructions for your Gas Cooktop
CONTENTS
SAFETY INSTRUCTIONS ................... 1-3 Pilotlessignition ............................ 9
Cooktop .................................. 9
CONVENTIONAL COOKTOP ................ 4-7 Burner grates .............................. 9
Ignitionsystem ............................ 4 Dual purpose sealed burners ................. 9
Pilot ignition ............................. 4 Lightingsurface burners .................... 10
Pilotlessignition .......................... 4 Selecting flame size ....................... 10
Cooktop .................................. 5
Burnergrates ............................. 5 CARE ANDCLEANING CHART ............... 11
Surface burners ........................... 5
Lighting surfaceburners ..................... 5 MAINTENANCE ............................ 12
Selecting flame size ........................ 6 Electrical connection ....................... 12
Griddle .................................. 7 Remove cooktopfor cleaning ................ 12
Hi-sim-warm valve adjustment ............... 12
SEALED BURNER COOKTOP .............. 8-10
Sealed burneridentification .................. 8 SERVICE .................................. 13
Gastubing ................................ 8 Howto obtain service ...................... 13
Ignitors .................................. 8 WARRANTY ............................... 14
8112P063-60
(10/91)
Page 2
SAFETY INSTRUCTIONS
WARNING: If the information in this manual is not
followed exactly, a fire or explosion may result
causing property damage, personal injury or death.
- Do not store or use gasoline or other flammable
vapors and liquids in the vicinity of this or any
other appliance.
- WHAT TO DO IF YOU SMELL GAS
• Do not try to light any appliance.
• Do not touch any electrical switch; do not
use any phone in your building.
• Immediately call your gas supplier from a
neighbor's phone. Follow the gas supplier's
instructions.
• If you cannot reach your gas supplier, call the
fire department.
- Installation and service must be performed by a
qualified installer, service agency or the gas
supplier.
GENERAL
Nocooking appliance should beused as Have the installer show you the location Misuse of appliance doors, such as
a space heater. This instruction is based of the gas shut off valve and how to shut stepping, leaning or sitting on the door,
on safety considerations to prevent pc- it off in an emergency, may result in possible tipping of the ap-
tential hazard to the consumer as well pliance or breakage of door and serious
as damage to the appliance, injuries.
Your appliance is vented through the
_I/_ / base of the backguard or backsplash
f(E_:_/_" panel on eye-level models. Neverblock _c_,_. _m_f.__
'_ - _ J oven vent or air intakes. Do not obstruct
,i _ _" ;_ the flow of combustion and ventilation
air. Restriction of air flow to the burner
prevents proper performance.
Avoid touching oven vent area while _.
oven is on and for several minutes after
oven is turned off. Some parts of the
vent and surrounding area become hot
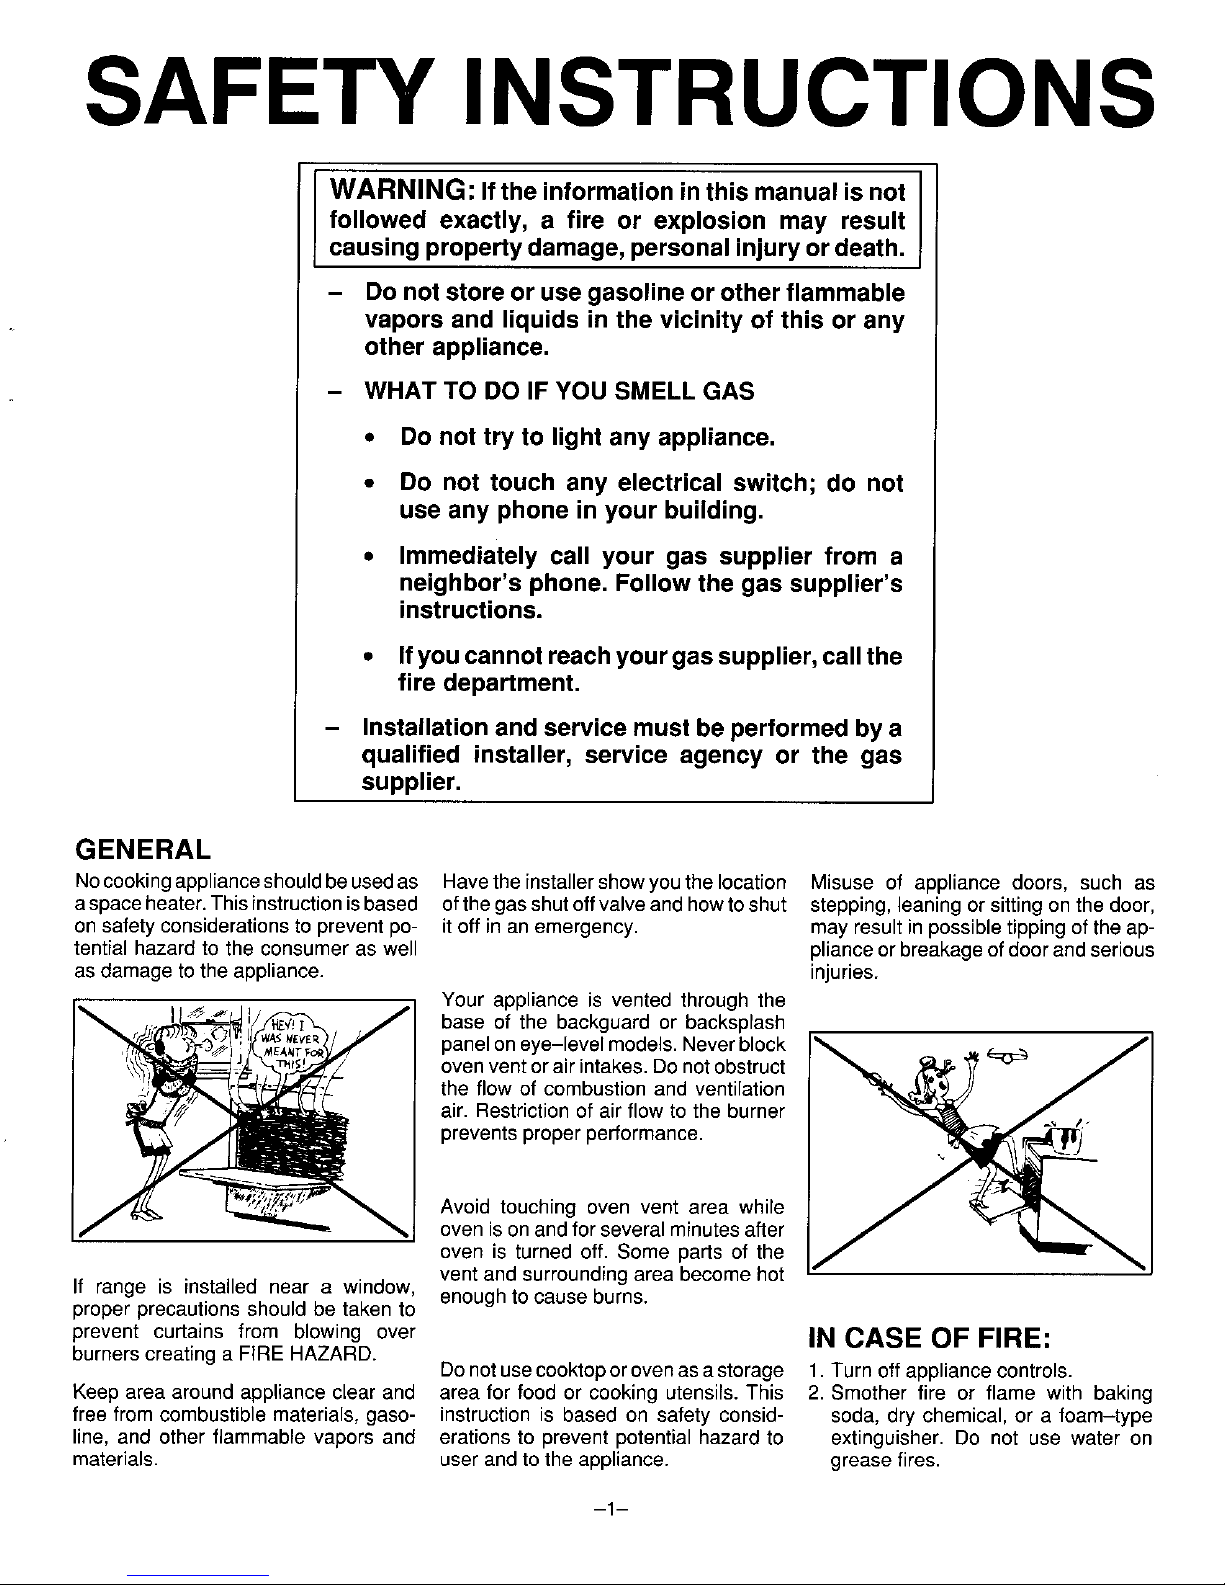
If range is installed near a window, enough to cause burns.
proper precautions should be taken to
prevent curtains from blowing over IN CASE OF FIRE:
burners creating a FIRE HAZARD.
Do not use cooktop or oven as a storage 1. Turn off appliance controls.
Keep area around appliance clear and area for food or cooking utensils. This 2. Smother fire or flame with baking
free from combustible materials, gaso- instruction is based on safety consid- soda, dry chemical, or a foam-type
line, and other flammable vapors and erations to prevent potential hazard to extinguisher. Do not use water on
materials, user and to the appliance, grease fires.
-1-
Page 3
SAFETY INSTRUCTIONS
CHILD SAFETY Touching a hot oven light bulb with a __ J
damp cloth could cause the bulb to
Donotleave children alone orunsuper- break. Should the bulb break, discon-
vised near the appliance when it is in nectpowerto the range before trying to
useor isstill hot. Children should never remove the bulb to avoid electrical
beallowedto sit or stand on anypart of shock.
the appliance. Children must be taught ,_ I_
that the appliance and utensils init can Clean range with caution. If a wet
be hot. Children should be taught that sponge orcloth isused towipe spills on
an appliance is not a toy. They should a hot cooking area, be careful to avoid
not be allowed to play with controls or steam burns. Some cleaners can pro-
other parts of the unit. Let hot utensils duce noxious fumes if applied to a hot
cool inasafe prace,outofreachofsmall surface.
children. Be sure you know which knob controls
GREASE which surface burner. Always make
surethe correct burner isturnedon and
! _=J--IZ3L-L_.. _ Use extreme caution when moving the that the burnerhas ignited. Whencook-
grease kettleor disposing of hotgrease, ing is completed,turn burner off.
Hot grease is flammable. Avoid letting Use caution when wearing garments
grease deposits collect around appli- made of flammable material to avoid
ance, range hood, or vent fan. Do not clothingfires. Loosefittingorlonghang-
leave container of grease around a ing-sleeved apparel shouldnotbeworn
cookingappliance.Alwaysletquantities while cooking. Clothing may ignite or
ofhotfatusedfordeepfatfryingcoolbe- catch utensilhandles.
foreattemptingto moveor handle.Inthe
event of a grease fire, DO NOT attempt
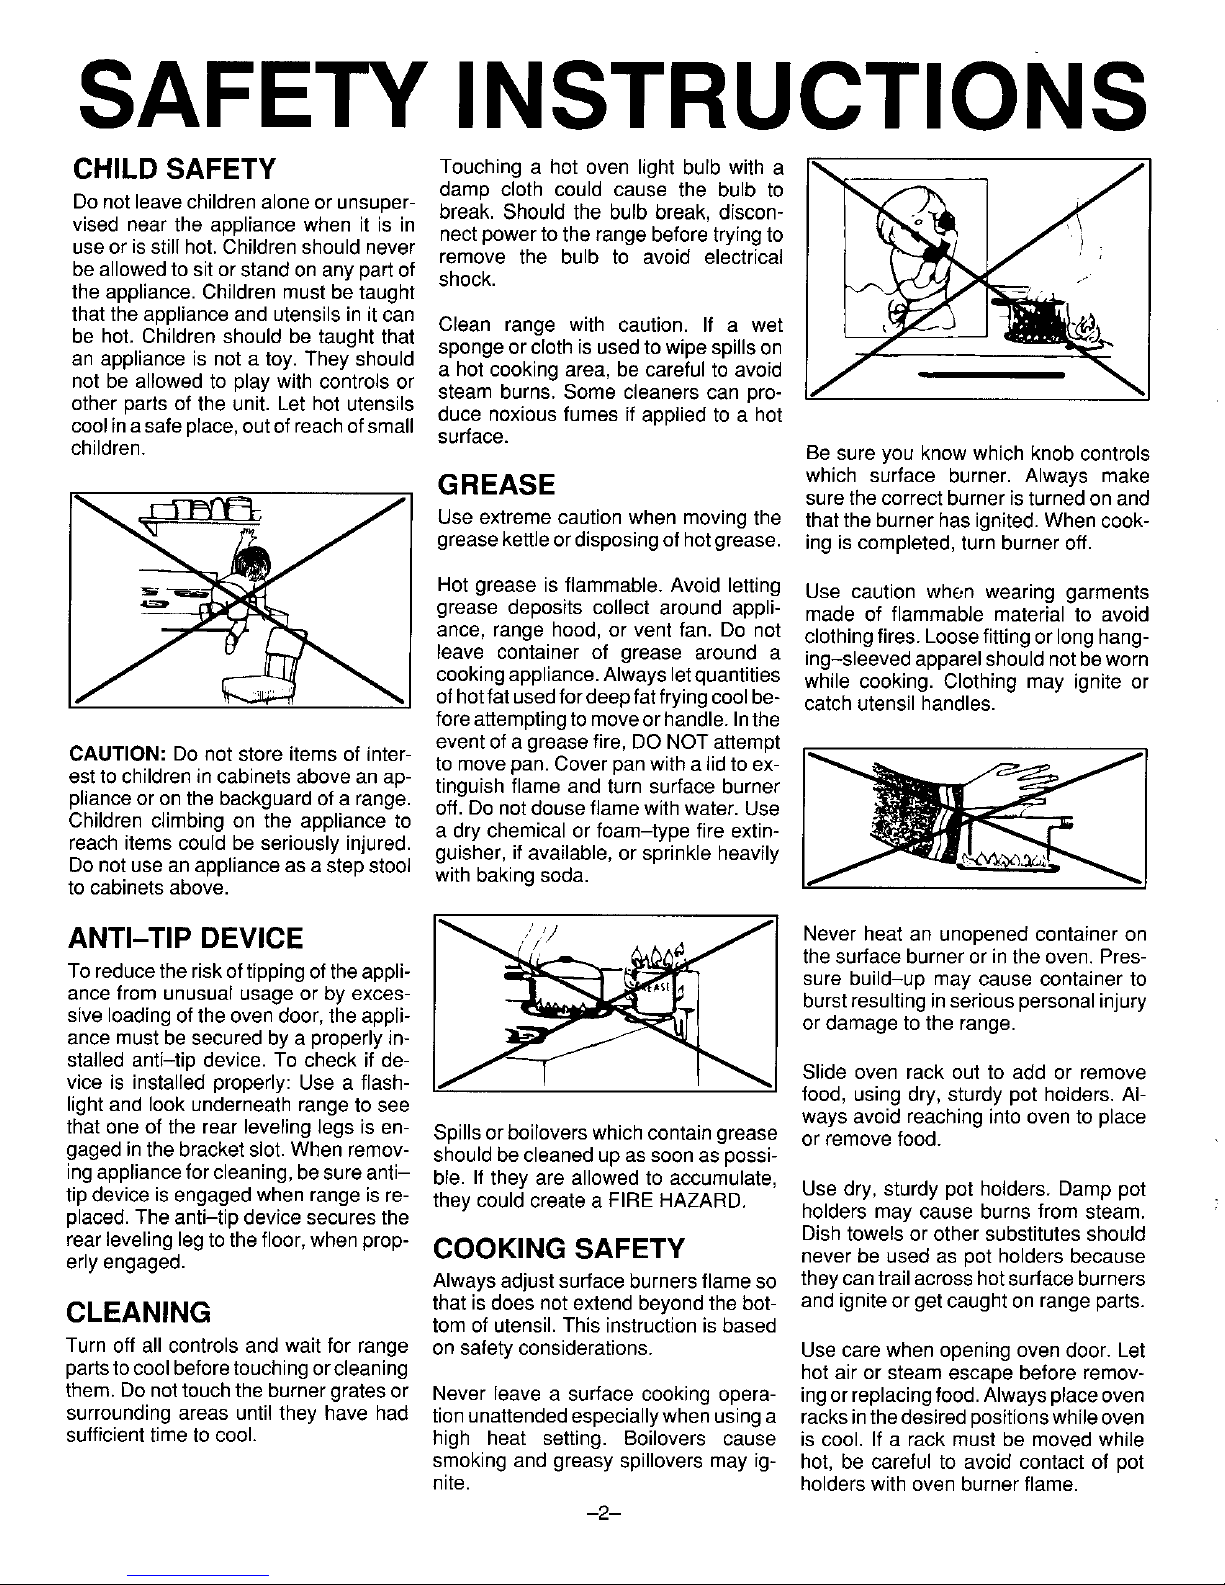
CAUTION:Denotstoreitemsofinter-tomovepan. Coverpanwithaiidtoex_ _ i
estto children in cabinets above anap- tinguish flame and turn surface burner
pliance or on the backguardof a range, off.Do not douse flame with water. Use
Children climbing on the appliance to a dry chemical or foam-type fire extin-
reach items could be seriously injured, guisher, if available,or sprinkle heavily
Do not use anappliance as a stepstool with baking soda.
to cabinets above.
ANTI-TIP DEVICE ." Never heat an unopened container on
thesurface burner or in the oven. Pres-
To reducethe riskoftippingof the appli- sure build-up may cause container to
ance from unusual usage or by exces- burst resulting in serious personal injury
sive loadingofthe oven door,the appli- or damage to the range.
ance must be secured bya properly in-
stalled anti-tip device. To check if de- Slide oven rack out to add or remove
vice is installed properly: Use a flash- food, using dry, sturdy pot holders. AI-
light and look underneath range to see ways avoid reaching into oven to place
that one of the rear leveling legs is en- Spillsor boiloverswhichcontain grease or remove food.
gaged in the bracket slot. When remov- shouldbe cleanedupas soon aspossi-
ingappliancefor cleaning,be sure anti- ble. If they are allowed to accumulate, Use dry, sturdy pot holders. Damp pot
tip device is engaged when range isre- they could create a FIRE HAZARD.
placed.The anti-tip device secures the holders may cause burns from steam.
Dishtowels or other substitutes should
rear leveling legtothe floor, when prop- COOKING SAFETY never be used as pot holders because
erlyengaged.
Always adjustsurface burners flame so they can trail acrosshot surface burners
that isdoes not extend beyond the bot- and igniteor get caught on range parts.
CLEANING tom of utensil.This instruction is based
Turn off all controls and wait for range on safety considerations. Use care when openingoven door. Let
partstocool beforetouching orcleaning hot air or steam escape before remov-
them. Donot touchthe burner grates or Never leave a surface cooking opera- ing or replacingfood. Alwaysplaceoven
surrounding areas until they have had tion unattendedespeciallywhen usinga racksin thedesired positionswhileoven
sufficienttimeto cool. high heat setting. Boilovers cause is cool. If a rack must be moved while
smoking and greasy spillovers may ig- hot, be careful to avoid contact of pot
nite. holderswith oven burner flame.
-2-
Page 4
SAFETY INSTRUCTIONS
STORAGE ABOVE Be sure utensilis largeenough to prop- IMPORTANT SAFETY
erly contain food and avoid boilovers. NOTICE AND WARNING
RANGE Pan size is particularly important in
Toeliminatethe hazardof reachingover deep fatfrying. Besure panwill accom- TheCalifornia Safe Drinking Waterand
hot surface burners, cabinet storage modate the volume of food that isto be Toxic EnforcementAct of 1986 (Propo-
should not be provideddirectly above a addedaswellasthebubbleaction offat. sition65) requires the Governor ofCall-
unit. If such storage is provided, it Never leave a deep fat frying operation fornia to publish a list of substances
should be limited to items which are unattended, knowntotheStateofCaliforniatocause
used infrequently and whichare safely cancer or reproductive harm, and re-
quires businessestowarn customers of
storedin an area subjected to heatfrom Never let a pan boil dry as this could potential exposures to such sub-
an appliance. Temperatures in storage
areas above the unit may be unsafe for damage the utensiland the appliance, stances.
some items, such as volatile liquids,
cleaners or aerosolsprays. ALUMINUM FOIL Users of this appliance are hereby
Use aluminum foil ONLY as instructed warned that the burning of gas can re-
in this book. Improper useof aluminum suit inlow-level exposure tosomeofthe
UTENSIL SAFETY foil may cause damage to the oven, af- listed substances, including benzene,
Use only pans that have flat bottoms fect cooking results,and can alsoresult formaldehyde and soot, due primarilyto
andhandlesthatare easilygraspedand in shock and/or fire hazards, the incomplete combustion of natural
stay cool. Avoid using unstable, gasorliquidpetroleum(LP) fuels. Prop-
warped, easily tipped or loose handled erly adjusted burners will minimize in-
pans. Do not use pans if their handles PLASTICS complete combustion. Exposure to
twistand cannot betightened.Pansthat Many plastics are vulnerable to heat. these substances can also be mini-
areheavy to movewhen filled with food Keepplasticsawayfrom partsoftheap- mized byproperlyventing the burnersto
mayalso be hazardous, pliancethat may become warm or hot. the outdoors.
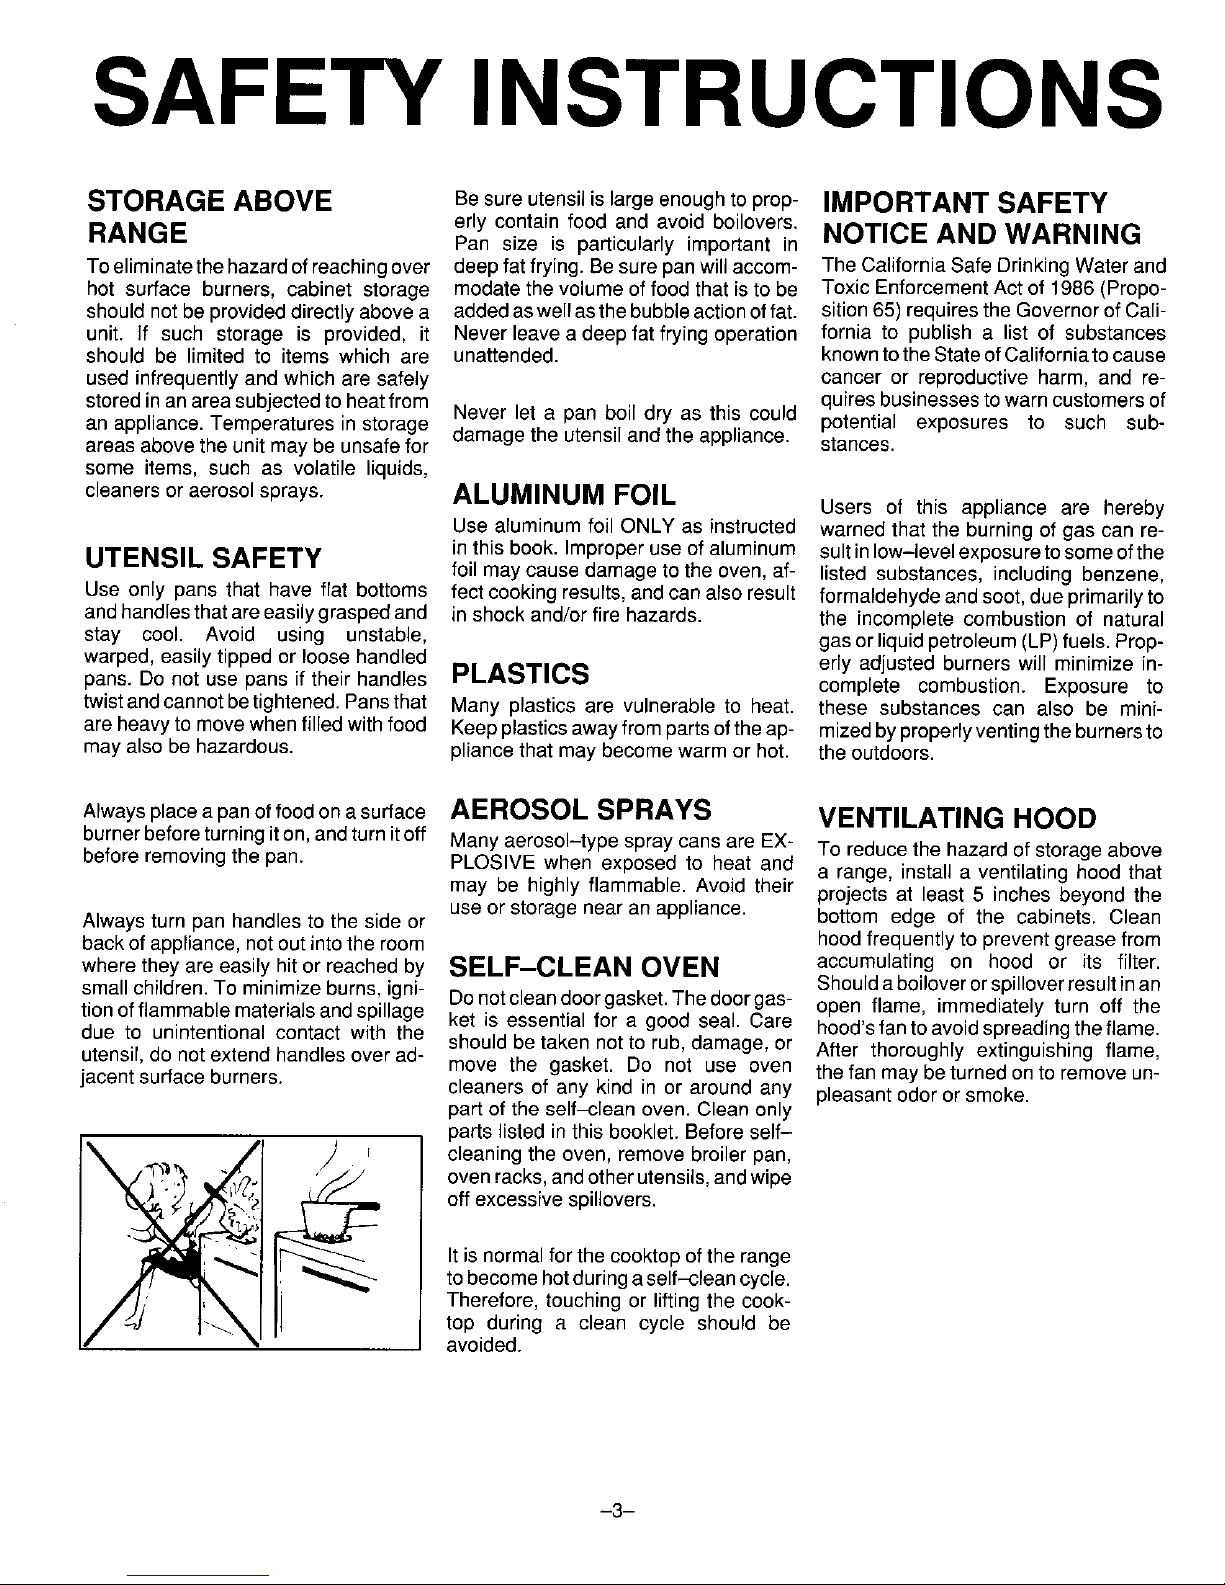
Always place a panoffood ona surface AEROSOL SPRAYS VENTILATING HOOD
burnerbeforeturningiton,andturnitoff Many aerosol-typespraycansare EX- To reducethe hazardofstorage above
beforeremovingthe pan. PLOSIVE when exposed to heat and a range, installa ventilatinghoodthat
may be highly flammable. Avoid their projectsat least 5 inches beyond the
Alwaysturn pan handlesto the side or use or storagenear an appliance, bottom edge of the cabinets. Clean
backofappliance,notoutintothe room hoodfrequentlytoprevent grease from
where they are easily hit or reached by SELF-CLEAN OVEN accumulating on hood or its filter.
Shouldaboiloverorspillover resultinan
small children.To minimize burns, igni- Do notcleandoorgasket. Thedoorgas- open flame, immediately turn off the
tionof flammable materials andspillage ket is essential for a good seal. Care hood'sfan toavoid spreading theflame.
due to unintentional contact with the should be taken not to rub,damage, or After thoroughly extinguishing flame,
utensir,do notextend handles over ad-
move the gasket. Do not use oven the fanmay be turned onto remove un-
jacent surface burners, cleaners of any kind in or around any pleasant odor or smoke.
part of the self-clean oven.Clean only
parts listed in this booklet. Before self-
_,_ cleaningtheoven, remevebroilerpan,
• oven racks,and otherutensils, andwipe
off excessive spillovers.
_[ It is normal for the cooktop ofthe range
tobecome hotduringaself-clean cycle.
Therefore, touching or lifting the cook-
top during a clean cycle should be
avoided.
-3-
Page 5
CONVENTIONAL COOKTOP
IGNITION SYSTEM PILOT IGNITION PILOTLESS IGNITION
Your cooktopis equippedwitheitherpi- When the cooktop is first installed, the
lotignition(usingapilotflametolightthe pilots may bedifficultto lightdueto air in
burner) or pilotless ignition (using a the gas line. To bleed off air from the
sparkfromanignitortolighttheburner), line, hold a lighted match next to the _heLITE
burner and turn knob on. When the .......................................................................
burner lights,turn the knob off andpro- _ ttii_ _ to _
Besureallsurfacecontrolsare setinthe eeedas directed below.
OFF position prior to supplying gas to _tO__i _ _ _ _ _ t_
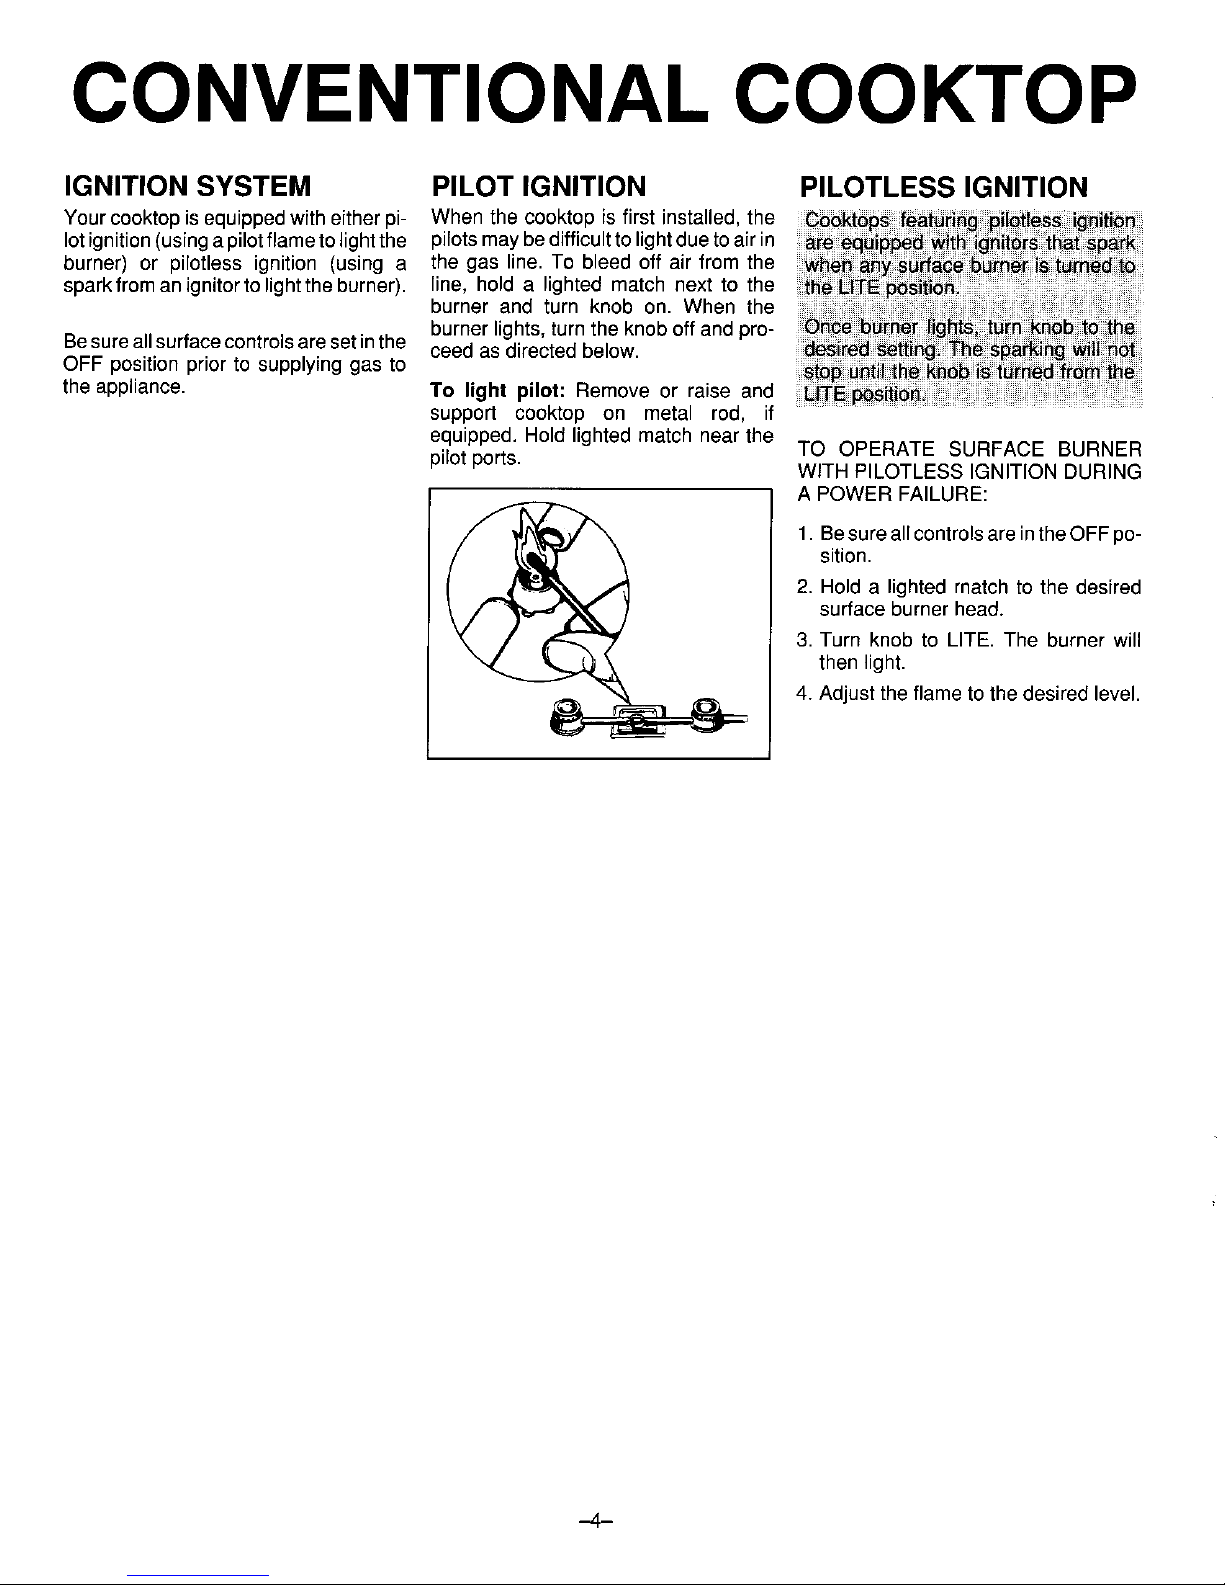
the appliance. To light pilot: Remove or raise and (_positi_
support cooktop on metal rod, if
equipped. Hold lighted match nearthe
pilot ports. TO OPERATE SURFACE BURNER
WITH PILOTLESS IGNITION DURING
A POWER FAILURE:
_ _ 1. Besureallcontrols are intheeFF po-sition.
2. Hold a lighted match to the desired
surface burner head.
3. Turn knob to LITE. The burner will
then light.
4. Adjust the flame to the desired level.
,-4-
Page 6

CONVENTIONAL COOKTOP
COOKTOP SURFACE BURNERS LIGHTING SURFACE
To remove eooktop: When cool,first Surface burners are secured in place BURNERS
remove grates and drip bowls, if duringtransportationwitheither a ship-
equipped.Grasptwofrontburnerwells pingscrew or a spring clip. Once the 1. Placeutensilon burnergrate.
andlift up. cooktopis installed,these may be re- 2. Pushinandtumknobtothe LITEpo-
movedto allow quick and easy removal sition.
of the burner.
I I
Thetopcan becompletely removed er, _ _ _
ifequippedwithametalsupport rod,can
rest on the rod. Support rod is located
across the front of the burner box.
BURNER GRATES
Burner grates must be properlyposi-
tionedbefore cooking.Do notoperate
burnerswithouta panon thegrate.The A properly adjustedburner with clean
porcelainfinishmay chipwithouta pan portswilllightwithinafewseconds.On
toabsorbthe intenseheat. naturalgas,theflamewillbebluewitha
deeperblueinnercore;thereshouldbe 3. Afterthe burnerlights,turn knob to
Whenreinstallingsquaregrates, place notraceof yellowinthe flame.Ayellow thedesiredflame size.
indented sides together so straight flameindicatesanimpropermixtureof
sidesare at front andrear. air/gas. This wastes fuel, so have a
servicemanadjustthe mixtureifa yel- As theburnerheatsandcools,youmay
lowflame occurs.On LPgas,someyel- hearsoundsofthemetalexpandingand
I _ I Iowtipping isacceptable"This isnOrmal contracting" This is a nOrmaIOperating
and adjustment is not necessary, sound of the burner.
Ifflame should go out during a cooking
To remove: Remove or support cook- operation, turn the burner off. IF GAS
top. When cool,grasp burner headand HAS ACCUMULATED AND A
tilt to release tab from slot near ignitor. STRONG GAS ODOR IS DETECTED,
Lift up and toward backof cooktop until WAIT 5 MINUTES FOR THE GAS
air shutter end of burner releases from ODOR TO DISAPPEAR BEFORE
CAUTION: Denot operate seabedburn- valve. RELIGHTING BURNER.
erwithoutapanon thegrate.The porce-
lainfinishofthe grate maychipwithouta You may hear a "popping"soundon LP
panto absorbthe intenseheatfrom the To replace: Insert air shutter end of gas when the surface burner is turned
burnerflame, burnerover valve and lower into place, off. This is a normal operating sound of
Replace cooktop. Turn on burner to be the burner.
sure burner has been correctly re-
placed.
-5-
Page 7

CONVENTIONAL COOKTOP
SELECTING FLAME SIZE
If a knob is turnedvery quicklyfrom UseHIGHtoquicklybringfoodstoaboil Use WARM (low)to simmer or keep
HIGHto WARM setting, the flame may or tobegin acooking operation. Reduce foods at serving temperatures. Some
go out, particularly if burner is cold. If to a lower setting to continue cooking, cooking may take place if the utensil is
this occurs,turn theknobtothe OFF po- Never leave food unattended when us- covered.
sition. Wait several seconds, then light ing a HIGH flame setting.
again.
To obtain a lower flamesize, turn knob
back toward the OFF position until the
Use SIMMER (medium) to continue a desired flame size is reached, The low-
cooking operation. Food will not cook est flame setting is located adjacent to
Flameshould be adjusted so itdoes not any fasterwhen a higherflame settingis the OFFposition.Thisisnotapreset po-
extend beyond the edge of cooking used than needed to maintain a gentle sition.
utensil.This isfor personalsafetyandto boil.
prevent damage to cabinets above
cooktop.
Page 8

CONVENTIONAL COOKTOP
GRIDDLE
Beforeusingthegriddieforthefirsttime, Remove griddle cover: minutes or until the entire cooking
season it by lightlyrubbingthe surface (if equipped) surface is heated. Sprinkle a few
witha small amountof unsaltedshort- dropsofwater overgriddle.If prop-
ening.To preventdamagetothefinish, 1. Pressdownon anycorner, erly heated, water wirl bead and
donot use metalutensils,a high flame dance. The water wilt sizzle and
settingor suddenly change tempera- 2. Slidefingersundertwosides ofgrid- steamif griddleis nothotenough.
tures, suchas immersinghotgriddlein diecoverandliftoff.DO NOT pryoff
water, withany instrumentor tool. 4. Never replace griddle cover until
griddlehascooledcompletery.
I _ L-_'_'_'-- _ I To use griddle:grease
To clean griddle:
1. Remove griddle cover BEFORE
turningongriddleburner.Topcover Whengriddleiscool,removeandwash
inhot soapywater;rinseand dry.Donot
mustbe removedwhenevergriddle washinthedishwasher.Detergentswill
burnerisinuse. completelyremovethe seasoning.
/_ 2. Be sure cup, located under
griddle, is in place.
There is a grease pan located at the
3. Position griddle correctly. For even center rear of the griddle burner. This
cooking results, preheat griddle us- pan should be removed and cleaned as
ing a low flame setting for about 5 necessary.
-7-
Page 9

SEALED BURNER COOKTOP
SEALED BURNER IDENTIFICATION
A. Removable blackporcelainizedcastiron burner capwith Ioca-
_--- -'_ tor pin.
__ Toreplace the burnercap: InserttheIocatorpin intothe slotin
theburnerbase (F). The burnerwillnotoperatecorrectlyifthe
capis not replacedproperly.
OR
_C B LOCAT B. Removable blackporcelainizedsteeltrim ring.
C. NON-removable aluminumburnerbase.
D. Ignitor.
E. Gas tubeopening.
F. Locatorslotfor Iocatorpinin blackremovableburnercap (A).
GAS TUBING IGNITORS
CAUTION: For properflowof gas and During cleaning, we recommendlear-
ignitionof theburner, DONOT ALLOW ingtheburnercap inplacetoprotectthe
SPILLS, FOOD, CLEANINGAGENTS metal ignitor electrode from possible
OR ANY OTHER MATERIAL TO EN- damage.
TER THE GASTUBE OPENING (E). If
theopeningortheorifice,locatedinside Onceburnerlights,turnknobtothe de-
the opening, becomes soiled or siredsetting.The sparkingwillnotstop
clothCl°gged'tocleanUSetheacottOnarea,swab or a soft sition.Untiltheknobisturned from the LITE pc- _"_'_,--BURNEB CAP
Gas must flow freely through the small
hole in the orificefor the burnerto light CAUTION: Do not touch the burner _((0_" _TBIM RING
properly.This area must be free of any when the ignitor is on and a sparking _._
soil and be kept protected from sound can be heard. "_'_ GASTUBEOPENING
boilovers or spillovers. Never remove "_"_("C=_(_,,.=_Ip, NITOR
cap except to clean. When cleaning the cooktop area or \_/
aroundtheburner base, usecaretopre-
Aftercleaningthe gas tube opening, re- vent damage to the ignitor.Ifa cleaning
placethe trim ring andburner cap. Turn cloth shouldcatchthemetalignitor elec-
theburnerontobesureitwilllight, lfthe trode, it could damage or break the
burnerdoes notlightaftercleaning, con- metalelectrode. If theelectrodeisdam-
tactanauthorized servicer.Do notserv- aged or broken, the surface burnerwill
ice the sealed burner yourself, not light.
_8 m
Page 10

SEALED BURNER COOKTOP
COOKTOP DUAL PURPOSE
The cooktop is designed with two con- SEALED BURNERS*
toured wells which contain spills until Thefour sealed burners are securedto
they can be wiped up. Unlike the stan- the cooktop and are NOT designed to
dard gas appliance, THIS COOKTOP be removed by the consumer.
DOES NOT LIFT-UP NOR IS IT RE-
MOVABLE. To prevent damage to the Since the four burners are sealed into
gas tubing or top, do not attempt to lift the cooktop, believers won't seep un-
cooktop, derneath to the burner box area. Thus,
there are no hiddenspills in the burner
PILOTLESS IGNITION box areato clean.
TO OPERATE SURFACE BURNER
WITH PILOTLESS IGNITION DURING Some models feature two special HI
A POWER FAILURE: BURNER GRATES SPEED sealed burners. Use the HI
Burner grates must be properly pesi- SPEEDburnerstoquicklybringwaterto
1. Be sureallcontrolsareinthe OFF po- tioned before cooking. Do not operate a broil and for large - pot cooking. See
sition, burnerswithout a panon the grate.The information on ratingplate to determine
porcelainfinish may chip without a pan if your appliance features the HIGH
2. Hold a lighted match to the desired to absorb the intense heat. SPEED burners.
surface burner head.
3. Turn knob to LITE. The burner will When reinstallingsquare grates, place LOCATION OF BURNERS:
then light, indented sides together so straight
sides are atfront and rear. HIGI- 'qER
4. Adjust theflame to the desired level.
HIGH SPEED BURNER
A properly adjusted burner with clean
ports will lightwithin a few seconds. On
naturalgas, the flamewill beblue witha
deeper blueinner core;there should be
notraceofyellowintheflame, indicating
an improper mixture of air/gas. This
wastes fuel, so have a serviceman ad-
just the mixtureif a yellowflame occurs.
CAUTION: Do notoperate sealed burn- You may hear a "popping"sound on LP
erwithoutapanonthegrate.Theporce- gas when the surface burner is turned
lainfinishofthegratemaychipwithouta off.This is a normal operating sound of
panto absorbthe intense heatfrom the the burner.
burnerflame.
*U.S. Patent Pending
-9-
Page 11

SEALED BURNER COOKTOP
LIGHTING SURFACE SELECTING FLAME SIZE
BURNERS If a knob is turned very quickly from Use SIMMER (medium) to continue a
HIGHto WARM setting, the flame may cooking operation. Food will not cook
1. Place utensil on burner grate, go out, particularly if burner is cold. If anyfasterwhena higherflamesetting is
thisoccurs,turnthe knobto theOFF po- used than needed to maintain a gentle
2. Pushinand turn knobto the LITEpo- sition. Wait several seconds, then light boil.
sition, again.
3. After the burner lights, turn knob to _%,_'__" _.._@ 7_-_-_-_1.
thedesired flame size. _,.'_ \t -f-_ _
Use WARM (low) to simmer or keep
foods at serving temperatures. Some
cooking may take place if the utensil is
Flameshould be adjusted so itdoes not covered.
extend beyond the edge of cooking
utensil.This isfor personalsafety andto
If flame should go out during a cooking prevent damage to cabinets above
operatiOn,sTRoNGHASACCUMULATEDGAstUrntheODoRbUrnerisDETECTED,°ff'ANDIFGASA cooktop. _--_9' "_ __1
WAIT 5 MINUTES FOR THE GAS
ODOR TO DISAPPEAR BEFORE
RELIGHTING BURNER. '__[__
To obtain a lower flame size, turn knob
back toward the OFF position until the
desired flame size is reached. The low-
UseHIGHtoquickly bringfoodsto a boil est flame setting is located adjacent to
orto beginacookingoperation. Reduce the OFF position.Thisisnot apresetpo-
to a lower setting to continue cooking, sition.
Never leave food unattended when us-
ing a HIGH flame setting.
-10-
Page 12

CARE AND CLEANING
Burner box Soap & water. Burner box,locatedunder cooktop,shouldbecleaned frequently to removespil-
(conventional sur- lovers. If soil is not removed and is allowed to accumulate, it may damage the
face burneronly) finish. To clean, remove surface burners and clean with soap and water, rinse
and dry.
Control knobs Mild detergent & water. To removeknobsfor cleaning,gently pull up.Wash in mild detergent andwater.
Do not use abrasive cleaning agents.They will scratch finish and remove mark-
ings. Rinse,dryand replace.Turn on each burner to see if knobs have beenre-
placed correctly.
Cooktop, Mild soap & water. Paste Porcelainenamelisglassfusadonmetal. ltmaycrackorchipwithmisuse. Clean
porcelain of baking soda & water, with soapandwater when partsare cool.All spillovers,especiallyacidspillovers,
shouldbe wipedup immediatelywith adrycloth.Whensurface is cool,cleanwith
warm soapy water. NEVERWIPE OFFA WARM OR HOTENAMELSURFACE
WITH A DAMPCLOTH.THIS MAYCAUSE CRACKING AND CHIPPING. Never
useabrasive or caustic cleaning agents on exterior finish of range.
Surface burners, Soap & water. Paste of Clean as necessary withwarm soapy water. Remove stubbornsoil byscouring
conventional baking soda and water, with a non-abrasive plasticscouringpad and a paste of bakingsoda andwater.
Plasticscouring pad such Clean ports with astraight pin. Do not enlargeor distort the ports. Do not usea
as Tufty®. wooden toothpick. It may breakoff and clog port. DONOT CLEAN BURNERS
WITH THE FOLLOWINGcausticcleaners: steel wool,abrasivecleaning agents,
dishwasher detergent, or metalpolishes. These willdamage finish. Burnerscan
bedriedintheoven setat 140°F.CAUTION: Burner and burnertubemust be dry
before use.
_i_ili?_iiii_ i_iii_ili_!i%i?i_i¸ _i_i_!_!_iii!!!iii!_!_i_iii!_!!_ii_ii_i_iJ_!_i_i_i_!l_i_i_!_ijiiii_ode_!iii_!_i;i!_i_i_!i:!_i_i_iJ_i_i_LI_% _ _ _ _ _ _ _ _% _%_ _ _ _
-11-
Page 13

MAINTENANC
ELECTRICAL HOW TO REMOVE HI-SIM-WARM VALVE
CONNECTION COOKTOP FOR CLEAN- ADJUSTMENT
Appliances which require electrical ING AND SERVICING (ifequipped)
powerare equippedwith athree-prong When necessary, follow these proce- The WARM setting should produce a
grounding plug which must be plugged dures to removeappliance for cleaning stable flamewhen turningthe knobfrom
directly into a properly grounded three- or servicing: HI to WARM. On conventional surface
hole 120volt electrical outlet, burners,the flame should be 1/8inchor
lowerand mustbe stableon all ports on
1. Shut-off gas supply to appliance. WARM setting. Forsealed burners, the
flame shouldextendtotheouter edgeof
2. Disconnectelectrical supplyto appli- the lipon the burner cap onthe WARM
ance. setting.
3. Disconnectgas supply tubing to ap-
__ pliance.
4. Remove screws that secure appli-
ance to cabinet. Remove appliance
Always disconnect power to appfi- from cabinet. To adjust: Operate burner on HI for
ance before servicing. 5. Reverse procedure to reinstall.If gas about 5 minutes to preheat burner cap.
line has been disconnected, check Turn knob back to WARM; remove
forgasleaksafter reconnection. (See knob,and insertasmallscrewdriver into
If an ungrounded, two-hole or other Installation Instructions for gas leak the center of the valve stem. Adjust
type electrical outlet is encountered, IT test method.)Note:Atrained service- flame size byturning adjustment screw
ISTHE PERSONALRESPONSIBILITY
OF THE APPLIANCE OWNER TO man should make the gas installa- ineitherdirection. Flamemustbeofsuf-ficient size to be stable on all burner
tion, disconnection, and re-connec-
HAVE RECEPTACLE REPLACED ports.NEVERadjustflamesizeattheHI
WITH A PROPERLY GROUNDED tion of gas supply to the appliance, or SIMMER setting.
THREEHOLE ELECTRICALOUTLET.
Thethree-prong grounding plug is pro-
vided for protection against shock haz-
ards. DO NOTCUT OR REMOVE THE
THIRD GROUNDING PRONG FROM
THE POWER CORD PLUG. I_
-12-
Page 14

SERVIC
BEFORE CALLING A SERVICE TECHNICIAN, CHECK THE FOLLOWING:
PROBLEM CAUSE CORRECTION
1. Surfaceburner failsto light a. power supply not connected a. connect power, check circuit
(pilotless ignition) breaker orfuse box.
b. clogged burner port(s) b. clean ports with straight pin.
c. sealed burner incorrectly in- c. seepage8.
stalled
d. sealed burner model:electrode d. call serviceman to replace.
or ignitor hasbroken
e. pilot models: pilot is out e. light pilot,see page 4.
2. Burnerflame uneven a. clogged burnerport(s) a. clean ports with straight pin.
b. burner or burner cap not prop- b. see page 5 or 8to correctly re-
erly positioned place burner or burner cap.
3. Surfaceburner flame a. air/gas mixture not proper a. call serviceman to adjustburner
• lifts off port primary air.
• yellow in color
SERVICE
Donotattempttoservicethe appliance coverforlocationofyour modelandse- If you did not receivesatisfactoryserv-
yourself unless directed todo so inthis rial numbers.) icethroughyour servicer or Maycoryou
book. Contact the dealer who sold you may contact the Major Appliance Con-
theappliancefor service, ifyouare unable toobtain service,write sumer Action Panel by letter including
tous. Our addressisfound on the rating your name, address, and telephone
plate. See front cover for location of rat- number,as well asthe model and serial
HOW TO OBTAIN ing plate, numbersof the appliance.
SERVICE If you are not satisfied with the local re-
When your appliance requires service sponse to your service requirements, MajorApplianceConsumerActionPanel
or replacement parts, contact your call or write MAYCOR Appliance Parts 2ONorthWackerDrive
DealerorAuthorizedServicer. Useonly and Service Company, 240 Edwards Chicago,IL 60606
genuine factory or Maycor parts if re- Street, S.E., Cleveland, TN 37311,
placementpartsarenecessary. Consult (615) 472-3500. Includeor have avail- MACAP (Major Appliance Consumer
the Yellow Pages in your telephone di- able the complete model and serial Action Panel)isan independent agency
rectory under appliance for the service numbersofthe appliance,the nameand sponsored by three trade associations
center nearest you. Be sure to include address of the dealer from whom you asacourt ofappeals onconsumer com-
your name, address, and phone hum- purchased the appliance, the date of plaints which have not been resolved
ber, along with the model and serial purchase and details concerning your satisfactorily within a reasonableperiod
numbers of the appliance. (See front problem, of time.
-13-
Page 15

FULL ONE-YEAR WARRANTY
DOMESTIC GAS OR ELECTRIC RANGE
)lianceParts&ServiceCompanywillrepairorreplace,withoutcharge,anypartof yourproductwhichhas
defect inmaterialor workmanship during the first year afterthedate of the original installation.Thiswarranty extends
to any owner during the one-year warranty period.
LIMITED 5 YEAR WARRANTY
Onelectricrangesequippedwithsoliddiscorsmoothtopheatingelements,andongasrangeswithsealedburners,for
anadditional4yearperiodbeyondthefirstyearofthegeneralcoverageofthiswarranty,Maycorwillreplaceanyofthe
soliddiscorsmoothtopheatingelements,orsearedburnerswhichfailtoheatas a resultofdefectiveworkmanshipor ;
material.Additionally,Maycorwillreplaceany smoothtopcookingsurfacewhich cracksor breaksduringnormal ;
..............householdcooking.These partsmustbeinstalledbya qualifiedperson.Anylaborchargerequiredforreplacementis :....
notcoveredbythiswarranty.
...........HOW TO OBTAIN SERVICE
To obtain the repairor replacementof a defectivepartunderthese warranties,you shouldcontactthe dealer from
; whomyoupurchasedtheapplianceora servicerhe designates.
WHAT IS NOT COVERED BY THESE WARRANTIES .......
!
1. Conditionsanddamage resulting from improperin- 5. Any productused for other than normal household
stallation, delivery, unauthorized repair, modifica- use. It does not extend to products purchased for ;
tion,or damage notattributableto a defect in mate- commercial or industrialuse.
rial orworkmanship.
6: Any expense incurred for servicecallsto correct in-
2. Conditions resurtingfrom damage, suchas: (1)im- stallation errors orto instructyou on how to usethe
proper maintenance, (b) misuse, abuse, accident, products.
iii:!i!ilii_
or(c) incorrect electrical current or voltage.
7. CONSEQUENTIAL OR INCIDENTAL DAMAGES ::
3. Warranties arevoid iftheoriginal serialnumber has SUSTAINED BY ANY PERSON ASA RESULTOF :
been removed,altered, or cannot be readily deter- ANY BREACHOFTHESE WARRANTIESORANY
mined. IMPLIED WARRANTY. Some states do not allow
the exclusion or limitation of consequential or inci-
dentar damages, so the above exclusion may not '
4. Light bulbs, applyto you.
ADDITIONAL HELP
If you are not satisfied with the localresponseto your service requirements and wish tocontact Maycor, please ad- ............
dress yourlettertothe CustomerRelations Department,Maycor Parts&ServiceCompany,240 EdwardsStreet, S.E.,
Cleveland,TN 37311 or call (615)472-3500. To save time, your letter should includethe complete modeland serial
numbersofthe warranted appliance,the nameandaddress ofthe dealerfrom whomyou purchasedthe appliance,the
: date of purchase and details concerning your problem.
These warranties are the only written or expressed warranties given by Maycor. No one is authorized to increase, :
alter, orenlarge Maycor's responsibilities or obligations under these warranties. These warranties give you specific :
legal rights, and you may also have other rights which vary from state to state.
8109P059-60
(6/91)
-14-
 Loading...