


Revelation III |
Instruction Manual
|
|
|
|
|
|
|
Model pictured: |
|
|
|
|
|
|
|
Revelation III |
|
|
|
|
|
|
Not all features available on all models - |
|
|
|
|
|
|
|
see back page for model specifications. |
|
B |
A |
|
S |
|
|
A |
Single Diopter Adjustment |
R |
|
|
|
B |
Binocular Head |
||
|
|
|
|
|
|||
|
|
|
|
|
C |
Head Retention Screw (side) |
|
|
|
|
|
|
|
||
|
|
|
|
|
|
D |
Stage Stop Lever |
|
|
|
|
|
|
E |
Friction Adjustment |
|
|
|
C |
|
|
F |
Coarse Focus |
D |
|
|
|
|
G |
Fine Focus |
|
|
|
Q |
|
|
H |
X/Y Axis Stage Controls |
|
F |
|
|
|
|
|||
|
|
|
O |
|
|
I |
Brightness Control |
|
|
K |
|
|
J |
On Switch |
|
|
|
|
|
E |
K |
Base Condenser |
|
G |
|
|
|
|
|||
|
|
L |
|
L |
Flip-out Filter Holder |
||
|
|
|
|
||||
|
|
|
MN |
|
|
M |
Substage Iris Diaphragm |
P |
|
|
|
H |
N |
Substage Abbe Condenser |
|
|
|
|
|
|
O |
Stage |
|
|
|
|
|
|
|
P |
Slide Holder |
|
|
|
|
|
I |
Q |
Objectives |
|
|
|
|
J |
R |
Nose Piece |
|
|
|
|
|
|
S |
Eyepieces |
|
|
|
|
|
|
|
||
Introduction
The LW Scientific Revelation III microscope is our best-selling medical-grade compound microscope, popular in physician and veterinary offices as well as universities and medical schools. Its crisp optics, sturdy design and proven track record makes the Revelation III the best choice for superior performance at an economical price.
Recommended
Upgrades:
Phase and Dark Field Four Head Choices |
Carry Cases |
Camera Attachments |
Ask your authorized LWS dealer about additional accessories 
P. 770.270.1394 |
F. 770.270.2389 |
865 Marathon Parkway Lawrenceville GA 30046 |
LW Scientific packs each Revelation III Microscope with utmost care. Examine the outer and inner containers for any visual damage. Retain all of the packing material until you have examined and tested your new microscope. If there is damage, please contact the shipping company, as our warranty does
not cover shipping damage. If you are uncertain who the shipper is, contact the distributor where you purchased the microscope. Please retain all packaging material for future use. Carefully unpack** your Revelation III Microscope using the following checklist for all the parts and accessories:
1 |
- Microscope body with Abbe condenser |
1 |
- 0.5 amp replacement fuses |
2 |
- 10x eyepieces |
1 |
- Spare 12v/20w Halogen Bulb (type G4-JC) |
1 |
- Binocular head (Seidentopf style) |
1 |
- Immersion oil |
1 |
- Mirror and attachment device for field use |
1 |
- Dust cover |
2 |
- Filters (blue & green) |
**Note: Some parts may be packed in the |
|
4 |
- Objectives 4X, 10X, 40XR, 100XR (oil) |
outer recesses of the Styrofoam blocks |
|
Assembly
1Remove the body of the microscope and place it on a sturdy, dust-free surface. Remove the plastic plugs in the nose piece. Install the objectives in such a way that when you turn the nosepiece clockwise, you are moving from the 4x,
2Remove the microscope head from the Styrofoam carton and pull off the protective covers from the eyepiece tubes and head mount. Insert the head mount into the upper arm of the body. Using the head retention screw, secure the head in place. Note: Do not over-tighten.
3Insert the 10x eyepieces.
4For protection during shipping your Rev III is shipped with the stage locked in low position. To disengage the lock, pull the STAGE LOCK LEVER towards the rear and downward. The stage should now move upward freely.
5Attach the power cord.
Lamp Replacement
*Halogen only
Caution: Unplug the microscope and let it cool down if recently in use before opening the base of the microscope. When handling a new quartz lamp, be careful not to touch the new lamp with your fingers. Oil and sweat on the bulb may cause it to explode or shatter as it heats up.
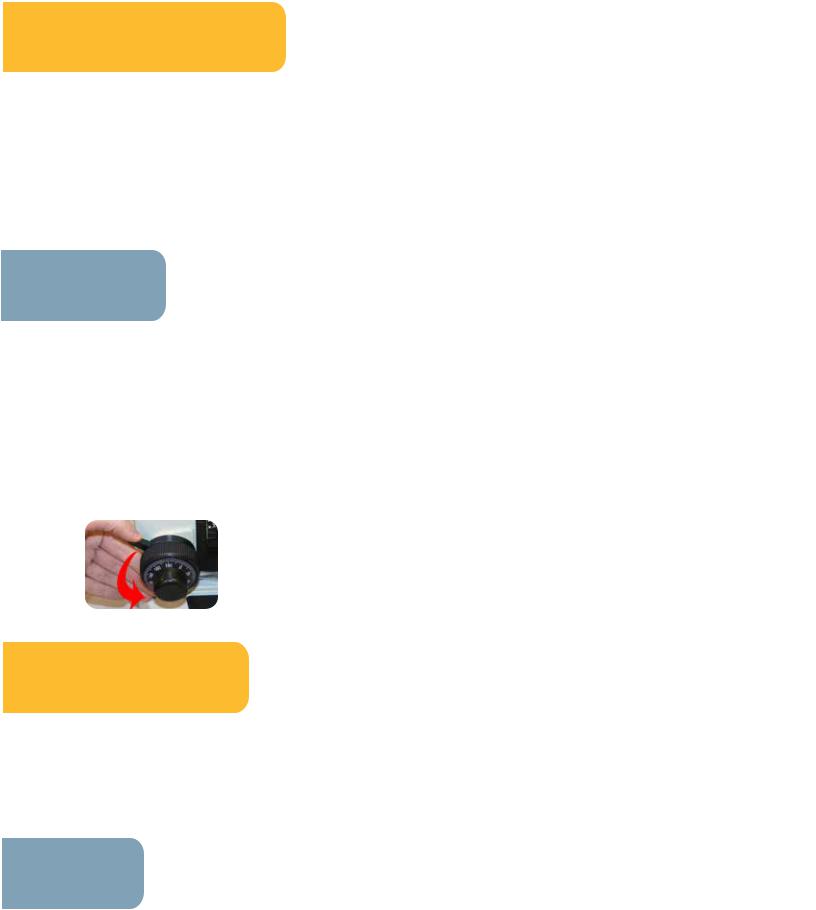
Turn the scope on its side. (We recommend that you place a cushion or soft cloth under the microscope to protect against damage.) Loosen the silver thumb screw located on the lamp compartment door until the door swings open. Gently pull the old bulb out and discard.
Using a lint-free tissue or piece of cloth to hold the new lamp, install the bulb. Close and lock the bulb door, and plug the microscope in to the appropriate AC outlet. Ensure that the new bulb is perfectly centered below the lens assembly by turning the light on to the dimmest setting and looking upward through the vent holes in the bulb door.
Power
The circuit board, in the base of the unit, contains all the electrical functions. There are no user repairable parts on the circuit board. If you suspect a faulty board, call LW Scientific’s technical service department at 800-726-7345.
INPUT: AC 110 or 220 / 50-60 HZ.
OUTPUT: 12v output supports from 20w quartz halogen G-4 bulb (LWS replacement part R3P-BLBH-1220)
FUSE: One 0.5-amp fuse protects the circuit board from electrical overload. The fuse is located on the bottom of the scope. Spare fuses were included with your scope. When replacing the fuse, always install a new one of the same size and amperage.
 Loading...