

Page 1
USB Version Specifications
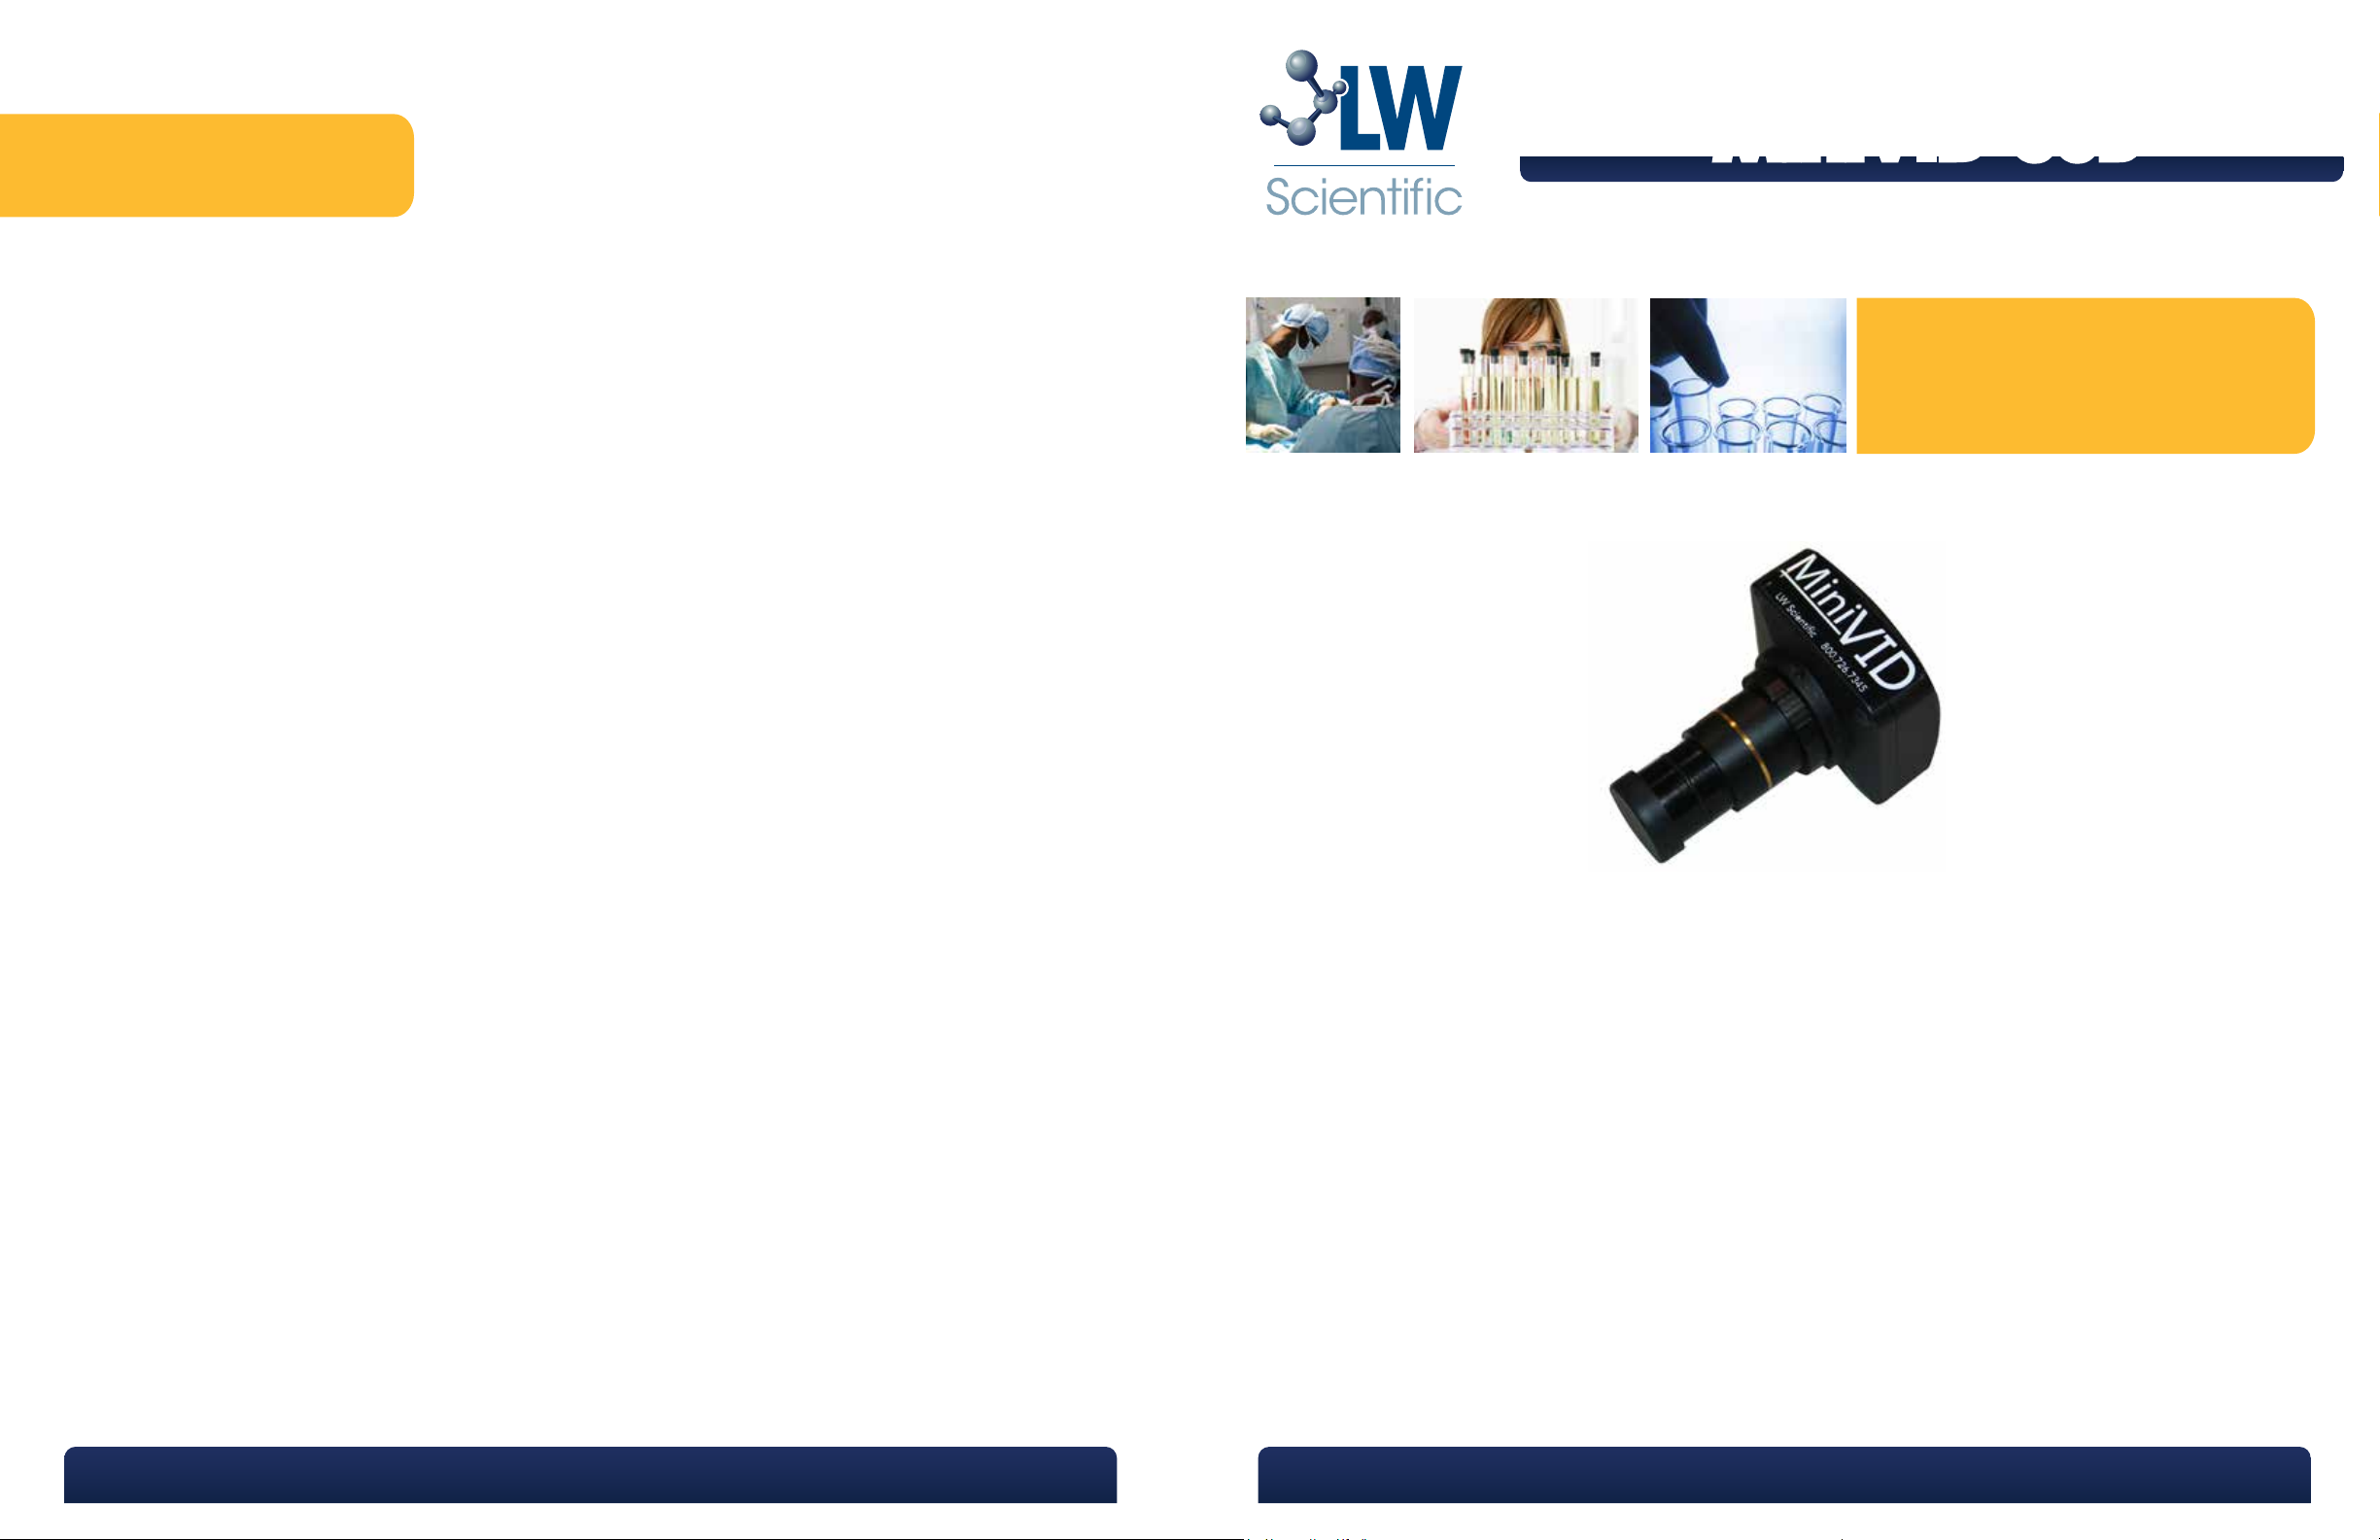
MiniVID USB
MiniVID USB
Models: MVC-U5MP-EMTN, MVC-U5MP-USB3
Chip identification: UCMOS05100KPA
Hardware Configuration:
Sensor Model APTINA MT9P001
Scan Mode Progressive
Max. Resolutio 2592 x 1944 (Approx.5,040,000 Pixels)
Sensor Size 1/2.5“ (5.70mm(H)x4.28mm(V), Diagonal 7.13mm)
Pixel Size 2.2μm x 2.2μm
Responsivity 0.53v/lux-sec(550nm)
Dynamic Range 66.5dB
A/D Converter 10-bit, 8-Bit R.G.B to PC
SN Ratio 40.5dB
Spectral Range 400-650nm (with IR-filter)
Frame Size and Rate 5fps @2592 x 1944, 18fps @1280 x 960, 60fps @640 x 480
(Multiple Speed Level)
Binning 1 x 1, 2 x 2, 4 x 4
Exposure Electronic Rolling Snap(ERS),0.21~2000ms,ROI Auto & Manual
Color Rendering Technique Ultra FineTM Color Engine
White Balance One Push ROI White Balance/ Manual Temp-Tint Adjustment
Capture/Control API DirectShow, Twain
Capture Mode Still Picture and Video
Instruction Manual
Software Environment
Operating System Microsoft® Windows® XP / Vista / 7 (32 & 64 bit)
PC Requirements CPU: Equal to Inter Core2 2.8GHz or Higher
Memory 2GB or More
USB Port USB2.0 High-speed Port
Operating Environment
Operating Temperature -30~70ºC
Storage Temperature -40~125ºC
Operating Humidity 30~80%RH
Storage Humidity 10~60%RH
Power Supply USB Port <5V 500mA DC
Introduction
The innovative MiniVID USB digital eyepiece camera slips into any standard microscope eyepiece tube,
in place of the eyepiece, for crisp imaging or video micrography in an instant. The MiniVID camera is
intended for use in a professional environment to capture digital images or video under a microscope in
accordance with the guidelines set forth in this operations manual.
•Small and Portable
•Fits Into Any Standard Eyetube or C-mount Trinoc
•Includes Software
MKT-7.5.3-L-184 | Rev 0
P. 770.270.1394 F. 770.270.2389 865 Marathon Parkway Lawrenceville GA 30046P. 770.270.1394 F. 770.270.2389 865 Marathon Parkway Lawrenceville GA 30046
Page 2
Unpacking and Setup
General Precautions and Maintenance
The MiniVID USB comes delivered in a box with the following parts. If any parts are missing, please contact your distributor or LW Scientific.
1-MiniVID Camera Body (for use on C-mount trinocular)
1-Eyepiece Optic (for use in 23mm eyetube)
1-CD with driver and software (for use on PC – not MAC)
1-30mm eyetube adapter (for use in larger eyetubes)
1-30.5mm eyetube adapter (for use in larger eyetubes)
1-USB Cable
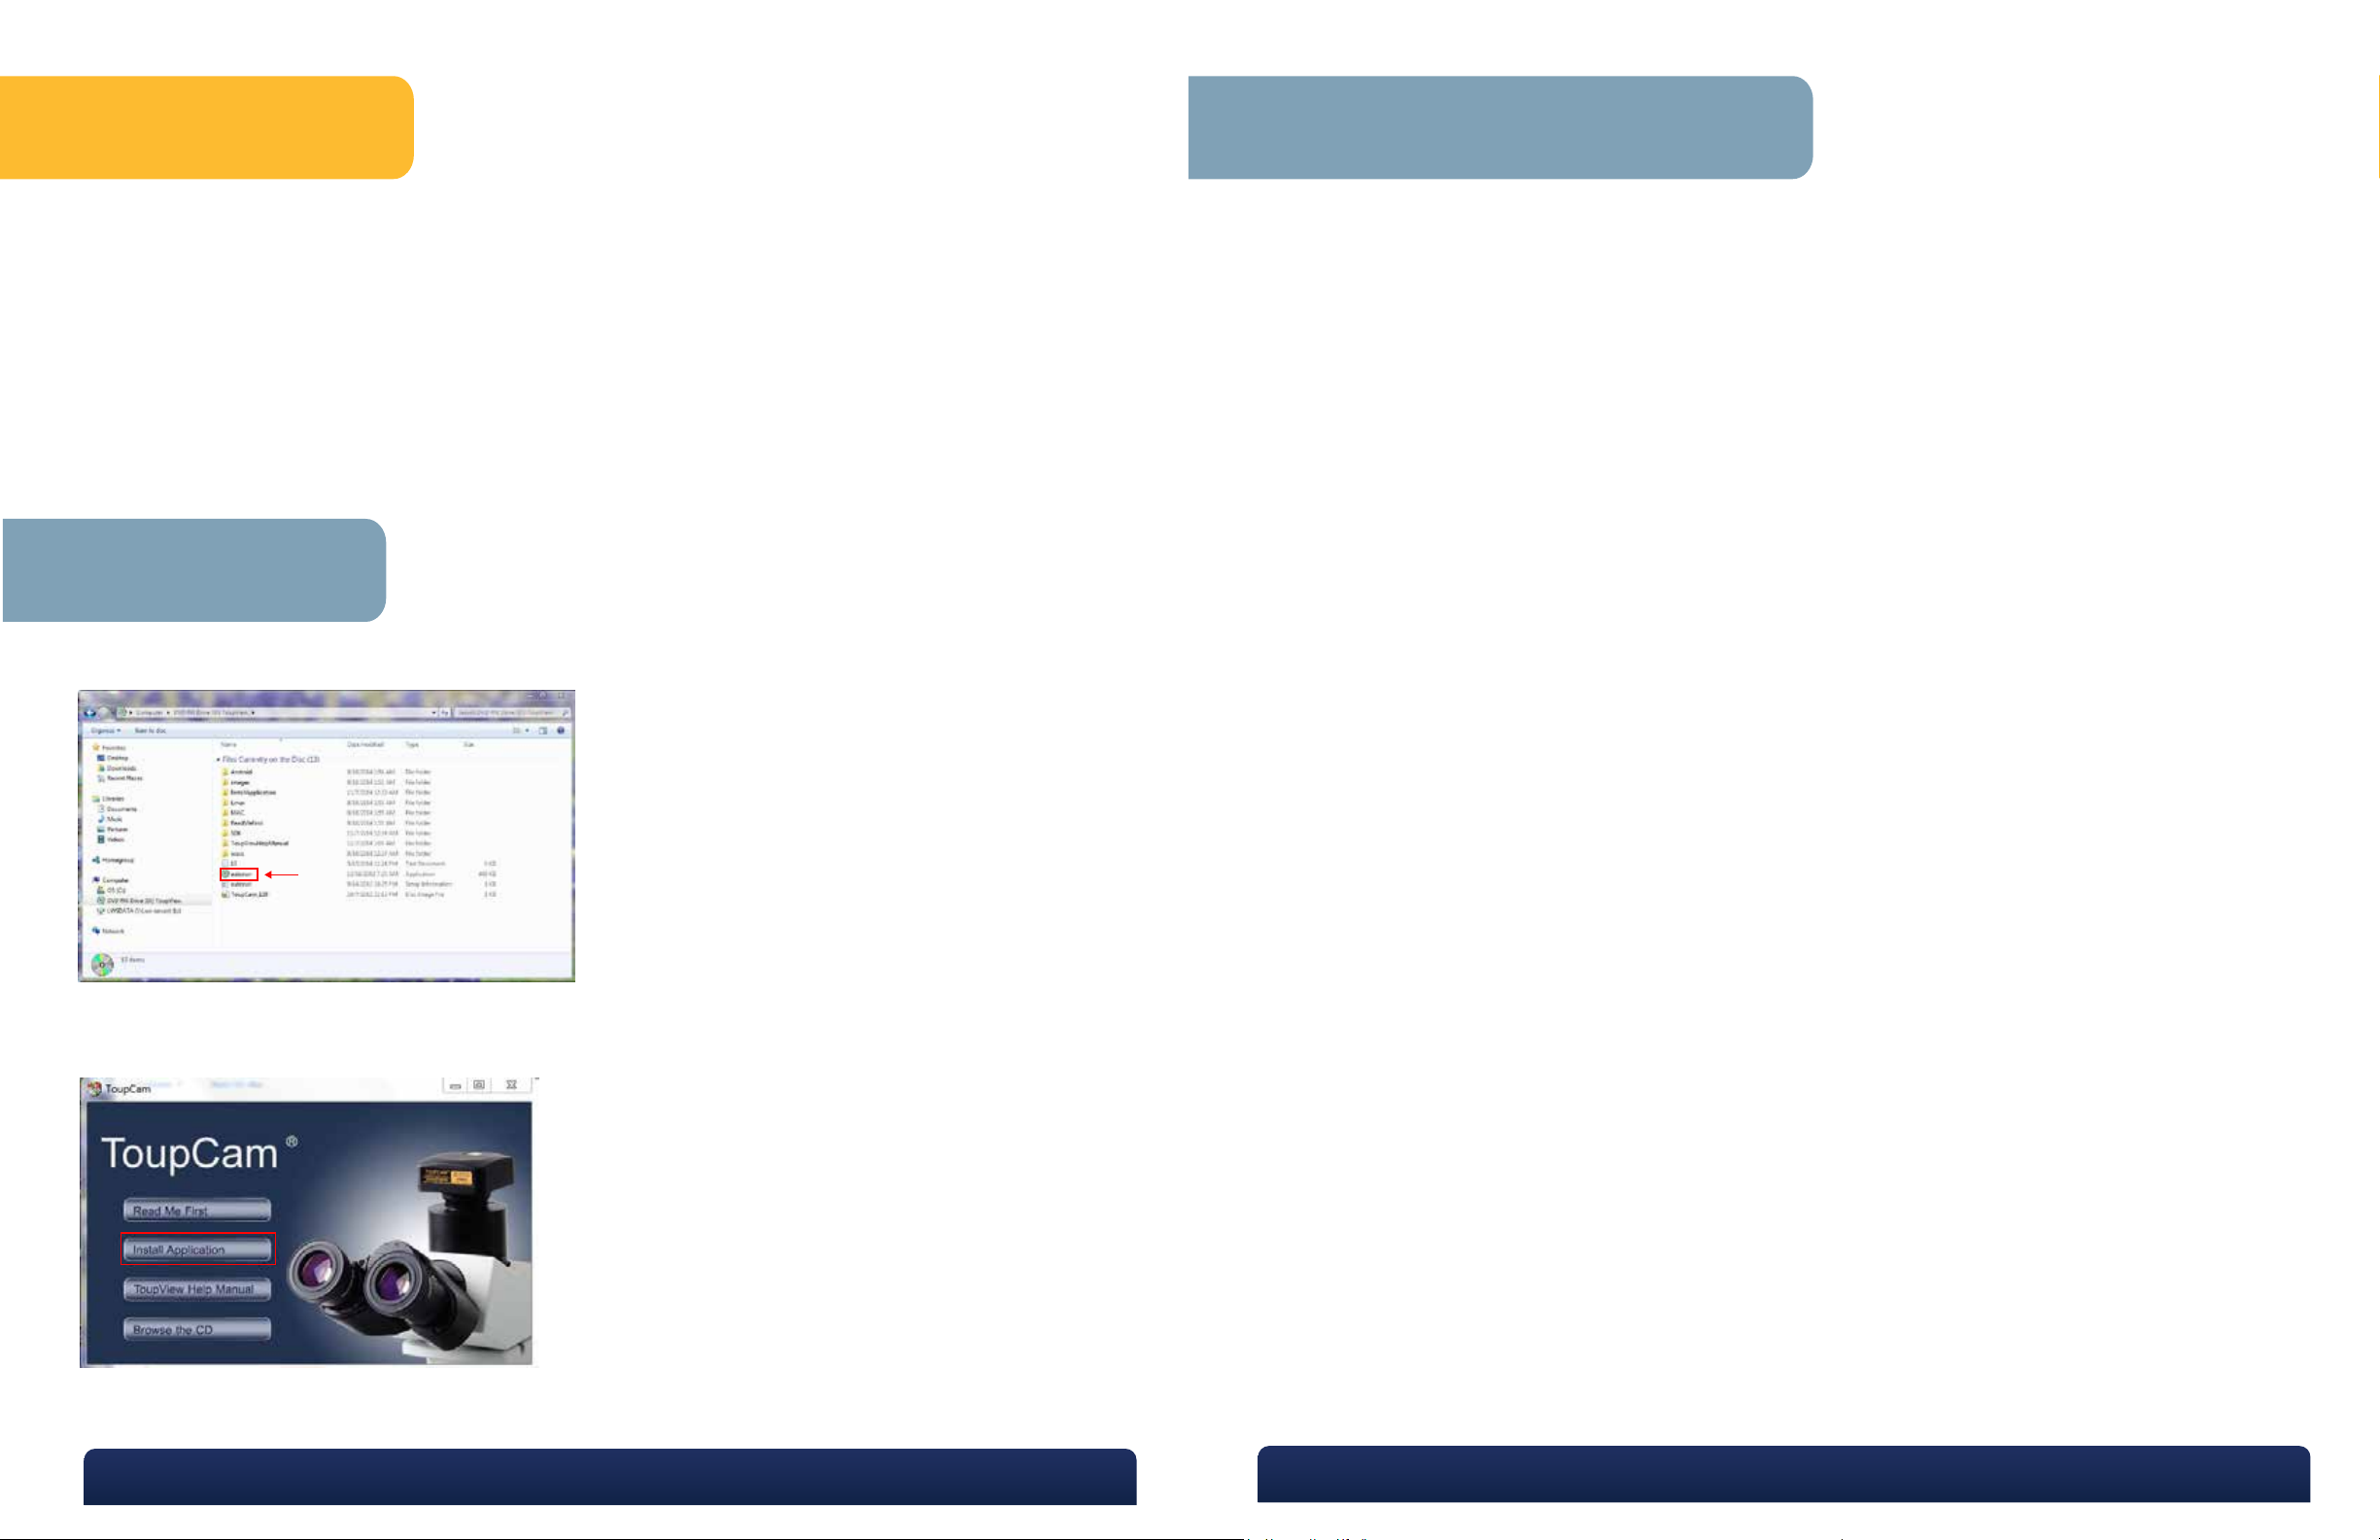
Software Installation
Insert CD into CD-ROM drive. Go to “My Computer” and view the files on the CD:
1
Treat your MiniVID as you would any high-quality electronic device. Handle it with care, and do not
expose it to moisture or extreme temperatures.
Do not touch the chip inside the camera. If you see spots on the screen, there is likely dust on the chip.
This can be cleaned by blowing canned air into the camera.
Please do not attempt to open camera case. There are no user serviceable parts inside.
USB Conflicts: When there are a number of devices installed at the same time, unexpected errors can
arise. The cause can be insufficient USB bandwidth or too much combined current being drawn by
USB devices. To test these conditions you should uninstall and unplug as many other USB devices as
possible.
Image viewing problems: If you see only a black screen, ensure that the trinocular port is opened on
the microscope. Point the camera towards a window to confirm that the camera is functioning – light
should appear on the screen (though it will not focus when not installed on a microscope).
Computer does not recognize device: Make sure you have plugged into a USB 2.0 port. Always try to
use the same port each time; otherwise the computer will see the camera as a new device when
plugged into a new port. If this happens, just follow the wizard again and the camera will work on the
new port as well.
Slow frame rate or frozen screen: Select smaller resolution settings. Depending on the age of the computer, the video driver may not support the maximum resolution and speed performance capable by
the MiniVID camera.
2
Click “autorun” and the following screen will appear:
P. 770.270.1394 F. 770.270.2389 865 Marathon Parkway Lawrenceville GA 30046
P. 770.270.1394 F. 770.270.2389 865 Marathon Parkway Lawrenceville GA 30046
Page 3

White balance: Empty the microscope stage and turn on the light so the MiniVID is viewing an empty
7
illuminated field. Then go to White Balance and click the “White Balance” button.
Most other settings are set to “auto” or to the best setting. Settings for Frame Speed Level or Flip Horizon-
8
tal/Vertical can be adjusted if needed.
Capture the image or several images by click on the “Snap” button. Capture videos by clicking on the
Record button once to begin records and then a second time to end recording.
Next, click “Install Application.” Follow the prompts in the Setup Wizard.
3
4
Select the location in which you want the software installed. Click “Install.”
Tabs for the captured images will appear across the top of the live view window. You can then rename
9
and save these to the appropriate folder on your computer. The images will appear behind the live
view screen. Click on the first tab, labeled “Video” and then the camera number, to return to the live
view screen.
Optional Live Video Screen:
If a full-screen image is desired, select the “View” on the bar across the top of the window, and when
the drop down menu appears, select the “Full Screen” option.
When installation is completed, the following window will appear. Click “Finish.”
5
Open the lid, correct the unbalanced load. Close the lid
and `reset the centrifuge’ by turning unit `Off’ and ‘On’
using the On/Off switch located on the rear side of the
centrifuge.
P. 770.270.1394 F. 770.270.2389 865 Marathon Parkway Lawrenceville GA 30046
Page 4

6
Once completed, look under “All Programs” in the START menu, and find the Touptek folder. Open
ToupView software from there, or RIGHT CLICK and send a shortcut to the desktop for easy access.
Select 64 or 86 bit.
Not required, but for easy image organization, create a new folder named “MiniVID Images” on your
7
desktop next to your ToupView icon. As images are saved, they will be easy to find in the image folder
on the desktop. Otherwise, images can be saved into any folder or client file on the computer or
network.
8
Select “Toupview” icon.
Operation
1
Eyetube installation: Remove an eyepiece from the microscope, and insert the MiniVID into the eyetube. The included 30mm or 30.5mm eyetube adapter may be needed for larger eyetubes. If your
microscope uses a halogen bulb, using a blue filter on your microscope may improve color.
2
C-mount Trinocular installation: The MiniVID can be thread-mounted onto any trinocular microscope
with a C-mount threading on top. Once mounted, the microscope should have an up/down height
adjustment on the trinocular pipe to allow the camera to be “par-focal” with the view through the
binocular. Check your microscope manual for this adjustment.
3
Plug the USB cable into the camera and into a 2.0-speed USB port on the computer.
9
Connect the camera to the computer using the included USB cable. Your computer should bring up a
window which reads, “Device driver software installed successfully.”
4
Start the ToupView software. The START PAGE may appear:
5
To begin capturing images, click on device (UCMOS 05100KPA) under “Camera List.”
P. 770.270.1394 F. 770.270.2389 865 Marathon Parkway Lawrenceville GA 30046
6
At this point, the screen should be showing a live image from the microscope. If not, look at the microscope head and check if there is a pull knob that directs light up to the trinocular head.
Capture and Resolution: Use the drop-down boxes to select your resolution. Using maximum resolution
will slow down the capture rate but will produce larger images, while smaller resolution will allow faster
motion while viewing specimens. See image under Step 5.
P. 770.270.1394 F. 770.270.2389 865 Marathon Parkway Lawrenceville GA 30046
 Loading...