

Page 1
Page 2

TABLE OF CONTENTS
1. FEATURES.................................................................1
2. SPECIFICATIONS......................................................
.
2
3. FRONT PANEL DESCRIPTION.....................................4
3-1 Cover of Testing bottle.........................................4
3-2 Container of Testing bottle...................................
.
4
3-3 Display................................................................4
3-4 Hold Button ( Esc Button )....................................4
3-5 TEST/CAL Button.................................................4
3-6 Power Button......................................................
.
4
3-7 ZERO Button.......................................................
.
4
3-8 REC Button ( MAX, MIN Button )...........................4
3-9 Battery Compartment/Cover................................. 4
3-10 1.0 ppm Free Chlorine standard solution........... 4
3-11 1.0 ppm Total Chlorine standard solution........ 4
3-12 Zero Chlorine standard solution..........................
.
4
3-13 Empty testing bottle 1........................................4
3-14 Empty testing bottle 2........................................4
3-15 Clean Cloth........................................................4
3-16 Free Chlorine DPD powder ( 10 PCs ).................. 4
3-17 Total Chlorine DPD powder ( 10 PCs )................ 4
4. MEASURING PROCEDURE..........................................5
4-1 Measurement Consideration.................................
.
5
4-2 Measurement......................................................
.
6
4-3 Free/Total Chlorine mode selection.......................
.
8
4-4 Data Hold............................................................9
4-5 Data Record ( Max., Min. reading ).......................
.
9
5. CALIBRATION PROCEDURE.......................................
.
10
6. BATTERY REPLACEMENT...........................................14
Page 3

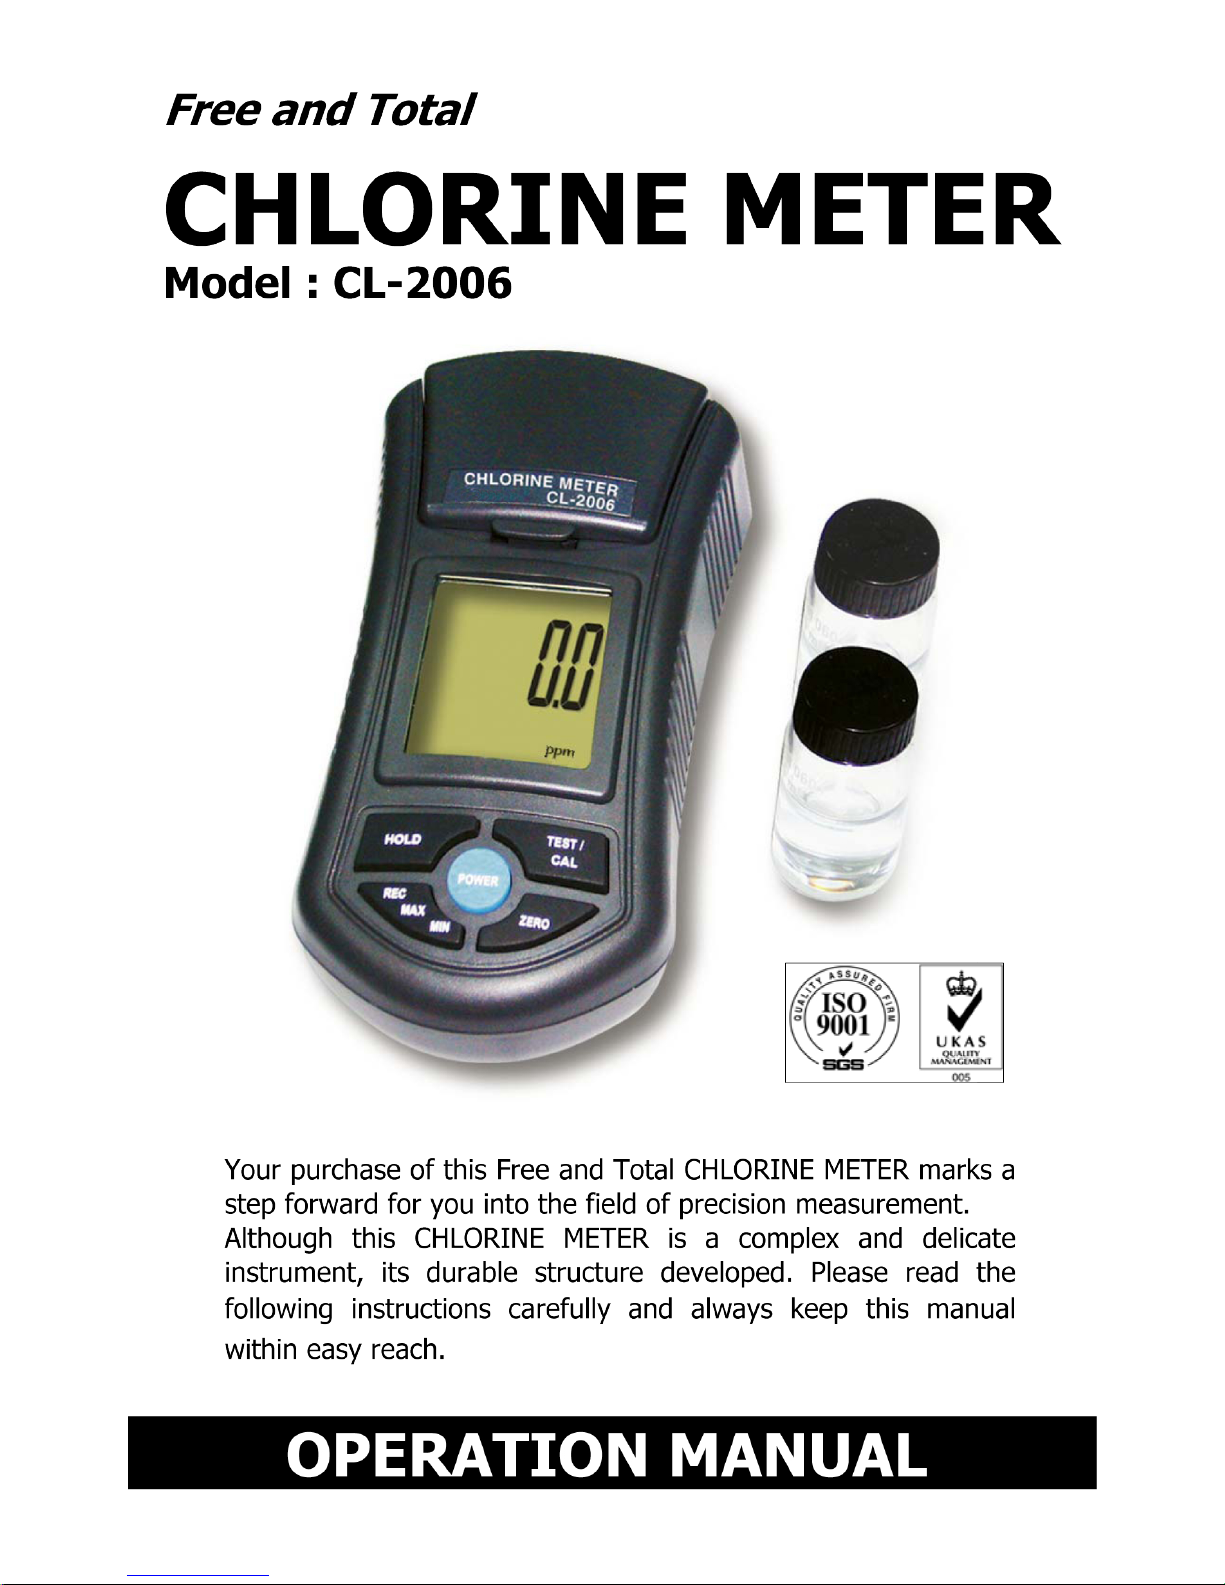
1. FEATURES
* The meter measures the Free and Total chlorine ( CL )
in the 0.00 to 3.50 ppm ( mg/L ).
* The measuring method is an adaptation of the USEPA
Method 330.5 for waste water and Standard Method
4500-Cl G for drinking water.
* The advanced optical system based on a special narrow
band LED lamp that allows most accurate and
repeatable reading.
* Friendly and powerful calibration function are able to
validate good performance of your meter at any time.
* 1.00 ppm Free standard solution and 1.00 ppm Total
standard solution are includes as the standard
accessories.
* The unique optics structure, enables the instrument to
read with high resolution : 0.01 ppm ( mg/L ).
* Splash waterproof on the front panel.
* Jumbo LCD, easy readout.
* Microprocessor circuit assures maximum possible
accuracy, provides special functions and features.
* Battery operated for field and on-site testing
convenience.
* Data hold function for freezing the desired value on
display.
* Records Maximum and Minimum reading with Recall.
* Heavy duty & compact housing with hard carrying case,
designed for easy carry out & operation.
* Auto shut off is available to save battery life.
* Application : Test swimming pool, municipal water,
food and beverage water, or other aqueous solution
where fluid clarity is important.
1
Page 4
2. SPECIFICATIONS
Circuit Custom one-chip of microprocessor LSI
circuit.
Display LCD size : 41 mm x 34 mm
Range Free chlorine ( CL ) :
0.00 to 3.50 ppm ( mg/L ).
Total chlorine ( CL ) :
0.00 to 3.50 ppm ( mg/L ).
Resolution 0.01 ppm ( mg/L ).
Accuracy ± 0.02 ppm ( mg/L ).
@ 1.00 ppm ( mg/L )
Light source LED, 525 nm.
Light detector Photo diode
Method The measuring method is an adapta-
tion of the USEPA Method 330.5 and
Standard Method 4500-Cl G.
*
The reaction between free ( total )
chlorine and the DPD reagent cause
a pink tint in the sample.
Response time Less than 10 seconds.
Sample volume 10 mL.
Data Hold Freeze the display reading.
Memory Recall Maximum & Minimum value.
Display Approx. 1 second.
Sampling
Time
Power off Auto shut off saves battery life or
manual off by push button.
Calibration Zero chlorine.
points 1.00 ppm ( Free chlorine ).
1.00 ppm ( Total chlorine ).
2
Page 5
Operating 0 to 50 .℃
Temperature
Operating Less than 85% R.H.
Humidity
Power Supply DC 1.5 V battery ( UM4, AAA ) x 6 PCs,
or equivalent.
Power Current Stand by Approx. DC 4 mA.
Testing Approx. DC 12 mA.
Weight 320 g/0.70 LB.
@ Battery is included.
Dimension 155 x 76 x 62 mm
( 6.1 x 3.0 x 2.4 inch)
Accessories * Instruction manual.........................
.
1 PC
Included * 1.0 ppm Free Chlorine standard
solution, CF-01...............................1 PC
* 1.0 ppm Total Chlorine standard
solution, CT-01...............................1 PC
* Zero Chlorine standard solution,
CL-01 1 PC
* Empty testin
g
bottle........................2 PCs
* Clean cloth.....................................1 PC
* Free Chlorine DPD powder..............
.
10 PCs
*
T
otal Chlorine DPD powder..............10 PCs
Optional * Free Chlorine DPD powder ( 10 PCs ),
Accessories Model : CFP-10
* Total Chlorine DPD powder ( 10 PCs ),
Model : CTP-10
* Empty testing bottle, Model : 0601
* 1.0 ppm Free Chlorine standard
solution, Model : CF-01
* 1/0 ppm Total Chlorine standard
solution, Model : CT-01
* Zero Chlorine standard solution,
Model : CL-01
3
Page 6

3. FRONT PANEL DESCRIPTION
3-1 Cover of Testing bottle
3-2 Container of Testing bottle
3-3 Display
3-4 Hold Button ( Esc Button )
3-5 TEST/CAL Button
3-6 Power Button
3-7 ZERO Button
3-8 REC Button ( MAX, MIN Button )
3-9 Battery Compartment/Cover
3-10 Free Chlorine 1.0 ppm standard solution.
3-11 Total Chlorine 1.0 ppm standard solution
3-12 Zero Chlorine standard solution
3-13 Empty testin
g
bottle 1
3-14 Empty testin
g
bottle 2
3-15 Clean Cloth
3-16 Free Chlorine DPD powder ( 10 PCs )
3-17 Total Chlorine DPD powder ( 10 PCs )
4
Page 7

4. MEASURING PROCEDURE
4-1 Measurement Consideration
White mark
on the up
position of
" Testing
Bottle "
White mark
on the edge of the " Container "
Fig. 2
1)There is a " White mark " on the edge of the
" Container " ( 3-2, Fig. 1 ) and also on the up
position of " Testing Bottle " ( 3-10, 3-11, 3-12
3-13, 3-14 Fig. 1 ), refer Fig. 2.
2)
When make the
measurement ( or
calibration ), it should
keep the " Container
white mark " face to face
together with the
" Testing bottle white mark "
5
Page 8

3)Insert the " Testing bottle " to the bottom of
" Container " ( 3-2, Fig. 1 ) completely.
4)Before the measurement, it should envelop in the
" Cover " ( 3-1, Fig. 1 ) completely.
Remark
:
Before the measurement, it should
keep the outside of Testing Bottle
under the dry condition and withou
t
existing any dust.
4-2 Measurement
Before the measurement, should select the
measurement model to " Free Chlorine " or " Total
Chlorine " first, the setting procedures refer to
chapter 4-3, page 8.
ZERO setting for the liquid
1)Power ON the meter by pressing the " Power Button "
( 3-6, Fig. 1 ) once.
T
he Display ( 3-3, Fig. 1 ) will show the text " Free (
T
OTAL ) " approx. 1 second. then show " CAL 0 ", now
the meter for the ZERO setting procedures.
2)Fill the measurement liquid into the " Testing bottle "
( 3-11, 3-12, Fig. 1 ) .
Attention :
Model 0601
It should fill th
e
10 mL
measuremen
t
liquid capacit
y
until its level
Fig. 3
up to the " level
marker " of the
" Testing bottle
"
6
Page 9

3)Insert the " Testing bottle " to the bottom of
" Container " ( 3-2, Fig. 1 ) completely.
Before the measurement, it should envelop in the
" Cover " ( 3-1, Fig. 1 ) completely.
4)Press " Zero Button " ( 3-7, Fig. 1 ) once, the display
will show the text " tESt " ( TEST )" with flashing,
then show " 0.00 ".
Liquid with the DPD powder
5)Take away the " Testing bottle " with the measurement
liquid away from " Container " ( 3-2, Fig. 1 ).
Fill the DPD powder into the " Testing bottle "
with the measurement liquid. It should shake
the at least 10 seconds to keep the solution
under the uniform condition.
Remark :
* For the Free Chlorine measurement, it should use
the " Free Chlorine DPD powder ".
* For the Total Chlorine measurement, it should use
the " Total Chlorine DPD powder ".
7
Page 10

6)Wait one minute approximately,
then insert the " Testing bottle " to the bottom of
" Container " ( 3-2, Fig. 1 ) completely.
Before the measurement, it should envelop in the
" Cover " ( 3-1, Fig. 1 ) completely.
7)Press " Test Button " ( 3-5, Fig. 1 ) once, the display
will show the text " tESt " ( TEST )" with flashing,
wait approx. 10 seconds, the Display will show
the measurement value.
Wash ( Reins ) the Testing bottle
* After the testing, it should wash ( reins )
the Testing Bottle by the Distill Water
4-3 Free/Total Chlorine mode selection
1)Meter is under the power off conditions.
Press " Hold Button " ( 3-4, Fig. 1 ) " REC Button " (
3-8, Fig. 1 ) at the same time ( not release ), then
press the " Power Button " ( 3-6, Fig. 1 ) will enter the
selection mode to select the function of " Free
Chlorine " or the " Total Chlorine ".
2)Press the " TEST Button " ( 3-5, Fig. 1 ) to select the
desiring function ( Free Chlorine or Total Chlorine ),
then " REC Button " to confirm and save the selection
mode into the memory.
Remark :
* For the swinging pool application, typical to
select the " Free Chlorine " function.
* For the industrial water pollution application, typical
to select the " Total Chlorine " function.
8
Page 11

4-4 Data Hold
During the measurement, press the " Hold Button " ( 3-4,
Fig. 1 ) once will hold the measured value & the LCD will
display a " HOLD " symbol.
* Press the " Hold Button " once again will release the data
hold function.
4-5 Data Record ( Max., Min. reading )
* The data record function records the maximum and
minimum readings. Press the " REC Button " ( 3-8, Fig.
1 ) once to start the Data Record function and there
will be a " REC. " symbol on the display.
* With the " REC. " symbol on the display :
a)Press the " REC Button " ( 3-8, Fig. 1 ) once, the "
REC. MAX. " symbol along with the maximum value
will appear on the display.
b)If intend to delete the maximum value, just press
the " Hold Button " ( 3-4, Fig. 1 ) once, then the
display will show the " REC. " symbol only & execute
the memory function continuously.
Press the " REC Button " ( 3-8, Fig. 1 ) again, the
" REC. MIN. " symbol along with the minimum value
will appear on the display.
If intend to delete the minimum value, just press
the " Hold Button " ( 3-4, Fig. 1 ) once, then
the display will show the " REC. " symbol only &
execute the memory function continuously.
9
Page 12

5. CALIBRATION PROCEDURE
1)The meter can be calibrated under following calibration
points :
Free chlorine
*Zero
*1.00 ppm
or
Total chlorine
*Zero
*1.00 ppm
2)The meter ship along with
* Zero Chlorine standard solution ( CL-01 ) X 1 PC,
* 1.0 ppm Free Chlorine standard solution ( CF-01 ) X 1 PC.
* 1.0 ppm Total Chlorine standard solution ( CT-01) X 1 PC.
as the standard accessories.
3)The complete calibration should be executed by
following two solution :
*Zero Chlorine standard solution
*1.0 ppm standard solution ( Free or Total ).
10
Page 13

4) Zero chlorine calibration
* Insert the " Zero Chlorine standard solution into the
" Container " ( 3-2 , Fig. 1) and envelope in the " Cover "
( 3-1, Fig. 1 ) completely, other procedures please
refer to chapter 4-1, 4-2.
* Press " CAL Button " ( 3-5, Fig. 1 ) continuously
until the Display show the text " CAL " then release
the button.
CAL
ppm
* During the display show text " CAL ", press the
" CAL Button " ( 3-5, Fig. 1 ), the display will show
0.00
CAL ppm
Now the meter is ready for the " Zero Chlorine "
calibration
11
Page 14

* Press " CAL Button " ( 3-5, Fig. 1 ) once, the
Display will show following text with flashing ( approx.
10 seconds ).
flashing
CAL
0.0 ppm
Then the Display will show :
1.00
CAL ppm
Now the meter is finished the " Zero Chlorine "
calibration procedures and ready for " 1.00 ppm "
calibration procedures.
5) 1.00 ppm calibration
Refer to page 12, when finish the " Zero Chlorine "
calibration procedures and the Display show
1.00
CAL ppm
The meter is ready for " 1.0 ppm " calibration.
12
Page 15

* Insert the " 1.0 ppm standard solution into the
" Container " ( 3-2 , Fig. 1) and envelope in the
" Cover " ( 3-1, Fig. 1 ) completely, other
procedures please refer to chapter 4-1, 4-2.
Press " CAL Button " ( 3-5, Fig. 1 ) once, the
Display will show following text with flashing ( approx.
10 seconds ).
flashing
CAL
1.00 ppm
Then the LCD display will return to normal
measurement screen, now the meter is finished the
calibration procedures ( Zero, 1.0 ppm calibration )
completely and ready for the measurement.
Remark :
The calibration procedures for the function of " Total
chlorine " and the " Free chlorine " are independent.
The complete calibration procedures for the function
of " Free chlorine " measurement should be
executed by
*
Zero Chlorine standard solution
*
1.0 ppm Free standard solution
The complete calibration procedures for the function
of " Total chlorine " measurement should be
executed by
*Zero Chlorine standard solution
*1.0 ppm Total standard solution
13
Page 16

6. BATTERY REPLACEMENT
1)When the left corner of LCD display show " ", it
is necessary to replace the battery. However, in-spec.
measurement may still be made for several hours after
low battery indicator appears before the instrument
become inaccurate.
2)Loss the " Battery Cover Screws " and slide the
" Battery Cover " ( 3-9, Fig. 1 ) away from the
instrument and remove the battery.
3)Replace with DC 1.5 V battery ( UM4, AAA,
Alkaline/heavy duty ) x 6 PCs, and reinstate the cover.
4)Make sure the battery cover is secured after changing
the battery.
14
0805-CL2006
 Loading...