

Lorex mCAM DMC2030, mCAM DMC2161, mCAM DVM5051, mCAM DVM5031, SG21CD7444UQ-A80 User Manual
...Page 1
www.lorexcctv.com
Lorex Technology Inc.
300 Alden Road, Markham, Ontario, Canada L3R 4C1
Lorex Corporation.
3700 Koppers Street, Suite 504, Baltimore, Maryland, 21227
Page 2
USER MANUAL
Page 3
www.lorexcctv.com
Under the copyright laws, this documentation may not be copied, photocopied, reproduced, translated, or reduced to any electronic medium or machine
readable form, in whole or part without the prior written consent of Lorex Technology Inc., except in the manner described in the documentation.
© Copyright 2007. Lorex Technology Inc., 300 Alden Road, Markham, Ontario, Canada L3R 4C1
Document Revision 4.0
Page 4
This equipment has been tested and found to comply with the limits for a class B
digital device, pursuit to Part 15 of the FCC rules. These limits are designed toprovide
reasonable protection against harmful interference in a residential installation. This
equipment generates, uses and can radiate radio frequency energy and, if not installed and used in
accordance with the instructions, may cause harmful interference to radio communication. However
there is no guarantee that interference will not occur in a particular installation. If this equipment
does cause harmful interference to radio or television reception, which can be determined by
turning the equipment off and on, the user is encouraged to try to correct the interference by one
or more of the following measures:
• Reorient or relocate the receiving antenna increases the separation
between the equipment and receiver
• Connect the equipment into an outlet on a circuit different from that to
switch the receiver is connected
• Consult the dealer or an experience radio or television technician for help.
This device complies with Part 15 of the FCC rules. Operation is subject to the
following two conditions:
1. This device may not cause harmful interference, and
2. This device must accept any interference received, including interference that may cause
undesired operation
This digital apparatus does not exceed the Class B limits for radio noise emissions from digital
apparatus set out in the Radio Interference Regulations of the Canadian Department of
Communications.
ALWAYS USE DISCRETION WHEN INSTALLING VIDEO AND AUDIO SURVEILLANCE EQUIPMENT
ESPECIALLY WHEN THERE IS PERCEIVED PRIVACY. INQUIRE REGARDING FEDERAL, STATE AND
OR LOCALREGULATIONS APPLICABLE TO THE LAWFUL INSTALLATION OF VIDEOAND OR
AUDIO RECORDING OR SURVEILLANCE. PARTY CONSENT MAY BE REQUIRED
Current rating per camera should not exceed 300mA if on board power from the video capture
device is used.
FCC COMPLIANCE
Page 5
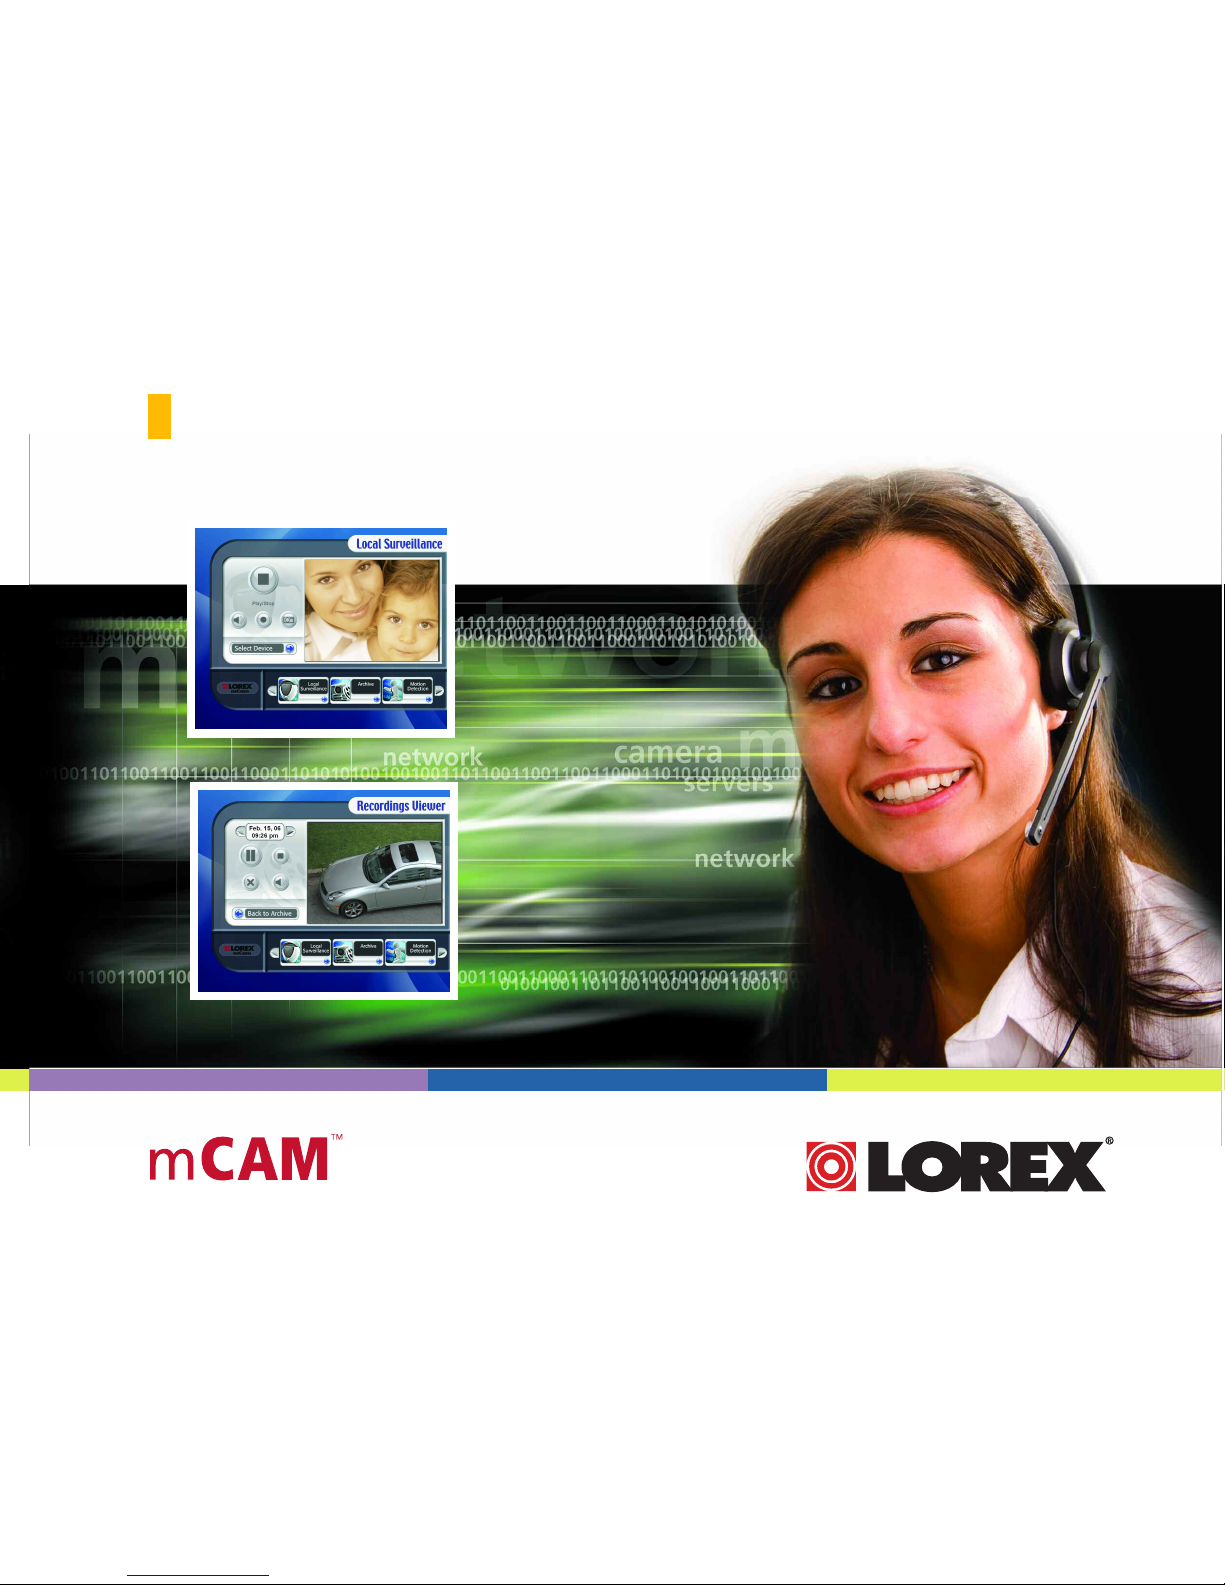
ABOUT THIS MANUAL
This manual is designed to provide you with in depth instruction for the
use of mCAM products. We recognize that most functions and features
of mCAM hardware and the mCAM software are intuitive by design.
However, for functions and features that are not perfectly clear we have
developed a couple of icons to convey important information or instruction
to you. The icons you will see throughout this manual are as follows:
INFO – Provides additional information about a feature or function
to help you understand our products better.
WARNING – Provides information on features and functions that
may depend on other factors or yield unexpected results.
Page 6
1 Software Installation . . . . . . . . . . . . . . . . 2 – 4
2 Setting up the Hardware . . . . . . . . . . . . . . . 5
3 Using the mCAM Application
Main Menu . . . . . . . . . . . . . . . . . . . . . . . 6 – 7
Set Start Page
Local Surveillance . . . . . . . . . . . . . . . . . . . . . . 8
Play/Stop Video
Mute/Unmute Volume
Record Video
Take Snapshots
Select Device . . . . . . . . . . . . . . . . . . . . . . . . . . 9
Select Video Device
Select Audio Device
Archive . . . . . . . . . . . . . . . . . . . . . . . . . 10 – 11
Search Archive
View Recordings and Snapshots
Motion Detection . . . . . . . . . . . . . . . . . . . . 12 – 13
Set Days and Time
Set Actions
Set Sensitivity
Scheduled Events . . . . . . . . . . . . . . . . . . . . 14 – 15
Set Days and Time
Set Actions
Preferences . . . . . . . . . . . . . . . . . . . . . . . . . . . . . . 16
Delete Recordings
Delete Snapshots
Email
Set Start Page
Select Language . . . . . . . . . . . . . . . . . . . . . . . . . . 17
About . . . . . . . . . . . . . . . . . . . . . . . . . . . . . . . . . . 18
4 Remote Surveillance . . . . . . . . . . . . . . . . . . 19
TABLE OF CONTENTS
Quick Users Guide
1
Page 7
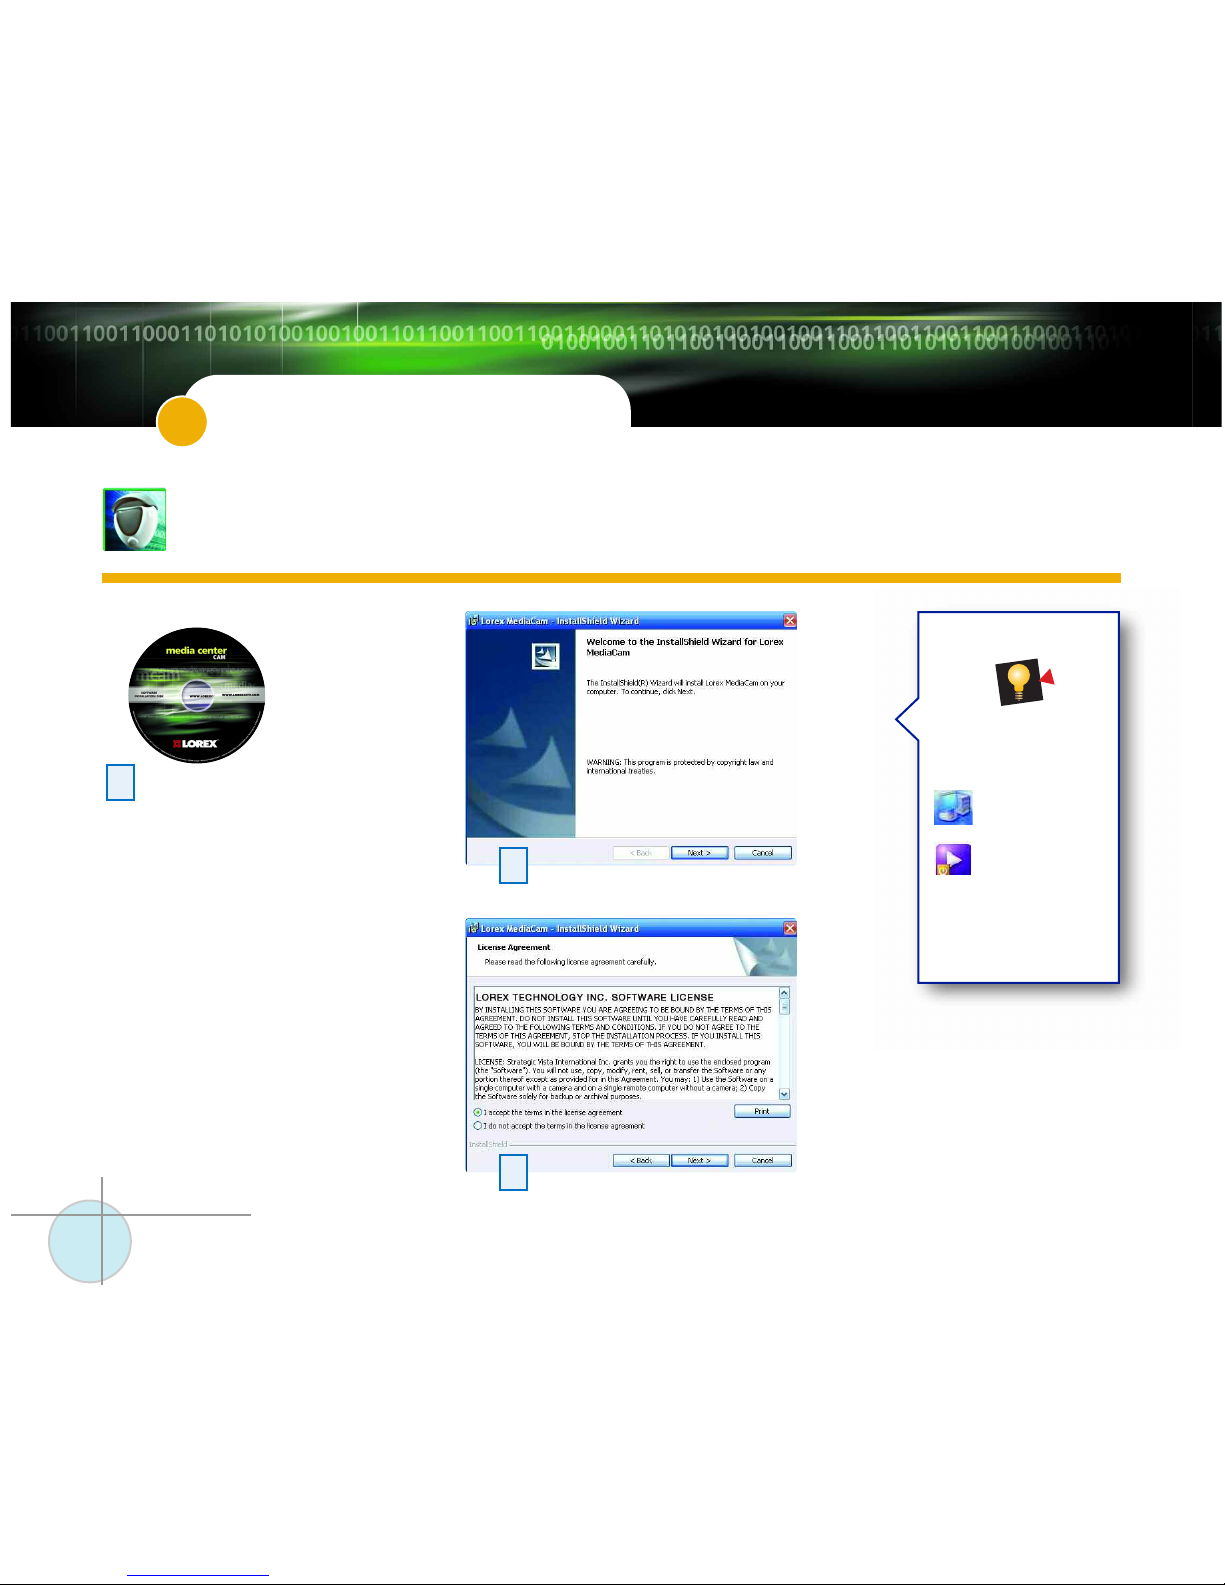
If the CD does not start the
installation automatically:
Open My Computer
Double-Click on
your CD-Rom Icon
Double-Click on
Setup.exe
Insert the mCAM application
software CD into your computer’s CD-Rom
drive.
The CD will automatically start the installation
program. Follow the on-screen prompts.
2
3
This section will show you how to install the
mCAM Application onto your computer.
SOFTWARE INSTALLATION
1
1
Lorex mCAM
2
Minimum System Requirements:
• Windows XP
• Pentium IV
• 256MB RAM (512MB recommended)
• 200MB storage
• Windows Media Center™ is required if you wish to run the
enclosed Media Center software
• Internet connection (DSL or cable modem)
• Windows Media Player 9 or above for remote connectivity
* Check www.lorexcctv.com for the most recent
software version.
Page 8
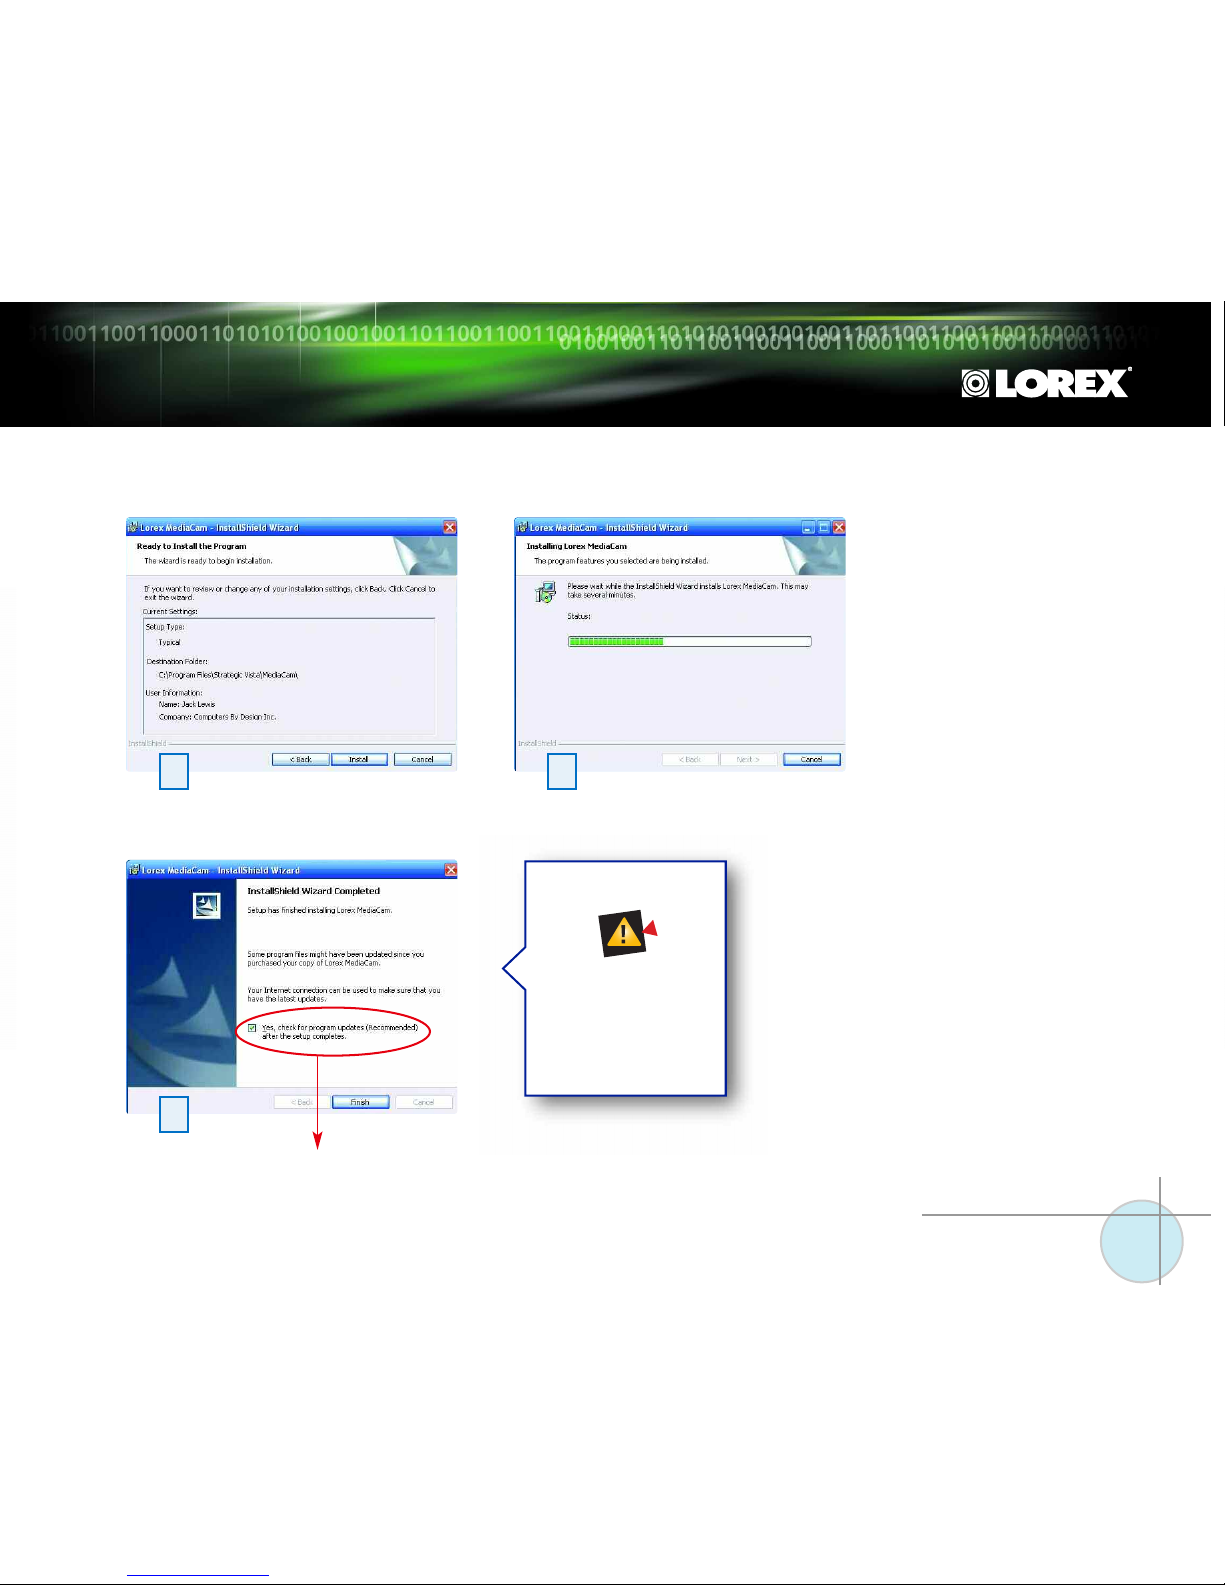
4
6
5
Software Installation
3
The automatic update
must have an active
internet connection
to function.
Make sure to check for the most recent program updates.
Page 9

Lorex mCAM
4
All Lorex®mCAM Cameras
feature a simple USB interface
to your computer.
Universal mounting bracket/stand and clip
allows you to place mCAM anywhere.
Plug the USB connector into your computers USB port
SETTING UP THE HARDWARE
2
Installation Procedure – This section will show you how to connect
your mCAM camera to your computer.
1
Mount your camera
2
Stand Mount
Wall Mount
Clip Mount
Page 10

Setting Up The Hardware
5
Restart your computer
before opening the
mCam application.
3
5
4
6
7
The camera will be detected by your computer. Follow the wizard steps below.
Page 11

Lorex mCAM
6
Select the
mCAM icon to
open the
mCAM
Application.
USING THE mCAM APPLICATION
3
This section will familiarize you the mCAM Software application.
mCAM can run as a Media Center
TM
application (on computers with Windows Media CenterTM) or as a web browser
application on other Windows operating systems.
For Systems with Microsoft MediaCenter
TM
navigate to “More Programs”
Select Start ---> All Programs ---> Lorex mCAM ---> mCAM to
access the Main Menu. This will launch mCAM in your web browser.
1A
B
For Systems using other Windows operating systems*
(see minimum system requirements)
2A
Use the arrow keys
and the OK button
on your remote
control to navigate
and select functions.
OR
Allow Active Content from the Security Bar (one time only)
B
This will allow the
ActiveX control to run
for this session, but
you will need to do this
every time you run the
application:
1. Click on the Security
bar, and select ‘Allow
Blocked Content’ from
the dropdown menu.
2. Click on the ‘Yes’
button on the security
warning.
Page 12

Select the arrow keys
from within the
Quick Jump Tool bar
of the application to
access more menu
items without going
back to the Main Menu.
Default Start Page
7
You can set the Default Start Page to Local Surveillance
or to Main Menu screen.
Select Main Menu as the
default setting to take you to
the Main Menu everytime
you open the application.
Select Local Surveillance as
the default setting to bypass
the Main Menu and go to the
Local Surveillance page when
you open the application.
Page 13

Press to Play live video.
Press to Stop live video.
You must use the arrows
and the OK but
ton on
your remote to select Play,
Stop, Mute and Record.
If the video screen is
flashing with a red
frame, the software is
detecting motion. See
page 12.
Press to Mute the volume.
Press to Unmute the volume.
Press to record live video.
Press to stop recording.
Press to take a picture of the
live video at any given instant.
Lorex mCAM
8
USING THE mCAM APPLICATION
3
This page is where you can view
live video from your mCAM.
Video must be playing in
the Local Surveillance
window for Motion
Detection and Scheduled
Events to function.
Press to broadcast live video
Press to Stop broadcasting live video.
* Refer to Remote Surveillance section
(page 19) in this manual.
Page 14

Select Device
9
Only video and audio
devices plugged in
will be displayed
.
Select the audio device you wish to monitor.
Save your changes before leaving this page.
Select the camera you wish to monitor.
Local Surveillance will
use the video and audio
devices selected here.
This page allows you to select the video
and audio device you want to monitor.
Page 15

Set search criteria, by specifying year,
month and day.
Select Recordings or Snapshots.
Select the item you wish to view.
Press the arrows to view more
archived items.
Prev 7
Next 7
Lorex mCAM
10
Select to view or delete items in the archive.
USING THE mCAM APPLICATION
3
Selecting ALL for the
Year will search the
archive for items created
in t
hat year. Selecting
ALL f
or Month will
search the archive for
items created in that
month for the year
specified. Selecting ALL
for the Day will search
the archive for items
created on that day in
the month and year
specified.
This page allows you to retrieve previously
saved recordings and snapshots.
Press the Search Archive button.
Page 16

Recordings will play
automatically when
the Recordings
Viewer starts.
Deleting the recording
or snapshot will
permanently remove it
from the archive.
Archive
11
Delete current recording from the archive.
Press to view additional snapshots.
Play/pause the current recording.
Stop playback of the current recording.
Delete current recording from archive.
Mute/unmute the volume.
Press to view additional recordings.
Page 17

Select which days of the week mCAM
will monitor for motion.
Select the time range mCAM will monitor
for motion on the days selected above.
Save your changes before leaving this page.
Motion detection
is turned on only
if at least one day
is selected.
Lorex mCAM
12
USING THE mCAM APPLICATION
3
This page will help you setup your camera to record video and take snapshots
automatically based on movement within your camera’s field of view.
Page 18

Select one or more actions for mCAM to take
when motion is detected: Record, Take Snap
Shot or Send Email with Snap Shot.
Select the level of motion required for mCAM
to trigger an action.
Select the level of light in your environment.
In order to use the
e-mail snapshot feature,
you must set
your outgoing mail
settings on the
Preferences page.
A higher Motion Level
means greater sensitivity
to small movement.
A higher Light Level makes
the camera less sensitive
to motion in darker areas.
Try different Motion
and Light Level settings
until the desired results
have been achieved.
Motion Detection
13
Save your changes before leaving this page.
Save your changes before leaving this page.
Page 19

Select which days of the week mCAM will
schedule an event.
Set the time of the selected days you would
like the event to start.
Save your changes before leaving this page.
Scheduled Events are
turned on only if at least
one day is selected.
Video will record at
the time specified.
Lorex mCAM
14
USING THE mCAM APPLICATION
3
This page will help you set up the mCAM application to record
video or take snapshots based on certain days at specific times.
Page 20

Select one or more actions for mCAM to
take when motion is detected: Record, Take
Snap Shot or Send Email with Snap Shot.
Save your changes before leaving this page.
In order to use the
e-mail snapshot feature,
you must set
your outgoing mail
settings on the
Preferences page.
Settings are independent
of the Set Actions page
in the Motion Detection
section with the exception
of the email address.
Scheduled Events
15
Duration is how
long video will be
recorded when an
event is triggered.
Page 21

Lorex mCAM
16
Select the recordings to be purged from
the recordings archive by age.
Select Save Changes to purge the
recordings archive.
The Email and SMTP
addresses as well as the
Username and Password
is the same information
you enter when you configure email applications
for outbound email such
as Out
look or Outlook
Express.
You can return to
the Preferences
page at any time to
purge the archive of
unwanted items.
Select the snapshots to be purged from
the snapshots archive by age.
Select Save Changes to purge the
snapshots archive.
Enter your local email address.
Enter your outgoing mail (SMTP) server address.
Enter the logon information for your outbound
SMTP email server.
Enter your email password.
Save your changes.
USING THE mCAM APPLICATION
3
This page is where you may setup system
wide mCAM Application parameters.
Page 22

Support
17
Make sure you save
your changes.
This page allows you to select your preferred language.
Page 23

Lorex mCAM
18
Lorex mCAM
If you call technical
support you will
need your software
version number.
This page provides our support contact
information and your software version.
USING THE mCAM APPLICATION
3
You can check for software
updates, FAQs by clicking
Start/Programs/Lorex
mCAM/ Check for updates.
Page 24

This section will familiarize you with using Windows Media Player to remotely view your camera.
REMOTE SURVEILLANCE
4
From Windows Media Player
screen, select menu item File -->
Open URL.
3
For detailed information
about determining your
IP address, configuring
your router, and port
forwarding, please visit
our website www.lorex-
cctv.com and click
Consumer Guides
Section to view Guide
on Port Forwarding a
Router
Remote Surveillance
19
ON YOUR LOCAL COMPUTER IN THE LOCAL SURVEILLANCE SCREEN (the computer running the mCAM application)
Press the Broadcast Button
1
Note: Do not close the
Local Surveillance Screen
as this will disconnect the
broadcasting.
ON YOUR REMOTE COMPUTER
Open Windows Media Player
(click Start/All Programs/Accessories/Entertainment/Windows Media Player)
2
Enter the URL - http://a.b.c.d:9868 - where a.b.c.d is the IP address
of the computer running the mCAM application. Click OK.
4
You will now view live video streaming via
Windows Media Player.
4
Page 25

www.lorexcctv.com
 Loading...