

Page 1
www.lorextechnology.com
LW2020/LW2030 Series Quick Start Guide_R2 Page 1
Getting Started
This Wireless Digital Security Camera System
comes with the following components:
1x Digital wireless color camera*
1x Handheld wireless monitor*
(included with LW2031)
1x Gateway & antenna
1x microSD card & adapter
3x Power adaptors*
1x Network cable
1x Instruction manual
* Configuration and number of
items may vary by model. Check
your package for specific content
information.
WIRELESS HOME
MONITORING SYSTEM
LW2020/LW2030 SERIES
QUICK START GUIDE
Time
Skill Level
Time
under 30 minutes under 15 minutes under 60 minutes
Hand Tools Hardware
Router
Hi Speed
over 60 minutes
Time Skills - Easy
Under 20 Minutes*
Plug & Play connections,
On screen set up
* Installation time may vary
based on application
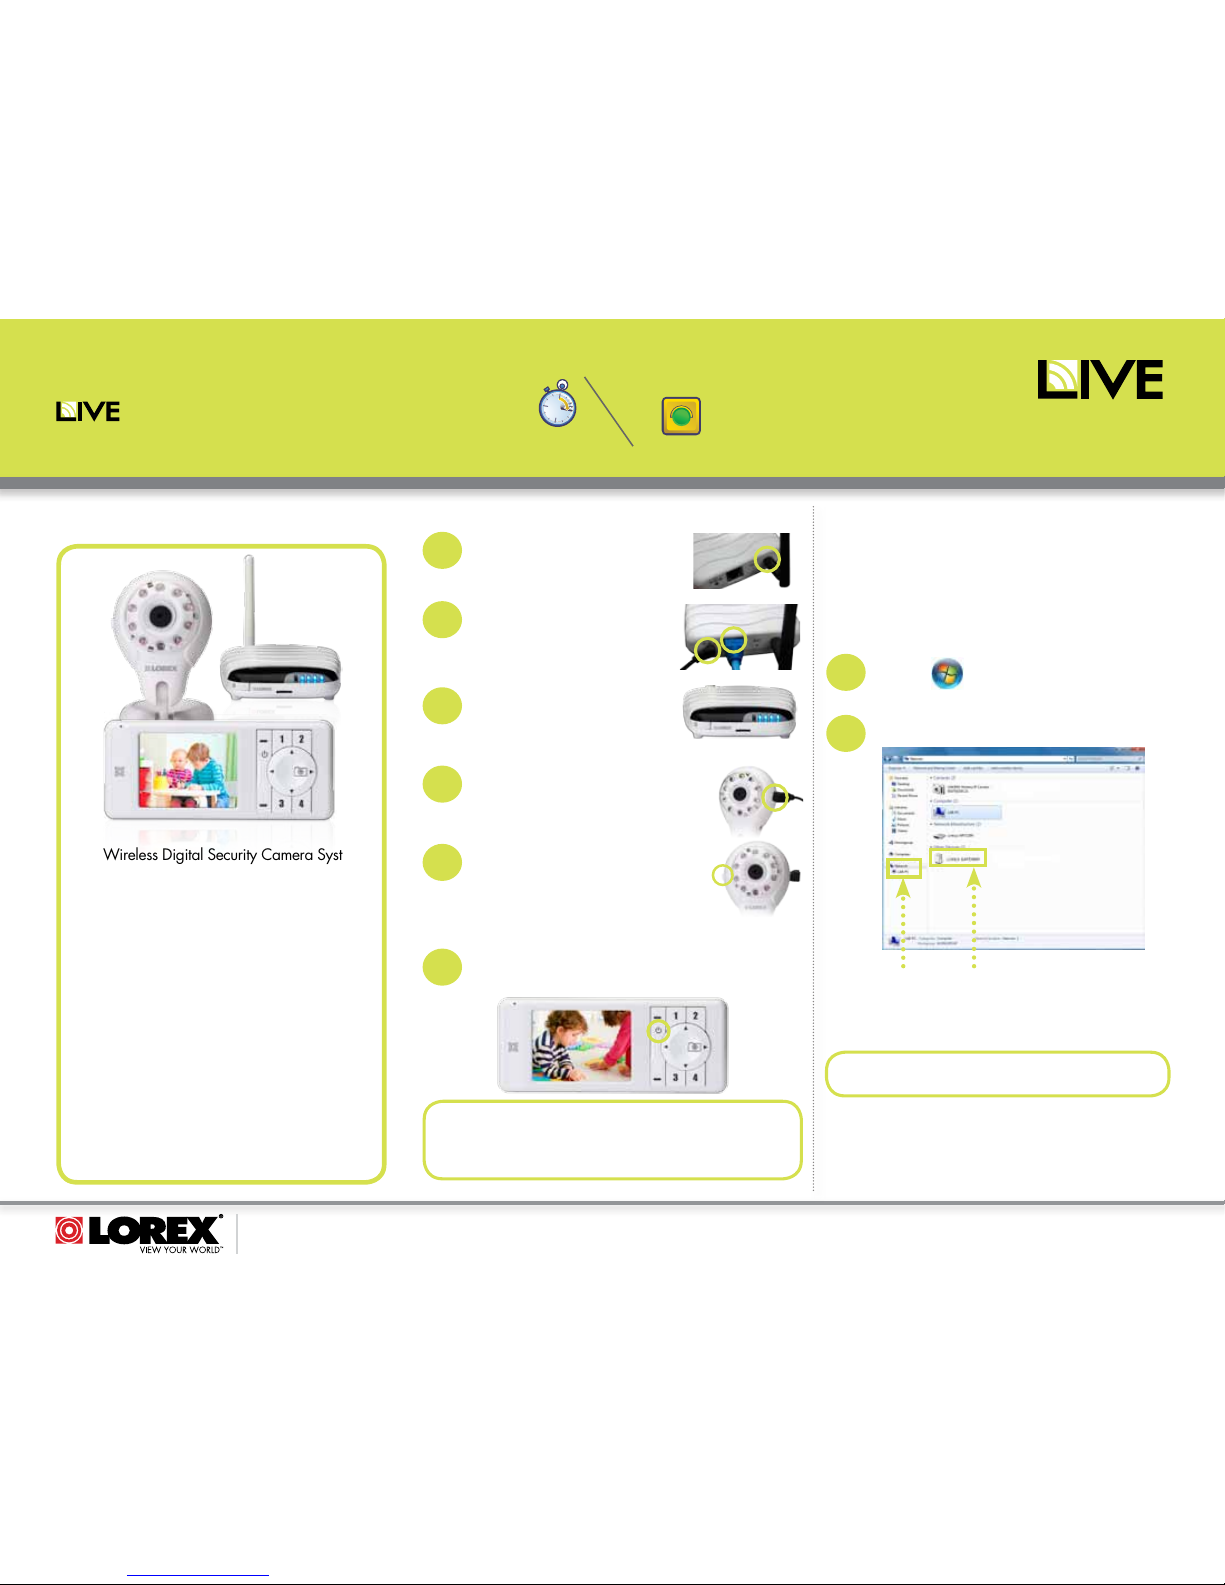
C. Handheld Monitor Setup
Press the Power Button to power on the handheld monitor.
The monitor and camera are pre-paired and ready to use
right out of the box.
1
NOTE: The handheld monitor is for local viewing only. When viewing
via Skype™ using the Gateway, the handheld monitor will show
“Remote monitor on”, Press any paired camera channel to view from
handheld monitor. This will stop remote viewing through Skype™ until
handheld monitor is turned off.
Step 1: Log in to the Gateway
Connecting with Windows™ 7/Vista
Once you have connected the Gateway to your network, you
can browse the Gateway on your Local Area Network (LAN).
Use the following steps depending on which operating system
you are using.
If you are connecting with Windows XP or Mac, please refer to
the User’s Manual for more information.
Click Start
> Computer > Network
1
NOTE: Make sure UPnP is enabled if you run Windows™
Vista/XP. For details, refer to your User’s Manual.
Under “Other Devices”, double-click LOREX GATEWAY
2
Network LOREX GATEWAY
A. Gateway Setup
The Gateway will automatically
power on.
3
Connect the power cord and ethernet
cable to the Gateway. Connect the
other end of the ethernet cable to your
router. Connect the other end of the
power cord to a power outlet.
2
Screw the antenna clockwise to the
antenna jack on the Gateway until it
is secure.
1
B. Camera Setup
Plug the power adapter into the camera,
and plug the other end into a power outlet.
1
Turn the camera on.
2
*
CONNECT
SIMPLY AWARE
™
Page 2
www.lorextechnology.com
LW2020/LW2030 Series Quick Start Guide_R2 Page 2
©2011 Lorex Technology Inc.
As our product is subject to continuous improvement, Lorex Technology &
subsidiaries reserve the right to modify product design, specifications, prices
& warranty without notice and without incurring any obligation. E&OE
SIMPLY AWARE
™
www.lorextechnology.com/liveconnect
It’s all on the Web
For detailed setup
information, please refer
to your User’s Manual.
For additional information
and accessory purchases,
please visit our website:
This product is expandable up to 4 cameras.
To order additional cameras, please visit our website
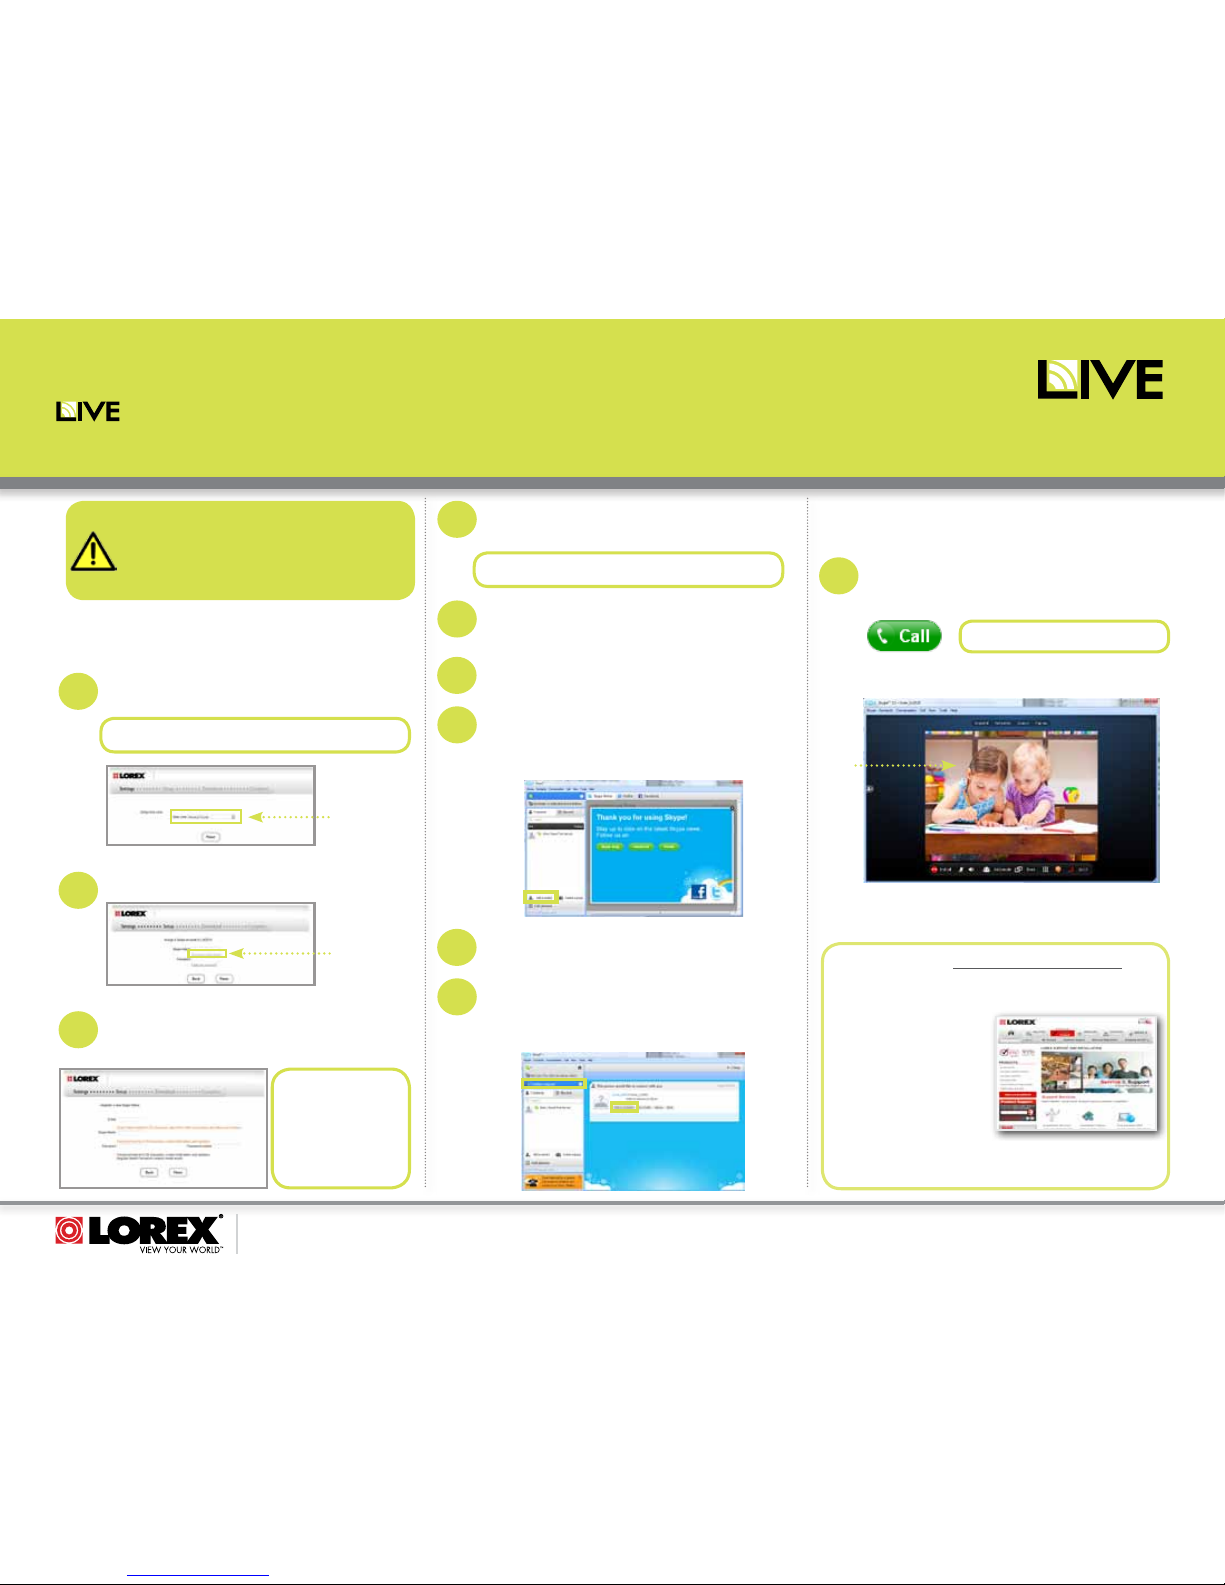
Step 2: Assign a Skype™ account to
the Gateway
Step 3: Call your Gateway
From your Personal Skype™ account, right-click on
the name of your Gateway on the contact list, and
click Call.
Your Video will now appear in the Skype™ window.
Congratulations!
You have successfully connected remotely via Skype™
You’re now ready to make your first call!
Double-click on Skype™ and log-in to your Gateway
Account, using the information recorded in Step 3.
6
1
Sign out of your Gateway Skype™ account.
8
Don’t have a
Skype Name?
Click Don’t have a Skype Name?
2
Time Zone
drop-down
menu
In the Timezone drop-down menu, select your local time
zone and click Next.
1
NOTE: If you cannot find your region’s timezone
select a city with the identical timezone as your own.
You will be asked to download Skype™ for PC or Mac. If
you already have Skype™ installed, make sure that you
have the latest version (4.2 or above).
5
Click Next to continue.
• If your name has been taken, the Gateway prompts
you to enter another user name.
4
NOTE: Your user name and password must contain
both letters and numbers.
Fill in the appropriate fields. Write down your
Gateway Skype account information. You will need this
information to complete the setup process
3
Gateway Skype Info:
e-mail:
____________________
Skype name:
____________________
password:
____________________
NOTE: You need TWO Skype™ accounts to properly
view your system through the internet. One is assigned
to the Gateway and the second is your personal account.
If you do not have a personal Skype™ account,
please refer to the User’s Manual for instructions on
creating one.
Live
Video
Click add a contact.
Enter your Personal Skype™ account’s email address
or Skype™ name. Click Add. This will send a contact
request to your personal account.
7
Log-in to your Personal Skype™ account. You will receive
a contact request from your Gateway account. Click
Contact Request then click Add to Contacts to
accept the contact request.
9
NOTE: Do NOT click “Video call”
WIRELESS HOME
MONITORING SYSTEM
LW2020/LW2030 SERIES
QUICK START GUIDE
CONNECT
 Loading...