

Look Solutions Radio remote V.5 Operating Manual
1
Operating manual
Radio remote
V.5
a Look Solutions product

2
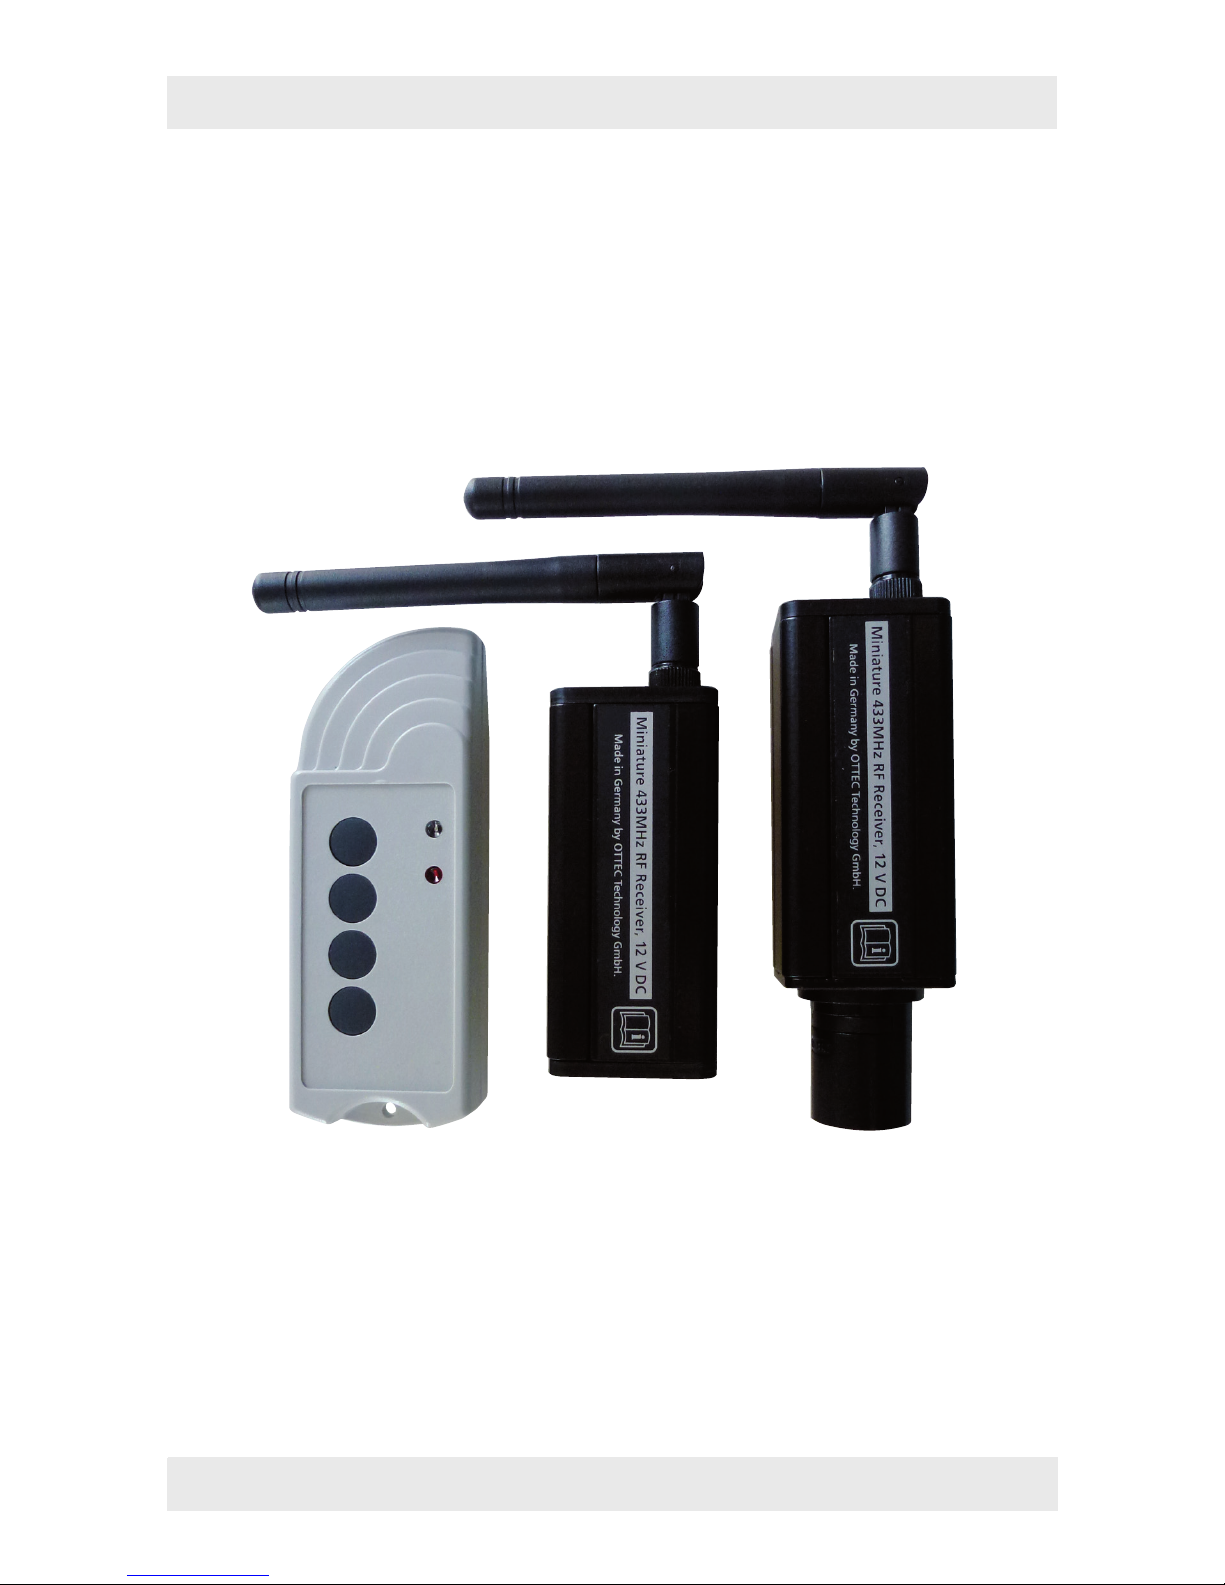
Set of Equipment supplied
– 1 receiver with mini-stereo-jack 3.5 mm/12 V or 3-pin-XLR-plug
– 1 mini-stereo-jack cable (only delivered with receiver with mini-stereo-jack)
– 1 radio transmitter
Please check whether all the products you ordered are supplied.
Original operating manual, version 02/2016

3
Content
1. Introduction 4
2. The Transmitter
2.1 Operation 5
2.3 Replacing the battery 6
3. The Receiver
3.1 Operation 7
4. Configuring the Radio Remote
4.1 Pairing a new transmitter and receiver 8
4.2 Activating the transmitter buttons 9
4.3 Un-Pairing a transmitter and receiver 10
4.4 Changing the frequency 12
4.5 Wiring of the connectors 12
5. System range 13
6. Technical Data 14
7. Warranty Conditions 15

4
1. Introduction
The UHF radio system consists of a radio transmitter and one or several receivers.
The operating frequency of the system is 433.62 MHz (freq. 1) or 434.22 MHz (freq.
2). The operating frequency is selected by putting the Jumper into the right position.
The radio remote is supplied with freq. 1 as operating frequency.
The machine will be triggered to run as long as the button is held down. If the button
is released, the machine will stop working.
The radio transmitter allows you to address four channels which can either be four
individual receivers or four receiving groups. The number of the receivers per channel
is not limited.
The transmitter is supplied with the first button pre-programmed, allowing the radio
remote to be used immediately.
5
2. The Transmitter
2.1 Operation
The radio transmitter is supplied in a usable state with the battery already installed.
To transmit press one of the four buttons (1, 2, 3 or 4). If the key is pressed too briefly,
the receiver ignores the command.
The radio remote is supplied with the first button pre-programmed and the connected
machine will be activated by pressing this button, running as long as the button is held
down. Buttons two to four have no function yet.
While sending the signal, the transmitter should be in your hand and pointed away
from your body. If your hand covers the integrated antenna, or you approach a large
metal surface/area, the range may be reduced. This should therefore be avoided.
If a new/second transmitter should be used with the receiver, it has to be paired
with the receiver (see chapter 4). The configuring and deleting of the pairing will also
be described in chapter 4.
Please note: Always keep a distance of minimum 20 cm between the transmitter and
receiver. Otherwise you may get error messages or the receiver will not work correctly.
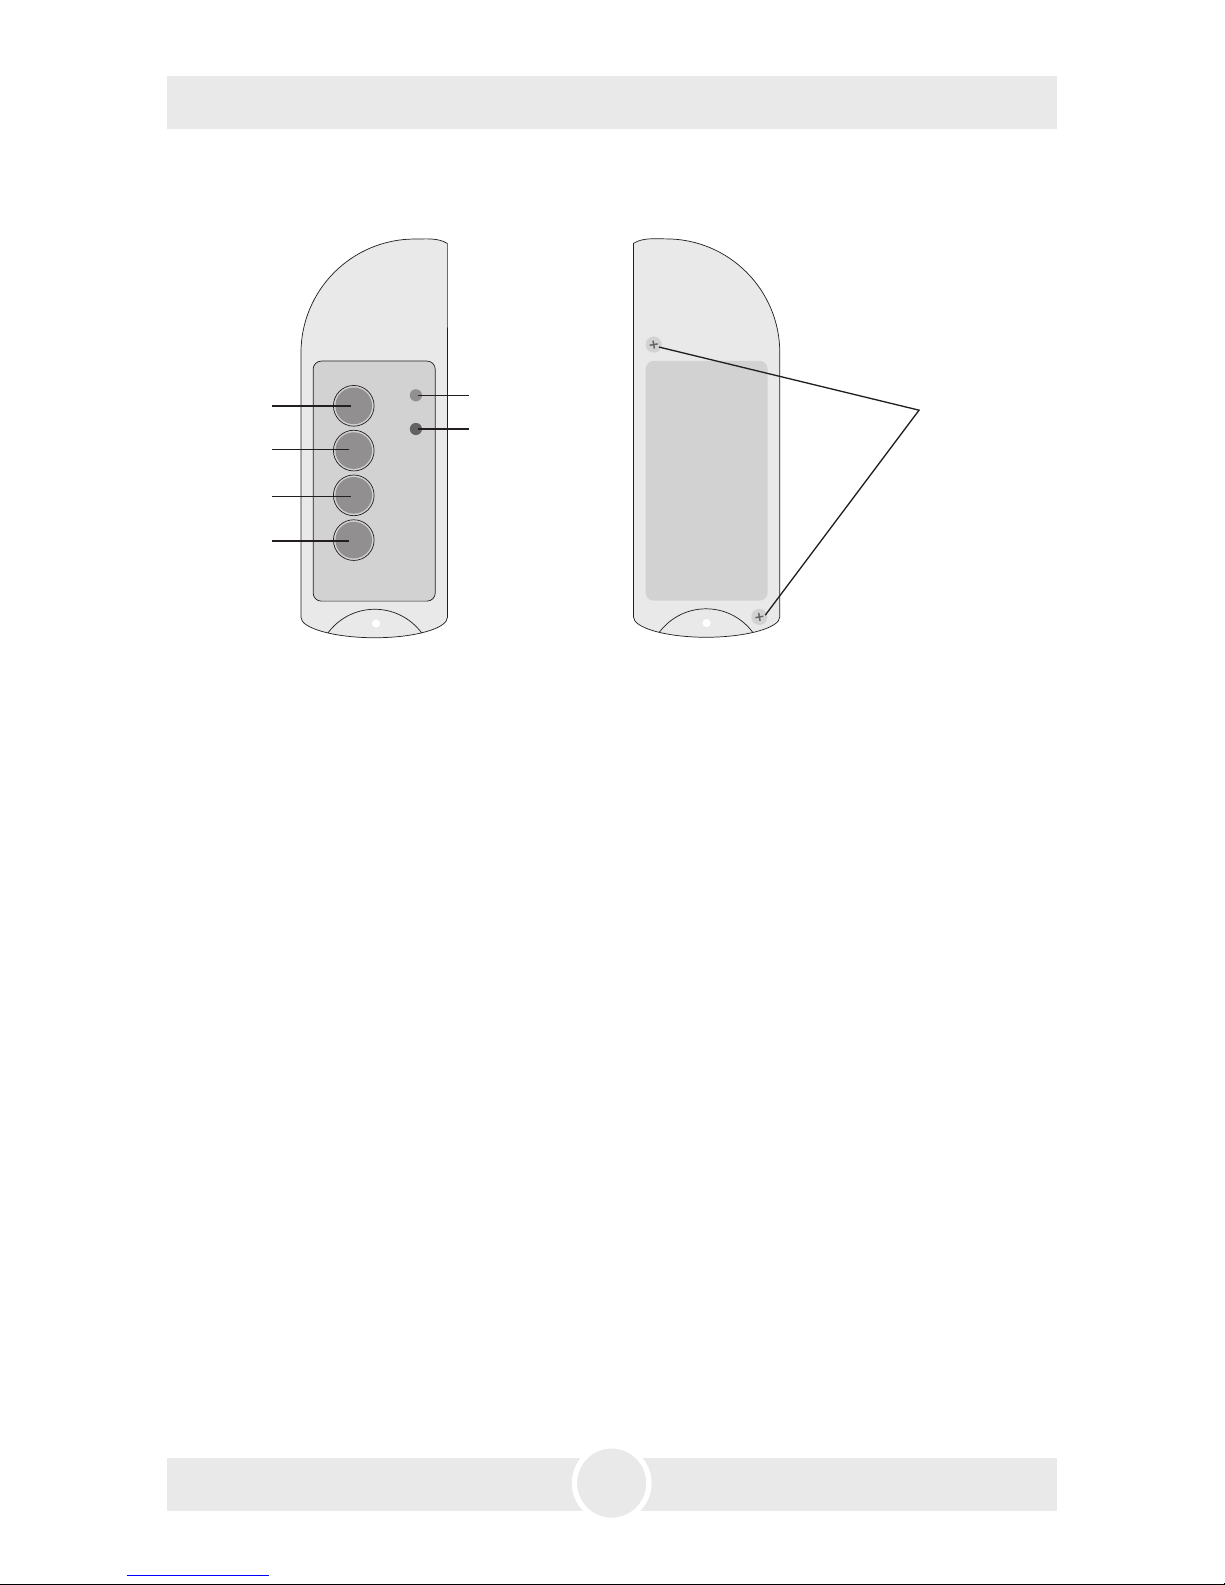
Button 1
Button 2
LED blue
Screws
Transmitter front view
Button 3
Button 4
LED red
Transmitter back view
 Loading...