

Page 1
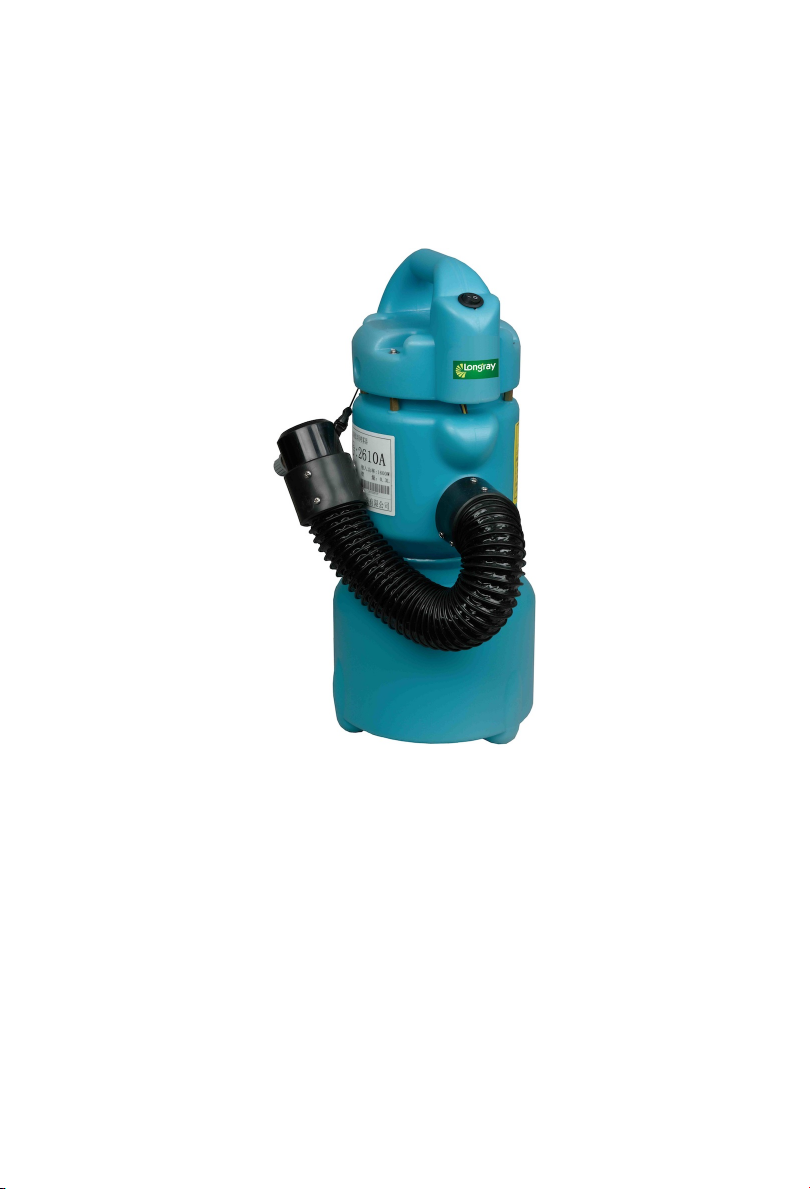
Longray
User Manual
Longray Basic ULV Fogger with Adjustable Flow and Flex-Hose
(2610A)
c
2019 Longray. All rights reserved.
Page 2

Contents
1 Warnings 2
2 About your fogger 3
2.1 Overview . . . . . . . . . . . . . . . . . . . . . . . . . . . . . . 3
2.2 Tech specs . . . . . . . . . . . . . . . . . . . . . . . . . . . . . 3
3 Operation 4
3.1 Prep . . . . . . . . . . . . . . . . . . . . . . . . . . . . . . . . 4
3.2 To begin spraying . . . . . . . . . . . . . . . . . . . . . . . . . 4
3.3 To stop spraying . . . . . . . . . . . . . . . . . . . . . . . . . . 4
4 Care and maintenance 5
4.1 Cleaning . . . . . . . . . . . . . . . . . . . . . . . . . . . . . . 5
4.2 Long-term Storage . . . . . . . . . . . . . . . . . . . . . . . . . 5
4.3 Wear and tear . . . . . . . . . . . . . . . . . . . . . . . . . . . 5
5 Troubleshooting 6
5.1 Motor doesn’t start . . . . . . . . . . . . . . . . . . . . . . . . 6
5.2 Motor starts, but no spray . . . . . . . . . . . . . . . . . . . . 6
1
Page 3

1 Warnings
• Do not turn the machine upside-down.
• After use, empty the solution tank and spray water 1-2 minutes to clear
the solution pipeline. This is especially important for corrosive chemicals.
• When cleaning the machine, don’t splash water onto the motor and power
switch.
• Do not operate if the power cord or power switch insulation is damaged.
• Strongly corrosive chemicals may damage the machine.
• Do not allow corrosive gas to enter the machine through the air intake,
otherwise motor damage can occur.
• Be careful where you point the nozzle while you adjust the solution output.
2
Page 4
2 About your fogger
2.1 Overview
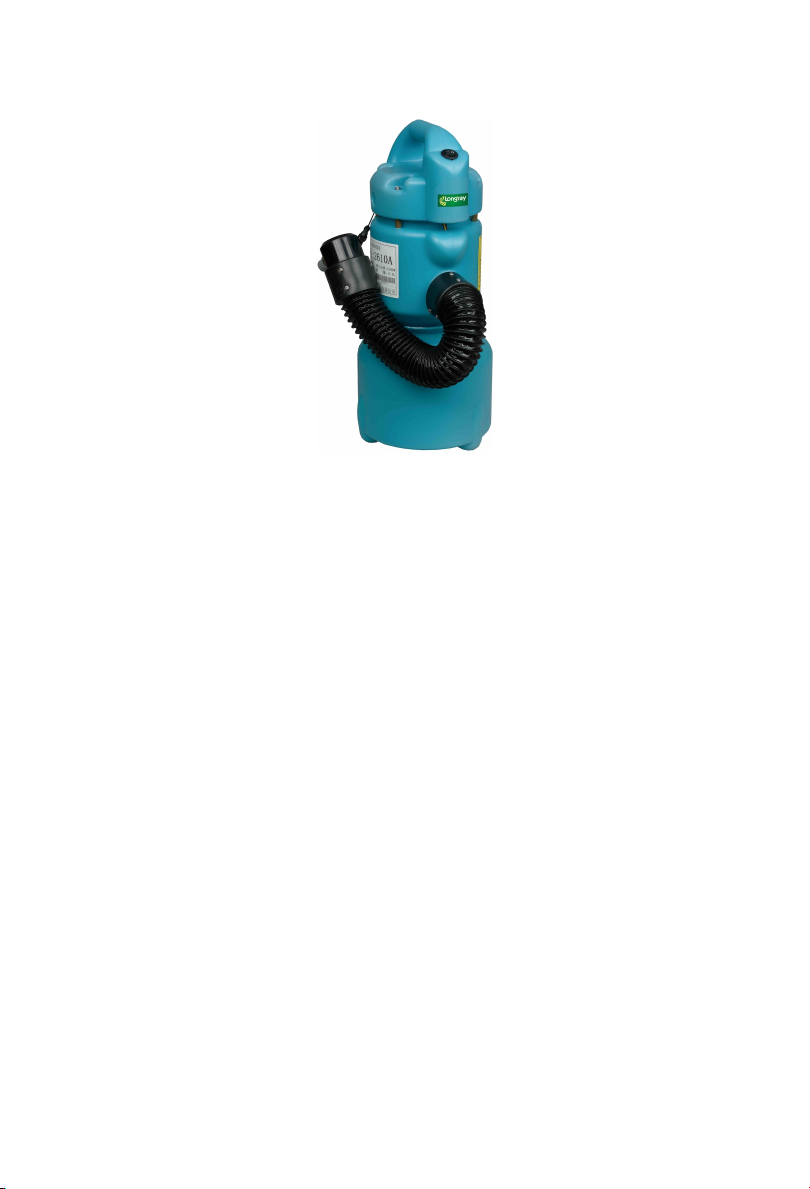
Your Ultra-Low Volume (ULV) fogger is equipped with a motor that produces
high speed airflow, driving solution particles through a specially designed nozzle.
The nozzle emits extremely fine fog droplets, less than 20 microns in diameter,
small enough to linger in the air for a long time.
AC powered. More powerful than battery-powered foggers, and quieter than
gasoline-powered thermal foggers.
Ergonomic design. Handheld nozzle, flex-hose, and carrying strap designed for
comfort and efficiency.
Flow control. Use the flow control knob to adjust flow rate. (Droplets will also
be slightly smaller at lower flow rates.)
2.2 Tech specs
Model 2610A
Capacity 1.1 gal
Motor 1200 W
Flex-Hose 18 in
Output
Droplet Size 5-50 micron
Solution flow rate 0.0-7.0 gal/hr
Spray distance 15 ft
Physical
Dimensions 11.8 x 7.9 x 18.5 in
Dimensions, shipping 19 x 11 x 9 in
Weight 6.4 lb
Weight, shipping 9.1 lb
3
Page 5

3 Operation
3.1 Prep
1. Wear protective clothing/gloves/masks in accordance with safety regulations.
2. Check power cord insulation.
3. Make sure power switch is OFF.
4. Make sure flow adjust knob is at 0.
5. Add chemical into the tank, diluting if necessary, following the chemical
manufacturer’s documentation.
6. Tighten the lid to prevent pressure leaks.
3.2 To begin spraying
1. Plug into wall outlet.
2. Turn power switch to ON.
3. Wait for the motor to spin up.
4. To start spraying, turn flow adjust knob to 1 or more. Always keep the
fogger upright.
3.3 To stop spraying
1. Turn flow adjust knob to 0.
2. Wait until the spray stops, then turn power switch to OFF. If you want to
start machine again, wait until the motor spons down. Rapid power cycling
can shorten motor life.
3. Unplug from wall outlet.
4. Follow the steps in 4.1 Cleaning to clean the tank and solution pipeline.
This is especially important for corrosive chemicals.
4
Page 6

4 Care and maintenance
4.1 Cleaning
1. Empty any chemical from the tank.
2. Clean the tank: add water, tighten the lid and shake.
3. Clean the solution pipeline: start the machine and spray 1-2 minutes.
4. Turn off the unit and empty the rinse water from the tank.
4.2 Long-term Storage
1. Follow the steps in 4.1 Cleaning to clean the machine.
2. After emptying the tank of rinse water, dry the tank and pipeline by running
the machine for 1-2 minutes with an empty tank.
3. Store the unit in a dry, well-ventilated location.
4. Leave the solution lid open.
4.3 Wear and tear
Moving parts should be lubricated every 3-6 months to prevent corrosion and
oxidation. If any hoses, gaskets, and O-rings become cracked, brittle, or stiff,
replace immediately.
5
Page 7

5 Troubleshooting
5.1 Motor doesn’t start
1. Make sure power switch is ON.
5.2 Motor starts, but no spray
1. Make sure the flow-rate adjust knob is not at 0.
2. Check the solution level in the tank.
3. Check the tank lid is tight.
4. Check the rubber gasket under the tank lid. If the gasket is missing or
loose, there may be a pressure leak, and the unit will not spray.
5. Look for the solution intake tube at the bottom of the tank.
6. The filter at the end of the intake tube may be clogged. Rinse out or
replace the filter.
7. Fill the solution tank to 2/3 full with water and try again.
6
 Loading...