

Page 1

ProConnectSeries
Use this Guide to install: KVM2KIT
IntegratedKVM
2-Port Switch
Installation
Guide
Page 2

COPYRIGHT & TRADEMARKS
Copyright © 2003 Linksys, All Rights Reserved. ProConnect is a trademarks of Linksys.
Linksys is a registered trademark of Linksys. Microsoft, Windows, and the Windows logo
are registered trademarks of Microsoft Corporation. All other trademarks and brand
names are the property of their respective proprietors.
FCC STATEMENT
The ProConnectIntegrated KVM 2-Port Switch has been tested and complies with the
specifications for a Class B digital device, pursuant to Part 15 of the FCC Rules. These
limits are designed to provide reasonable protection against harmful interference in a residential installation. This equipment generates, uses, and can radiate radio frequency
energy and, if not installed and used according to the instructions, may cause harmful
interference to radio communications. However, there is no guarantee that interference
will not occur in a particular installation. If this equipment does cause harmful interference
to radio or television reception, which is found by turning the equipment off and on, the
user is encouraged to try to correct the interference by one or more of the following measures:
Reorient or relocate the receiving antenna
Increase the separation between the equipment or device
Connect the equipment to an outlet other than the receivers
Consult a dealer or an experienced radio/TV technician for assistance
EC Declaration of Conformity (Europe)
In compliance with the EMC Directive 89/336/EEC, Low Voltage Dir ective 73/23/EEC, and
Amendment Directive 93/68/EEC, this product meets the requirements of the following
standards:
• EN55022 Emission
• EN55024 Immunity
IG-KVM2KIT-112102NC KL
x
Integrated KVM 2-Port Switch
1
Page 3
Integrated KVM 2-Port Switch
3
Console
• One VGA, SVGA or Multisync Monitor Capable of the Highest Resolution
You Will Be Using on Either Computer
• One PS/2 Keyboard
• One PS/2 Mouse
Either Computer
• One VGA, SVGA, or Multisync Monitor Capable of the Highest
Resolution You Will Be Using on Either Computer
• One PS/2 Keyboard
• One PS/2 Mouse
A. P o w er do wn the monitor and computers before y ou install the KVM Switch.
Unplug the pow er cords of an y computers that ha v e the K eyboard Power On
function; otherwise, the KVM Switch will receive power from those computers. Then make sure all devices you are connecting are properly grounded.
B. Connect the monitor’s cable to the monitor port on the KVM Switch.
C. Connect the PS/2 keyboard’s cable to the PS/2 keyboard on the KVM
Switch.
D. Connect the PS/2
mouse’s cable to the
PS/2 mouse port on
the KVM Switch.
System Requirements
ProConnect™ Series
Table of Contents
System Requirements 3
Step 1: Install the
Integrated KVM 2-Port Switch 3
Step 2: Use the Hot Key Combinations
for the Integrated KVM 2-Port Switch 5
Specifications 8
Contact Information 9
2
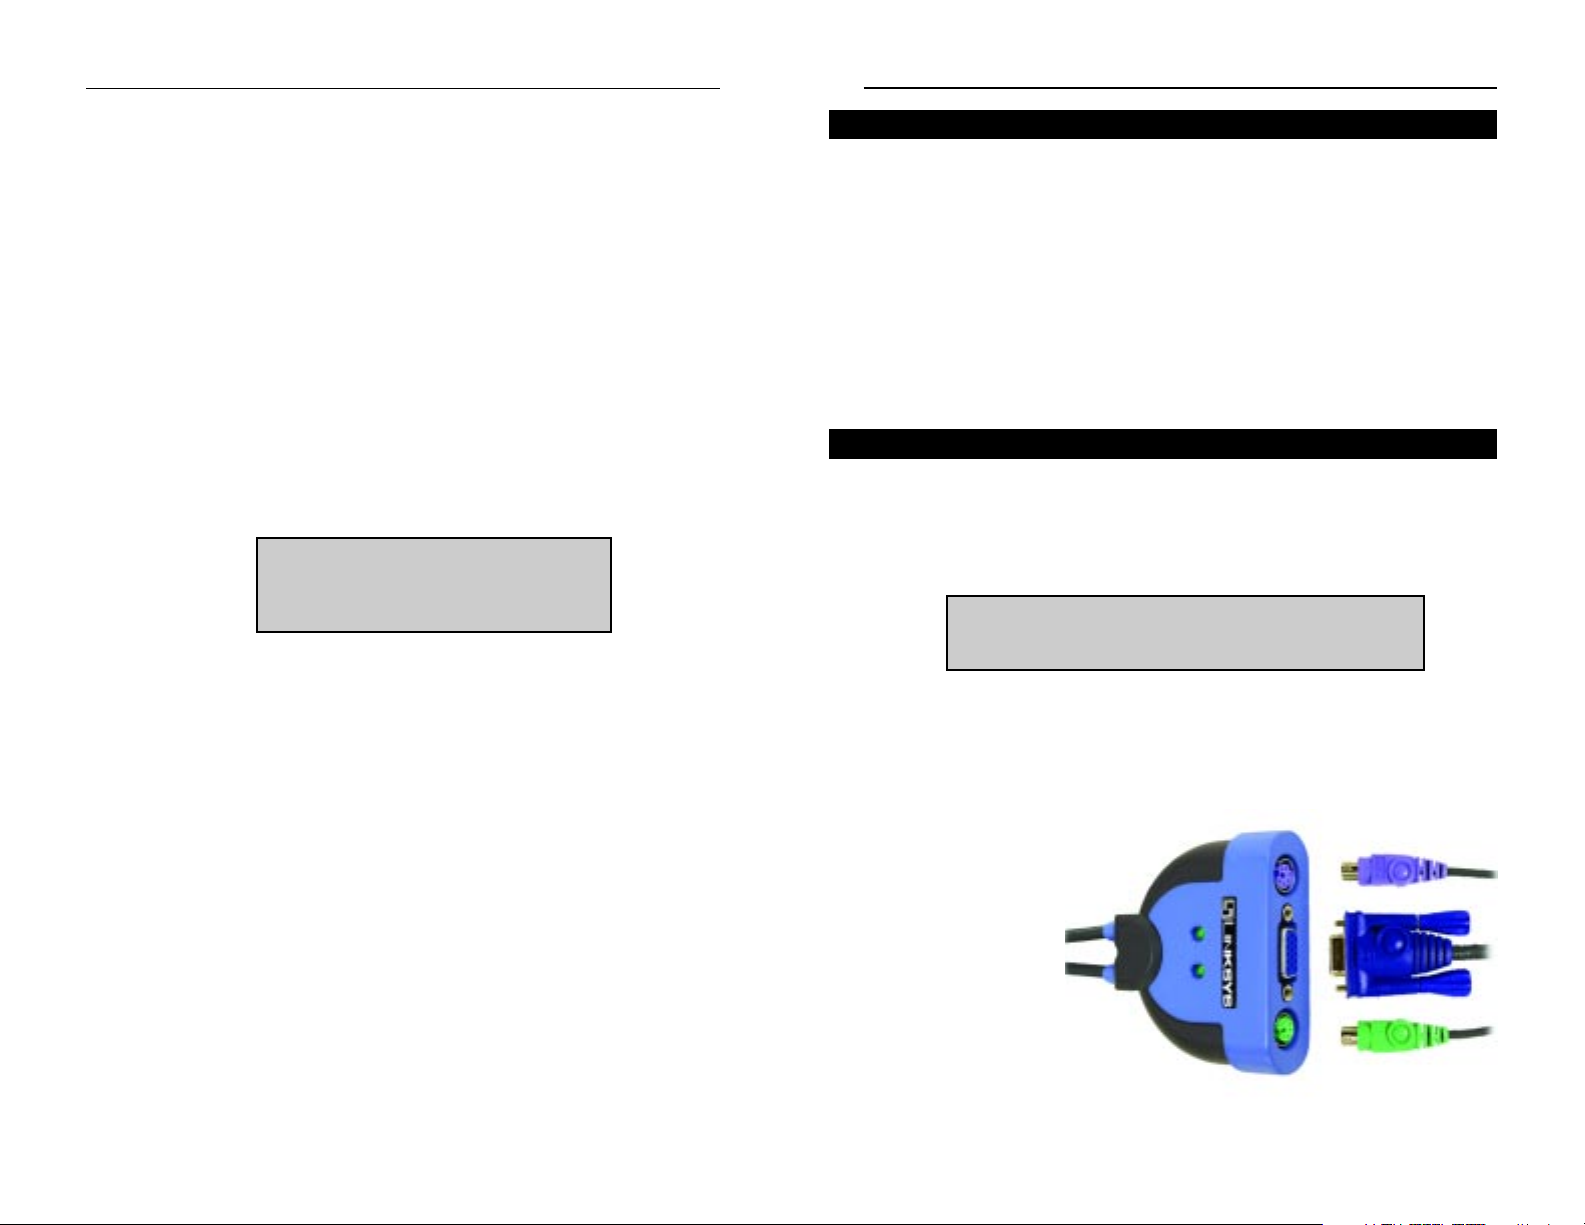
Step 1: Install the Integrated KVM 2-Port Switch
This Installation Guide is meant to help you
install the Integrated KVM 2-Port Switch
quickly and easily. For additional information,
visit the Linksys website at www.linksys.com
Note:The connectors on the built-in cables are color-coded to match
the appropriate ports on your computers; however, double-check
each connector’s icon before you make the physical connection.
Page 4
54
Integrated KVM 2-Port Switch
The KVM Switch is controlled by hot key commands, also known as keyboard
shortcuts. Hot key commands allow you to conveniently access either computer directly from the keyboard. Using hot keys, you can manually toggle
between computers or automatically cycle between computers at a preset time
interval.
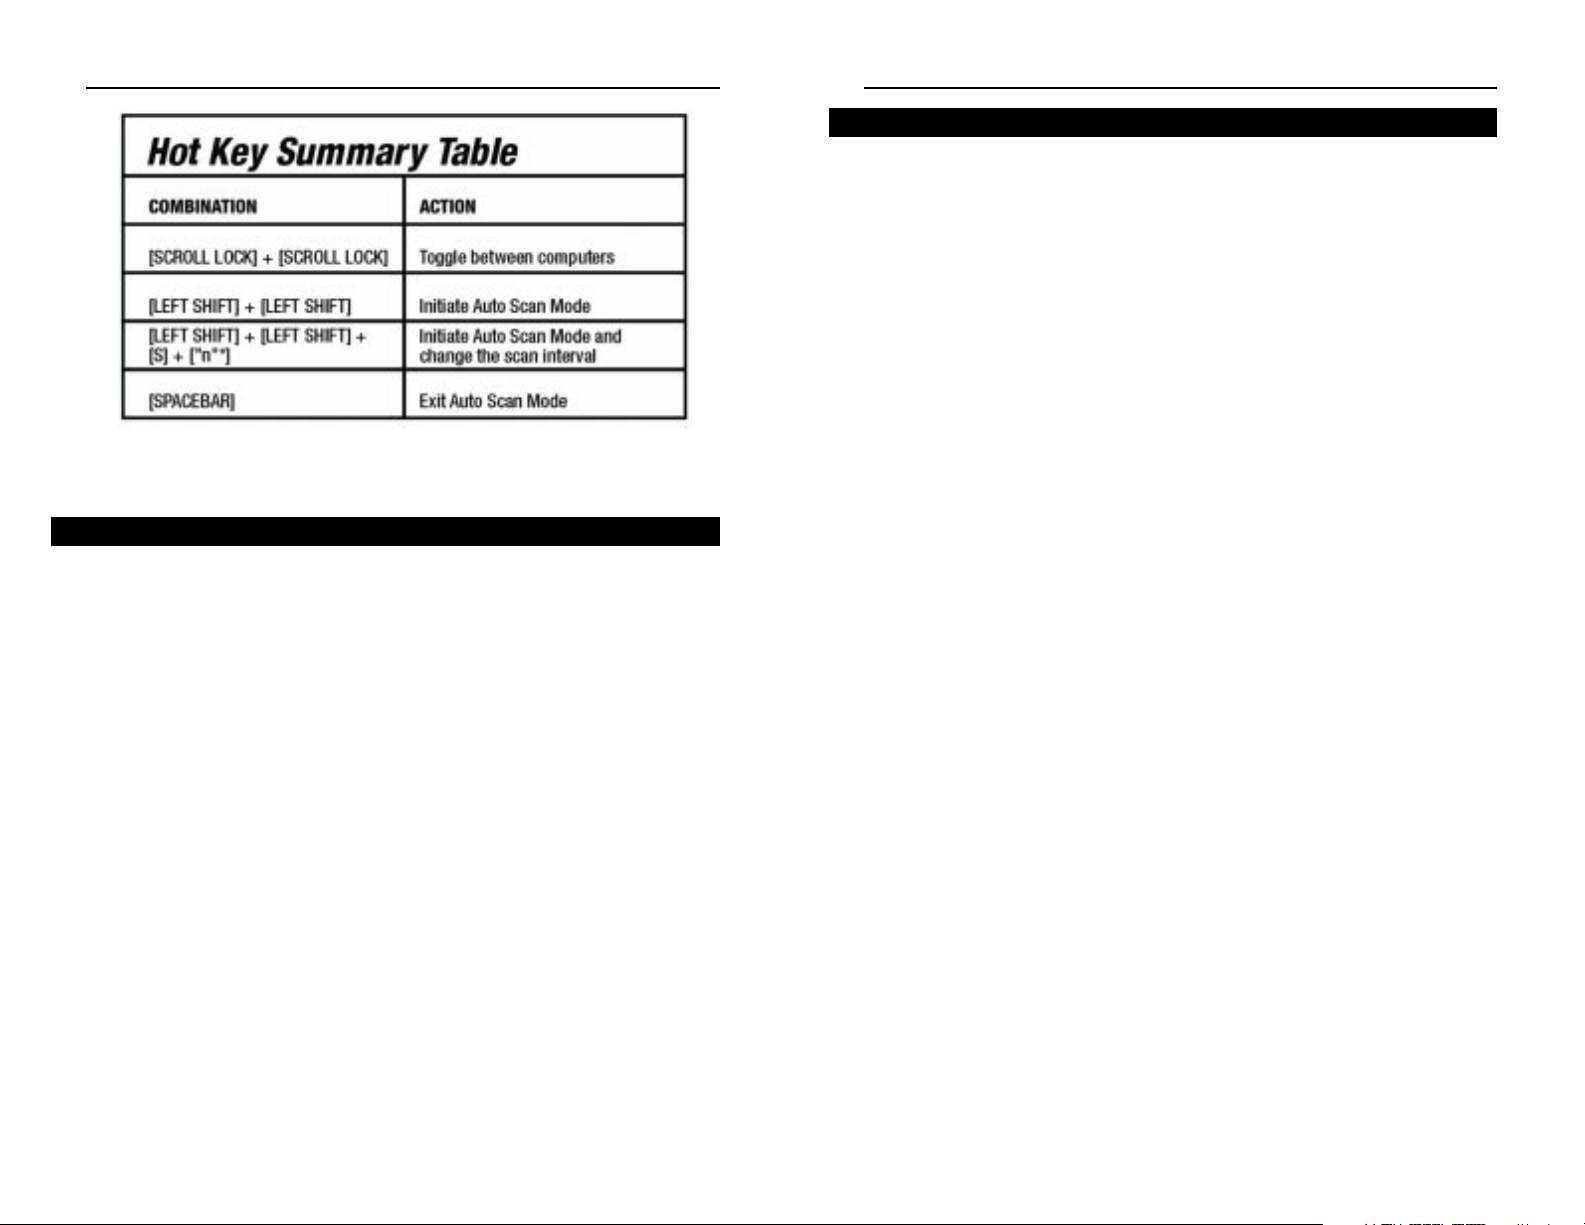
There are three basic hot key combinations:
• Toggle to the Other Computer
• Initiate Auto Scan Mode
• Initiate Auto Scan Mode and Change the Scan Interval
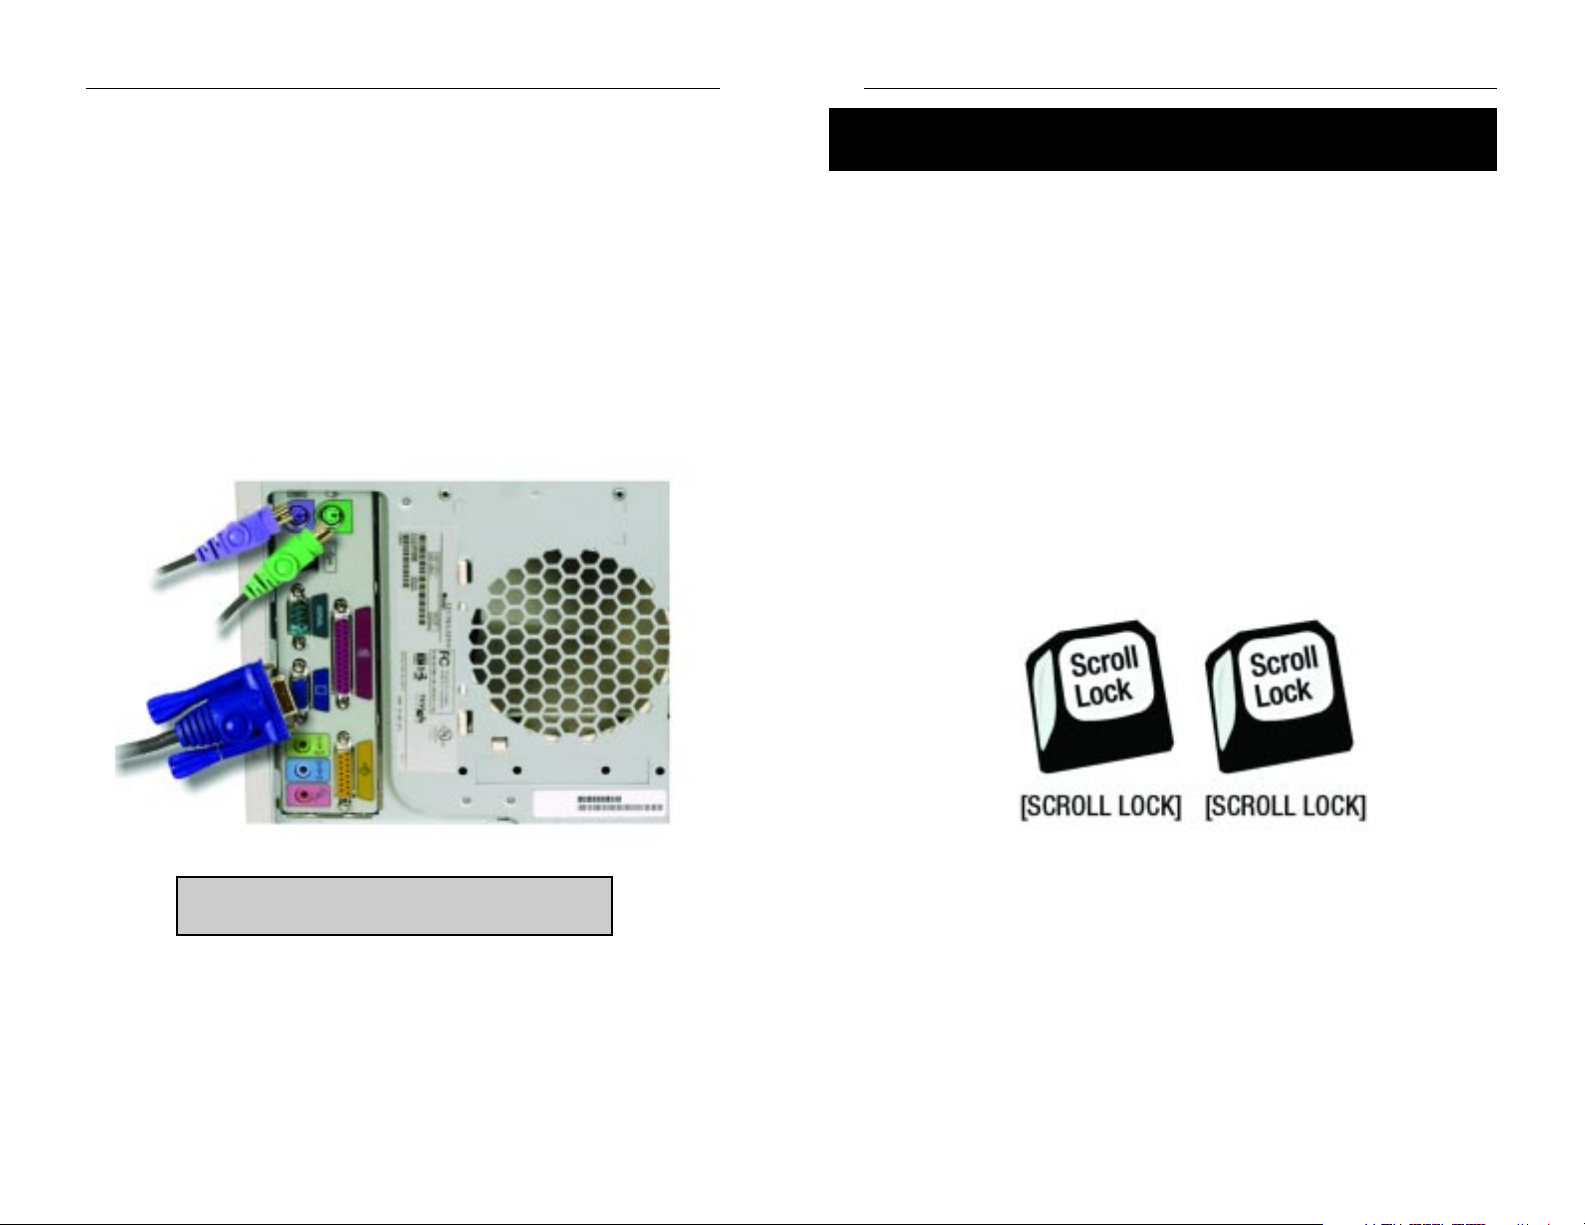
Toggle to the Other Computer
To toggle between the two computers, press and release the Scroll Lock key
twice.
Step 2: Use the Hot Key Combinations
for the Integrated KVM 2-Port Switch
ProConnect™ Series
E. Use the PC 1 cable for the first PC you are connecting. Plug the cable’s
monitor connector into PC 1’s monitor port.
F. Plug the PC 1 cable’s keyboard connector into PC 1’s keyboard port.
G. Plug the PC 1 cable’s mouse connector into the PC 1’s mouse port.
H. Use the PC 2 cable for the second PC your are connecting. Repeat steps E-
G.
I. Turn on the monitor and computers. The PC 1 LED will light up automati-
cally, and PC 1 will be displayed on the monitor.
Your installation is complete. To learn about the hot key combinations used to control the KVM Switch, proceed to step 2.
Page 5
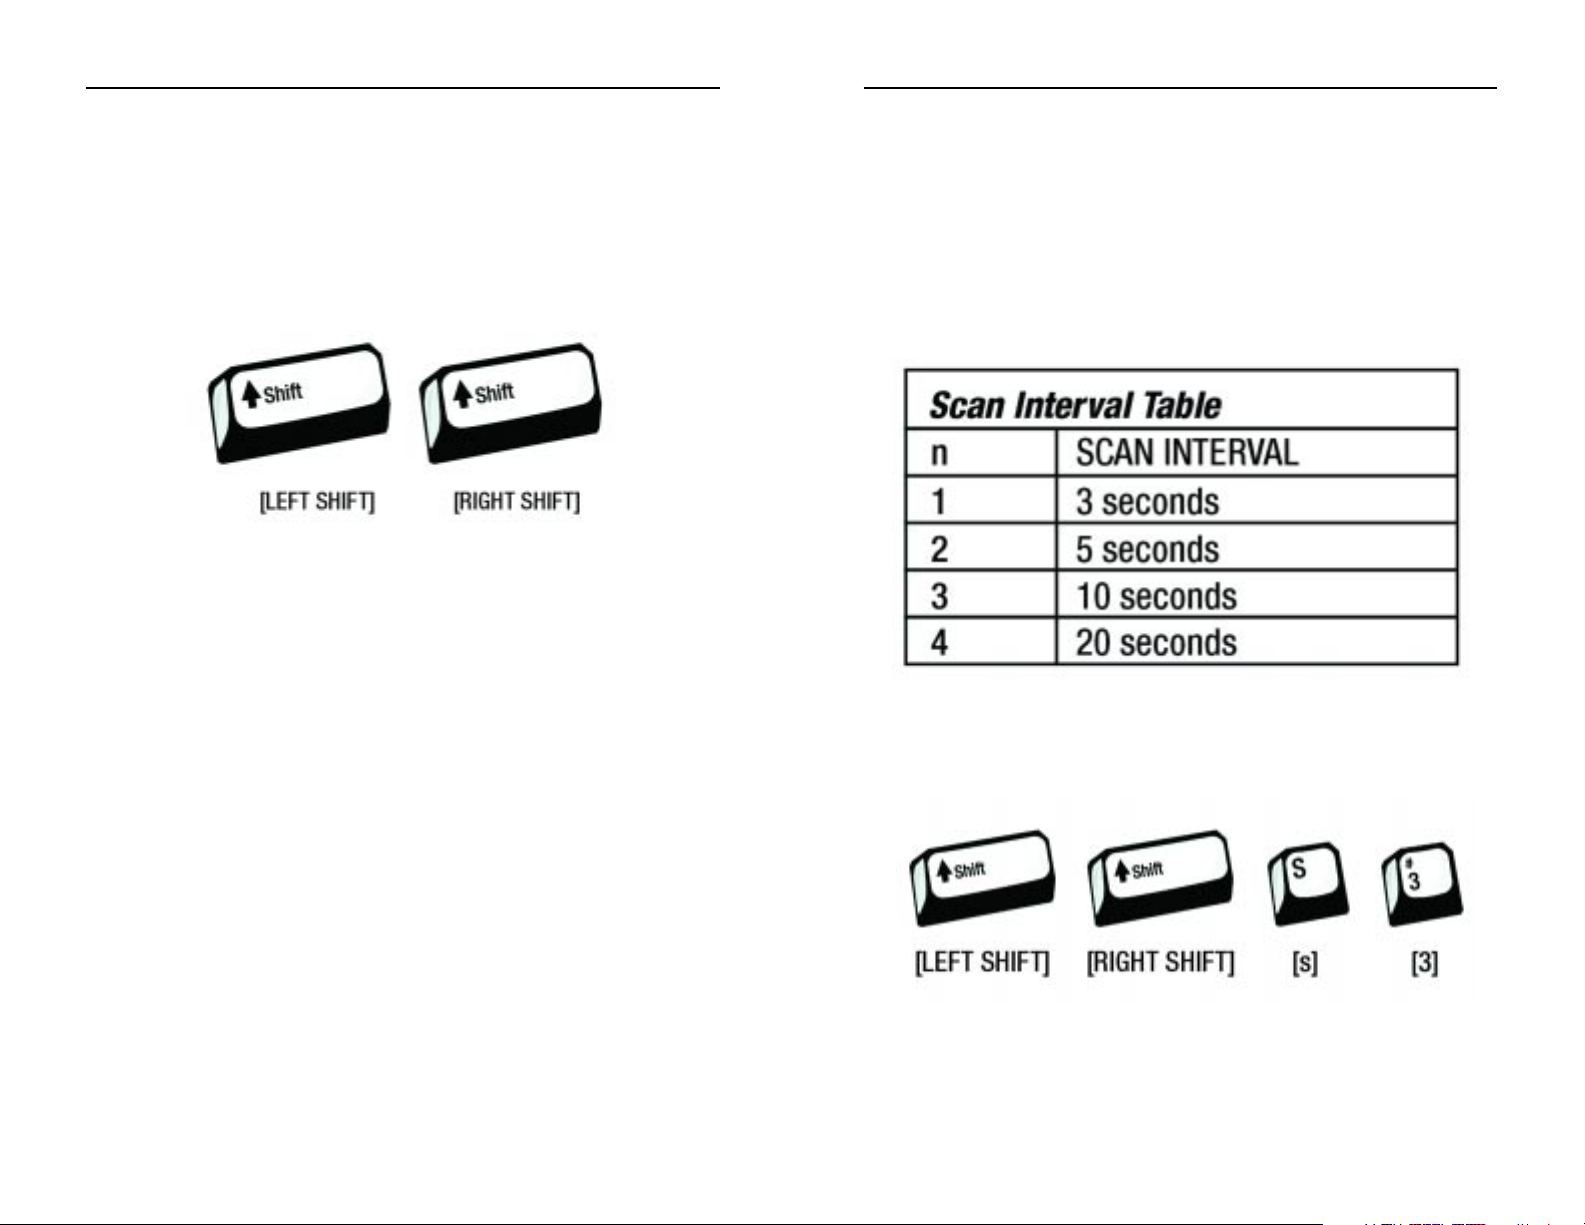
Initiate Auto Scan Mode and Change the Scan Interval
If you want to change the can interval, use the following hot key combination:
1. Press and release the left Shift key.
2. Press and release the right Shift key.
3. Press and release the s key.
4. Press and release the “n” key, “n” being a number from 1-4. Refer to the
Scan Interval Table.
For example, to initiate Auto Scan Mode and change the scan interval to 10 seconds, use this hot key combination:
7
Initiate Auto Scan Mode
The Auto Scan feature automaticall y c ycles the KVM between both computers,
so you can monitor their activity without manually switching between computers. The factory default scan interval is three seconds.
To initiate Auto Scan Mode, press and release the left Shift key, and then press
and release the right Shift key.
To exit Auto Scan Mode, press the spacebar.
6
Integrated KVM 2-Port SwitchProConnect™ Series
Page 6
Integrated KVM 2-Port Switch
For help with installation or operation of this product, contact Linksys
Technical Suppor t at one of the phone numbers listed in the Technical
Support insert or Internet addresses below:
E-mail
Europe europe-support@linksys.com
United Kingdom & Ireland uks@linksys.com
Latin America latam-soporte@linksys.com
U.S. and Canada support@linksys.com
For unlisted regions or updated contact information please visit the website
below:
Web http://www.linksys.com/international
9
• The letter “n” represents 1-4, depending on the scan interval you want.
Refer to the Hot Key Summary Table.
Model Number: KVM2KIT
Standards: PS/2
Protocol: Microsoft PS/2 Protocol
Ports:
Keyboard: 1 PS/2 female - Console
2 PS/2 male - CPU
Mouse: 1 PS/2 female - Console
2 PS/2 male - CPU
Monitor: 1 HD15 female - Console
2 HD15 male - CPU
LEDs: PC 1, PC 2
Scan Interval: 3, 5, 10, or 20 seconds
(3 is default)
8
ProConnect™ Series
Contact Information
Specifications
Page 7

© Copyright 2003 Linksys, All Rights Reserved.
Printed in the USA.
www.linksys.com
 Loading...