

Page 1
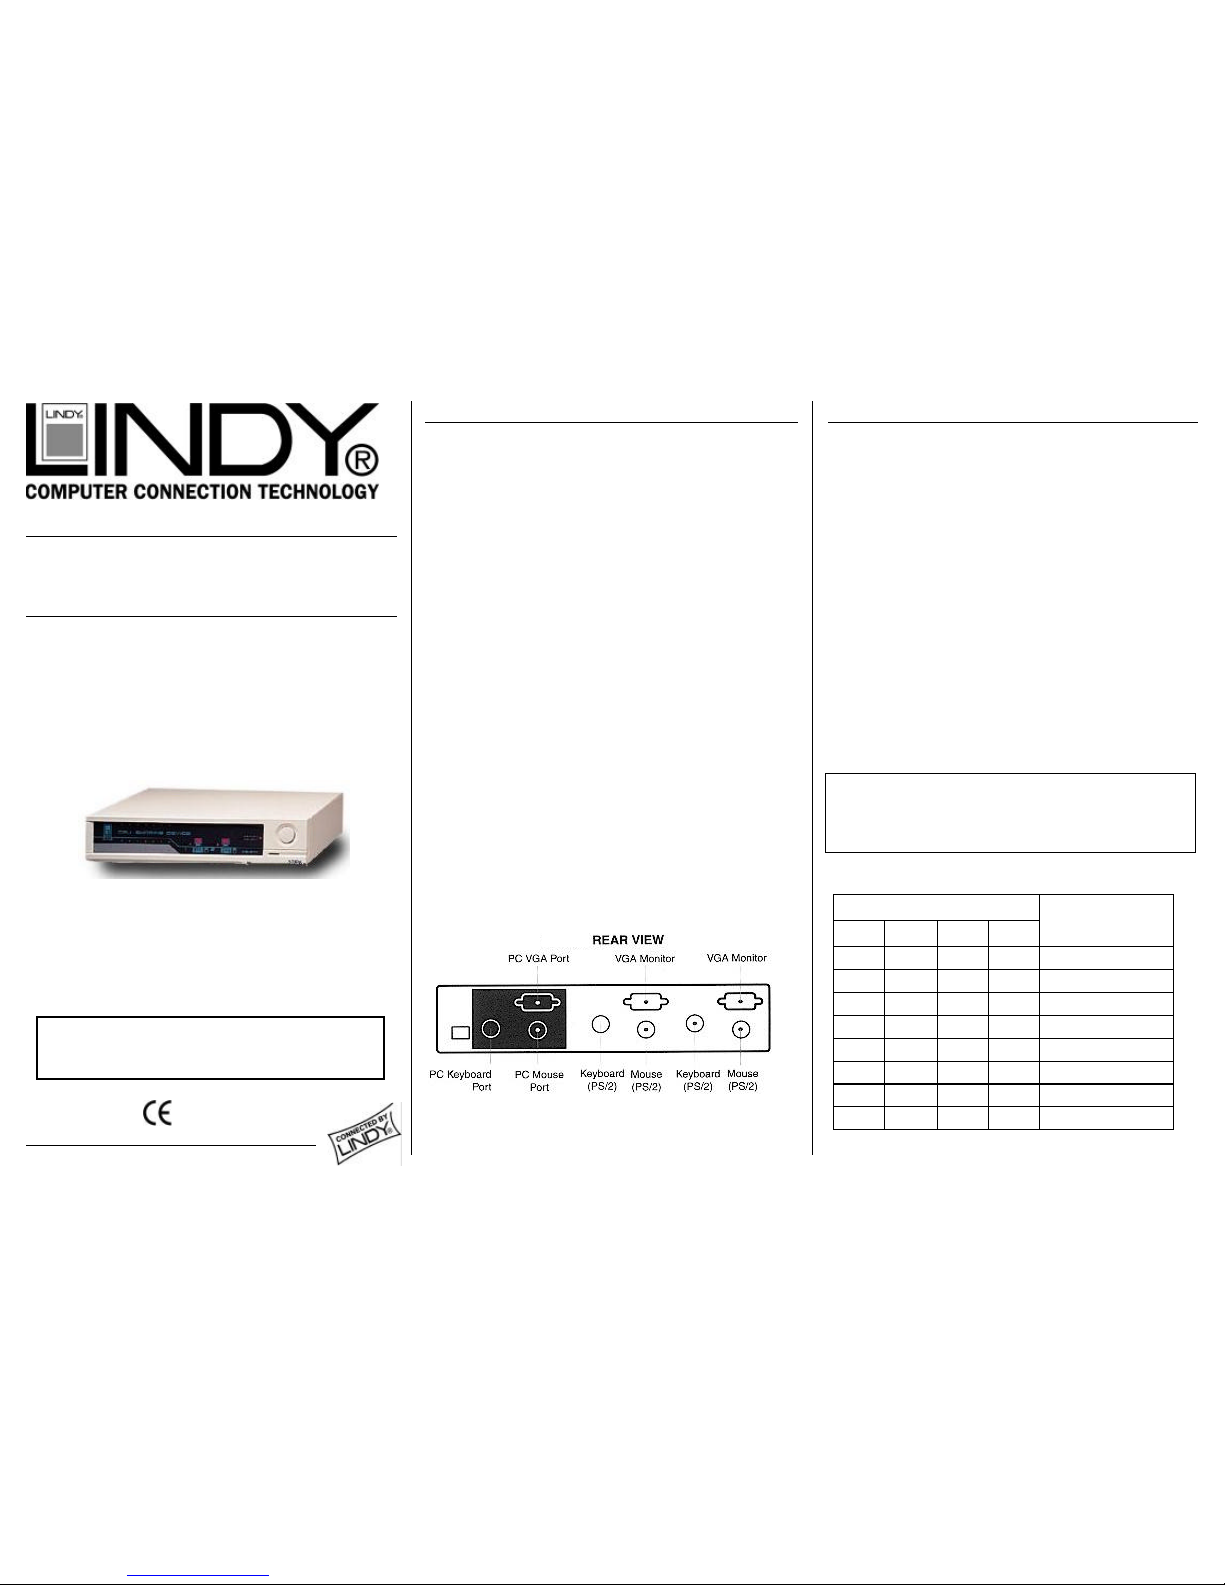
CPU SHARING
DEVICE
Installation and Use English
CPU Sharing Device
39121
User's Manual
Packing Checklist
?? 39121 CPU Sharing Device
?? 1 User's Manual
Please read this manual thoroughly and follow the
installation procedures carefully to prevent any damage
to the 39121 and/or the devices it connects to.
LINDY Art. Nr. 39121
© LINDY ELECTRONICS LIMITED & LINDY-ELEKTRONIK GMBH - APR 2000
English Manual -1-
English Manual -2-
1.
Introduction
The 39121 is a powerful microprocessor controlled CPU
sharing device that enables two users to share a single
computer. With two keyboard, mouse and monitor consoles,
this multiuser-single tasking device i
s ideal for any small
office environment. All programs, files, data, and resources
can be easily shared without the knowledge of network.
Features
y Supports PS/2, IBM PC and Compatibles
y Supports PS/2, AT, and Auto Switchable Keyboards
y Supports SVGA, VGA, and Multisync Monitors
y No Software Required
y One Computer Shared By Two Monitor, Mouse, and
Keyboard Sets
y Automatic or Manual Console Selection
y Screen Save Function
y Private Mode For A Privileged User
y Supports PS/2 Mouse
Installation
1. Turn the computer, all monitors, and the 39121 Off.
2. Connect the CPU Keyboard Port at the back of the 39121 to the
computer keyboard port with a DIN-5 male-to-male cable.
3. Connect the CPU Mouse Port at the back of the 39121 to the
computer mouse port with a DB-9 male-to-female cable.
4. Connect the CPU Monitor Port at the back of the 39121 to the
computer VGA port with a DB-15 male-to-male cable.
5. Connect the first Keyboard, Mouse, and Monitor console to the
Console 1 ports on the 39121's rear panel.
6. Connect the second Keyboard, Mouse, and Monitor console to
the Console 2 ports on the 39121's rear panel.
7. Set the DIP Switch switches according to your requirements.
See the DIP Switch Setting section (below), for details.
8. Plug the Power Adapter that came with the 39121 into an AC
source; plug the power adapter cable into the Power Jack on the
39121's rear panel.
9. The 39121 will be ready for operation one minute after the DOS
prompt appears on the monitor.
Note: Before turning on the computer, be sure the first port has a
keyboard connected to it; otherwise, the error message:
Keyboard error Press <F1> to RESUME
appears. If this happens, connect a keyboard to the KB1 port on the
39121's rear panel; then press function key [F1] to continue.
DIP Switch Setting The meanings of the DIP Switch Settings are
made clear in the section on Operation, below.
DIP Switch Number
1 2 3 4
Function
ON ON X X 5 Second Timeout
OFF ON X X 15 Second Timeout
ON OFF X X 45 Second Timeout
OFF OFF X X 90 Second Timeout
X X ON X Private Mode Enabled
X X OFF X Private Mode Disabled
X X X ON Screen Save Enabled
X X X OFF Screen Save Disabled
Page 2
English Manual -5-
English Manual -4-
Operation
English Manual -3-
Private Mode
For security reasons, ONLY CONSOLE 1 has the privilege to
access the computer and disables CONSOLE 2 From seeinghis
operations. To do so, the DIP switch number 3 must be set to ON
before the 39121 is turned on. This user may access the computer
in the Private mode by pressing the right `SHIFT` six times. The
Private mode continues till:
a. the first user presses the right `SHIFT `key six times, or
b. any user presses the MANUAL button.
Screen Save Function
To protect the screen phosphors, when the 39121 is in Auto
Mode and noone is accessing the computer, a "stripe" image
can scrol ldown the screen. To enable this function, set DIP
Switch 4 to the On position before turning on the 39121.
Specifications
Function 39121
Number of Users 2
Shared Functions Keyboard, Monitor, Mouse
2 Console Selected LEDs
1 Manual Status
Function Keys Automatic / Manual Selection
Timeout Setting 5 - 90 Seconds
Keyboard Connectors 3 Mini DIN-6 Female (Input/Output)
1 DB-9 Female (Input) Serial Mouse Connectors
2 DB-9 Male (Output)
PS/2 Mouse Connectors 3 Mini DIN-6 Female (Input/Output)
VGA Connectors 3 High Density DB-15 (Input/Output)
Enclosure Metal & Plastic
Weight 2650g
Dimensions (L x W x H) 254 x 180 x 82 (mm)
Preventing Radio & TV Interference
WARNING!!! This equipment generates, uses, and can
radiate radio frequency energy and if not installed and
used in accordance with the instruction manual, may
cause interference to radio communications. It has been
tested and found to comply with the limits for a Class A
computing device pursuant to Subpart J of Part 15 of FCC
Rules, which are designed to provide reasonable
protection against such interference when operated in a
commercial environment. Operation of this equipment in a
residential area is likely to cause interference in which
case the user at his own expense will be required to take
whate
ver measures may be required to correct the
interference.
Limited Warranty
IN NO EVENT SHALL THE DIRECT VENDOR S
LIABILITY EXCEED THE PRICE PAID FOR THE
PRODUCT FORM DIRECT, INDIRECT, SPECIAL,
INCIDENTAL, OR CONSEQUENTIAL DAMAGES
RESULTING FROM THE USE OF THE PRODUCT,
DISK, OR ITS DOCUMENTATION.
The direct vendor makes no warranty or representation,
expressed, implied, or statutory with respect to the
contents or use of this documentation, and specially
disclaims its quality, performance, merchantability, or
fitness for any particular purpose.
The direct vendor also reserves the right to revise or
update device or documentation without obligation to
notify any individual or entity of such revisions, or
update. For further inquires please contact your direct
vendor.
LINDY Art. Nr. 39121
© LINDY ELECTRONICS LIMITED & LINDY-ELEKTRONIK GMBH - DAPR 2000
Operation
Auto Mode
Auto Mode operates according to the following rules:
1. When the 39121 is turned on it comes up in Auto Mode, and
operates on a first-come-first-served basis. Both Console LEDs are
On; the Manual LED is Off.
2. The first user to strike his keyboard has access to the
computer. As soon as this occurs:
-The 39121, locks on to his console; during the time that he is
locked on, the other user can not access the computer;
-
The Console LED that corresponds to his console turns On;
-The Console LED for the other console turns Off.
3. If the user who has access does not strike his keyboard or
move his mouse before the Timeout Period (set with DIP
Switches 1 and 2), elapses:
- The 39121 unlocks from his console;
- The 39121 switches to Auto Mode;
- Both Console LEDs turn On (indicating that either console may
access the computer);
-The Manual LED is Off
4. A user may terminate his access by either hitting the Left
Shift Key six times to switch the 39121 back to Auto Mode, or by
pressing the Manual Button to select the other console.
Manual Mode
Manual Mode is used to access the computer for a long
period of time. It is invoked by repeated pressing of the
Manual Button until the Console LED for the des
Note:
Pressing the Manual Button causes the 39121 to cycle to
the next choice:
Auto Mode
--> Console 1 --> Consolel 2 --> Auto Mode
When Manual Mode is invoked, the 39121 locks onto the selected
console and prohibits the other console from accessing the
computer. The lock-on remains in effect until the Manual Button is
pressed again.
 Loading...