

Page 1
Industrial Control Device
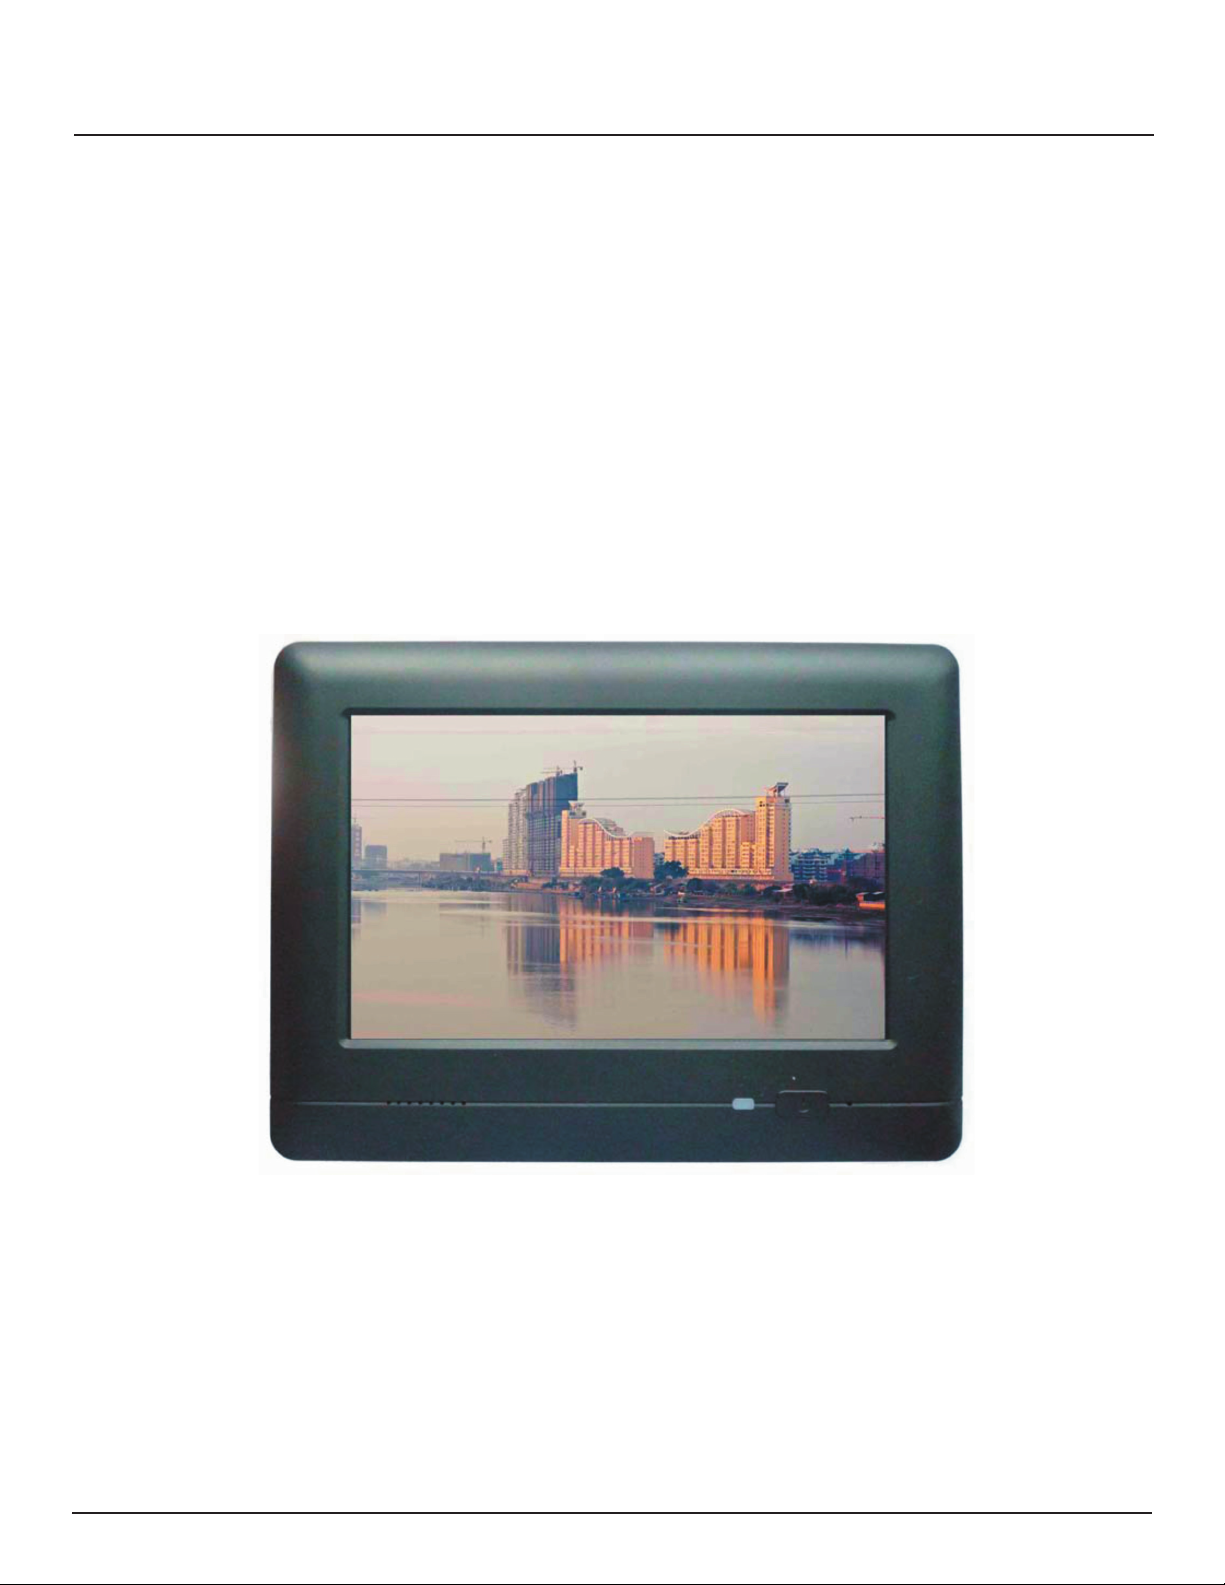
GK-7000
Manual
Touch Screen PC
- 1 -
Page 2

Touch Screen PC
Contents
1 Introduction ............................................................................................................................................... 3
2 Product Overview ..................................................................................................................................... 4
2.1 Appearance & Interfaces ................................................................................................................... 4
2.2 Casing Dimension ............................................................................................................................. 6
2.3 Battery Installation ............................................................................................................................. 7
2.4 Whole Installation .............................................................................................................................. 8
3 Touch screen calibration ........................................................................................................................... 9
4 Specifications ......................................................................................................................................... 12
5 Accessories ............................................................................................................................................ 12
6 Q & A ...................................................................................................................................................... 13
7 Safety Instructions .................................................................................................................................. 13
- 2 -
Page 3

Touch Screen PC
1 Introduction
GK-7000, a highly performance embedded industrial control device, which made by our company. It has
a core CPU of S3C2440 processor (based on ARM Frame), with Microsoft Windows CE 5.0 operating system.
With features of rich resource, interfaces, low consumption and high reliability, etc.
GK-7000 has the same integrated developing environment with PC, users can use Embedded Visual C++
4.0(the same developing environment & entire compatible API, including MFC with PC’s Visual C++), and Vi
sual Studio 2003, Visual Studio 2005, etc. which makes developing application interfaces and writing widget’s
matter processing codes easily.
-
- 3 -
Page 4
2 Product Overview
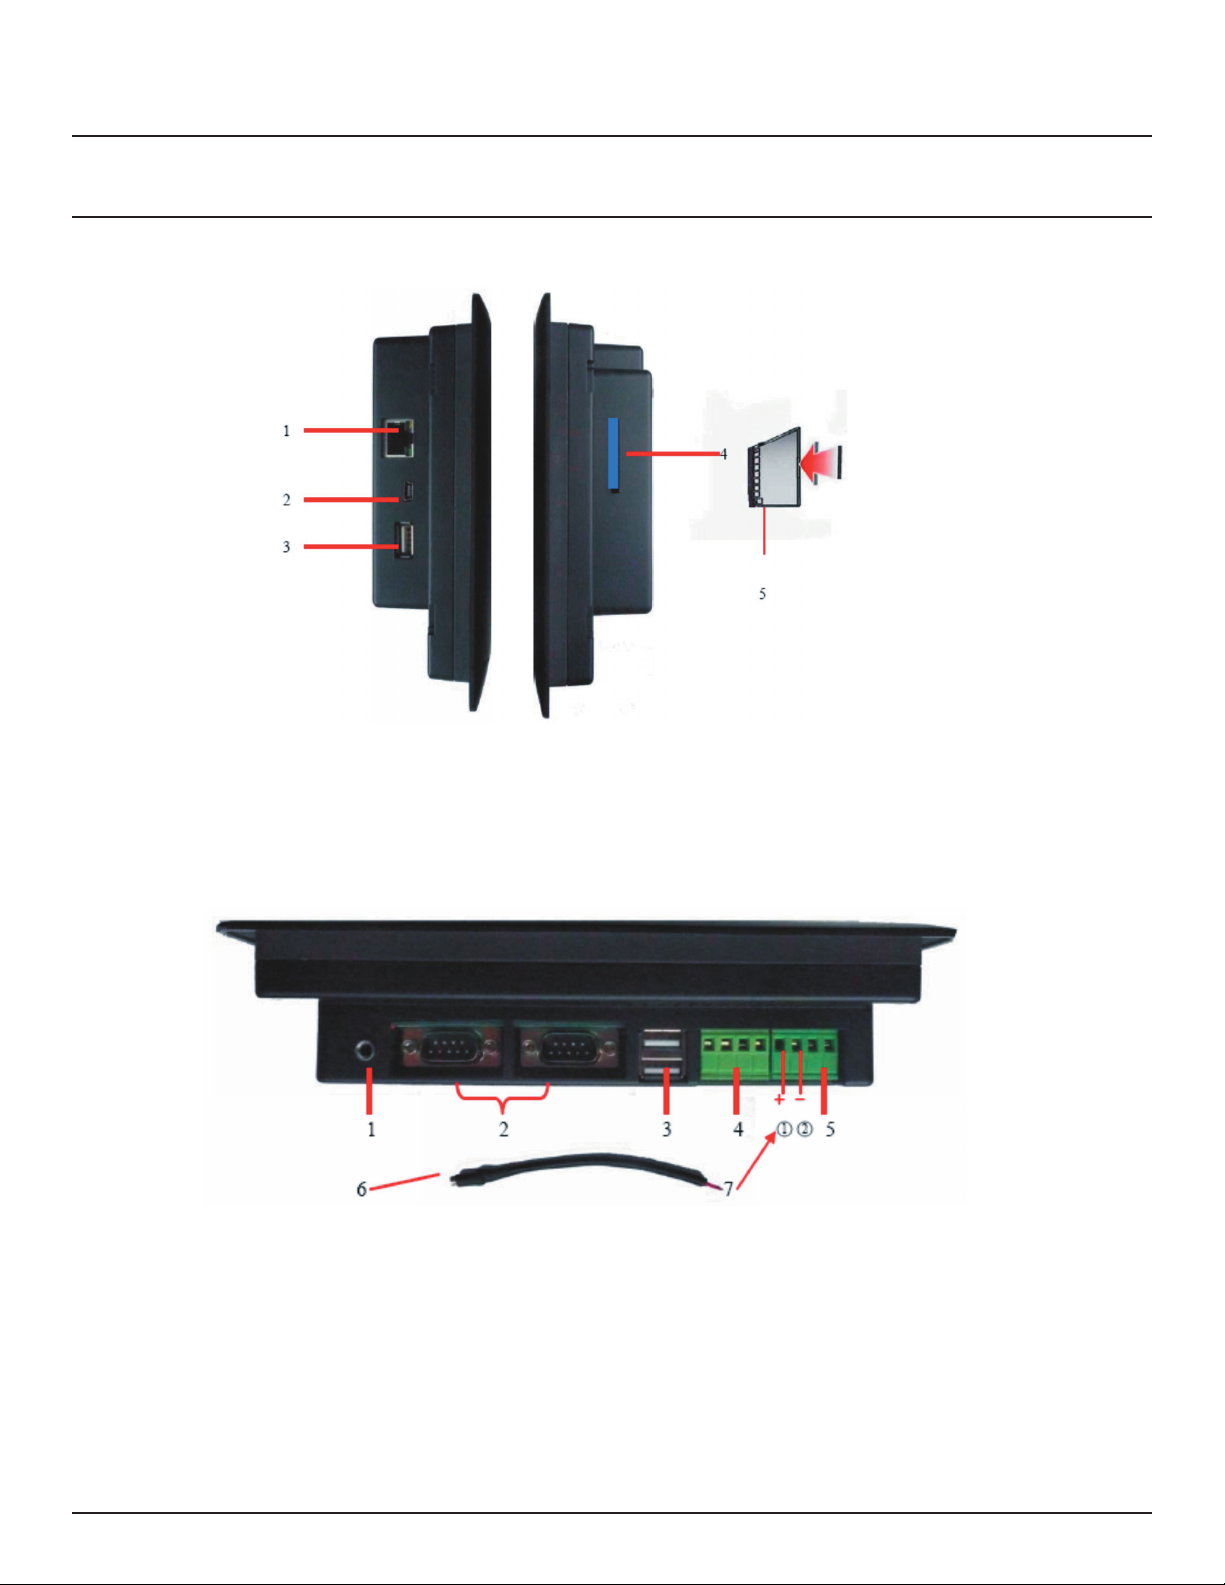
2.1 Interfaces &Appearance
Touch Screen PC
1. Ethernet
2. USB Host
3. USB Interface
4. SD Card slot
5. SD Card insert direction
1. Earphone jack
2. RS232
3. USB Interfaces
4. RS485: connect RS485 communication line A, B, Z, Y from left to right.
5. DC: 1 for “+”, 2 for “-”
6. Power switch cable
7. Red cable 1 for “+”, white cable 2 for “-”.
Ps: Please make sure that power switch cable connected well to avoid unnecessary problems.
- 4 -
Page 5

1. Battery interface
2. SD Card slot
3. RS232 and RS485 switch
Touch Screen PC
1. Speaker orifice
2. Indicator light: It turns green when power on with or without battery. It turns red when charging power on,
then turns green when charge full. It also turns red when charging power off, then quench when charge full.
3. POWER
- 5 -
Page 6

2.2 Casing Dimensions (mm)
Touch Screen PC
- 6 -
Page 7

2.3 Battery Installation
a) Battery:
b) Plug power line into socket of battery slot.
Touch Screen PC
c) After plug in and put the battery into slot.
d) Settle the power line in the slot, then finish installation.
- 7 -
Page 8

2.4 Whole Installation
Touch Screen PC
Overview of opening for
installing placement
Whole device
Wall
Iron sheet
Screw (Semicircle 4*20)
About Mounting Process for GK-7000
1. Mounting the whole device into the wall. (ps: the thickness of wall should be within 15mm)
2. Insert the 4 iron sheets to the sockets at the back of device. (as the guiding lines of above chart)
3. Lock the 4 screws (semicircle 4*20) up to the holes of iron sheets until the end.
Screw (semicircle 04)
Iron sheet or Wall
Whole device
About VISA Mounting Process for GK-7000
Lock the 4 screws (semicircle 04) through the holes of iron sheet or wall up to the standard VISA sockets
at the back of device. (Ps: with the standard of thickness is 1mm for iron sheet or wall, the length of screw is
6mm; when the thickness of iron sheet or wall added by 1mm, as well as the length of screw accordingly, and
so forth)
- 8 -
Page 9

Touch Screen PC
3 Touch Screen Calibration
If the touch screen can’t respond your click, please run the touch screen calibration program.
a) Connect the power and press the power key to open, directly enter into the OS of Windows CE
b) Click “My Device” enter into the file manager
c) Click “Control Panel” in the file manager
- 9 -
Page 10

d) Then click “Stylus”
e) Select “Calibration” in “Stylus Properties” dialog box
Touch Screen PC
f) Click “Recalibrate” to begin the calibration.
- 10 -
Page 11

Touch Screen PC
g) During calibration, hold on your finger or touch pen on the cross center of the screen until it moves to another area on the screen.
Operational step: When the object is movable in screen, repeat this action. (there are 5 proof read points)
h) Arbitrarily click the screen after calibration. Return to “Stylus Properities”
i) Finish calibration;
Click accept new interpose, and exit to screen calibration.
Click reservation plain is interposed, and exit to screen calibration.
- 11 -
Page 12

4 Specifications
Screen 7” Color TFT LCD
Resolution/Brightness 800×480 / 300 cd/m2
Input Mode Touch
DC Input 9V—12V
Audio Output ≤<=1.2W
Power Consumption 10W—12W
Interfaces RS232/RS485/SD slot(up to 2G)/Ethernet
CPU ARM9 32bit 400MHZ processor
Memory 64MB FLASH, 128MB SDRAM
Dimension(LWD)
Weight
Touch Screen PC
200×151×50 mm
546g (without battery) / 610g (with battery)
Windows CE 5.0
Visual Basic, EVC supports
USB I/F (active sync)
Keyboard & Mouse support
5 Accessories
1. USB connection line 1 piece
2. Touch pen 1 piece
3. Drive DC 1 piece
4. Screw & Iron sheet 4 piece*2
5. Manual 1 piece
6. Power switch cable 1piece (optional)
7. DC Adapter 1piece (optional)
8. Battery 1piece (optional)
- 12 -
Page 13

Touch Screen PC
6 Q & A
A) Power Issues Can not power on
1) Bad connection.
a) Please check the connector plugs and connector jack.
Ps: Please make sure that power switch cable connected well to avoid unnecessary problems.
B) Screen Issues
1) No display.
2) Implement time last long when click on functions, which result in can’t be activated.
3) Delaying or stagnating when pictures switch.
Please restart the device when above-mentioned issues happen.
4) Touch screen doesn’t response to clicks correctly.
a) Please calibrate the touch screen. (see more details on “Touch screen calibration”)
5) Screen displays blurred.
a) Please check whether screen has dustiness or not. Please clean it with soft cloth, which do not litter flock
ing.
-
7 Safety Instructions
Properly maintain your system to guarantee its service life and reduce the damage risk.
● It should avoid the humidity and extreme temperature when using.
● Avoid being revealed making equipment for a long time under shoot straight at sunlight or intense ultraviolet
ray lamp light.
● Avoid heavy impact or drop onto the ground.
● The LCD screen is very easy to shave a wound, avoid crashing please. Be sure not to use other sharp article
to bump against touch screen.
● The fuselage is external, close a power source, allocate away mains lead if should be clean, quality cloth
cleans with tiny wet soft when clean screen, in order to not lose trifling soft of cotton please.
● Strictly forbid the machine presumptuously dismantling or keeping the machine, otherwise, possibility damage in repair.
● Do not place with your equipment or accessory and other inflammable liquid, the gas or other explosive ar
ticles place together, to avoid happening dangerous.
-
- 13 -
 Loading...