

Page 1
Kit No. GK62-00002-0070
Document No. M051-00K62-A199
How To Install the Rocker Arm Kit
Tools required: Phillips screwdriver, T-45 Torx wrench, 4½ mm Allen wrench, snap ring tool
Estimated time required: 1 hour (to install both rocker arms) plus Loctite curing time (30 minutes)
KIT CONTENTS
Rocker arms (2)
Metal thrust washers (2)
Oilite washers (4: 2 thick, 2 thin)
Snap rings (2)
Loctite #620 (2 tubes)
Alcohol wipe (1)
PROCEDURE
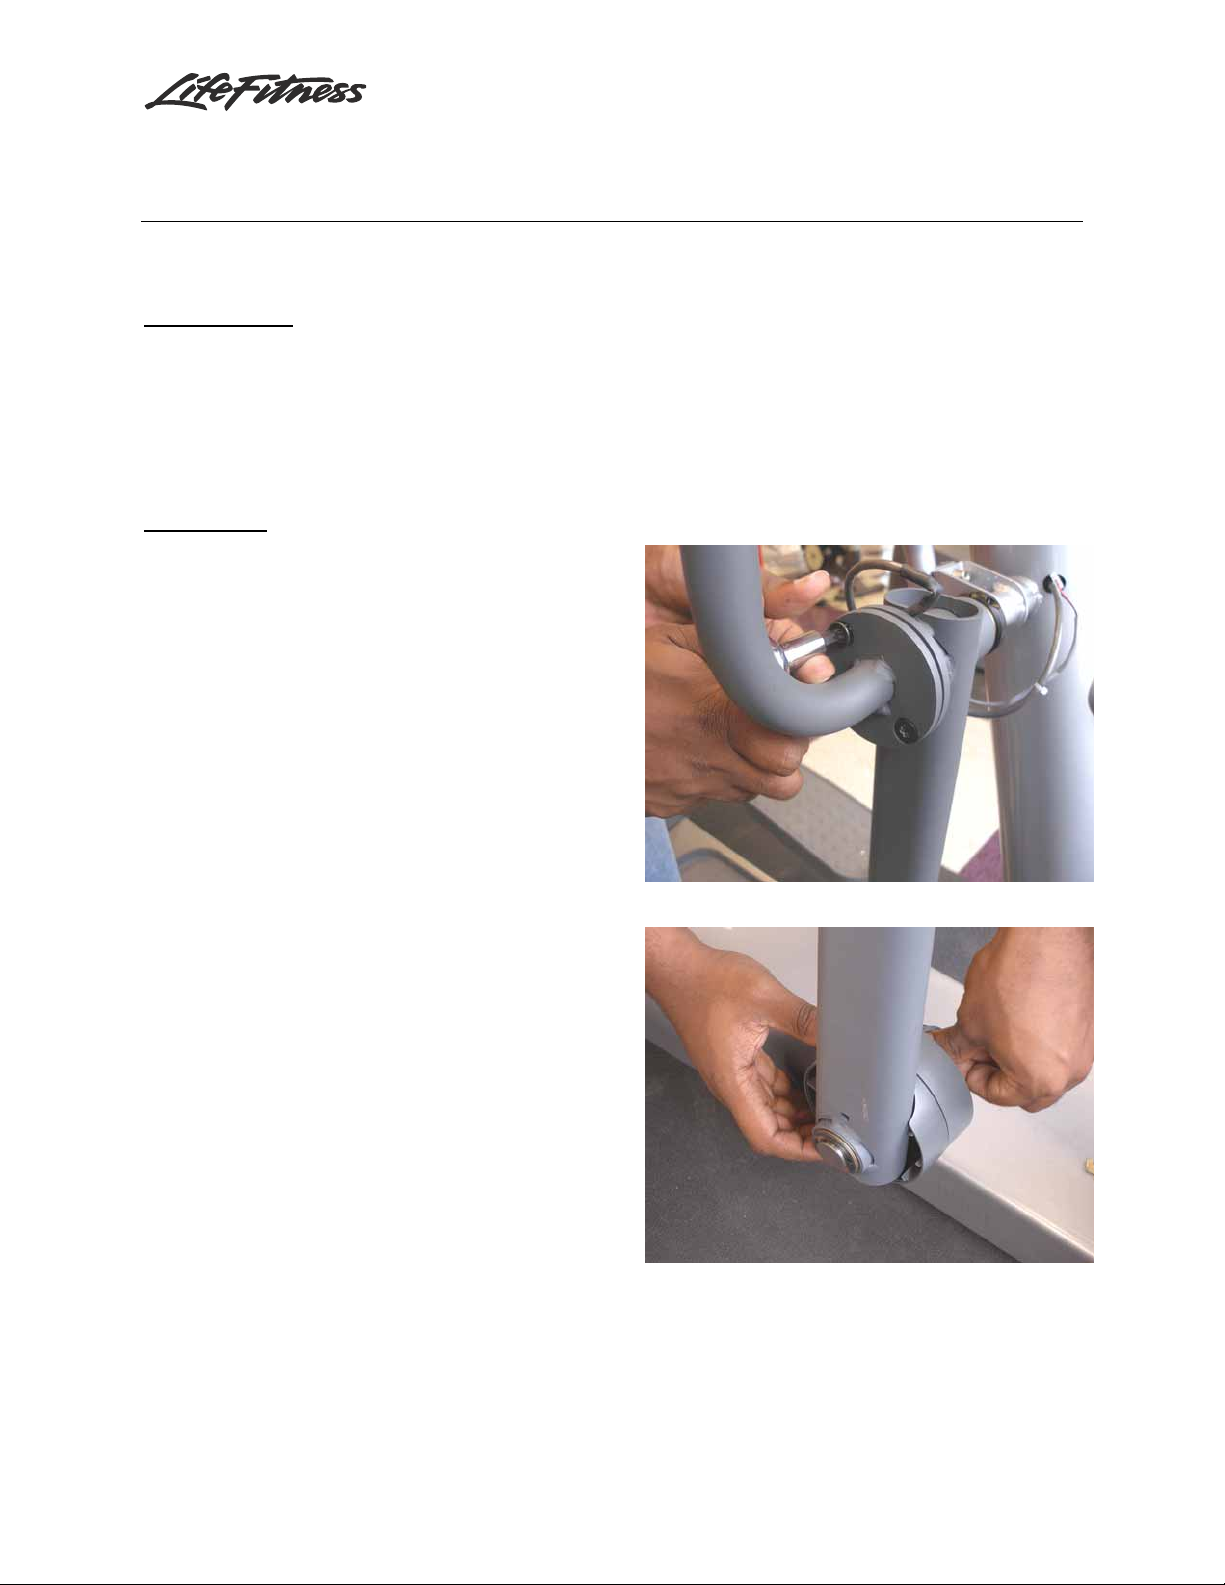
1. Remove the outer deadshaft covers.
2. Disconnect the heart rate cable.
3. Remove the user arm (see Figure 1).
08 Sep 2008
4. Remove the lower rocker arm cover (see
Figure 2).
5. Separate the rocker arm from the pedal.
Fig 1: removing the user arm
Fig 2: separating the pedal from the rocker arm
Page 2
Kit No. GK62-00002-0070
Document No. M051-00K62-A199
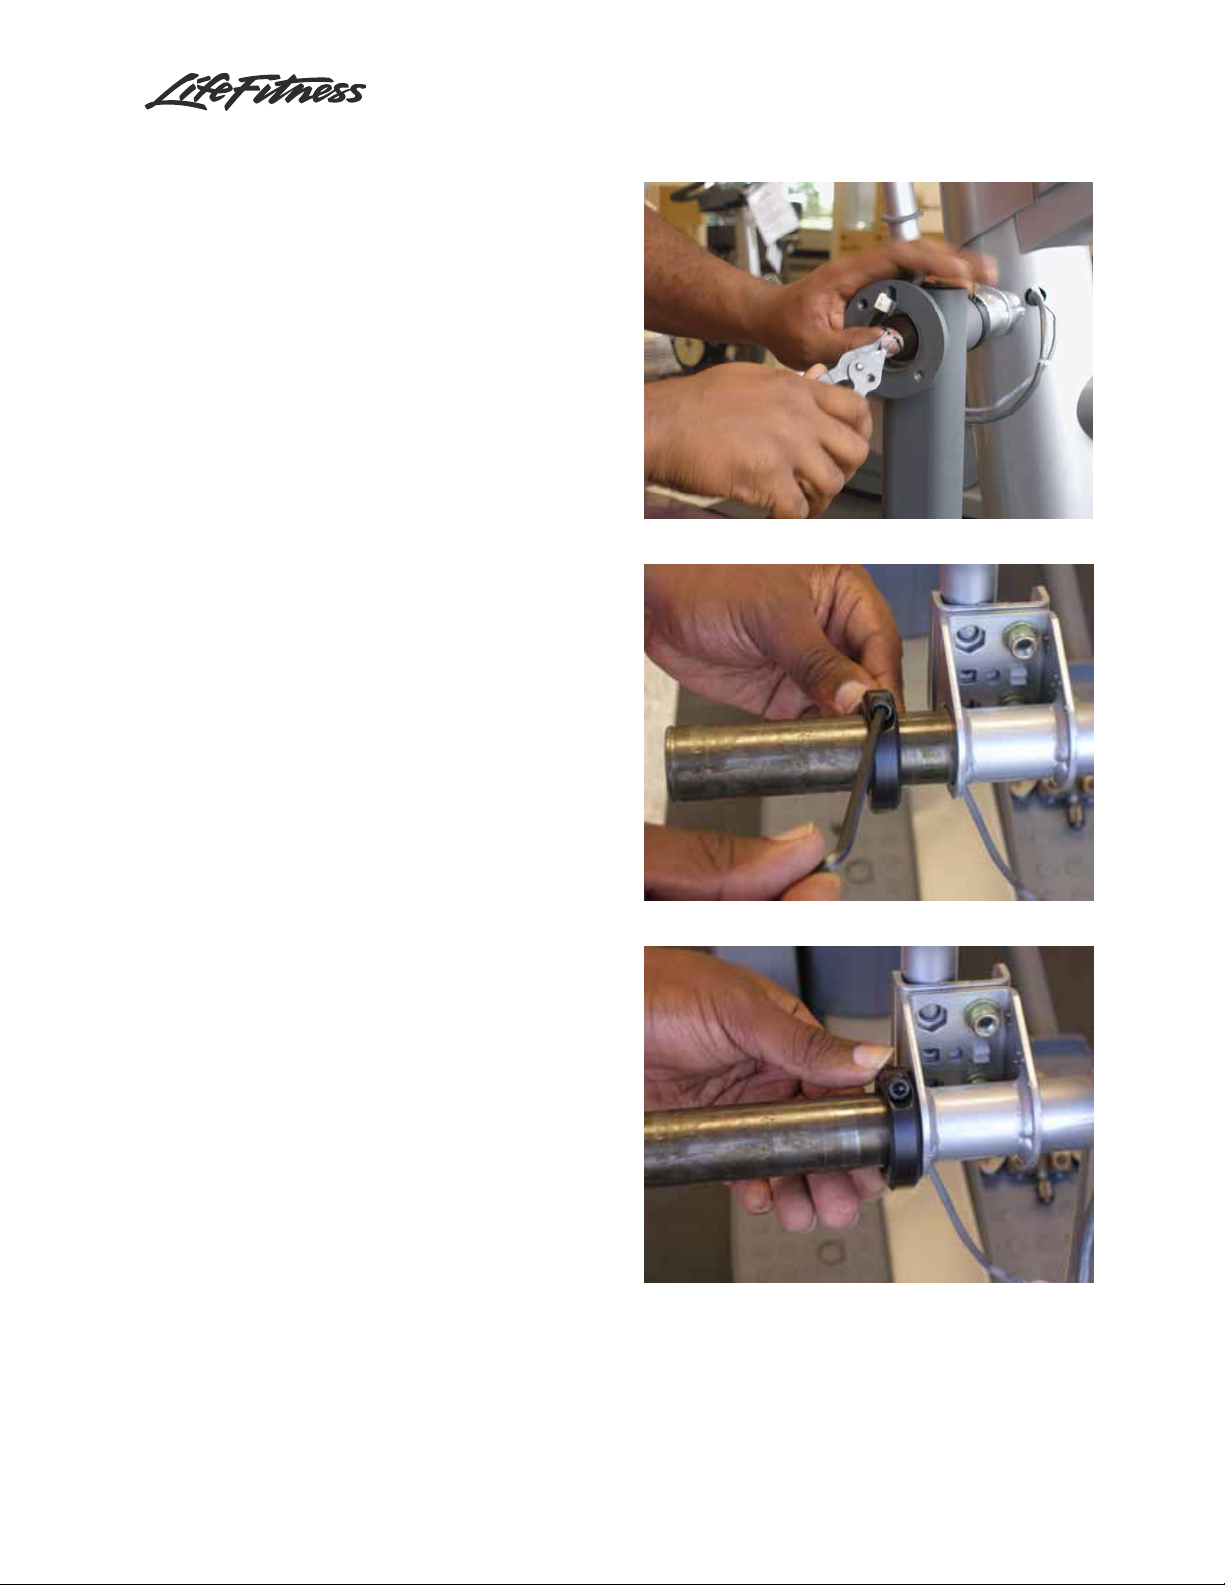
6. Remove the rocker arm from the
deadshaft (see Figure 3). Discard all of
the old hardware (Oilite washer, thrust
washer, snap ring).
7. Loosen and push the shaft collar all the
way onto the deadshaft (see Figures 4 and
5).
8. Inspect the deadshaft for smoothness. A
badly worn or damaged shaft may require
sanding to smooth it enough for the new
rocker arm to slide on.
08 Sep 2008
Fig 3: removing the snap ring from the deadshaft
Fig 4: loosening the shaft collar
Fig 5: slide the collar against the bullhorn bracket
2
Page 3

Kit No. GK62-00002-0070
Document No. M051-00K62-A199
9. The kit contains Oilite washers in two
thicknesses. Slip one of the thinner Oilite
washers onto the deadshaft as shown in
Figure 6.
10. Wipe the deadshaft with the supplied
alcohol wipe. Save the wipe; it will be
used later in this procedure and during
the second rocker arm installation.
11. Apply a bead of green Loctite #620 thread
locking compound from the supplied
applicator tube all the way around the
deadshaft, about an inch (3 cm) from the
end (see Figure 7). Do not use more than
half of the compound in the tube.
08 Sep 2008
Fig 6: Installing the Oilite washer
12. Apply the remaining Loctite around the
inner surface of the rocker arm sleeve (see
Figure 8). Keep the compound at least an
inch (3 cm) from the edge of the sleeve to
avoid getting any compound on the new
bearings.
Fig 7: applying Loctite to the deadshaft
Fig 8: applying Loctite to the rocker arm
3
Page 4

Kit No. GK62-00002-0070
Document No. M051-00K62-A199
13. Rotate the rocker arm back and forth
while sliding it onto the deadshaft (see
Figure 9). This will spread the Loctite
evenly onto the deadshaft.
14. Wipe off any excess Loctite near the snap
ring groove with the alcohol wipe.
15. Install one of the thicker Oilite washers.
08 Sep 2008
Fig 9: installing the rocker arm
16. Install the new thrust washer onto the
sleeve next to the snap ring groove (see
Figure 11).
Fig 10: installing the Oilite washer
Fig 11: installing the thrust washer
4
Page 5

Kit No. GK62-00002-0070
Document No. M051-00K62-A199
17. Install the new snap ring (see Figure 12)
18. Pull the rocker arm against the snap ring.
08 Sep 2008
19. Slide the shaft collar tightly against the
Oilite washer and rocker arm housing (see
Figure 13).
20. Tighten the setscrew on the shaft collar
(see Figure 14).
21. Swing the rocker arm to verify free
movement. This will also provide
assurance that the Loctite has not seized
the bearing and sleeve together.
Fig 12: installing the snap ring
Fig 13: pull the shaft collar in the direction of the arrow
22. Reattach the user arm and pedal to the
rocker arm.
23. Reattach the lower rocker arm cover.
24. Reattach the outer deadshaft cover.
25. Repeat steps 1-23 with the other rocker
arm. The Loctite on the first side will be
curing while the second rocker arm kit is
being installed.
Fig 14: tightening the shaft collar
26. Allow the Loctite on the second rocker
arm kit to cure undisturbed for at least 30
minutes.
5
 Loading...