

Page 1
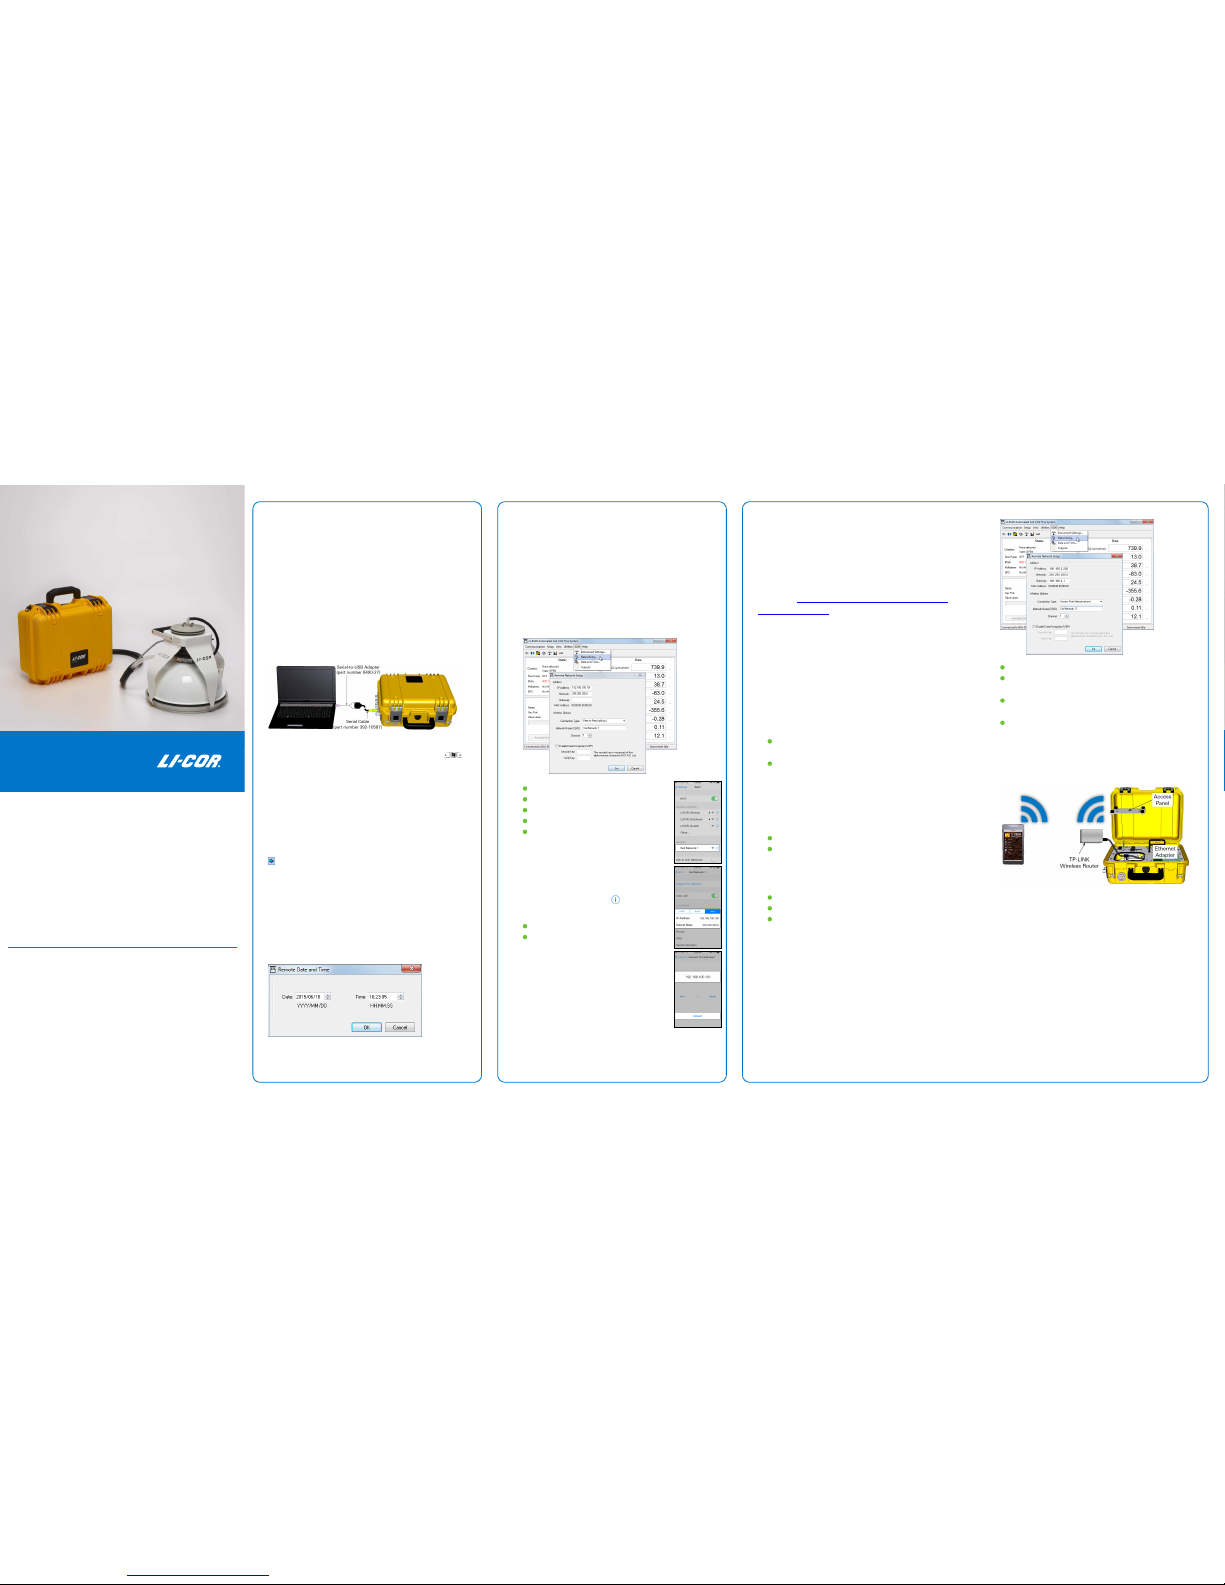
A Quick-Start Guide to
Survey Measurements
Survey System
LI-8100A
Contents
Part 1: First ThingsFir st
Part 2: Connect to iOSver sion8.4 .1and older
Part 3: Connect to anyi OSor Android OS Device
Part 4: Connect Auxiliary Sensors
Part 5: Set the Soil Collars
Part 6: The Measurement Cycle
Part 7: Survey Measurement Tutorial
Part 8: Transfer Data from the LI-8100A
Part 9: Process the Data
Part 1: First ThingsFirst
Do this the first time you power upthe system.
1. Install the computer software
The Windows® software is available from the LI-COR website:
www.licor.com/env/support. Search for LI-8100A.
2. Install a battery and power on the LI-8100A
Plug a chargedbat tery into either one oft heconnectors
in the LI-8100A. Thenpres sthe ON/OFF butto n.
3. Connect the RS-232 serial c able andUS B adapter
On yourPC, findthe seri alpor tnumber:
A.
Open the Device Manager: Presst heWi ndowskey (
Ctrl Alt
AlAlAlAlAlAlAlAlAlAlAlAlAlAlAlAlAltrl
rl
),
type Device Manager, andthen press Enter.
B.
Expand the entry called Ports( COM& LPT) .
C.
Look for USB Serial Port( COM#).
Your serial port number is indicated byt henumber.
4. Connect to the LI-8100A
After the Ready light turns on andthe pump starts running,
launch the LI-8100A PCso ftware and clickthe Connect button (
). Enter the Port #,then click Connect.
5. Turn off the pump (optional)
If you are annoyedby the pump, click Utilities> Manual Controls >Flow, then click 8100Flow Off.
6. Check the instrument's date and time
Click 8100> Date and Time. Sett heti met omat chyour time
zone.
Part 2: Connect toiOS version 8.4.1and older
You canuse the LI-8100APP for iOS devices that run iOSversions 8.4.1 and earlier if your LI-8100A has a Cisco®wi reless
card installed under the access panel. ForiOS version 9 and
newer, follow the instructions in Connect to anyiOS or
AndroidO SDe vice. Toenable wire less communication:
1
Connect to the LI-8100A, as described inFirst ThingsFirst.
2
In the computer software, click 8100> Networking...a ndset
the IP Addressa ndNetmas k:
IP Address: 192.168.100.101
Netmask: 255.255.255.0
Connection Type: Peer-to-Peer (ad hoc)
Network Name (SSID):Soil Network1
Channel: 1
Leave encryption unchecked.Cli ckSet to apply
the settings. Then restart the LI-8100A.
3
In iOS,go to Settings > Wi-Fia ndconnect to
Soil Network 1(named in the previous step).
4
Tap the network connection andtap Static .
Set the IPa ddressa ndSubnet mask:
IP Address: 192.168.100.100
Netmask: 255.255.255.0
5
Launch theLI-8 100APPand tap Connect to
Instrument.Tap New, then type in theLI-
8100A's IP address (192.168.100.101), and save
it.
6
Select the IP address andtap Connect.
If your mobile device is set toa utomatically join
the network, all you need todo toconnect is
select the instrument IPaddress and tap Connecti nthe future.
Part 3: Connect toany iOS or AndroidOS Device
You canuse the LI-8100APP on iOS andAndroi dOS devices if you
install a battery-powe redr outer int heLI-810 0A.Here we
describe how to configure the TP-LINKrouter ,inst all it, andconnect from a mobile device. Other brandsof battery-powered
routers are compatible, but these steps apply to the TP-LINK
TL-MR3040: http://www.tp-li nk.com/en/products/details/cat-
4691_TL-MR3040.html
NOTE: Always read all instruction guides andquick start guides
for router.
1
Install the charged battery in the router and power it on.V erify
that the power LED isgr eenor orangeand not blinking.
2
Position the mode switch on the sideo ft heTP-LINK to the position labeled WISP or 3G/4G.
3
Connect your computer to the router's network (besure your computer has a dynamicIP address, called Obtain an IP addressauto-
matically in Windows®):
Either connect an RJ-45 Ethernet cable between the router
and your computer,
Or, connect to thewi reless network. Thenet workname
(called SSID)and wirele sspassw ordar epri ntedunder the battery cover of the TP-LINK.
4
Open a webbro wser andtype 192.16 8.0.1 inthe addressbar,
then press Enter.
5
Log in. Thedefault credentials are:
Username: Admin
Password: Admin
6
Click DHCP onthe left oft heset uppage. Note the IP Address
range of the DHCPser verand the Default Gatewa y.Typically
they are:
Start IPAddress: 192.168.0.100
End IPAddres s:192 .168.0.199
Default Gateway: 192.168.0. 1
7
If it is installed, remove the Cisco Systems wireless card that is
under the LI-8100A access panel.
8
Connect to the LI-8100A using these rial or USB connection, as
described in FirstThings First.
9
In the LI-8100A software, under 8100> Networking... configure
the wireless settings.
Set the LI-8100A IP addresss oit isident icalt ot heTP-LINK IP
address for the first three sets of numbers (as in, 192.168.0) and
outside the start and end range for the last set. So,
192.168.0.200 isa suitable IPaddress for the LI-8100A.
IP Address: 192.168.0.200
Netmask: 255.255.255.0 (this must be the same onthe router
and the LI-8100A)
Gateway: 192.168.0.1 (this must be the same onthe router
and the LI-8100A)
Connection Type: AccessPoint (infrastructure)
Leave encryption unchecked.Cli ckSet to apply the settings.
10
Restart the LI-8100A.
11
Connect the router to the Ethernet port on the CompactFlash
adapter under the access panel.
12
Connect your iOSor Android device to the network created by
the TP-LINK.The network name (called SSID)a ndwire less password are printed under the battery cover of the TP-LINK.
13
Launch theLI-8 100APPand tap Connect to Instrument.
14
Tap New,type in the LI-8100A's IP address (192.168.0.200), and
save it.
15
Select the IP address andtap Connect.
Once the connectionis established, youmay proceed with your
measurements.
GlobalHeadquarters
LI-CORB iosciences
4647 SuperiorStree t
Lincoln, Nebraska 68504
Phone: +1-402-467-3576
Toll free: 800-447-3576
Fax: +1-402-467-2819
envsales@li cor.com
[email protected]
www.licor.com/env
LI-CORDis tributorNetwork:
www.licor.com/env/distributors
RegionalOffices
LI-CORGmbH, Germany
Serving Andorra,Al bania, Cyprus,Estoni a,France,
Germany, Iceland, Latvia,L ithuania, Liechtenstein, Malta, Moldova,Mona co,San Marino,
Ukraine, andVati canCity.
LI-CORBioscien cesGmbH
Siemensstrasse 25A
61352 BadHom burg
Germany
Phone: +49 (0)6172 17 177 71
Fax: +49(0 )6172 17 17799
envsales-gmbh@l icor.com
[email protected]
LI-CORLt d.,United Kingdom
Serving Denmark,Fin land,Ire land,Norway,
Sweden, andUK.
LI-CORBioscien cesUKL td.
St.John ’sInnovation Centre
CowleyRoad
Cambridge
CB40WS
United Kingdom
Phone: +44 (0)1223 422102
Fax: +44(0 )1223 422105
envsales-UK@li cor.com
[email protected]
LI-CORand SoilFl uxProare trademarksor
registered trademarksof LI-COR,Inc. iPod touch,
iPhone, and iPada reregistered trademarks of
Apple Inc.A llother trademarks areproperty of
their respectiveowners.
©LI-COR,I nc.2015 984-11441 Rev4 12/16
Page 2
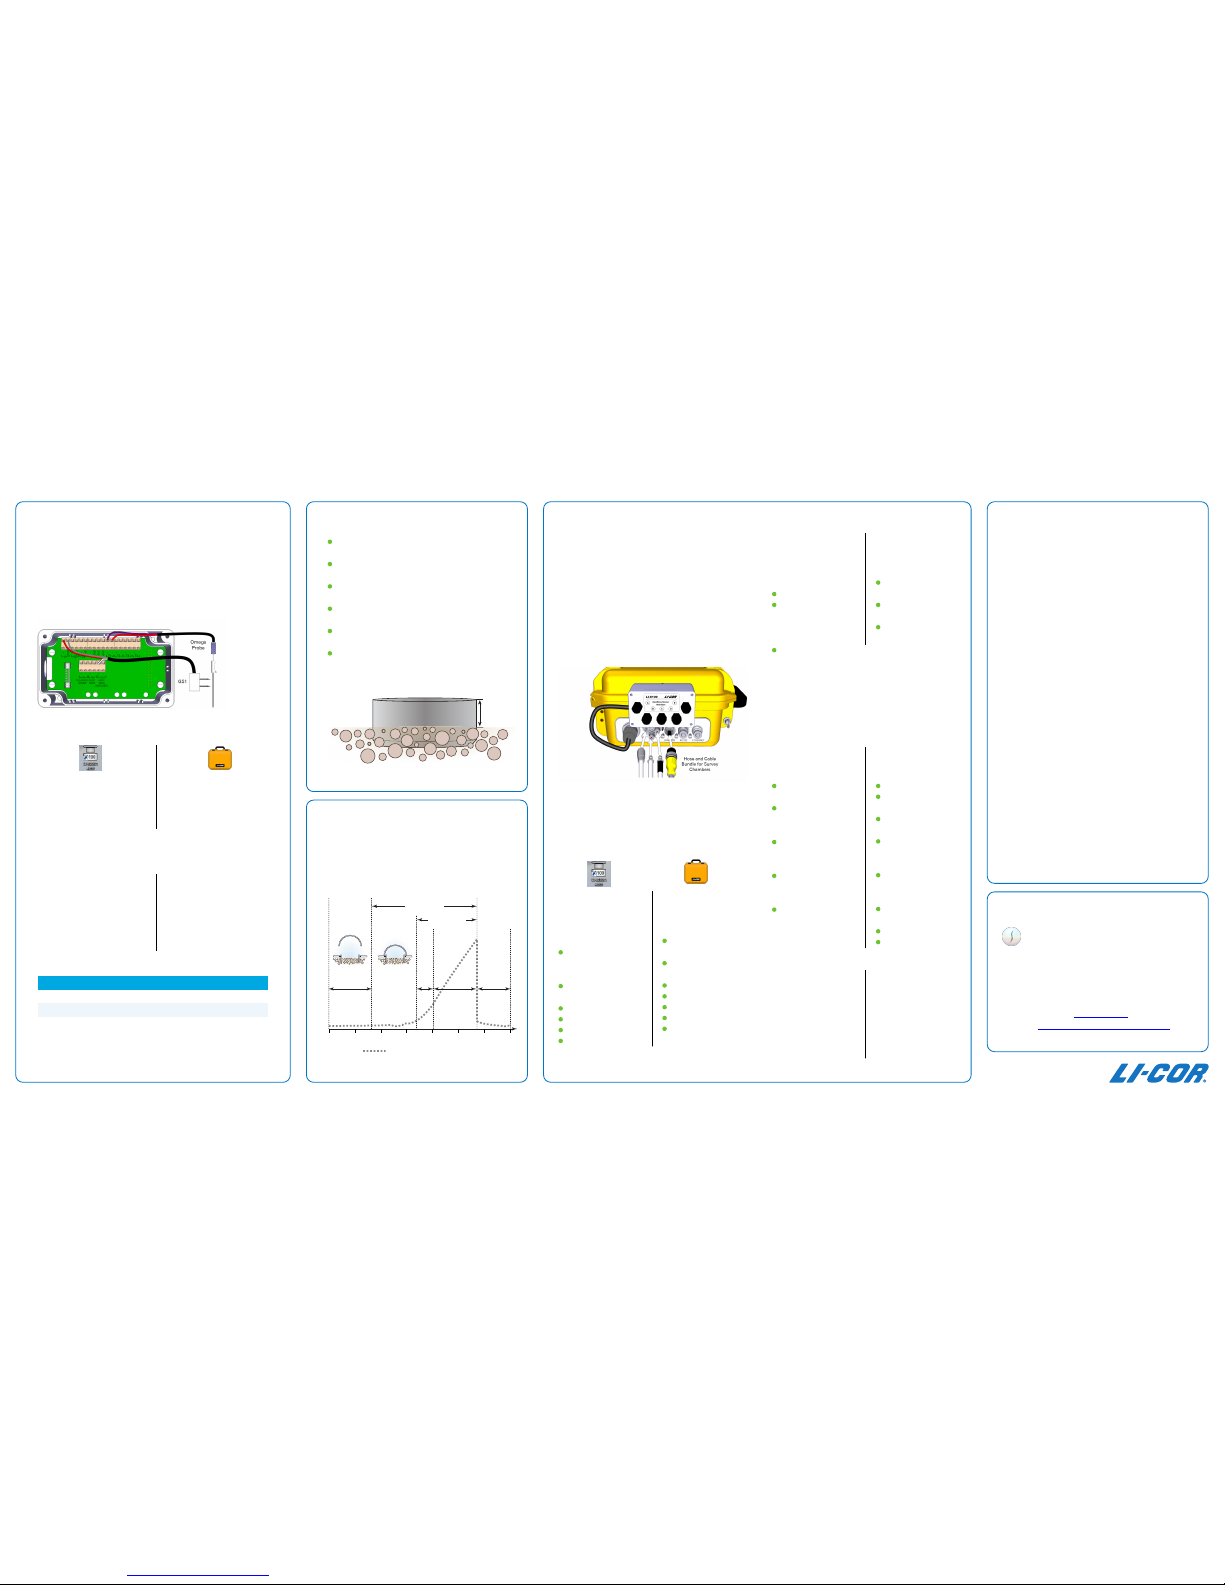
Part 4: Connect AuxiliarySensors
For survey measurements, you'll typically uset heOmega Probe and ThetaProbe to measure soil temperature and moisture. The EC-5 soil moisture
probe is described in the instruction manual.
1. Wire the sensors to the auxiliary sensor interface
Route the sensor cables through the glandplugs of the auxiliar ysensor
interface and connect it to the AUXSENSOR INTERFACEt erminal.
2. Omega Probe Configuration
In this example the Omegapr obeis connected to T1.
In the PCSof tware:
Click Setup >Chamber Measurement >(Ctrl +M) Thermocouples.
Select E for the OmegaProbe .
In the App:
Tap LI-8100A> Auxiliary Inputs,
the select the Thermocouple 1.
Select E for the OmegaProbe .
3. Decagon Devic es GS1 Configuration
In this example the ThetaProbe isconnecte dto V1.
In the PCSof tware:
Click Setup >Chamber Measurement >Port Setup, and select
the voltage input channel.
Select Soil MoistureP robeand
enter m (Slope) and b(O ffset)
from Table 1.
In the App:
Tap LI-8100A> Auxiliary Inputs,
then select the voltage input
channel.
Select SM and enter Slope and
Offset from Table 1.
Soil Type Slope Offset
Mineral 0.494 - 0.554
Soilless Media 0.591 - 0.661
Table 1.Coe fficients for mineral and organic soils.
You canal soper form soil-specific calibration to obtain lineari zationcoe fficients; refer tothe GS1 instruction manual for more informati on.
Part 5: Set the Soil Collars
Install soil collars 24 hours or more before making a measurement.
In hard orcompact edsoi lsyou may need to create a channel around the collar with a trowel before insertion.
In soft soils, you canlay a piece of wood across the collar
and drive the collar with a mallet.
Do not install the collars too deeply—to avoid shearing
roots under the collar.
Collars should extend a minimum of 2 cmabove the soil
surface for survey chambers.
Measure the chamber offset. For survey measurements, it
is the distance between the soil surface and thet opof
the collar.
Soil
Collar
Chamber
Offset
Part 6: The Measurement Cycle
The measurement cycle starts with an optional Pre-purge
period with the chamberopen and gas flowing. At the
beginning of an Observation,t hechamber closes. Upon
closing, the Dead Bandstar tsa ndthe instrument begins
logging data. The Post-purge begins whent heobser-
vation is finished.
Observation
Chamber
Closes
Chamber
Open
Chamber
Opens
Postpurge
Data
Logged
Observation
Length
Dead
Band
Pre-purge
(optional)
Time
CO2 Concentration (µmol/mol)
Part 7: Survey MeasurementTutorial
Follow this tutorial to make a survey measurement. One
fully charged battery will provide about 2 to 3 hoursof
operation.
1. Install the soil coll ars
See Set theS oilCollars for more details.
2. Connect the chamber
The surveychambers have three tubes: AIR OUTis to the
chamber, AIR INi sret urningfr omt hechamber, and
BELLOWS isa irt hat drivest hebel lows.
3. Set up the measurement (part 1)
The following settings are recommendations. You should
experiment and post-process your data to determine the
best observation length, dead band, andpost purgesettings.
In the PCSof tware:
Click Setup >Chamber
Measurement >Port
Setup >O bservation:
Treatment Label:It will
be included inyour data
record.
Observation Length:90
to 120 seconds.
Dead Band:30 seconds.
Observation Count:1
Pre-purge: 0seconds.
Post-purge:1 0seconds.
In the App:
Tap Setup> Measurement Protocol:
Measurement Type:
Chamber
Obs. Length:90 to 120
seconds
Dead Band:30 seconds.
Obs. Count:1
Pre-Purge: 0 seconds.
Post-Purge: 10s econds.
AdditionalLog Fields: Set
to all.
4. Set up the measurement (part 2)
In the PCSof tware:
Click Setup >Chamber
Measurement >Port
Setup >Chamber:
Select your chamber.
Soil Area: 83.7 cm2for
the 10 cm chamber;31 7.8
cm2for the 20 cm chamber.
ChamberO ffset: Enter
the offset.
In the App:
Tap Setup> Area and
Volumes:
ChamberO ffset: Enter
the offset.
Soil Area: Selectt he10
cm or 20 cmcollar .
ChamberVolume: Select
your chamber.
5. Place the chamber over the collar
Gently set the chamber ont hecolla r.Inser tt hesoi lte mperature and soil moisture probes at the desired depths
and distances from the chamber.
6. Start the measurement
In the PCSof tware:
Click Start Measurement:
Preset: Leave at Current
Setting.
Measurement File:Ente r
a file name and create a
new file.
Comments:Comme nts
are recorded in the file
header.
Destination: Either the
instrument memory or
the CompactFlash card.
Measurement Start:Set
to Start Immediately.
In the App:
Tap Start Measurement:
File Name:E nter aname.
Comments:Enter com-
ments.
ChamberO ffset: Enter
the offset.
Treatment Label:It will
be included inyour data
record.
Log To:Inst rument
memory or CompactFlash.
Start At: Start immediately
Repeat Meas.: 1.
Tap Start.
7. Check the data
In the PCSof tware:
Click View >Report.
Select a file, then click
Flux Computation.
In the App:
Tap Utilities >File Digest
View for either internal
or CompactFlash
memory.
Select a file and tap
Select.
Part 8: Transfer Data fromthe LI-8100A
Data files are stored in the LI-8100A memory, either in the
instrument storage or on a CompactFlash card int heinst rument. You canal soej ectt heCompact Flashcard under the
access panel to copydata fromi t.
1. Connect the instrument toa computer
See FirstThings First.
2. Open the file transfer tool
In the LI-8100A PCso ftware, click Utilities> File Manager.
You will see a list of files and folders on yourPC andlists of
files stored in the LI-8100A internal memory and CompactFlash card.
3. Set the destination for the files
Under Local PC, select the folder where youw antt ost ore
the files.
4. Select the files that you wantto copy
Under Internal Storage or CompactFlash Card, select one or
multiple files using Shift + Click or Ctrl+ Click.
5. Transfer the data
Click Transfer toPC to move the files.
WARNING:Do not click Delete or Delete Allunle ssyou are
absolutely certain that you do not want theda ta. Deleted
files are not recoverable.
Part 9: Process theD ata
SoilFluxPro™ software (forme rlyFV8 100)i sa free
PC- and Mac-compatible application for analyzing
data from the LI-8100A. In SoilFluxPro, youcan
recompute data sets, graph data, analyze results,
and create .kml files for mapping georeferenced
measurements. SoilFluxPro is an essential part of
the LI-8100A system.
Get it from http://www.licor.-
com/env/products/soil_flux/softw are.html.
 Loading...