

Page 1

6. Operating Manual
LG-RD8000
User Guide
CDMA PHONE
Page 2

Contents
Introduction
Highlights
Important Information
Check Accessories
Before You Start
FCC RF EXPOSURE INFORMATION
Chapter 1. Getting Started
Cautions
Phone Overview
On screen Icons
Chapter 2. Basic Functions
Turning the Phone On and Off
Making a Call
Correcting Dialing Mistakes
Receiving Calls
Emergency Dialing
Speed Dialing
Phone Book Features
Chapter 3. Menu Features
General Guidelines to MENU Access and Settings
Messages
Contacts
My Stuff
R World
Multimedia
Organizer
Settings
Tools
Chapter 4. Book Features
Contacts
Chapter 5. Message Features
Write Message
Inbox
1234 Services
Reserved Message
Archive In UIM
Outbox
Drafts
Voice Mail
Templates
Delete Messages
Message Settings
Chapter 6. Functions used during a call
Send my number
Search contact
Add new contact
Search scheduler
Mute
DTMF
Voice Privacy
Page 3
Chapter 7. Accessories
Chapter 1. Getting Started
Cautions
z Using the phone in proximity to receiving equipment (i.e., TV or radio) may cause
interference.
z Keep your phone in a safe place when not in use.
z Only use the batteries, antennas, and chargers provided by LG. Using the wrong
accessories could void your warranty.
z Only authorized personnel should service the phone and its accessories. Faulty installation
or service may result in accidents and consequently invalidate the warranty.
z Do not hold the antenna while the phone is in use.
z Do not use the phone in designated “no cellular phone use” areas.
z Do not expose the phone to high temperature or humidity.
z Avoid getting your phone wet. If the phone gets wet, turn the power off immediately and
remove the battery pack. If the phone is mal-functional, return it to the dealer for service.
z Avoid shock or impact on the phone.
Phone Overview
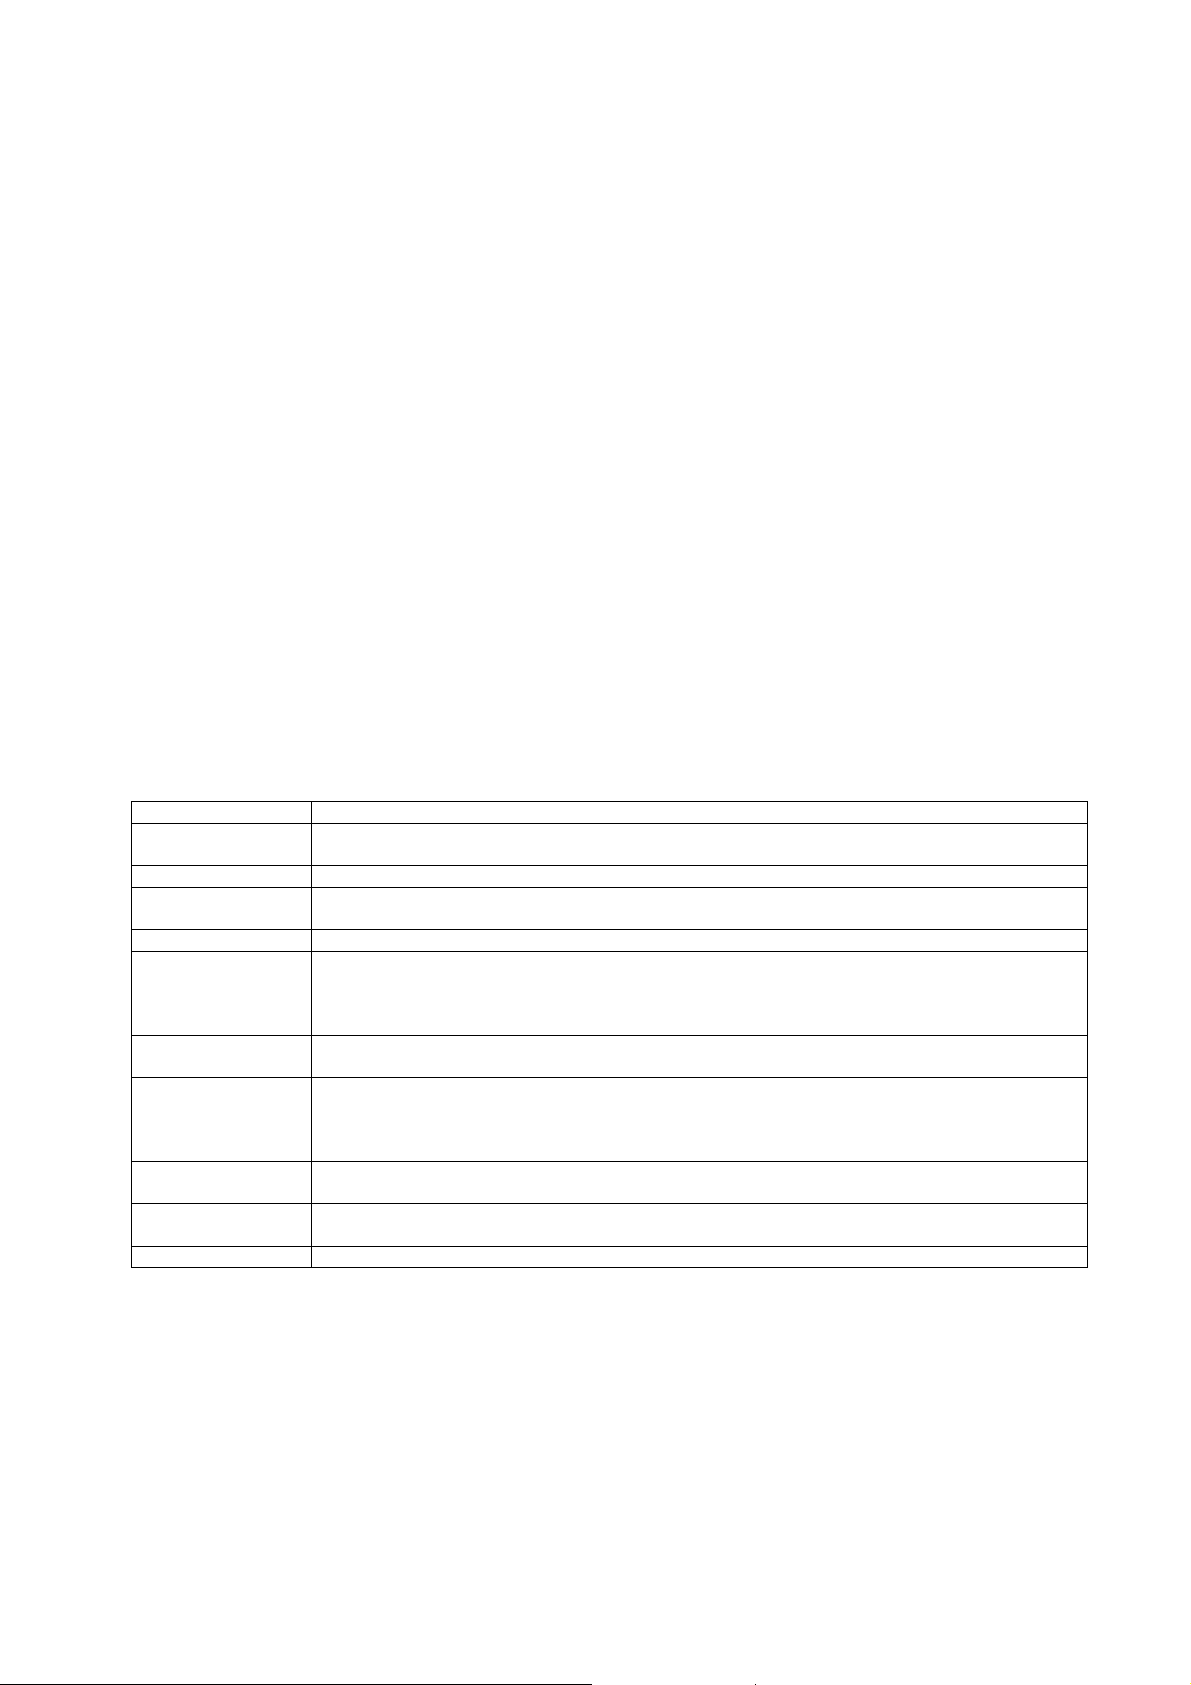
Function Key Descriptions
Lamp
LCD screen Displays messages & indicator icons.
END/PWR
SEND Allows user to place or answer calls.
Mouse Key
Alphanumeric
Keypad
Soft Keys
OK Key
Star/Pound Key
Clear Key This key enables you to move previous menu or delete on a character in editor
The light goes on when you use the power key to turn on the phone and when ther e are
incoming calls and messages.
Used to turn power on/off. This key disconnects a call. Using this key, you can also exit out of
a menu back to the phone’s standby display without changing the setting.
This mouse key allows quick access to text and voice mail notification messages. Profiles, RWorld, and RingTone menu.
And these keys are used to scroll through the memory locations and menu items.
These keys enable you to enter numbers and characters and choose menu items.
The current operation of a soft key is defined by the word at the bottom of the display.
Soft Keys 2 :
If you press this key once in a menu, you can go back one level and if you press and hold the
key in a menu, you can go back to the standby display.
This key enables you to choose one item in the menu list.
If you press this key in idle, mobile will show you the ‘My menu’ selection window.
- In the standby status, set the manner mode by pressing the [ * ]button. (for 2 seconds)
- In the standby status, set the lock function by pressing the [ # ]button. (for 2 seconds)
Page 4
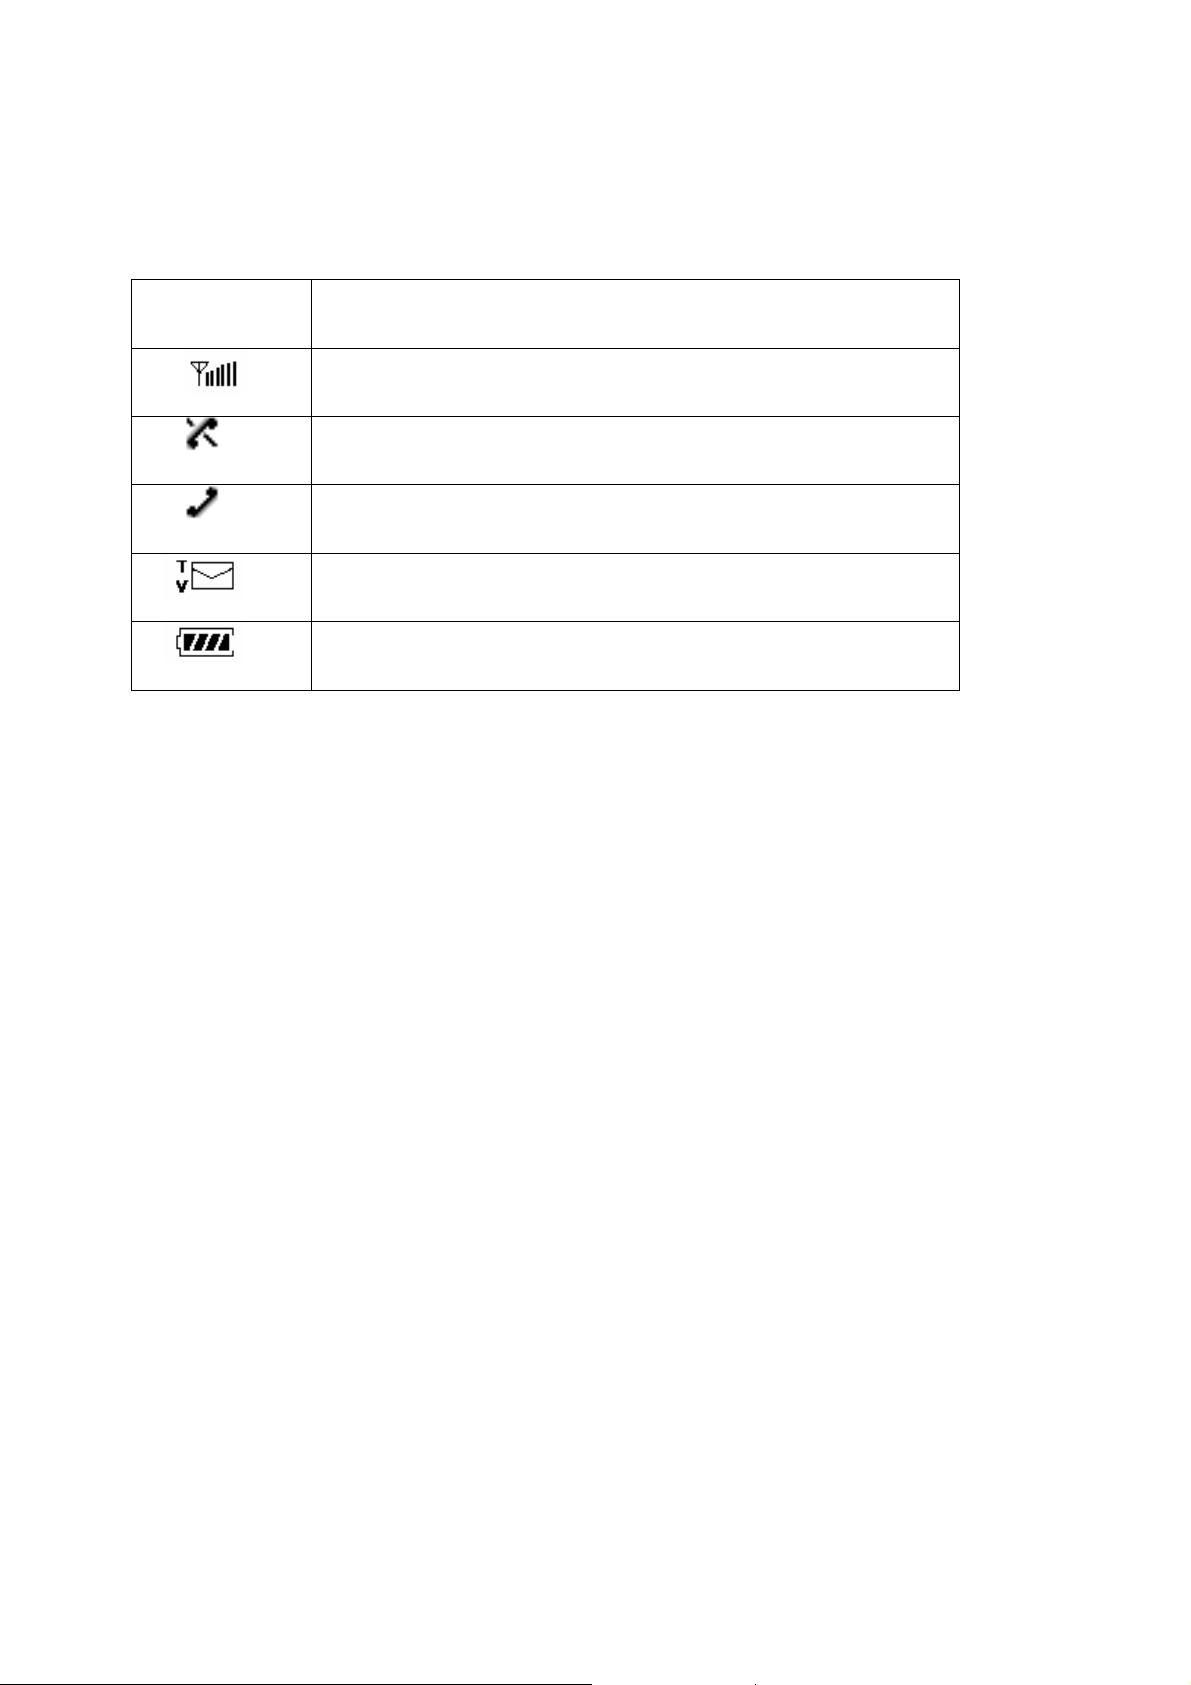
On screen Icons
The phone screen displays several onscreen icons and onscreen icons appears when the phone is
power on.
Icons Descriptions
Displays the strength of the signal received by the phone and current signal
strength is indicated as the number of bars displayed on the screen.
No service
The phone is not receiving a system signal.
In use
A call is in progress.
No icon indicates the phone is in standby mode.
Indicates that a text message or voice mail has been received
Charge level
Indicates battery charge level.
D
Chapter 2. Basic Functions
Turning the Phone On and Off
Turning the Phone On
1. Install a charged battery pack or connect the phone to an external power source such as the
cigarette lighter adapter or car kit.
2. Press [END/PWR] for a few seconds until the red light on the top of the phone flashes.
z Fully extend the antenna for the best performance.
<Note> Like any other radio device, avoid any unnecessary contact with the antenna while your
phone is on.
Turning the Phone Off
1. Press and hold until display screen will be turned off, and then release the key.
2. Protect the antenna by pushing it back into the phone, if extended.
Making a Call
When you make a call, follow these simple steps:
1. Make sure the phone is turned on.
z If not, press [END/PWR].
2. Enter the phone number with area code, if needed.
3. Press [SEND].
z If the phone is locked, enter the lock code.
Page 5

z “Call Failed” indicates that the call did not go through.
4. Press [END/PWR] to disconnect the call.
Correcting Dialing Mistakes
If you make mistakes in dialing a number, press [CLR] key once to erase the last entered digit or
hold down [CLR] for at least two second to delete all digits, or simply press soft key 2 [BACK] to
exit dialing state.
Receiving Calls
1. When the phone rings, open cellcase or If cellcase is open, press any key (except [END/PWR],
[5][6], [3((]) to answer.
z If you press the key [END/PWR], Side Keys ([(][(]) once when you receive a call, you can hold the
present call and ring sound or vibration stops. If you press the [END/PWR] key, Side Keys ([(][(])
twice, the present call is terminated.
2. Press [END/PWR] to disconnect the call.
In call waiting mode, the present call is on hold as you answer another incoming call.
This service is provided by your service provider.
When the call waiting function is activated, your phone will beep to let you know if you have an
incoming call. Your phone may also display the incoming caller’s identification.
Dialing a call from Phone Book
You can place a call from any memory location either by speed dialing or by pressing [SEND] while
looking up the memory location.
One-Touch Dialing : One-touch dialing is a convenient feature which enables you to dial
frequently used numbers in your speed-dial data by pressing a key .
z Entry 9 is designated to Emergency Call.
z For locations 1 to 8, you can use one-touch dialing (if enabled, see “One-Touch” on page
9.) by pressing and holding down the key corresponding to the memory location.
OR
z Press digit, then press [SEND].
Two-Touch Dialing (Speed Dialing) : This dialing feature enables you to dial numbers in your
phone book through two keys (for locations 10 to 99).
1) Press the first digit.
2) Press and hold the key of the second digit.
OR
1) Press the first and second digits, then press [SEND].
Dialing from a Memory List
1) From a memory list, press the scroll keys to go to the memory location you want.
2) Press [SEND].
Dialing from a Memory Location.
On viewing and checking the memory location to call, press [SEND].
Page 6

Chapter 3. Menu Features
General Guidelines to MENU Access and Settings
1. Press Soft Key 1 [Menu]. The animation of menu category will appear on the display screen.
2. Press Soft key 1 [Ok]. The menu items will appear on the display screen.
3. Press[v] to go through the list of menu features, or use the side keys.
4. Press the corresponding number to the menu item that you want to select. Then the sub-menu
list will appear on the screen.
5. Press the appropriate key to select the sub-menu you want to access.
6. Select preferred settings, using the [v] keys. Press Soft Key 2 [Back] to go one step backward
while accessing menu or selecting settings.
7. Press Soft Key 1 [Ok] to save the settings or Soft Key 2 [Back] to cancel without saving.
Messages ([Menu]+[1])
see “Message Feature” on page 12.
Contacts ([Menu]+[2])
see “Book Feature” on page 10.
Call Manager ([Menu]+[3])
Allows you to view the 30 most recently dialed phone numbers. Once you exceed the 30-number storage
limit, the oldest call history record is overwritten. These calls are divided into 4 types of calls
Call History([Menu]+[3] +[1])
Dialled Calls ([Menu]+[3]+ [1+ [1]])
Allows you to view list of all outgoing calls you made and you may place a call by pressing the
[Send].
Received Calls([Menu]+[3]+ [1] + [2])
Allows you to view list of all incoming calls and you may place a call by pressing [Send].
Missed Calls([Menu]+[3]+ [1] + [3])
Allows you to view list of all incoming calls and you may place a call by pressing [Send].
Numeric Memos ([Menu]+[3]+ [1] + [4])
Allows you to view memo saved in use meno
Entire History ([Menu]+[3]+ [1] + [5])
Allows you to view list of all calls
Delete History ([Menu]+[3]+ [1] + [6])
Allows you to erase call infomations(missed, received, dialed, data calls)
Page 7

Call Duration ([Menu]+[3]+ [2])
1. All calls - Displays the time of all calls made
2. Dialed call - Displays the time of dialed call made
3. Sent message – Display the number of sent messages
Call Forward ([Menu]+[3]+ [3])
LCD will display follow sub menu list
1 All Voice Calls : Enable / Disable
2 If Busy: Enable / Disable
3 If Not Answered. Enable / Disable
4 Busy/Not Answered : Enable / Disable
Call Waiting ([Menu]+[3]+ [4])
Set Call Waiting options Enable / Disable
Call Reject ([Menu]+[3]+ [5])
LCD will display follow sub menu list
1 Rejected numbers
2.Rejected groups
Call Settings ([Menu]+[3]+ [6])
1. Answer mode ( [Menu]+[3]+[6]+[1] )
If Incomming call, enabled to call pressing any key or slide open or press send key.
2. Call Connect Alert ( [Menu]+[3]+[6]+[2] )
When this menu selected option ON and some times later phone connected call, that time
phone beep the alert sound.
3. Out of service tone ( [Menu]+[3]+[6]+[3] )
Enable/disable
4. 1 minute alert tone ( [Menu]+[3]+[6]+[4] )
Enable/disable
Every one minute there is beep sound during a call
5. Voice privacy ( [Menu]+[3]+[6]+[5] )
Set the voice privacy feature for CDMA calls as “Standard” or “Enhanced”: CDMA offers
inherent voice privacy. Check with your service provider for availability of the enhanced
voice privacy mode
Page 8

My stuff ([Menu]+[4])
Allows to save user data or downloaded data and also show the default images and ringtones.
. R World ( [Menu]+[5])
R-Menu ( [Menu]+[5]+[1] )
Movies N music( [Menu]+[5]+[2] )
Play N shop ( [Menu]+[5]+[3] )
Dial 1234( [Menu]+[5]+[4] )
Reset R-World ( [Menu]+[5]+[5] )
UIM toolkit ( [Menu]+[5]+[6] )
Multimedia ([Menu]+[6])
There are some multimedia utils
Camera ( [Menu]+[6]+[1] )
MP3 ( [Menu]+[6]+[2] )
Voice recorder ( [Menu]+[6]+[3] )
Game( [Menu]+[6]+[4] )
Organizer ([Menu]+[7])
There are Organizer utils.
Scheduler ( [Menu]+[7]+[1] )
To Do ( [Menu]+[7]+[2] )
Anniversary ( [Menu]+[7]+[3] )
Memo ( [Menu]+[7]+[4] )
Date counter ( [Menu]+[7]+[5] )
D-day finder ( [Menu]+[7]+[6] )
Settings ([Menu]+[8])
Sound ([Menu]+[8] +[1]))
Allows you to set vibration, volume and alert types refer to sound.
Tones ([Menu]+[8]+ [1] + [1]))
Select the ringtones
Effect Tones ([Menu]+[8]+ [1] + [2]))
Select the Effect tones (key, slide, shutter, message.)
Page 9

Alerts ([Menu]+[8]+ [1] + [3]))
Select the alert tone (call, msg alert.. )
Volume ([Menu]+[8]+ [1] + [4]))
Select the tone’s volume ( ringtone, keytone, slide tone, shutter tone, earpiece, alarm
window,
Menu sound effect, power on/off, game, voice guide )
DTMF ([Menu]+[8]+ [1] + [5]))
Select Shot Keytone, Long keytone
Display ( [Menu]+ [8] + [2] )
1. Main screen ( [Menu]+[8]+[2]+[1] )
You can set up the screen displayed on the LCD screen in the standby mode.
2. Clock ( [Menu]+[8]+[2]+[2] )
You can determine that clock display or not in standby and time, date type if clock
display.
3 Banner ( [Menu]+[8]+[2]+[3] )
You can input the bannaer on the LCD screen
4. Menu Style ( [Menu]+[8]+[2]+[4] )
Grid : LCD will display animation menu and you can select menu with [34] key.
Arch : LCD will display listed menu and you can select menu with [5] [6] or [v] key.
5. Dialing font ( [Menu]+[8]+[2]+[5])
You can change the dialing font’s color size and font style.
6. Backlight ( [Menu]+[8]+[2]+[6])
Allows you to select how long or when the display screen and keypad are backlit. The
backlight is turned off 10 seconds/20 seconds/30 seconds/1min after the last key is pushed.
Power save ( [Menu]+ [8] + [3] )
Eable/ disable
You can save power using this option.
Page 10

Security ( [Menu]+ [8]+[4] )
1. PIN code request ( [Menu]+[8]+[4]+[1] )
2. Change PIN code ( [Menu]+[8]+[4]+[2] )
To enter 3 emergency numbers ([Edit] → enter → number → [Save] → [v] → ). You can call
these numbers and 911 even when the phone is locked or restricted.
3. Lock Phone ( [Menu]+[8]+[4]+[3] )
Helps you to protect your phone from unauthorized use and once the phone is locked, the
phone is restricted from making calls until the lock code is entered.
However you can still receive phone calls and make emergency calls while your phone is
locked. “Never” means that the phone is never locked (Lock mode can be used). When locked,
you can only make emergency calls or receive incoming calls. “On power up” means that
locked the phone when the phone is turned on. “Always” means that the phone is always
locked.
4. Keypad Lock ( [Menu]+[8]+[4]+[4] )
5. Lock outgoing ( [Menu]+[8]+[4]+[5] )
6. Lock R-World( [Menu]+[8]+[4]+[6] )
7. Lock contacts ( [Menu]+[8]+[4]+[7] )
8. Lock Message( [Menu]+[8]+[4]+[8] )
9. Lock call history( [Menu]+[8]+[4]+[9] )
0. Emergency numbers ( [Menu]+[8]+[4]+[0] )
To enter 3 emergency numbers ([Edit] → enter → number → [Save] → [v] → ). You can call
these numbers and 911 even when the phone is locked or restricted.
* Change lock code ( [Menu]+[8]+[4]+[*] )
New Lock Code allows you to enter a new four-digit lock code number. For confirmation, it will
ask you to enter the new lock code twice. This is the same number as the pin code.
# Hints on lock code( [Menu]+[8]+[4]+[#] )
Flight mode ( [Menu]+ [8]+[5] )
Memory status ( [Menu]+ [8]+[6] )
Page 11

My phone number ( [Menu]+ [8]+[7] )
Line speed ( [Menu]+ [8]+[8] )
Version information ( [Menu]+ [8]+[9] )
Data/fax ( [Menu]+ [8]+[0] )
Tools ([Menu]+[9])
Remider ( [Menu]+[
Alarm ( [Menu]+[
9]+[1] )
9]+[2] )
Calculator ( [Menu]+[ 9]+[3] )
Unit Coverter ( [Menu]+[ 9]+[4] )
Stopwatch ( [Menu]+[
World time( [Menu]+[ 9]+[6] )
9]+[5] )
Bluetooth ( [Menu]+[ 9]+[7] )
Page 12

Chapter 4. Book Features
Contacts ([Menu]+[2])
Add new ([Menu]+[2]+[1])
1. Press Soft Key [Menu]
2. Press [2]
3. Press [1]
4. Enter the phone number you want to add.
5. Select number’s destination (Home, Office, Mobile and Other)
6. Enter name
7. Press okey Key [Save]
Search ([Menu]+[2]+[2])
1. Press Soft Key [Menu]
2. Press [2]
3. Press [2]
4. Enter the name you want to find.
5. You can go another find menu using with [v]]
Groups settings([Menu]+[2]+[3])
In this menu, you can view group members, and set ring tone, edit group’s title.
1. Press Soft Key [Menu]
2. Press [2]
3. Press [3]
4. Select group you wand with [v] key.
5. Press Okey to edit.
6. you can change gourp name, group ringtone and message tone
Groups manager([Menu]+[2]+[4])
In this menu, you can assign group members.
1 Press Soft Key 1 [Menu]
2.Press [2]
3.Press [4]
4.Select group you wand with [v] key.
5.Press Okey Key
6. Press Add key if there are saved phonebook data and you can choose the group member
Speed dial ([Menu]+[2]+[5])
1. Press Soft Key 1 [Menu]
2. Press [2]
3. Press [5]
4. Press add key and select auto
7. LCD will display all speed dial address, and you can select a address with [v] key.
5. If a address you selected is empty, you can select one of 3 option(Assign,Next empty and
Remove all) with Soft Key 1 [Option].
6. In Assign menu, you can add name in speed dial
7. In Next empty menu, you can go next empty address
8. In Remove all menu, you can erase all address assigned in speed dial.
Page 13

9. If a address you selected is assigned, you can select one of 4 option(Assign, Next empty,
Remove and Remove all) with Soft Key 1 [Option].
10. In Assign menu, you can replace another name saved in phonebook data.
11. In Remove menu, you can erase name selected.
12. In Remove all menu, you can erase all address assigned in speed dial.
COPY ([Menu]+[2]+ [6])
COPY phonebook data phone to UIM or UIM to phonebook
Capacity ([Menu]+[2]+ [7])
Display the capacity about phonebook ( phone and UIM.)
Delete contacts ([Menu]+[2]+ [8])
Delete the contacts.
Chapter 5. Message Features
Text message, page and voice mailbox become available as soon as the power is on. You can
access the above types of messages pressing the message key ([5]) long. In addition, you can
make a call to the call back number by pressing the [Send] during a message check.
The phone can store up to 201 messages (Voice message : 1, Text messages 200) with 140
characters per message. However, you should check whether your carrier provides the above
features.
The information that is stored on the message is determined by phone mode and service capability.
You can check types of messages by pressing the message key ([5]).
Massage Service
This service supports reception of the text message, alerting, and the voice mailbox. It is
possible to access the above functions with the text message key .
It is possible to store up to total 201(new+old+voice) messages. It is recommended to check
the number of character receivable because the capacity depends on the system service
provider.
<Type of Menu>
- Write message: Menu to send message.
- Inbox : Menu to check a new incoming, stored text message
- 1234 Services : Exciting SMS-based infotainment services.
- Reserved message : After setting reserved time and send message
Page 14

- Archive : Saved message in Inbox
- Outbox : Menu to check the message user have sent and was saved.
- Drafts : Saved message in Write message
- Voice Mail : Menu to check the number of voice messages in the voice mailbox
- Templates : Predefined Messages by user.
- Delete Msgs : Menu to erase all the stored messages
- Msg Settings : Menu to set the SMS priority or Delivery ack and so on.
- Move the cursor with the upside and downside keys [v], and press Okey Key [Select] for
the menu requested. Press Soft Key 2 [Back] to return to the initial image on the terminal.
1. Write Message ( [5]+[1])
A. Press [ok]
B. Enter Message and press OK
C. Enter Phone Number. If you want to send to number saved in book, press[Search]
2. Inbox ([5]+[2])
A. Press [ok]
B. Press [view] : you can view the received message
C. You can choose below function using soft 1 key [option]
• Forward : Forward received msg
• Copy text :
• Save number : : Save the number to the phonebook.
• Extract
• To archive
3. 1234 Services ([5]+[3])
1. News
2. Cricket
3. Joke of the Day
4.
Thought of the Day
5. Contest
6. Beauty Tips
7. Health
8. Horoscope
9. Bill Info
10. Unbilled Info
11. Help
Page 15

4. Reserved message ([5]+[4])
A. Press [1] : New reserved msg
B. Setting Date and time and ok
C ->Enter Message and press OK
D. Enter Phone Number. If you want to send to number saved in book, press[Search]
5. Archive in UIM ([5]+[5])
A . Press [ok]
B Press [view] : you can view the saved message in UIM
C You can choose below function using soft 1 key [option]
• Forward : Forward received msg
• Copy text :
• Save number : : Save the number to the phonebook.
• Extract
• To archive
6. Outbox ([5]+[6])
A . Press [ok]
B Press [view] : you can view the outbox message
C You can choose below function using soft 1 key [option]
• Forward : Forward received msg
• Copy text :
• Save number : : Save the number to the phonebook.
• Extract
• To archive
7. Draft ([5]+[7])
A . Press [ok]
B Press [view] : you can view the draft message
C You can choose below function using soft 1 key [option]
• Forward : Forward received msg
• Copy text :
•
Save number : : Save the number to the phonebook.
• Extract
• To archive
8. Voice Mail ([5]+[8])
1) Press [ok]
Page 16

9. Templates ([5]+[9])
1) Press [OK]
2) Press [Forwad]
3) Add string
4) From this state the same with Write Message
10. Delete Message ([5]+[0])
1) Press [ok]
2) Choose the deleting type ( all in box, all outbox, all archive load )
3) Press [ok]
11.Msg Settings ([5]+[*])
1) Press [ok]
2) Choose menu item, Press [Select]
• Priority : You can select Priority (Normal/Hurry/Urgent)
• message save : You can select repeat alert (Enable/Disable)
• Delivery report : You can select Delivery ack (Enable/Disable
• Vmail alert
• Text color
• Background
• Message display ( Only arrived/ All contents )
==========================================
이부분도 수정
==========================================
<SMS SERVICE PROGRAM>
####->[6. SMS MO]
Select <SMS MO >
1. SO : Select 8K or 13K
2. L3ACK : Select ON/OFF
Page 17

Chapter 6. Functions used during a call
Send my number (During a call : [option]+[1] )
Send my n u mber with dtmf tone
Search contact (During a call : [option]+[2] )
Add new contact (During a call : [option]+[3] )
Save the number to phonebook during a call
Search scheduler(During a call : [option]+[4] )
Mute / Unmute (During a call : [option]+[5] )
z Sometimes it is necessary to mute a call so that caller does not hear you or certain
background noise.
DTMF (During a call : [option]+[6] )
Set short, long DTMF tone
Voice Privacy (During a call : [option]+[7] )
Set the voice privacy feature for CDMA calls as “Enhanced” or “Standard” :
CDMA offers inherent voice privacy. Check with your service provider for availability of the
enhanced voice privacy mode.
Chapter 7. Accessories
There are a variety of accessories available for the phone. You can select these options according
to your personal communication requirements. Consult your local dealer for availability.
Travel Charger
This charger, model TC-10W, allows you to charge the battery pack. It supports standard U.S.
120Volt 60Hz outlets. While an orange light indicates that it is charging, a green light indicates
charging is complete. It takes 5 hours to charge a completely discharged battery.
Battery (LGLi-AAEM)
Standard battery and Extended battery are available.
Desktop Charger
The desktop charger, model DC-41W, allows you to place the phone for charging the stand. It can
charge a completely discharged battery in 3 hours.
Cigar Lighter Charger
You can operate the phone and trickle charge the phone’s battery from your vehicle by using the
cigarette lighter charger, model CLC-11W. It takes 5 hours to charge a completely discharged
battery.
Hands-Free Car Kit (Portable)
The hands-free car kit, model PHF-30W, enables you to attach the phone to the car providing you
with hands-free operation. It will also charge a completely discharged battery in 5 hours.
Page 18

Hands-Free Car kit(Install)
The installed hands-free car kit model IHF-51W is permanently installed in your car, and provides
you with hands-free operation. It will also charge a completely discharged battery is shows.
Data Cable Kit
Connects your phone to your PC.(Model KW-a)
Headset
Connects to your phone, allowing hands free operation. Includes earpiece, microphone and mute
key.
(Model Headset 1000)
Hand strap AC Adaptor
Page 19

Appendix 1. RF Exposure Statement
WARNING! Read this information before operating the phone.
In August 1996, the Federal Communications (FCC) of the United States, with its action in Report
and Order FCC 96-326, adopted an updated safety standard for human exposure to radio
frequency(RF) electromagnetic energy emitted by FCC regulated transmitters. Those guidelines
are consistent with the safety standard previously set by both U.S. and international standards
bodies.
The design of this phone complies with the FCC guidelines and these international standards.
CAUTION
Use only the supplied and approved antenna. Use of unauthorized antennas or modifications could
impair call quality, damage the phone, void your warranty and/or result in violation of FCC
regulations.
Do not use the phone with a damaged antenna. If a damaged antenna comes into contact with skin,
a minor burn may result. Contact your local dealer for a replacement of antenna.
Body Worn Operation
This device was tested for typical body-worn operations with the back of the phone kept 1.5
cm from the body. To comply with FCC RF exposure requirements, a minimum separation
distance of 1.5 cm must be maintained between the user’s body and the back of the phone,
including the antenna, whether extended or retracted. The use of belt-clips, holsters, and
similar accessories should not containing metallic components in its assembly. The use of
accessories that do not satisfy these requirements may not comply with FCC RF exposure
requirements, and should be avoided.
For Your Safety FCC Part 15 Class B Compliance
This device and its accessories comply with part 15 of FCC rules. Operation is subject to the
following two conditions: (1) This device and its accessories may not cause harmful
interference, and (2) this device and its accessories must accept any interference received,
including interference that may cause undesired operation.
Page 20

Appendix 2. Consumer Information on SAR
(Specific Absorption Rate)
This Model Phone Meets the Government’s Requirements for Exposure to Radio Waves. Your
wireless phone is a radio transmitter and receiver. It is designed and manufactured not to exceed
the emission limits for exposure to radio frequency (RF) energy set by the Federal
Communications Commission of the U.S. Government. These limits are part of comprehensive
guidelines and establish permitted levels of RF energy for the general population. The guidelines
are based on standards that were developed by independent scientific organizations through
periodic and thorough evaluation of scientific studies. The standards include a substantial safety
margin designed to assure the safety of all persons, regardless of age and health.
The exposure standard for wireless mobile phones employs a unit of measurement known as the
Specific Absorption Rate, or SAR. The SAR limit set by the FCC is 1.6 W/kg. Tests for SAR are
conducted using standard operating positions specified by the FCC with the phone transmitting at
its highest certified power level in all tested frequency bands. Although SAR is determined at the
highest certified power level, the actual SAR level of the phone while operating can be well below
the maximum value. Because the phone is designed to operate at multiple power levels to use only
the power required to reach the network, in general, the closer you are to a wireless base station
antenna, the lower the power output.
Before a phone model is available for sale to the public, it must be tested and certified to the FCC
that it does not exceed the limit established by the government-adopted requirement for safe
exposure. The tests are performed in positions and locations (e.g., at the ear and worn on the
body) as required by the FCC for each model.
The highest SAR value for this model phone when tested for use at the ear is 1.32 W/kg and
when worn on the body, as described in this user guide, is 1.26 W/kg (body-worn measurements
differ among phone models, depending upon available accessories and FCC requirements). While
there may be differences between SAR levels of various phones and at various positions, they all
meet the government requirement for safe exposure.
The FCC has granted an Equipment Authorization for this model phone with all reported SAR
levels evaluated as in compliance with the FCC RF emission guidelines. SAR information on this
model phone is on file with the FCC and can be found under the Display Grant section of
http://www.fcc.gov/oet/fccid after searching on FCC ID BEJRD8000.
 Loading...