

LG RC7055AP1Z User Guide

OWNER’S MANUAL
LG HEAT PUMP DRYER
Please read this manual carefully before operating
your dryer and retain it for future reference.
RC7055AP3Z
RC7055AP2Z
RC7055AP1Z
RC7055APZ
P/NO. : MFL67708640
F
Energy
save
eatures
Ultra Big Capacity Drum
The ultra big 7kg capacity drum on this LG dryer allows you to
dry more washing at once, saving time!
Lower Energy Consumption
LG Heat Pump dryers use less energy than conventional dryers due
to an optimized heat exchanger and auto cleaningTMtechnology. This
LG Heat Pump dryer has been designed to save your money.
Reduced Drying Times
Drying times are now shorter due to LG's Hybrid Peating
System and the optimized heat exchanger on this LG dryer.
Reduced Noise Levels
We have reduced the operating noise of this LG dryer by using
innovative sound-absorbing and noise-screening technologies,
making it much quieter than conventional dryers.
C
Ease of Use
The wide, electronically controlled LED display on this machine
is very easy to use. Simply select the cycle you require
and your LG dryer will do the rest.
Smart Diagnosis™ is available.
ontents
Safety Instructions 3
Installation Instructions 6
Appearance & Design 10
Operating Your Dryer 11
Additional Functions 15
Caring for Your Dryer 17
Additional Tips for Smart Use 19
Troubleshooting Guide 22
Technical Data 25
Warranty 26
2
S
afety Instructions
For your safety, the information in this manual must be followed to minimize the risk of fire or
explosion, electric shock, or to prevent property damage, injury to persons or death.
WARNING
• Serious injury or death may occur when not observing the following rules.
• It is strictly forbidden to use the product for anything other than the manufacturer authorized
usage. LG doesn't take full responsibility for the damage by inaccurate and improper use.
• Do not repair or replace any part of the dryer or attempt any servicing unless specifically recommended in the user-maintenance instructions or published user-repair instructions that you
understand and have the skills to carry out.
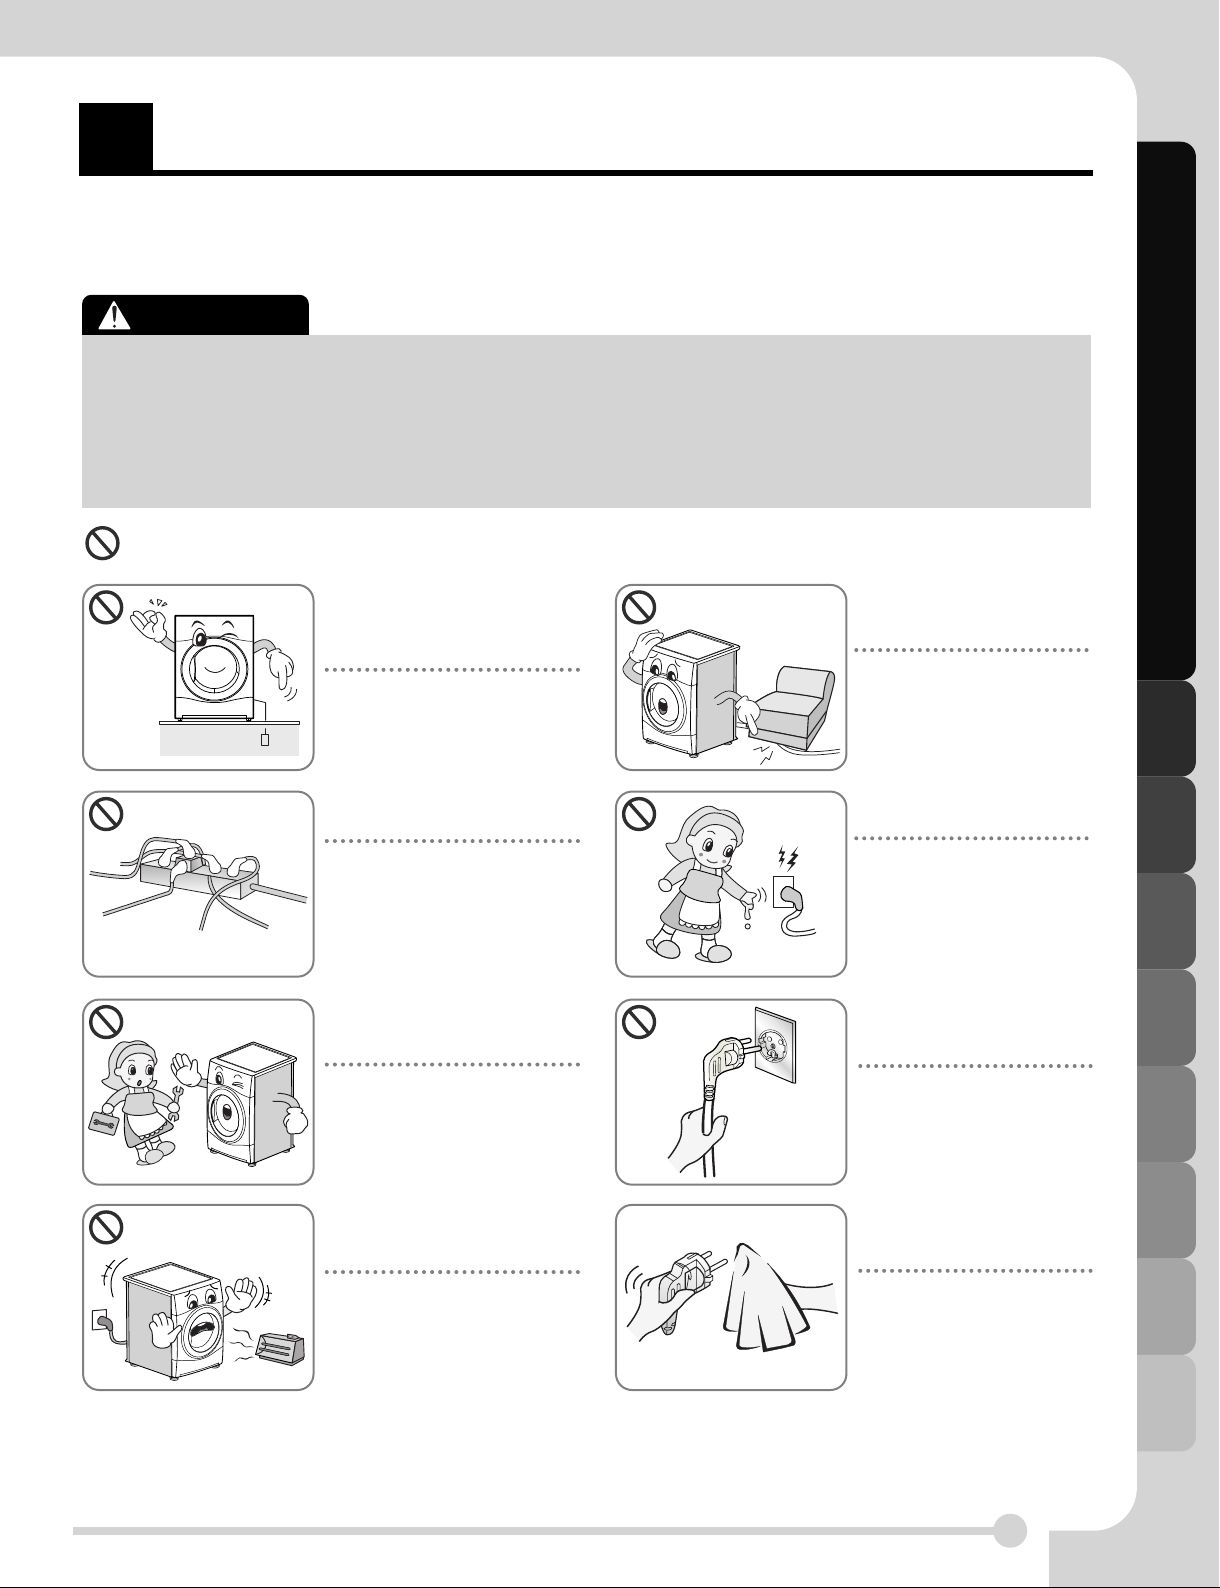
Hazards
Safety Instructions
• Before plugging in the power
cord, make sure the cord is
earthed and connected to a
circuit breaker.
No earthing may cause
breakdowns or an electric
shock.
• Do not plug into an adaptor. Do
not use with an extension lead.
Abnormal heating of outlet
may cause a fire.
• Do not remove the top plate
when installing the dryer.
• Do not modify this product.
May cause breakdown, fire or
electric shock.
• Do not use a damaged power
cord or place heavy objects
on the cord.
A damaged power cord may
cause fire or electric shock.
• Do not touch the plug or
switch with wet hands.
May cause an electric shock.
• Disconnect the power by
grasping the cord, not the
plug.
May cause damage of cord
resulting in fire or electric
shock.
• Keep the dryer away from
cookers, naked flames, or any
other inflammable objects.
May cause fire or parts to melt.
• Wipe dirt and stains from the
power cord and insert the
plug firmly into the socket.
Dirt and poor connections
may cause fire.
3
S
afety Instructions
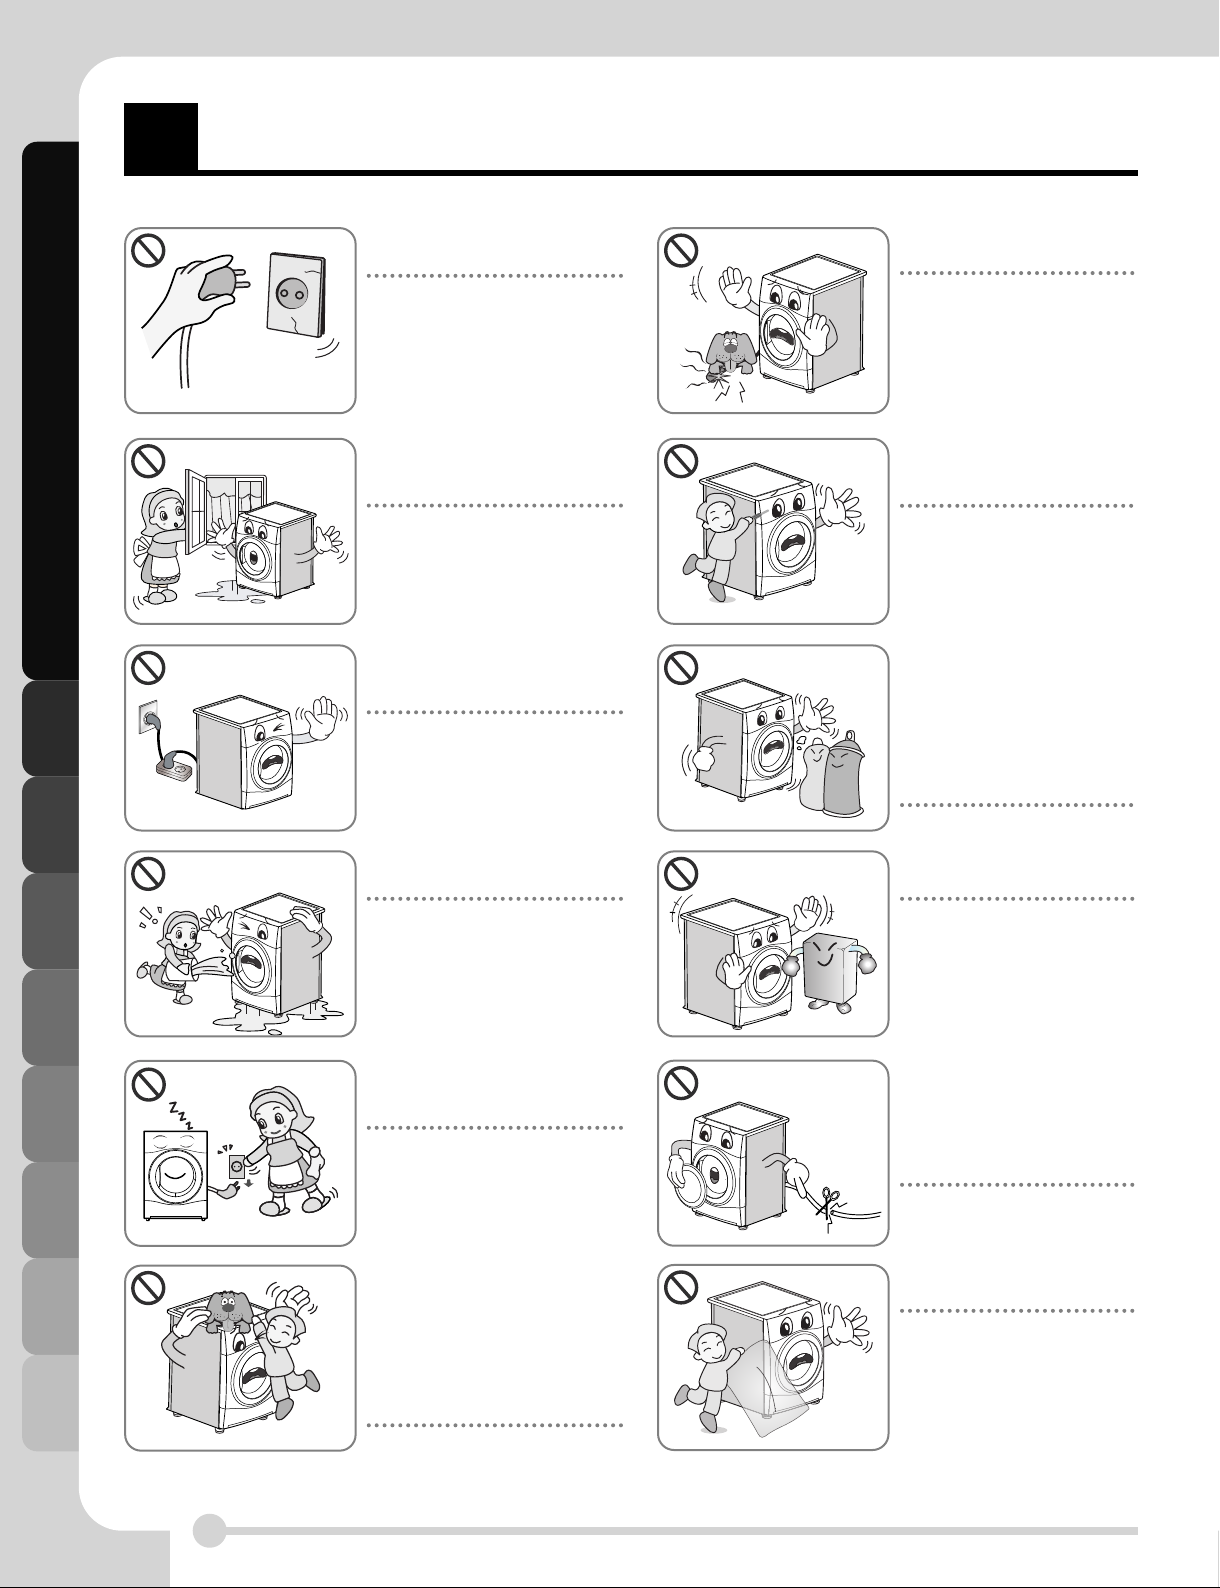
Safety Instructions
• Do not use if power cord,
plug or socket is damaged.
May cause fire or electric
shock.
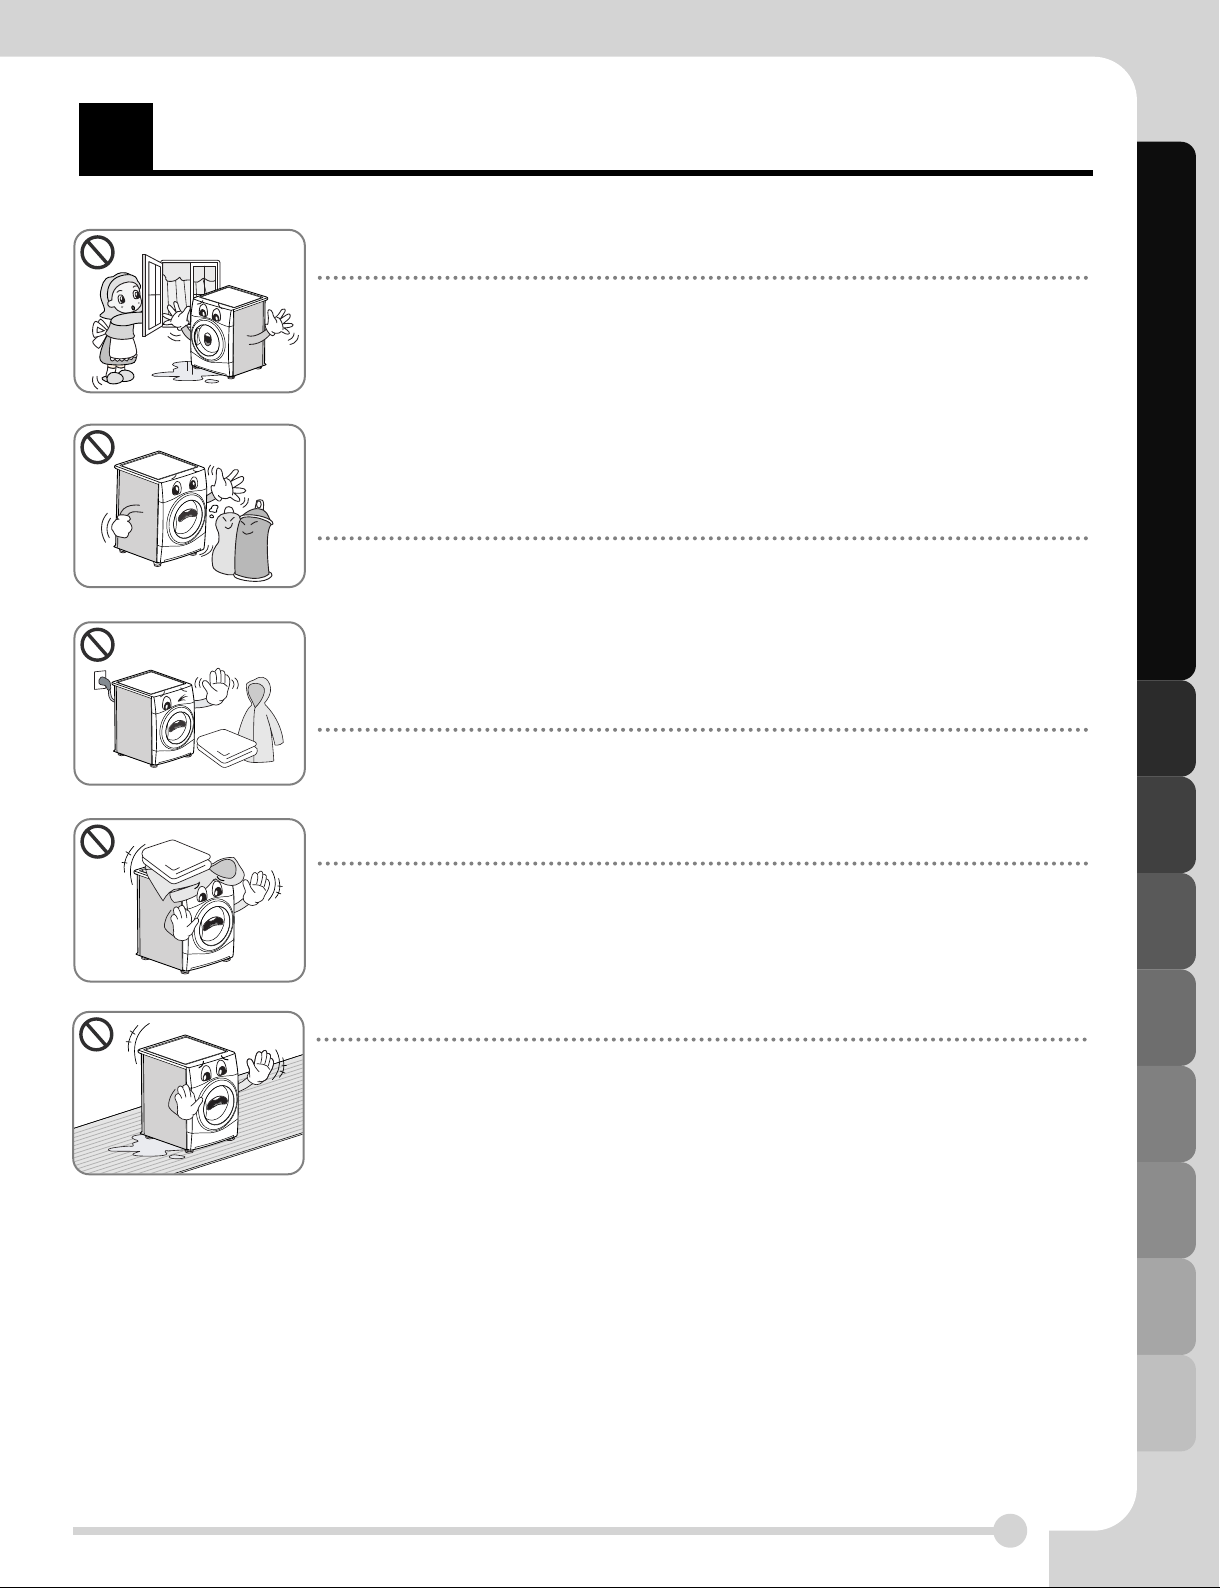
• Do not install or store the
dryer where it will be exposed
to the weather.
May cause fire, electric shock
or malfunction.
• Do not use an extension cord
or an adaptor to connect to
the power.
May cause fire or electric
shock.
• Keep pets away from the
dryer.
Pets may damage the dryer,
or may receive an electric
shock.
• Do not press buttons using
sharp implements such as
knives and screwdrivers.
May damage the dryer or
cause electric shock.
• Do not dry articles that have
been cleaned in, washed in,
soaked in, or spotted with
combustible or explosive
substances (such as wax, oil,
paint, gasoline, degreasers,
dry-cleaning solvents,
kerosene, etc.).
• Do not splash water on to the
dryer.
May cause fire or electric shock.
• Unplug the power cord when
cleaning or not using the
dryer.
Water or dirt may cause an
electric shock.
• Do not allow children or pets to play
on or inside the dryer.
• The appliance is not intended for use
by young children or infirm persons
without supervision.
• Young children should be supervised
to ensure that they do not play with
appliance.
May cause fire or explosion.
• Do not place flammable items
near the dryer.
May cause toxic gases, parts
damage, fire or explosion.
• Before the appliance is
removed from service or
discarded, unplug the
appliance then disassemble
the door and cut off the
power cord to prevent misuse.
May cause accident and
injury.
• The packing bag is not a toy.
Destroy after opening.
To avoid the possibility of
suffocation, keep the packing
bag away from babies and
children.
Children and pets may injure or suffocate themselves.
4
S
afety Instructions
• If this appliance is supplied with power from a cord extension set or an electrical connector,
the portable outlet device must be positioned so that is not subject to damp or splashing.
Safety Instructions
It may cause an electric shock, a fire, malfunction or deformation.
• Items that have been spotted or soaked with vegetable or cooking oil constitute as a fire hazard
and should not be placed in the tumble dryer.
• Items that have been soiled with substances such as cooking oil, acetone, alcohol, petrol,
kerosene, spot removers, turpentine, waxes and wax removers should be washed in hot water with
an extra amount of detergent before being dried in the tumble dryer.
May cause spontaneous combustion leading to explosion and fire.
• Items made of foam, rubber, plastic, or other heat-sensitive fabrics (such as bathroom
rugs, nonslip mats or raincoats) should not be dried in a tumble dryer on a heat setting.
• Items such as foam rubber (latex foam), shower caps, waterproof textiles, rubber backed
articles and clothes or pillows fitted with foam rubber pads should not be dried in the
tumble dryer.
May cause spontaneous combustion leading to explosion and fire.
• Plastic articles such as shower caps or waterproof nappy covers should not be placed
in the tumble dryer.
May cause spontaneous combustion leading to explosion and fire.
• If the tumble dryer is installed on a carpet, it may be damaged due to poor air ventilation.
May cause spontaneous combustion leading to explosion and fire.
• Fabric softeners, or similar products, should be used as specified by the fabric softener
instructions.
• To reduce the risk of injury to persons, adhere to all industry recommended safety procedures
including the use of long sleeved gloves and safety glasses.
Failure to follow all of the safety warnings in this manual could result in property damage,
injury to persons or death.
5
I
The following instructions will guide you through the initial steps of setting up your dryer.
Please note that every section of this manual provides important information regarding the preparation and
use of your dryer, and it is important that you review this entire manual before proceeding with any
installation or use. Be sure to observe all listed warnings and cautions. These installation instructions are
intended for use by qualified installers. Read these installation instructions completely and carefully.
nstallation Instructions
Safety Information
Risk of Injury
The dryer is very heavy so you shouldn’t try to
lift it alone.
Do not lift the dryer by grasping any of the
protruding parts, e.g. the jog dial or the door,
they may break off.
Risk of Falling or Tripping Up
Installation Instructions
Ensure there are no loose hoses or cables.
Check the dryer for damage occurred
during transportation.
Do not connect the dryer if it has visible signs of
damage.
If you are not confident, contact your local LG
agent. Always empty the dryer completely
before transporting it.
Stacking Installation Instructions
Your LG dryer can be placed on top of a front loading washing machine and securely fixed with a stacking
kit (see following page for instructions). This installation must be conducted by an experienced installer to
ensure it has been installed correctly.
An installer will ensure you have the correct stacking kit for your model of washing machine and will
ensure it is firmly fixed. For these reasons, expert fitting is essential.
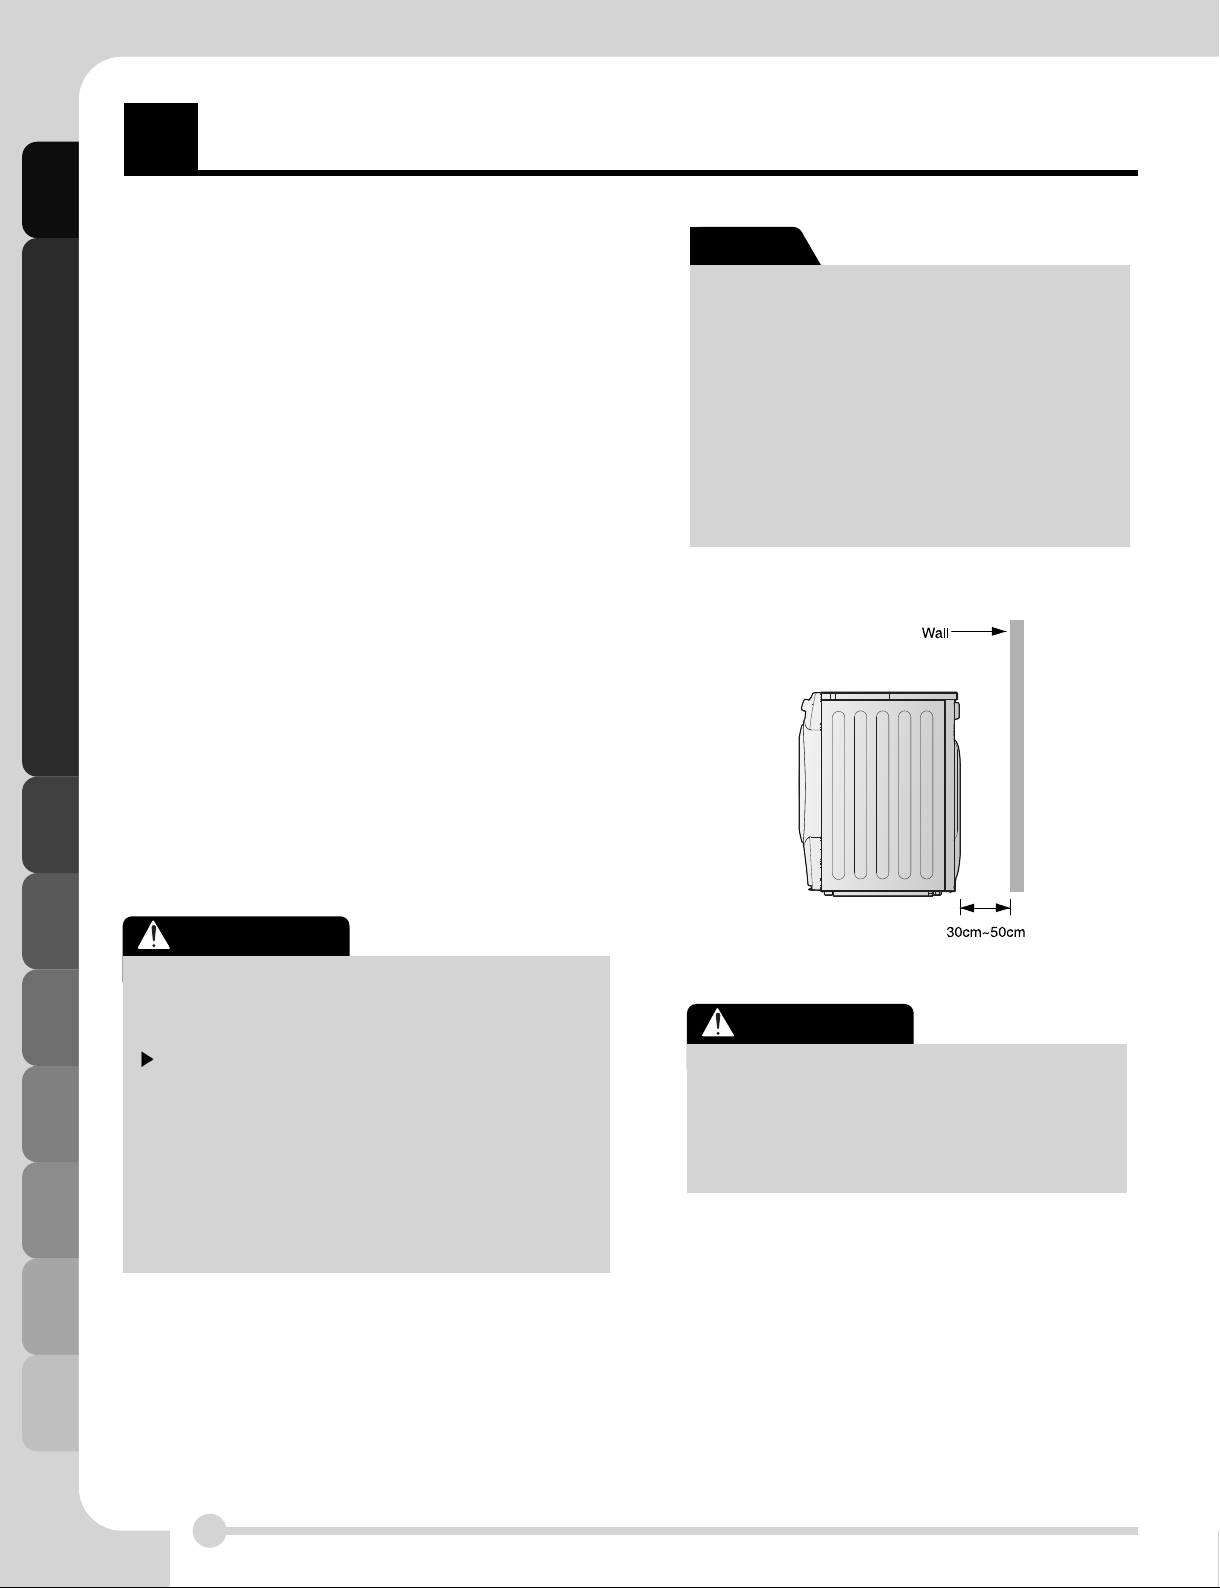
Your dryer should not be located near to a gas
hob, cooker, heater or grill, as flames from the
burners could damage your dryer. When the dryer
is fitted beneath a work surface, allow
30cm~50cm space at either side of the dryer and
at the back of the dryer to allow air to exit the rear
grille. This air flow is critical for condensation of
water during the drying process.
If you use this dryer near or stacked on top of
your washing machine, separate main plugs and
sockets must be used for each appliance.
Do not use 2-way adaptor or extension lead.
You can stack the dryer on top your washing
machine to save space. A stacking kit is available
from your local appliance specialist.
CAUTION
CAUTION Concerning the power cord
Most appliances recommend they be placed upon a dedicated circuit; that is, a single outlet circuit which
powers only that appliance and has no additional outlets or branch circuits. Check the specification page of
this owner's manual to be certain.
Do not overload wall outlets. Overloaded wall outlets, loose or damaged wall outlets, extension cords, frayed
power cords, or damaged or cracked wire insulations are dangerous. Any of these could result in and electric
shock or fire. Periodically examine the cord of your appliance, and if its appearance indicates damage or
deterioration, unplug it, discontinue use of the appliance, and have the cord replaced with an exact
replacement part by an authorized servicer.
Protect the power cord from physical or mechanical abuse, such as being twisted, kinked, trapped in a door,
or walked upon. Pay particular attention to plugs, wall outlets, and the point where the cord exits the appliance.
6
I
nstallation Instructions
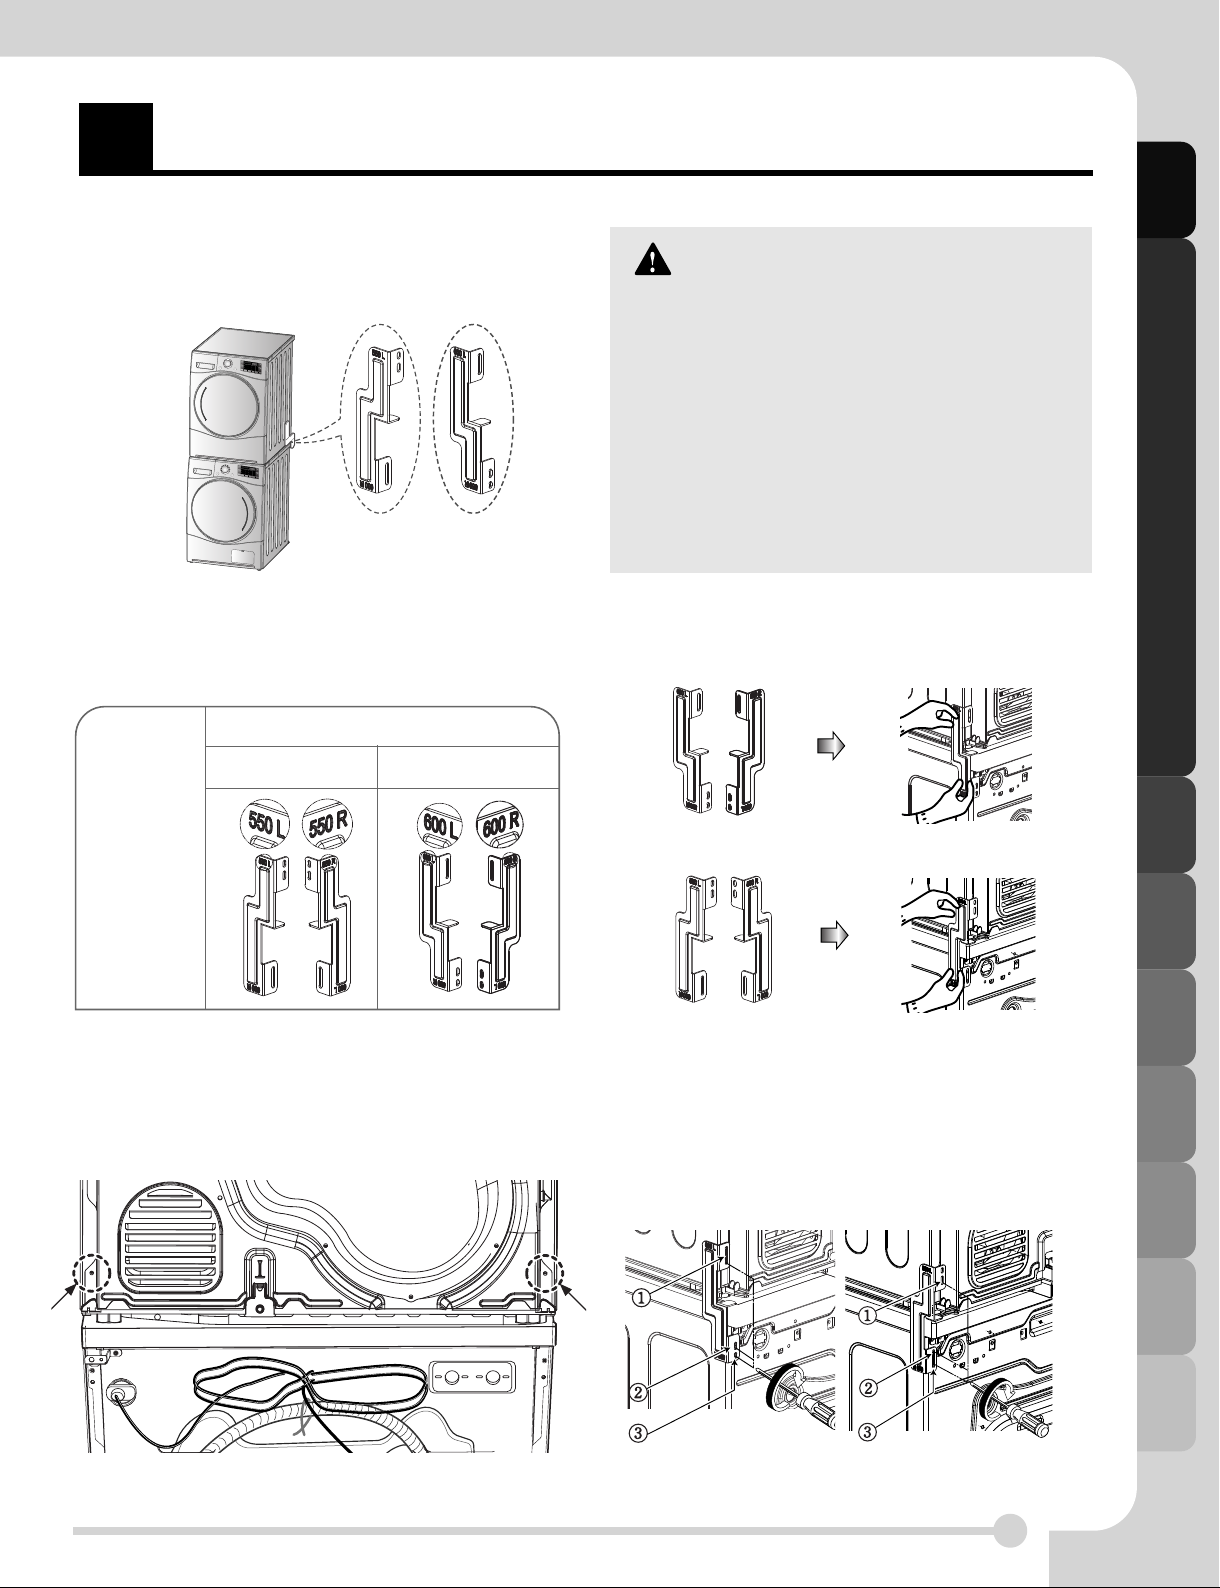
Stacking Kit
In order to stack this dryer an LG stacking kit is
required.
Dryer
Washer
WARNING
• Incorrect installation can cause serious
accidents.
• The weight of the dryer and the height of
installation makes the stacking procedure
too risky for one person. This procedure
should be performed by 2 or more experienced service personnel.
• The dryer is not suitable for a built-in installation. Please do not install as a built-in
appliance.
• Do not operate if the dryer is disassembled.
Installation Instructions
This dryer may only be stacked on top of an LG washer. DO NOT attempt to stack this dryer on any other
washer, as damage, injury or property damage could
result.
Washer Top plate size
21.7 inch
(550mm)
23.6 inch
(600mm)
Shape
and
assembly
direction
Installation Procedure
1. Place the LG dryer on the LG washing machine.
2. Remove the two screws from the bottom of the
rear cover on each side as illustrated below.
3. Align the stacking kit holes and the rear cover
holes.
3-1) 23.6 inch(600mm)
3-2) 21.7 inch(550mm)
• Fasten the 2 screws that were removed earlier
from dryer to stacking kit.
• Use 4 screws in accessory box [0.6inch(16mm)]
to assemble washer rear cover and stacking kit.
• The procedure for the opposite side will be the
same.
7
I
nstallation Instructions
Earthing Instructions
This appliance must be earthed. In the event of
malfunction or breakdown, earthing will reduce
the risk of electric shock by providing a path of
least resistance for the electric current.
This appliance is equipped with a earthed cord
and an earthing plug. The plug must be plugged
into an appropriate outlet that is properly
installed and earthed in accordance with local
Standards.
Additional Grounding Procedure
Some countries may require a separate ground. In
Installation Instructions
such cases, the required accessory ground wire,
clamp and screw must be purchased
separately.
Condensed Water Drain
This appliance can be plumbed directly into
the mains waste with the adaptor supplied.
Condensed water will drain away. A plumber
will be required.
Note
- The damper in the door lock assembly
and the packing for the rack assembly in
the drum should be removed before use.
- For better drying performance, please
keep the rear of product away from wall.
- Do not install the dryer where there is a
risk of frost or dust.
• The tumbles dryer may not be able to
operate properly or may be damaged by
freezing of condensed water in the
pump and drain hose.
WARNING
The dryer should not be installed next to a
refrigeration appliance.
Do not install the Heat Pump dryer next to
the high-temperature appliance like
refrigerator, oven or stove etc.
which can cause poor drying performance
and programme duration, and adversely
affect the proper functioning of the compressor.
The Heat Pump dryer performs best at a
room temperature of 23°
WARNING
Avoid installing the product around a heat
source.
The rear side of the dryer must be well
ventilated.
If not, this may cause problems.
8
I
nstallation Instructions
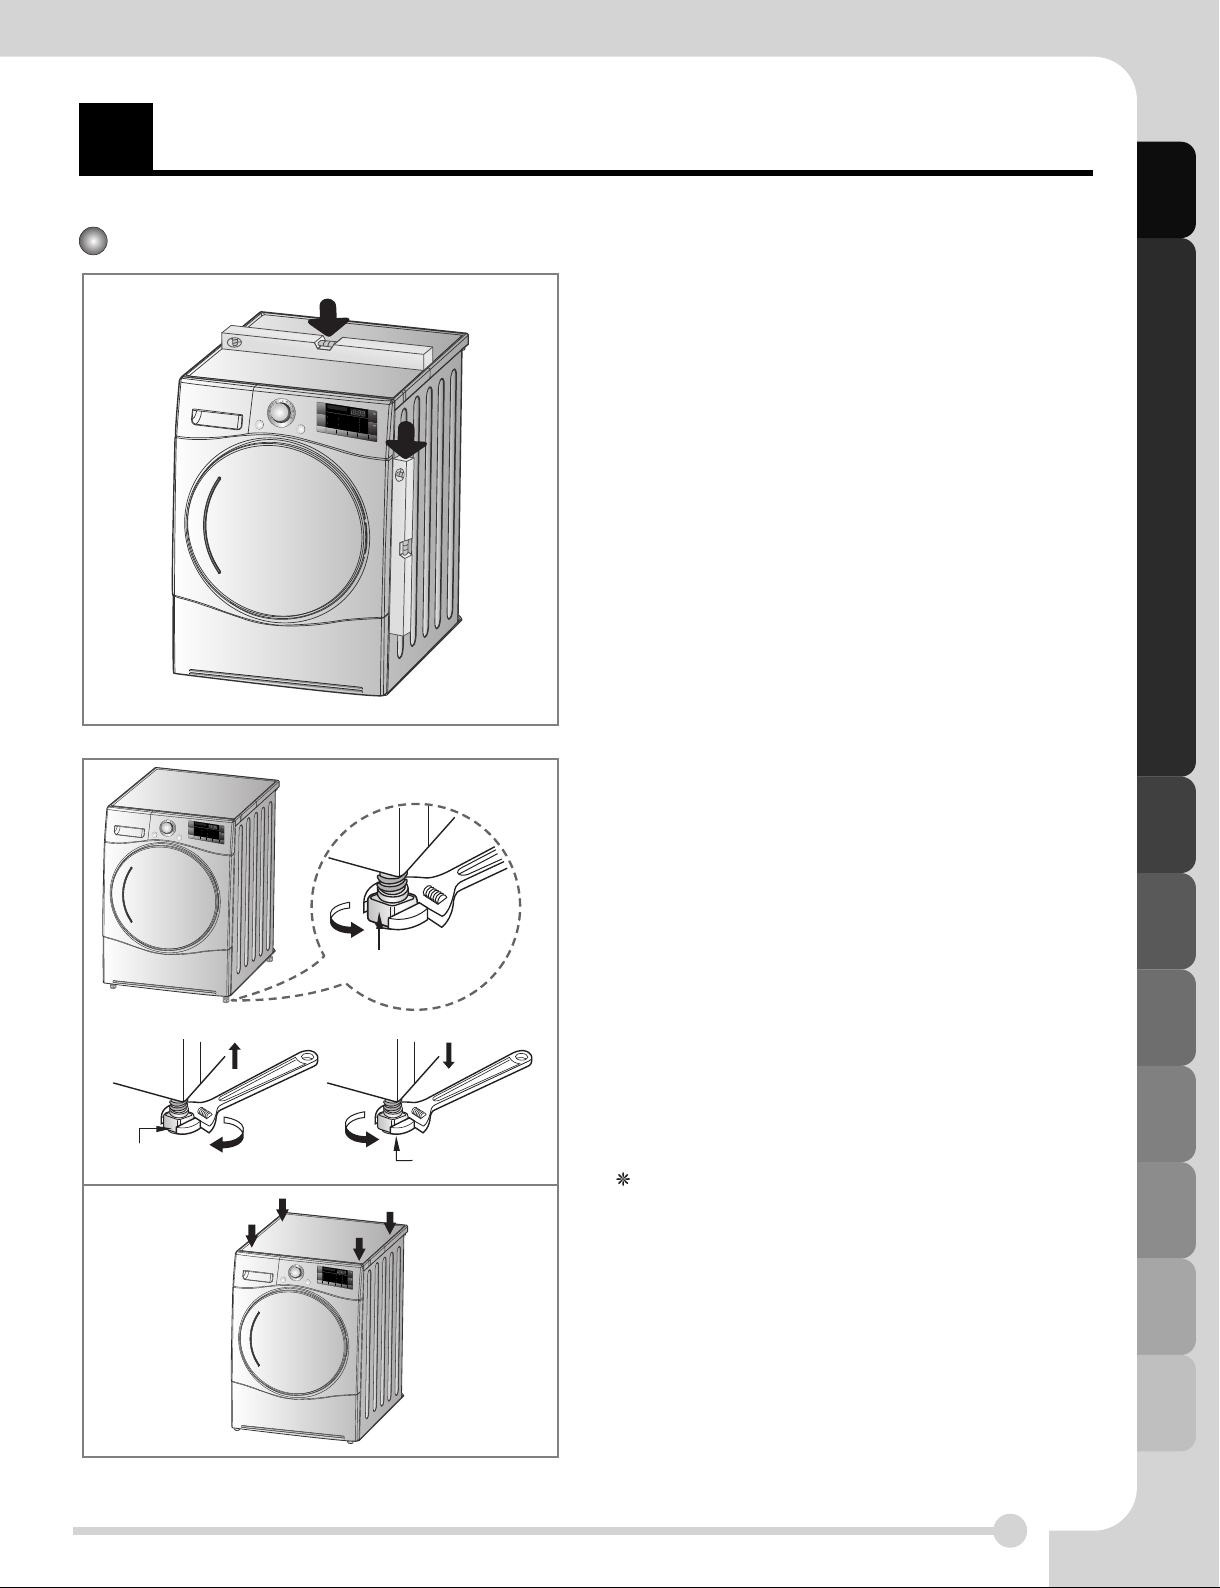
Level the Dryer
1. Levelling the dryer prevents unnecessary
noise and vibration. Place your dryer on a
solid, level floor.
Place the dryer in an area free from flammable
materials, condensation and not liable to
freezing.
Installation Instructions
Adjustable Feet
2. If the dryer is not properly level, adjust the
front levelling feet as necessary.
Turn them clockwise to raise and
counter-clockwise to lower until the dryer no
longer wobbles, both front-to-back and
side-to-side and corner-to-corner.
Adjustable Feet
Dryer is loweredDryer is raised
Adjustable Feet
Diagonal Check
When pushing down the edges of the machine,
the machine should not move up and down at all
(Please, check both directions).
If machine rocks when pushing the machine top
plate diagonally, adjust the feet again.
9
 Loading...