

LG MS423 Series, MS233 Series, MS253 Series, MS259 Series, MS429 Series Owner's Manual

OWNER’S MANUAL
MICROWAVE OVEN
Please read this owner’s manual thoroughly before operating.
(optional, please check model specification)
MS253
****
MS423
**** ****
MS233
MFL69733505_02
www.lg.com
Copyright © 2017 LG Electronics Inc. All Rights Reserved

CONTENTS
CONTENTS
8
BEFORE USE
8
Unpacking & Installing
10
Control Panel
10
Display Picto
11
Setting Clock
11
Quick Start
11
More/Less
11
Energy Saving
12
HOW TO USE
12
Timed Cooking
12
Microwave Power Levels
13
Child Lock
13
Reheat
13
Reheat Menu Instructions
14
Soften
14
Soften Menu Instructions
15
Melt
15
Melt Menu Instructions
15
Yogurt
16
Yogurt Menu Instructions
16
Keep Warm
17
Popular Menu
17
Popular Menu Instructions
25
25
26
27
29
30
31
Inverter Defrost
Inverter Defrost Menu Instructions
How the Microwave Function Works
Microwaves are a form of energy similar to radio,
television waves, and ordinary daylight. Normally,
microwaves spread outwards as they travel through the
This oven, however, has a magnetron that is designed
to make use of the energy in microwaves. Electricity,
supplied to the magnetron tube, is used to create
microwave energy.
These microwaves enter the cooking area through
openings inside the oven. A tray is located inside the
oven. Microwaves cannot pass through metal walls
of the oven, but they can penetrate such materials as
glass, porcelain and paper, the materials out of which
microwave-safe cooking dishes are constructed.
Microwaves do not heat cookware, though cooking
vessels will eventually get hot from the heat generated
by the food.
Your Microwave oven, is one of the safest
of all home appliances. When the door
is opened, the oven automatically stops
producing microwaves. Microwave energy
is converted completely to heat when it
enters food, leaving no “left over” energy
to harm you when you eat your food.
A very safe appliance
3
IMPORTANT SAFETY INSTRUCTIONS
FOOD CHARACTERISTICS &
MICROWAVE COOKING
USING THE SMART DIAGNOSIS™
FUNCTION
29
TO CLEAN YOUR OVEN
QUESTIONS & ANSWERS
TECHNICAL SPECIFICATIONS
MICROWAVE-SAFE UTENSILS

IMPORTANT SAFETY INSTRUCTIONS
READ CAREFULLY AND KEEP FOR FUTURE REFERENCE
4

-
5

6
his model doesn't provide a temperature probe.
S
Farm houses;
By clients in hotels, motels and other residential environments;
Bed and breakfast type environments.
T
36
When the symbol is used, It means that the surfaces are liable to get hot during use.
37
Do not place an object(a book, a box, etc.) on the product. The product may overheat or catch fire or the
object may fall, causing injury to persons.
Caution, hot surface
7
UNPACKING & INSTALLING
BEFORE USE
By following the basic steps on these two pages you will be able to quickly check that your oven is operating correctly.
Please pay particular attention to the guidelines on where to install your oven. When unpacking your oven make sure
you remove all accessories and packing materials. Check to make sure that your oven has not been damaged during
shipping.
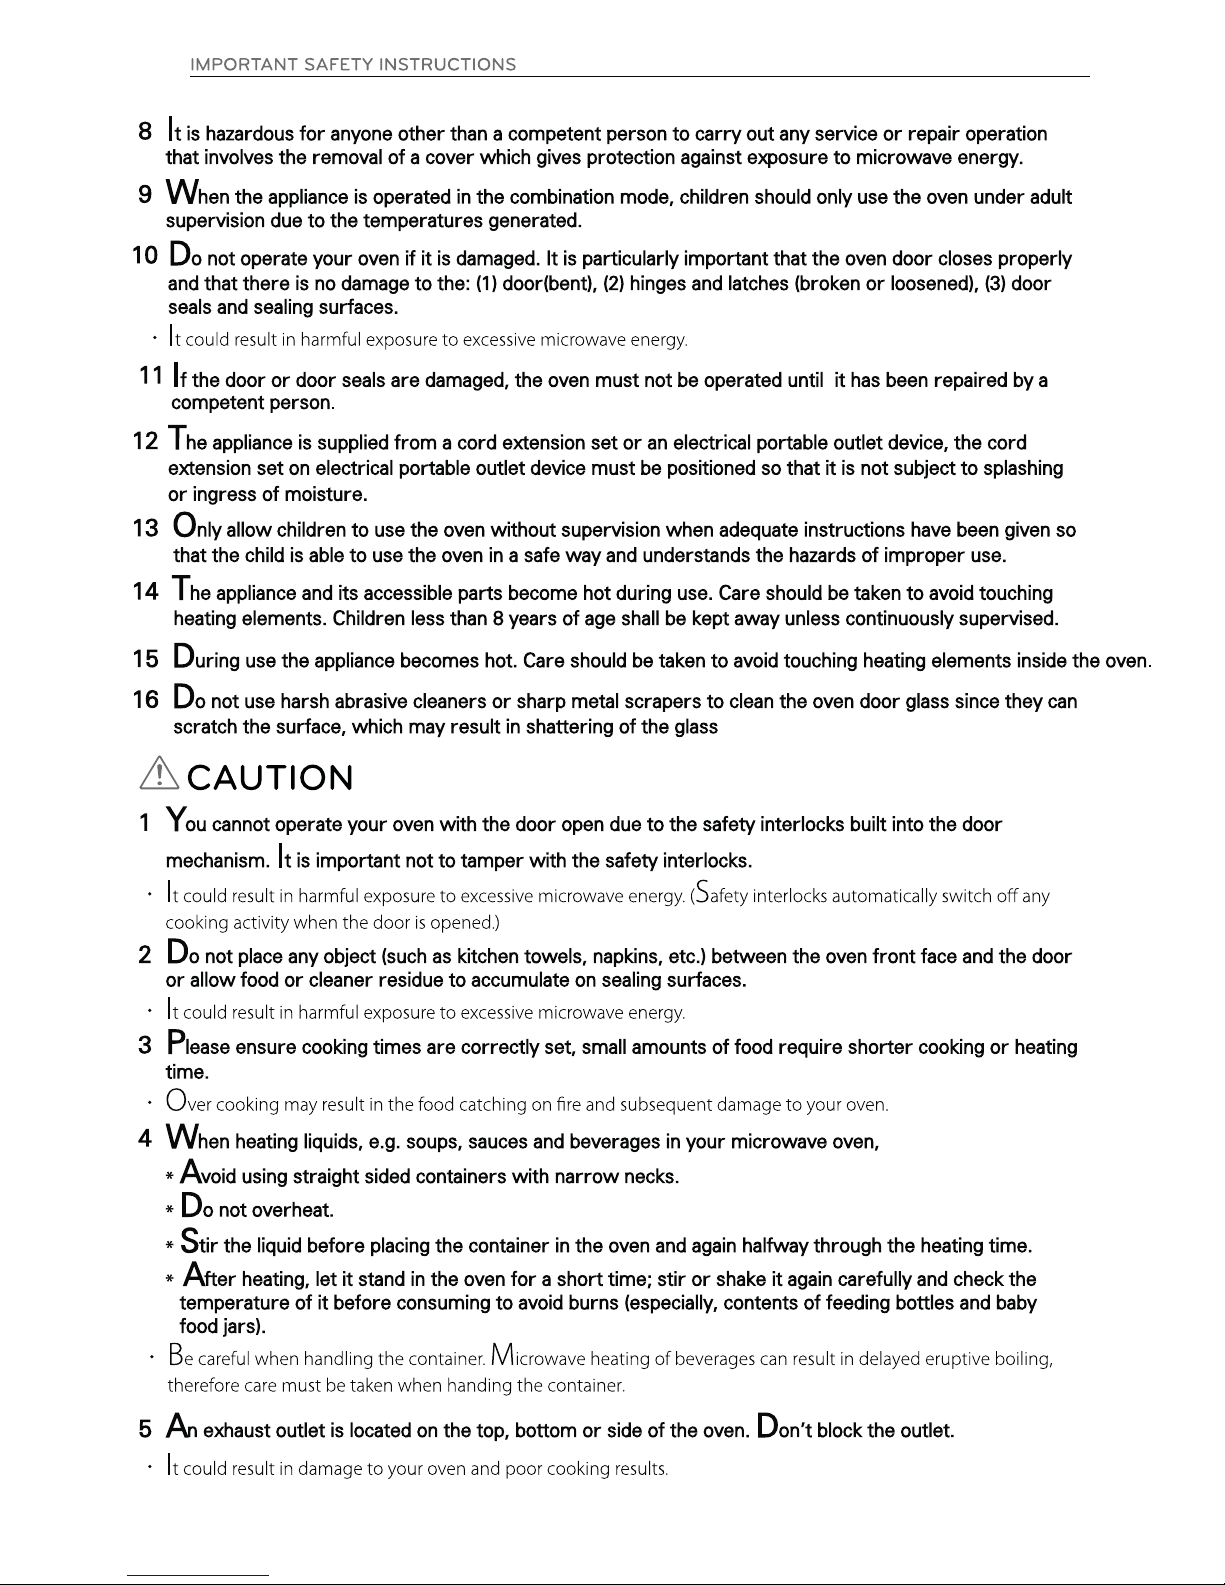
1
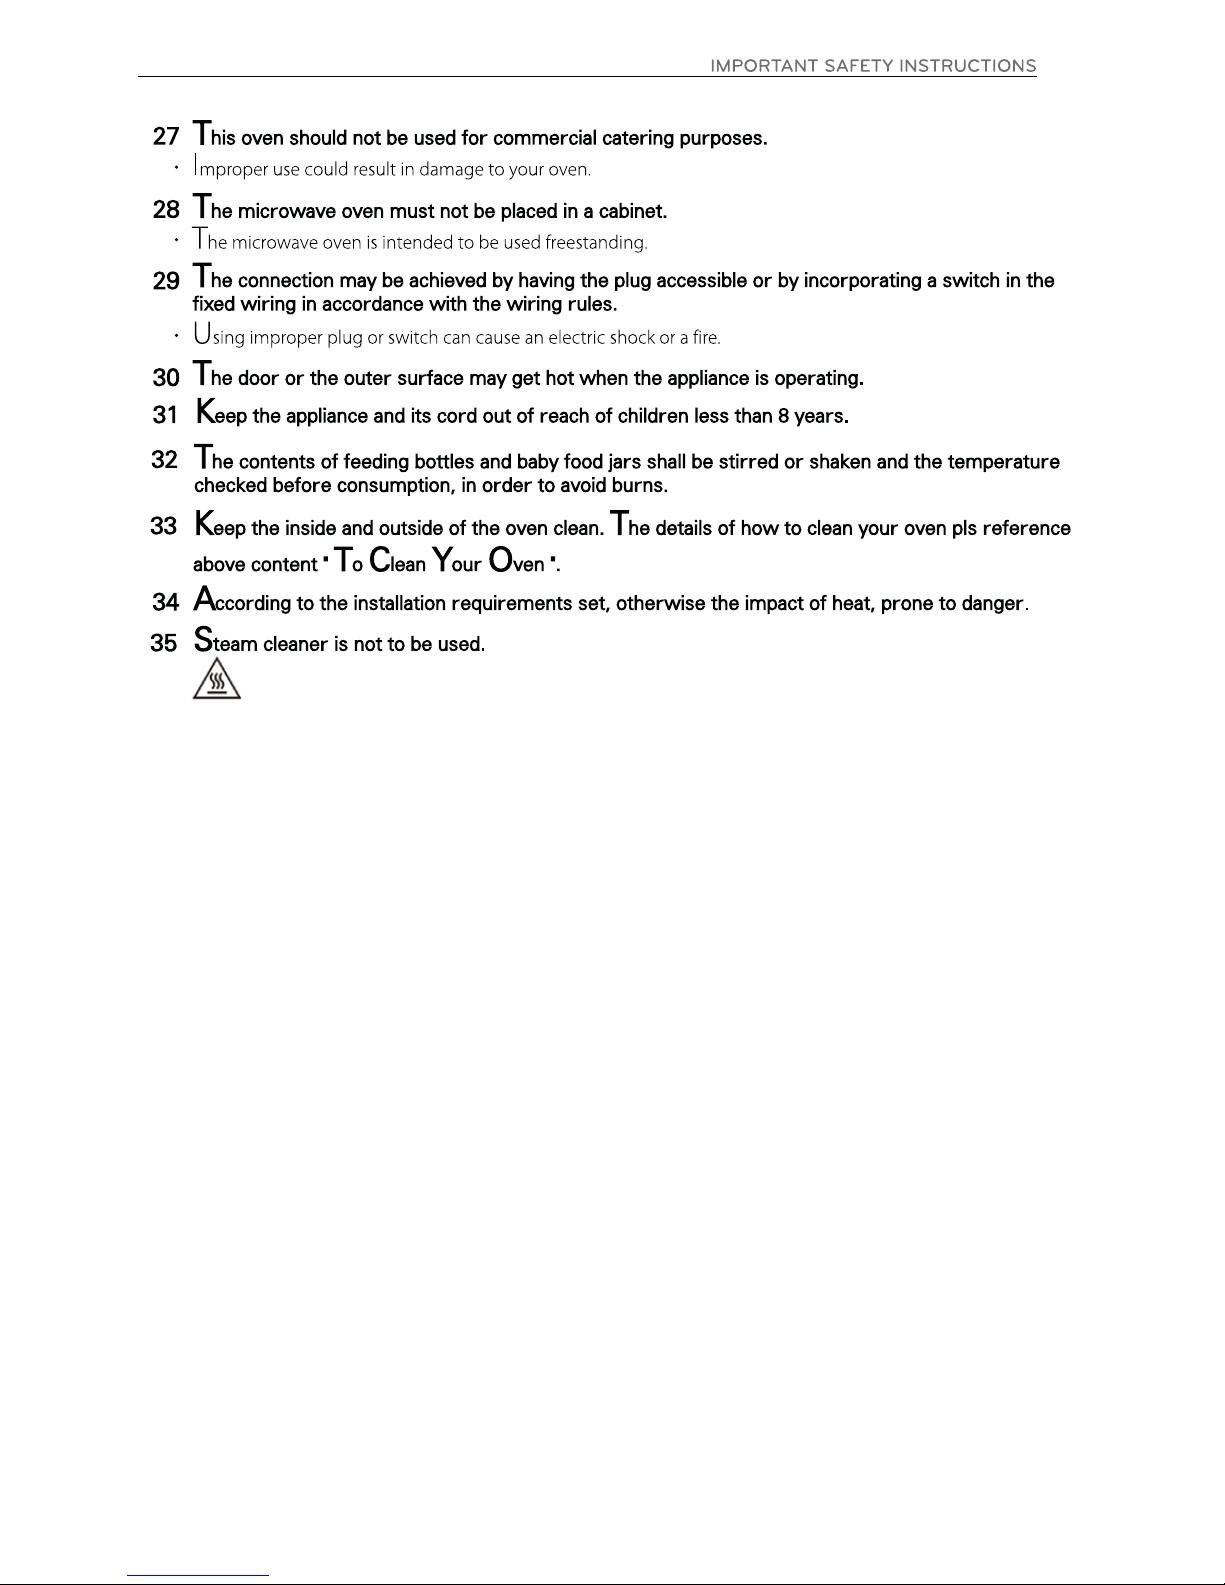
2 Place the oven on the level location of your choice with more
than 85cm height but make sure there is at least 20 cm of space
on the top and 20 cm at the rear & left & right for proper
ventilation. The front of the oven should be at least 8 cm from
the edge of the surface to prevent tipping.
An exhaust outlet is located on bottom or side of the oven.
Blocking the outlet can damage the oven.
If you use the microwave oven in an enclosed space or cupboard,
lower performance and reduced service life. If possible, please use the
microwave oven in the counter top condition.
NOTE
THIS OVEN SHOULD NOT BE USED FOR COMMERCIAL CATERING PURPOSES.
3 Plug your oven into a standard household socket. Make sure your oven is the only appliance connected to the socket.
If your oven does not operate properly, unplug it from the electrical socket and then plug it back in.
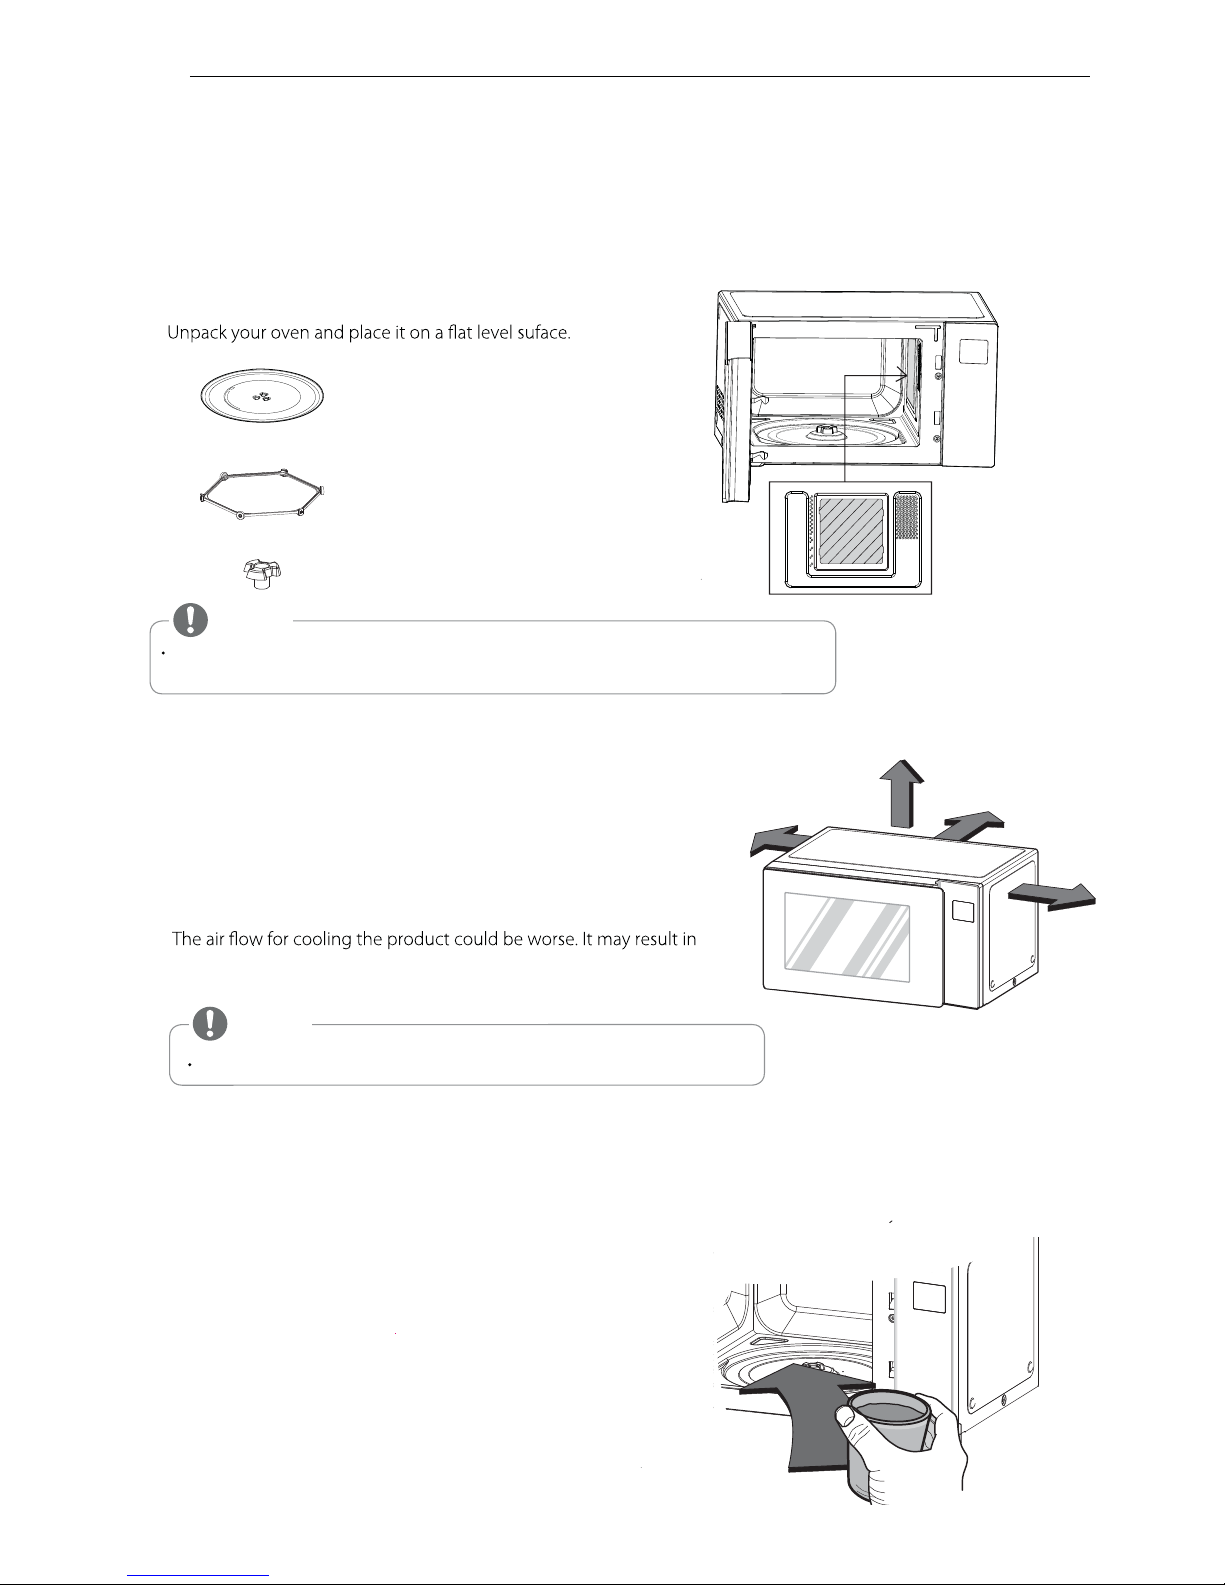
4
Fill a microwave safe container with 300 ml (1/2 pint) of water.
Place on the glass tray and close the oven door.
If you have any doubts about what type of container to use
please refer to Microwave-safe utensils.
Open your oven door by pulling the door handle. Place the rotating ring inside the oven and place the glass tray on top.
5
GLASS TRAY
ROTATING RING
TURNTABLE SHAFT
8
BEFORE USE
NOTE
Do not remove the cavity Mica Sheet (silver plate) inside of oven.
The Mica Sheet is there to protect the microwave components from food spatters.
Mica Sheet
Mica Sheet
*Do Not Remove
Mica Sheet
20 cm
20 cm
20 cm
20 cm
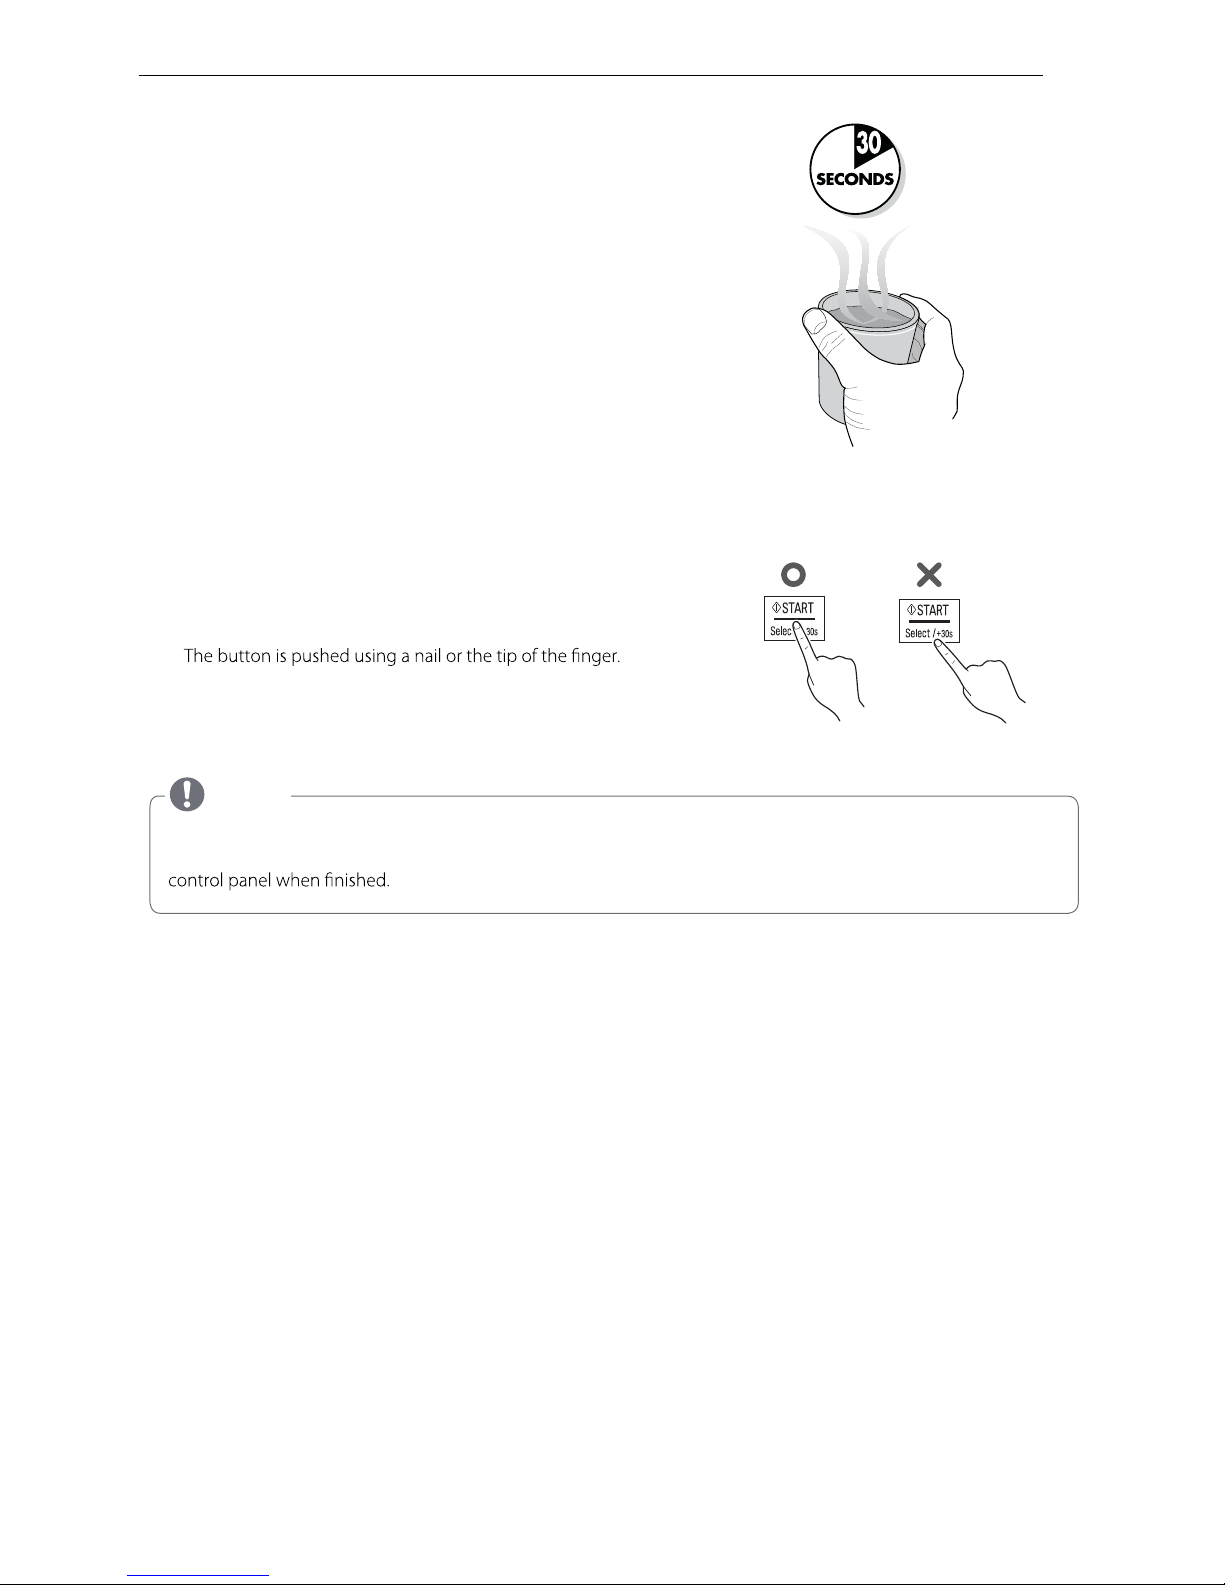
6
Press the STOP button, and press the
START
button
one time to set 30 seconds of cooking time.
7 The DISPLAY will count down from 30 seconds.
When it reaches 0 it will sound BEEPS. Open the oven door
and test the temperature of the water.
If your oven is operating the water should be warm.
Be careful when removing the container it may be hot.
YOUR OVEN IS NOW INSTALLED
8
The contents of feeding bottles and baby food jars shall be stirred or shaken and the temperature checked before
consumption in order to avoid burns.
9
Button recognition may be hampered in the following circumstances:
Only the outside area of the button is pressed.
10
NOTE
Do not use rubber gloves or disposable gloves.
When wiping the touch control panel with a wet towel, remove moisture from the touch
The setting of the cooking time should be shorter than common microwave ovens (700 W, 800 W) due to
the relatively high output power of the product. Excessive heating with the product may cause moisture on the door.
BEFORE USE
9
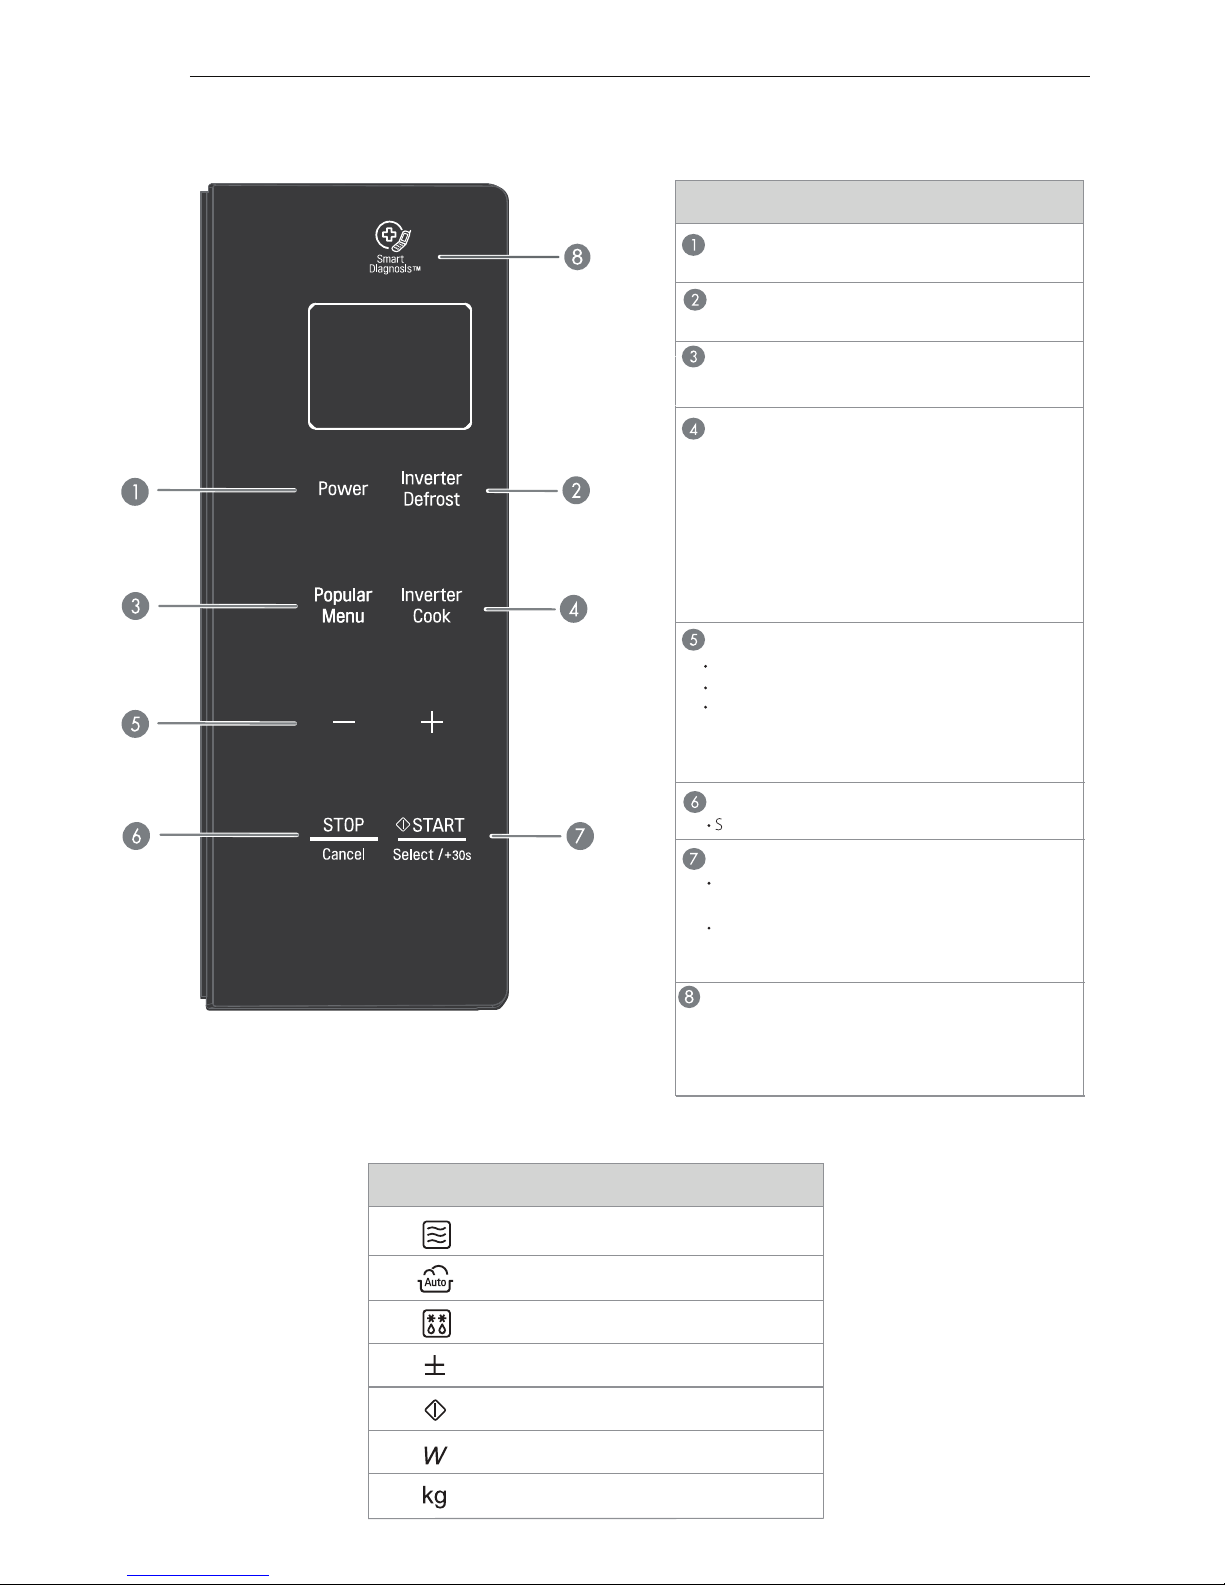
CONTROL PANEL
DISPLAY PICTO
Part
POWER
See page 12 “Timed Cooking”
INVERTER DEFROST
See page 2
5
“Inverter Defrost”
POPULAR MENU
See page 17 “Popular Menu”
INVERTERCOOK
Inverter Cook allows you to cook most of your
favorite food by selecting the food type and the
weight of the food.
See page 13 "Reheat"
See page 14 "Soften"
See page 15 "Melt"
See page 15 "Yogurt"
See page 16 "Keep Warm"
MORE / LESS
Choose the cooking menu.
Set cooking time and weight.
While cooking with auto and manual function,
you can increase or decrease the cooking time
at any point by pressing the button (except
defrost mode).
STOP / CANCEL
top over and clear all entries except time of day.
START
I n order to start cooking which is selected,
press button one time.
tes ot uoy swolla erutaef trats kciuq ehT
30 seconds intervals of HIGH power cooking with a
press of the START button.
SMART DIAGNOSIS
Hold the mouthpiece of a phone up to this icon
when directed to by service centre personnel, to
help diagnose problems with the microwave oven
when calling for service.
10
BEFORE USE
Icon
When operate Microwave, Show up
the icon on the display.
When operate Inverter Cook / Steam Cook,
Show up the icon on the display.
When operate Inverter Defrost, Show
up the icon on the display.
When you can set More/Less, Show
up the icon on the display.
When you can set Output Power,
Show up the icon on the display.
When you can Cook Start, Show up
the icon on the display.
When you can set Weight, Show up
the icon on the display.
 Loading...