

LG LV700P-D1 Owner’s Manual
LV700N-D1
LV700P-D1
MM
9. Do not defeat the safety purpose of the polariz-9. Do not defeat the safety purpose of the polariz-
ed or grounding-type plug. A polarized plug has ed or grounding-type plug. A polarized plug has
two blades with on wider thanthe other. A grou- two blades with on wider thanthe other. A grou-
nding type plug has two blades and a third gro- nding type plug has two blades and a third gro-
unding prong. The wide blade or the third prong unding prong. The wide blade or the third prong
are provided for your safety. If the provided plug are provided for your safety. If the provided plug
does not fit into you outlet, consult an electrici- does not fit into you outlet, consult an electrici-
an for replacement of the obsolete outlet. an for replacement of the obsolete outlet.
Cautions for safe Operation
7
What’s in the box
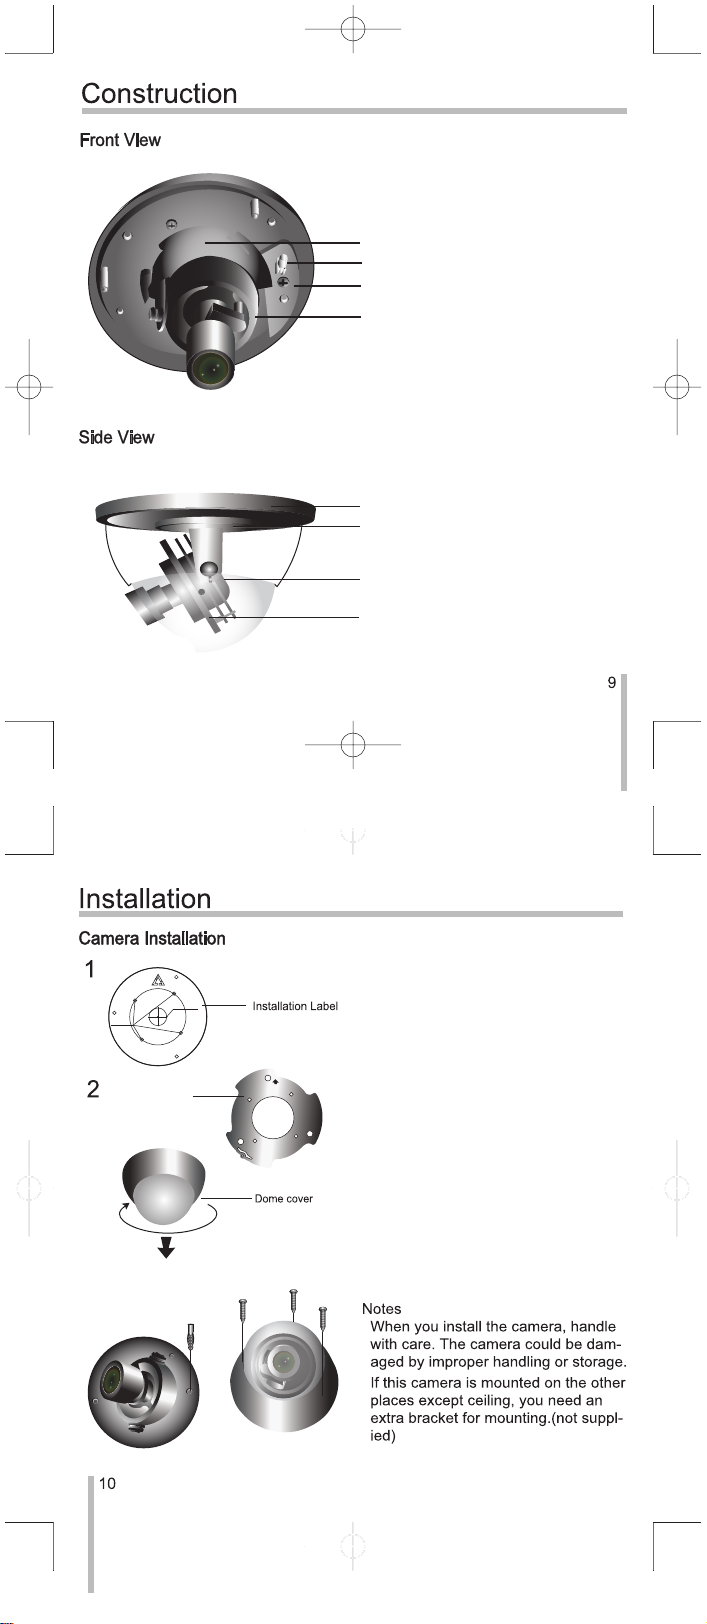
Construction
Installation
Troubleshooting
OSD Menu
Specification
8
9
10
12
13
25
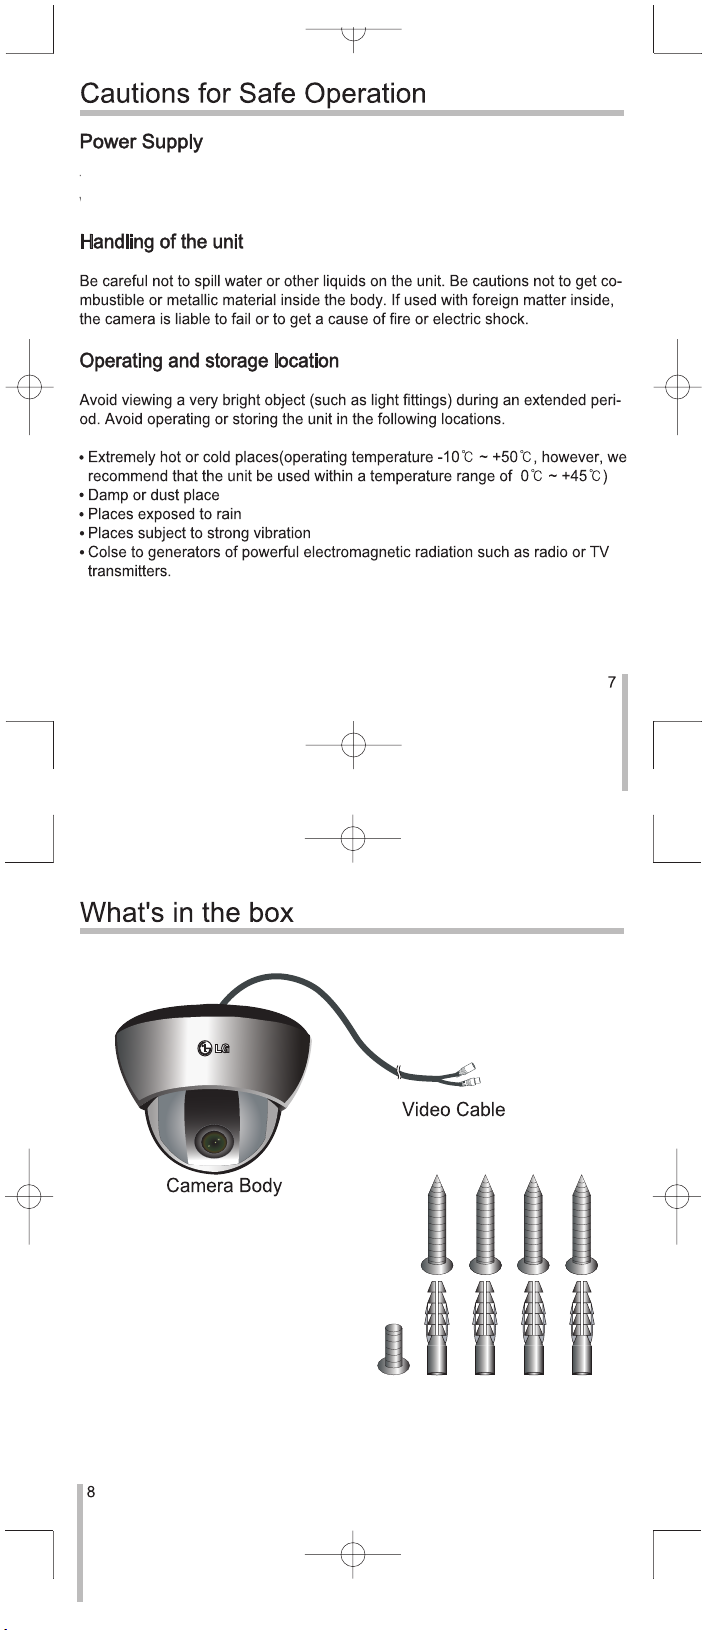
This camera must always be operated a DC 12V Certified/Listed, class 2
power supply only.
M3 Tapping Screws (4EA)
(Pan Lock Screw)
M3 Screw (1EA)
Revolver
Service Output
OSD Board
Holder
Base
Revolver
Revolver
Holder
FrontFront
Direct Screw
Surface Mount Cable Hole
P/N : MEZ57336601
Remove Dust On Celing
and Stick It
Cut Off Celing Line
Direct Screw
M4 Self Topping Screw
for Nount
Ceiling Mount
3
4~6
Dome Frame Lock Screw(B)
Dome Frame Lock Screw(C)
1. - Use the installation label to check the
place that you wish to install.
2. - Tighten the M3 Tapping Screw (A) to
fix the Ceiling Mount on the installation
label.
3. - Push the Lock Button and turn the B ase Deco counterclockwise simultane-
FRONT
ously.
- Remove the Base Deco.
4. - Loosen the Dome Frame Lock Screw
(C).
- Remove the Dome Frame.
5. - Adjust the Tilt(Up/Down) and the Pan
(Left/Right).
6. - Install the Dome Frame.
- Tighten the Dome Frame Lock Screw
(C)
7. - Install the Base Deco.
- Turn the Base Deco clockwise.
•
•
 Loading...