

LG LSC27931SW, LSC27931ST, LSC27931SB User Manual
REFRIGERATOR
REFRIGERADOR
website: http://us.lge.com
1-800-243-0000
24 HOURS A DAY, 7 DAYS A WEEK FOR LG CUSTOMER SERVICE
para el servicio LG (Atención al Cliente) 24 horas al día, 7 días a la semana
LSC27931**
Owner´s Manual
2
Entry
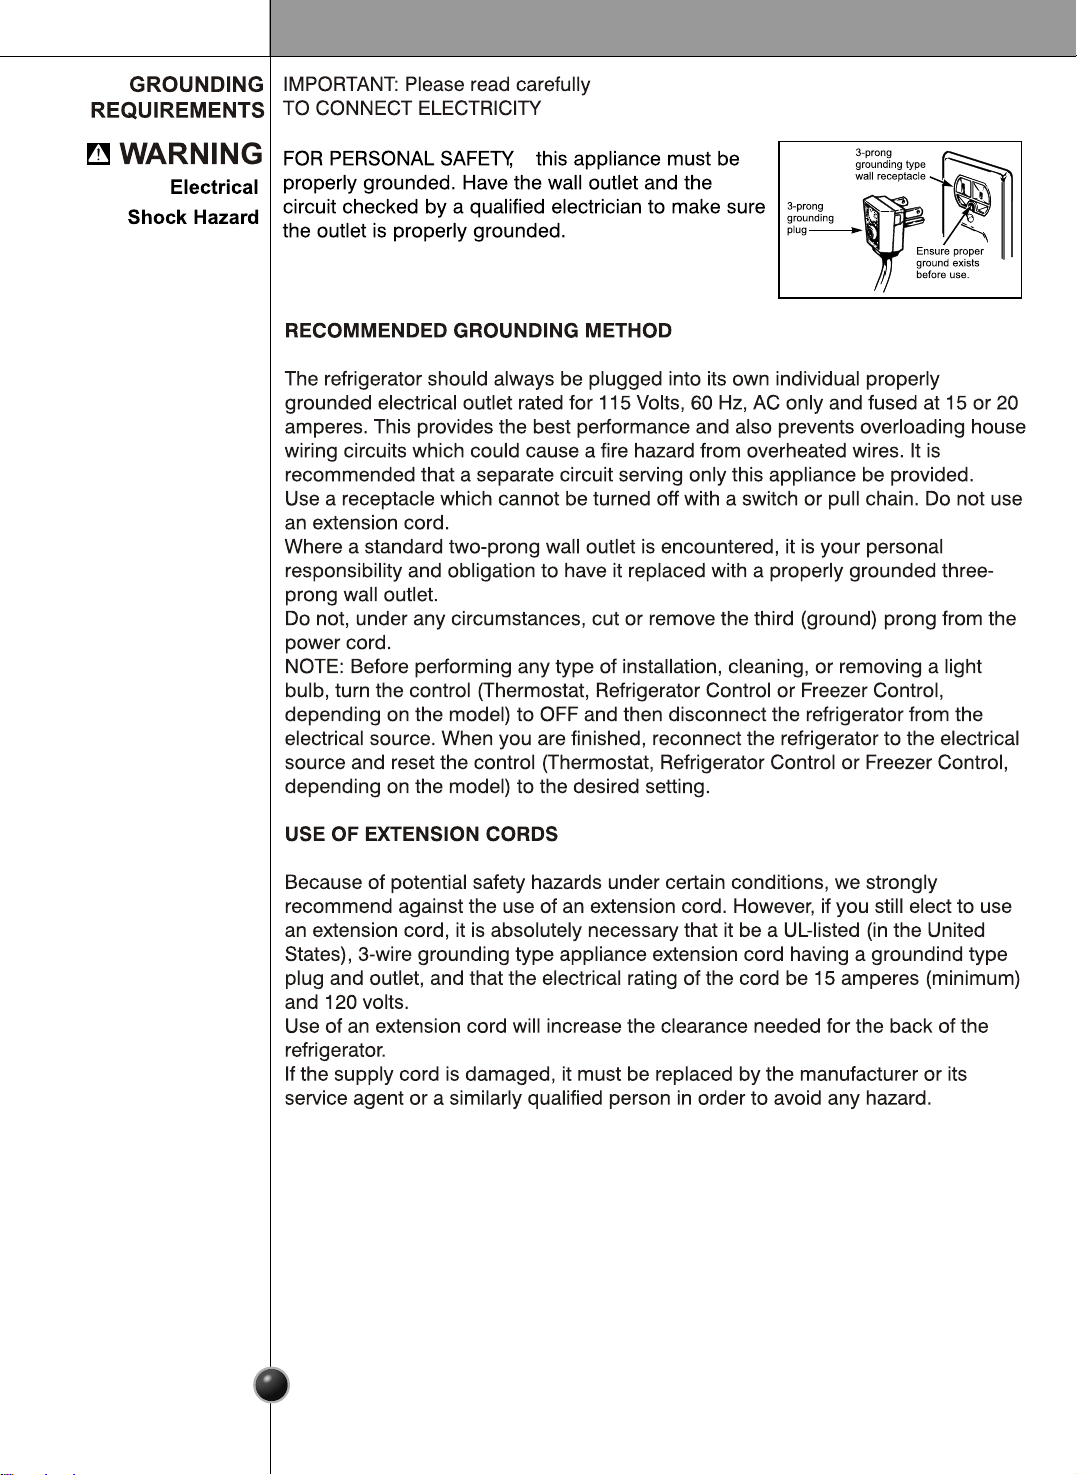
Important Safety Instruction
Identification of Parts
Where to Install
Door Removal
Door Replacement
Water Pipe Installation
Water Connection Instruction Guide
Operation Instruction Guide
Height Adjustment
Starting
Adjusting the Temperatures and functions
(Dispenser/Automatic Icemaker)
Shelf
Location of Foods
Storing Foods
How to Dismantle Parts
General Information
Cleaning
Troubleshooting
Table of Contents
Introduction
Installation
Operation
Suggestion on
Food Storage
Care and
Maintenance
3
3
6
6
8
9
9
9
10
12
13
13
17
18
19
20
22
22
23

Introduction
the
3
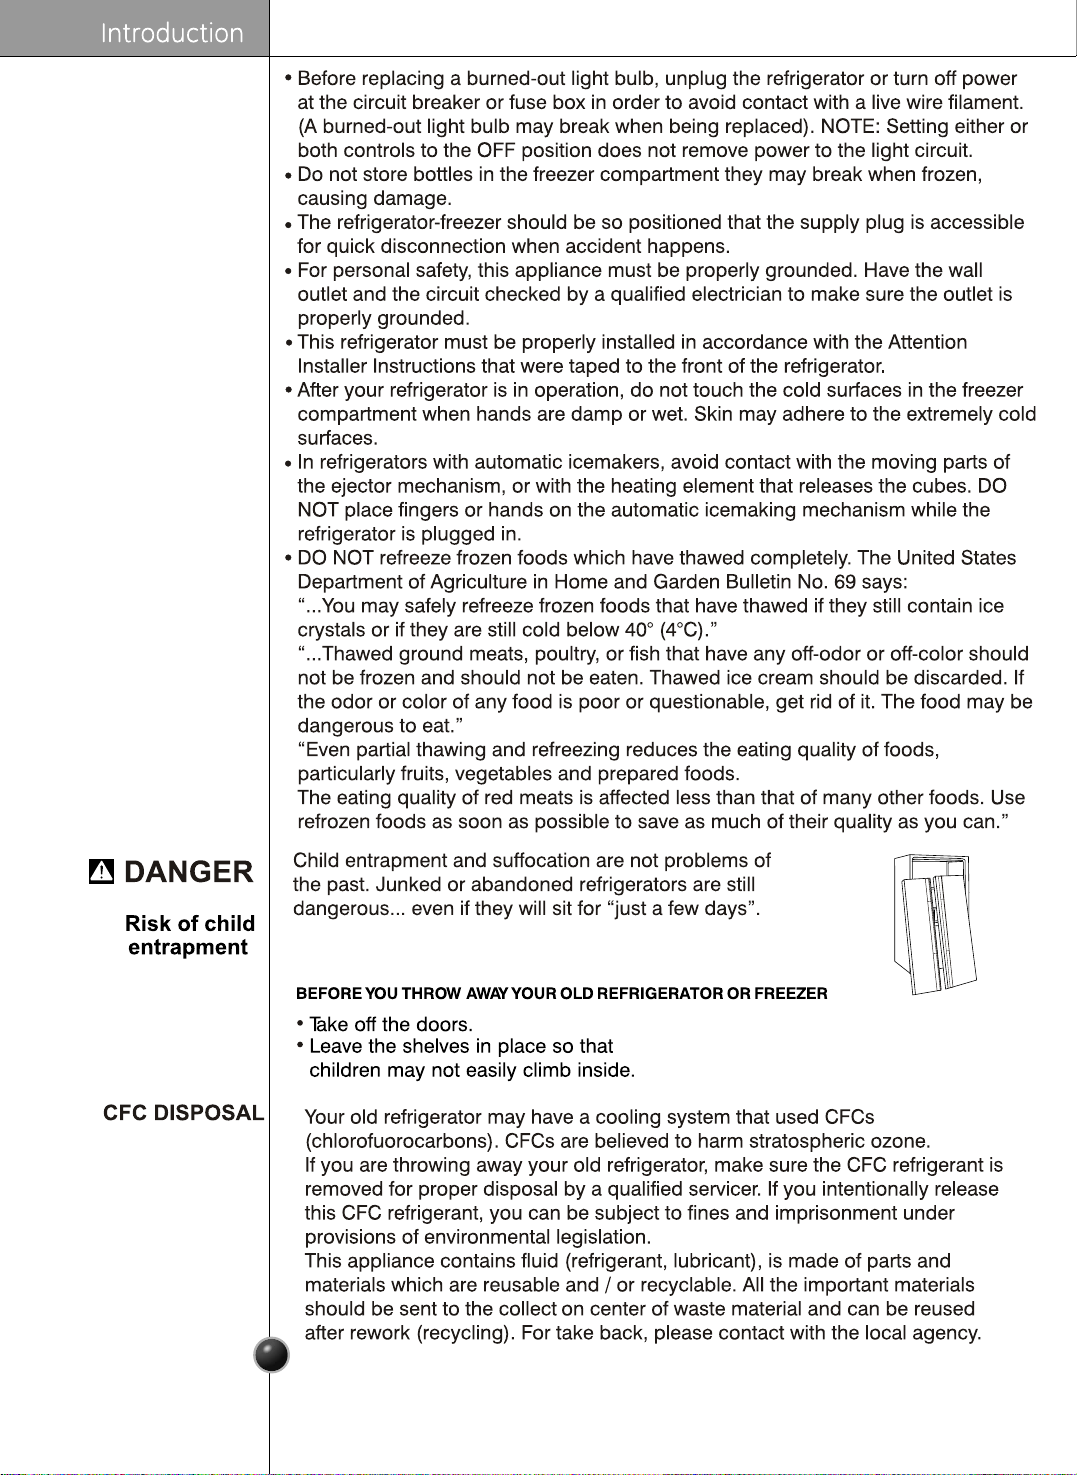
If you are getting rid of your old refrigerator, please follow
the instructions at right to help prevent accidents.
i
4
Introduction
5
Introduction
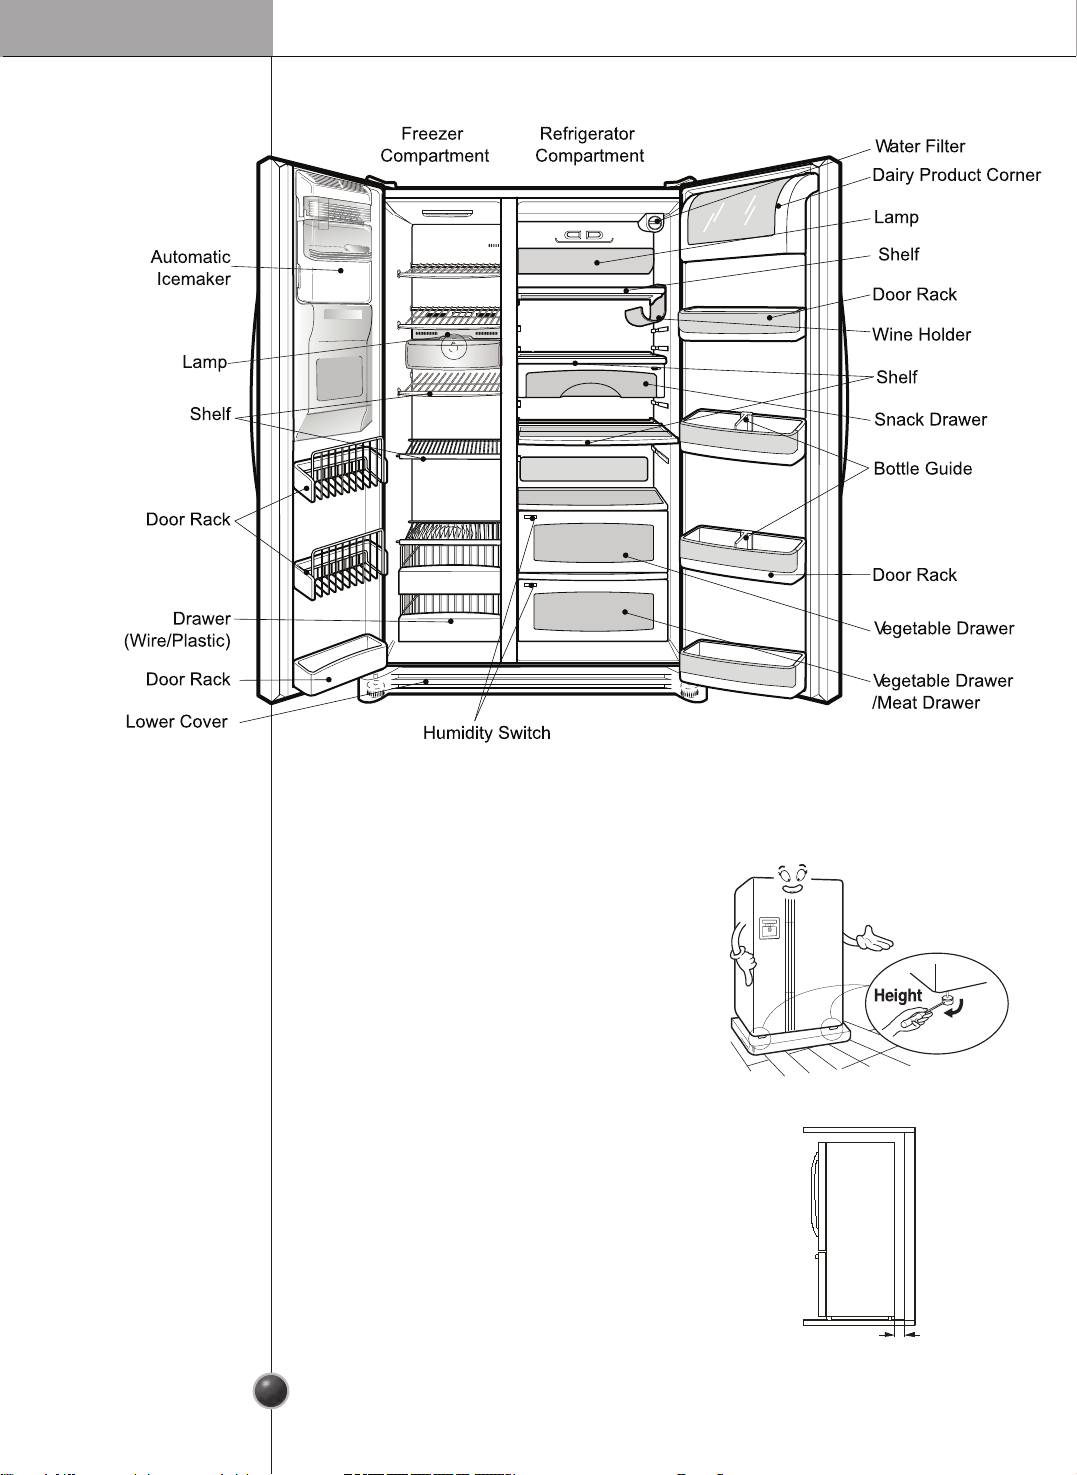
Identification of Parts
Strong
and even floor
A proper
distance from
adjacent items
Where to install
Unstable installation may cause vibration and
noise. If the oor to install the refrigerator on
is not even, make the refrigerator level by
rotating the height adjusting screw. Carpet
or oor covering on which a refrigerator is
installed may be discolored by heat from the
bottom of the refrigerator.
If our refrigerator causes this kind of
damage, there is something wrong with it.
Customers will not stand for this.
Please keep the refrigerator at a proper
distance from other things. Too small a
distance from adjacent items may result in
lowered freezing capability and increased
electricity consumption charges .
•
If you nd some parts missing from your
they may be parts only used in other models.
unit,
1” (2.54 cm )
6
Installation
Tools Required
Where water
supply can be
easily connected
in a dry place
Where it is free
from heat
Select a place where a water supply can be
easily connected between the automatic ice
maker and dispenser.
Installing the refrigerator in a wet or damp
area may cause rust and may be an electrical
hazard.
If this refrigerator is installed where the
ambient temperature is high, the freezing
capacity is deteriorated and the cost of
electricity used increases.
NOTE
•
Install the refrigerator at a place where the ambient temperature is 5˚C ~ 43˚C
(41˚F~110˚F).
Ambient temperature outside this range may cause product malfunction. Also, the
tube between the dispenser and automatic ice maker may freeze.
Bottom Pad
7
6

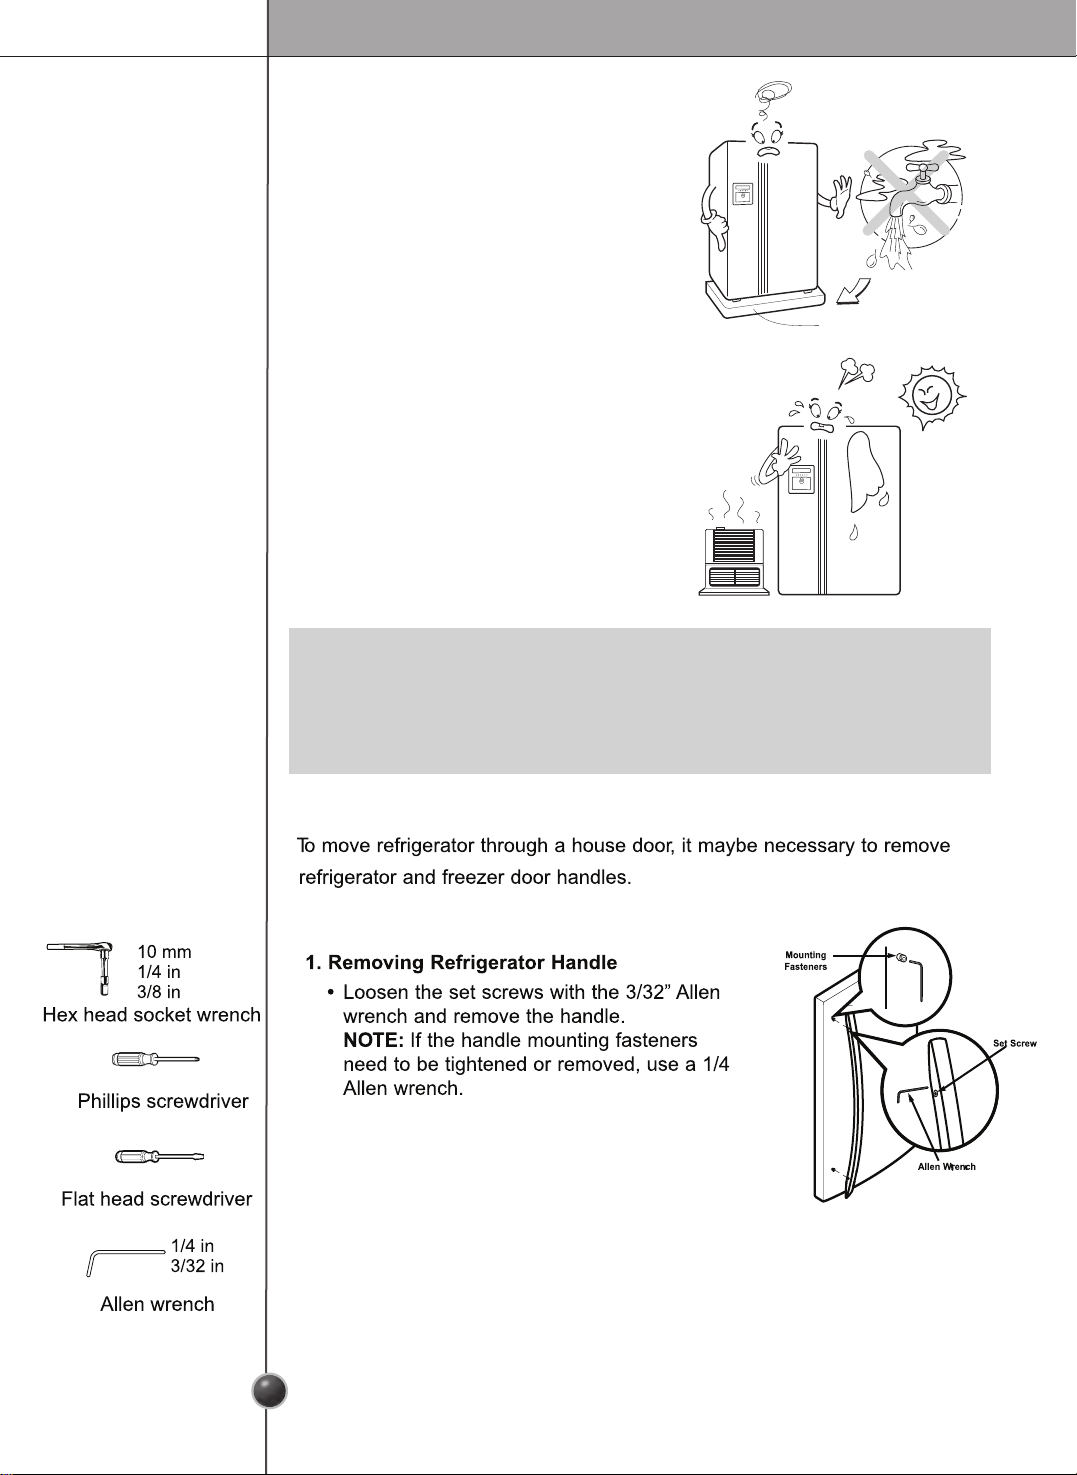
Door removal
Failure to do so could result in death or serious injury.
If your entrance door is too narrow for the
refrigerator to pass through, remove the
refrigerator door and pass the refrigerator laterally.
Electric Shock Hazard
Disconnect electrical supply to refrigerator before installing.
Remove the lower cover by lifting upward, and
then pull up the water feed tubes while pressing
area shown in the to the right.
Remove Lower
Cover and
Water Feed Tube
WARNING
Remove the
Freezer
Compartment
Door
Remove the
Refrigerator
Door
Installation
1) Remove the hinge cover by loosening the
screws. Disconnect all connections except
the ground line.
2) Remove the keeper by rotating it counter
clockwise and then lifting the upper
hinge up
.
3) Remove the freezer compartment door by
lifting it upward. This time, the door should
be lifted enough for the water feed tube to
be completely pulled out.
1) Loosen the hinge cover screws and remove
the cover. Remove connection wire.
2) Remove keeper by rotating it clockwise
and then remove the upper hinge by lifting
it up .
3) Remove the refrigerator compartment door
by lifting it up.
•
If a tube end is deformed or abraded, trim the part away.
Disconnecting the tube under the door causes about 1.5 litters water to out. Please
put a large container at end of tube to prevent water from draining on to the .
NOTE
•
When removing the upper hinge, be careful that the door does not fall forward .
NOTE
•
After removing the door, take it into the kitchen where you are installing the
refrigerator. Lay it down on a blanket and be careful to avoid damaging the water
feed tube.
NOTE
Lower Cover
Lower hinge
Lower Hinge
Keeper
Water Feed Tube
Connection
Wires
Connection
Wires
Hinge
Cover
Upper Hinge
Upper Hinge
Keeper
Upper Hinge
8
6
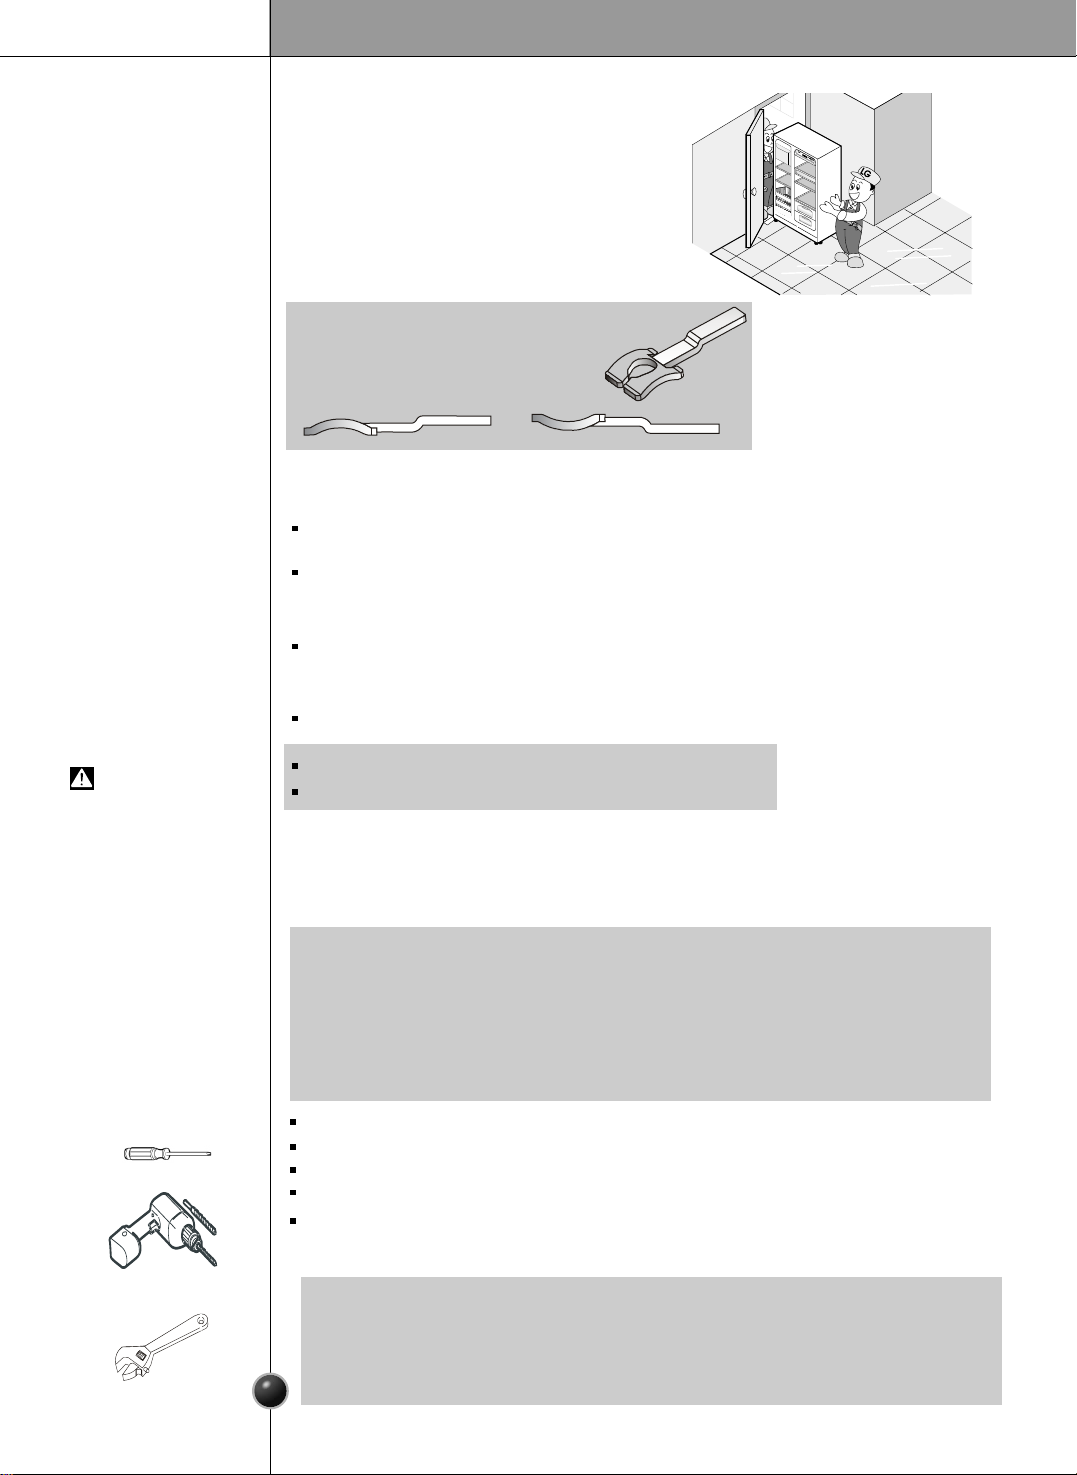
Door replacement
Feed water tube installation
Push the refrigerator sideways through the
entrance door as shown in the right picture.
Automatic icemaker operation needs water pressure of 21.3~121psi(lb/inc h2) (That
is, a 7oz. paper cup will be lled within 3 sec.).
If water pressure does not reach the rated 21.3psi(lb/inch2) or below, it is necessary
to purchase a separate pressure pump for normal automatic icemaking and cool
water feed.
Keep the total length of the water feed tube within 40 feet and be careful not to
bend or kink the tube. If the tube is longer than 40 feet, the icemaker and water
dispenser will not operate properly.
Install the water feed tube at a place free from heat.
Connect to potable water supply only.
Refer to instructions with water lter kit for installation.
Mount the doors in the reverse order of
removal after the refrigerator is brought to
the installation area.
Move the
Refrigerator
Before
Installation
WARNING
Installation
Water Connection Instruction Guide
Read all directions carefully before you begin.
Connecting
the Refrigerator
to a Water Source
•
If operating the refrigerator before installing the water connection, turn icemaker
to theOFF position to prevent operation without water.
•
All installations must be in accordance with local plumbing code requirements.
•
Use copper tubing and check for leaks.
•
Install copper tubing only in areas where temperatures will remain above freezing.
•
It may take up to 24 hours for your icemaker to begin producing ice.
IMPORTANT
Standard screwdriver
7/16-inch and 1/2-inch open-end wrenches or two adjustable wrenches
1/4-inch nut driver
1/4-inch drill bit
Hand drill or electric drill (properly grounded)
Tools Required
•
Your refrigerator dealer has a kit available with a 1/4-inch saddle-type shut-o valve,
a union, and copper tubing. Before purchasing, make sure a saddle-type valve
complies with your local plumbing codes. Do not use a piercing-type or 3/16-inch
saddle valve which reduces water ow and clogs more easily.
NOTE
Screwdriver
Adjustable wrenches
Electric drill
NOTE:
Check the direction of the level hinge.
Correct
Incorrect
9
 Loading...