LG GT 8320C User Manual

900MHz DSST PHONE with CALLER ID, SPK PHONE and ANSWERING SYSTEM.

OPERATION DESCRIPTION

( MODEL : GT8320C )

SK : TCTU0001801-MG DESCRIPTION : OPERATION DESCRIPTION OF GT-8320C

DATE

Iss.

SHEETS

NOTICE NO.

DESIGNER

CHECKER


’00. 07. 24

1

28

K961/26/8903

Y. H. Ji

J. H. Lee


900MHz DSST PHONE with CALLER ID, SPK PHONE and ANSWERING SYSTEM.

GT-8320C (900MHz DSST WITH CALLER ID , CALLWAITING ID, SPEAKER PHONE and ANSWERING SYSTEM) MANUAL

This equipment has tested and found to comply with the limits for a class B digital device, pursuant to Part 15 of the FCC Rules, These limits are designed to provide reasonable protection against harmful interference in a residential installation. This equipment generates, uses, and can radiate radio frequency energy, and if not installed and used in accordance with the installation.

If this equipment does cause harmful interference to radio or television reception, which can be determined by turning the equipment off and on, the user is encouraged to try to correct the interference by one or more of the following measurements:

Reorient or relocate the receiving antenna.

Increase the separation between the equipment and receiver.

Connect the equipment into an outlet on a circuit different from that to which the receiver is connected.

Consult the dealer or an experienced radio/TV technician for help.

!CAUTION

Changes or modification to device not expressly approved by LGE could void the user’s authority to operate this equipment. Copyright 2000 by LGE. All rights reserved.

!Warning

This equipment will be inoperable when mains power fails.

!Important Notice

Since this equipment has very low output power ( EIRP <10 mW), it complies with the FCC RF Exposure Limit.

MODEL GT-8320C

1999 LGIC. No part of this publication may reproduced, transcribed, stored in a retrieval system, or translated into any language in any form, by any means, without the written permission of LGIC.

900MHz DSST PHONE with CALLER ID, SPK PHONE and ANSWERING SYSTEM.

GETTING TO KNOW YOUR NEW PHONE

Your new GT-8320C telephone gives you the ultimate in cordless telephone sound quality with the luxury of

Caller ID and Call Waiting ID

If this is your first cordless telephone, you'11 soon discover that your cordless is similar to regular telephone, except without the cord. If you've owned a cordless in the past, you'll discover that the GT8320C telephone is the most powerful and full-functioned Call Waiting ID cordless telephone on the market.

Some key features are:

60 name and number Caller ID/Call Waiting ID memory

20 name and number programmable memory

Hearing-aid compatibility

High quality digital security communication

Dual mode voice mail serviceable (FSK , STUTTER)

Unlike regular telephones, your cordless does not work during power failures.

Because of this restriction, we do not recommend you have only cordless telephone in your residence.

UNPACKING YOUR PHONE

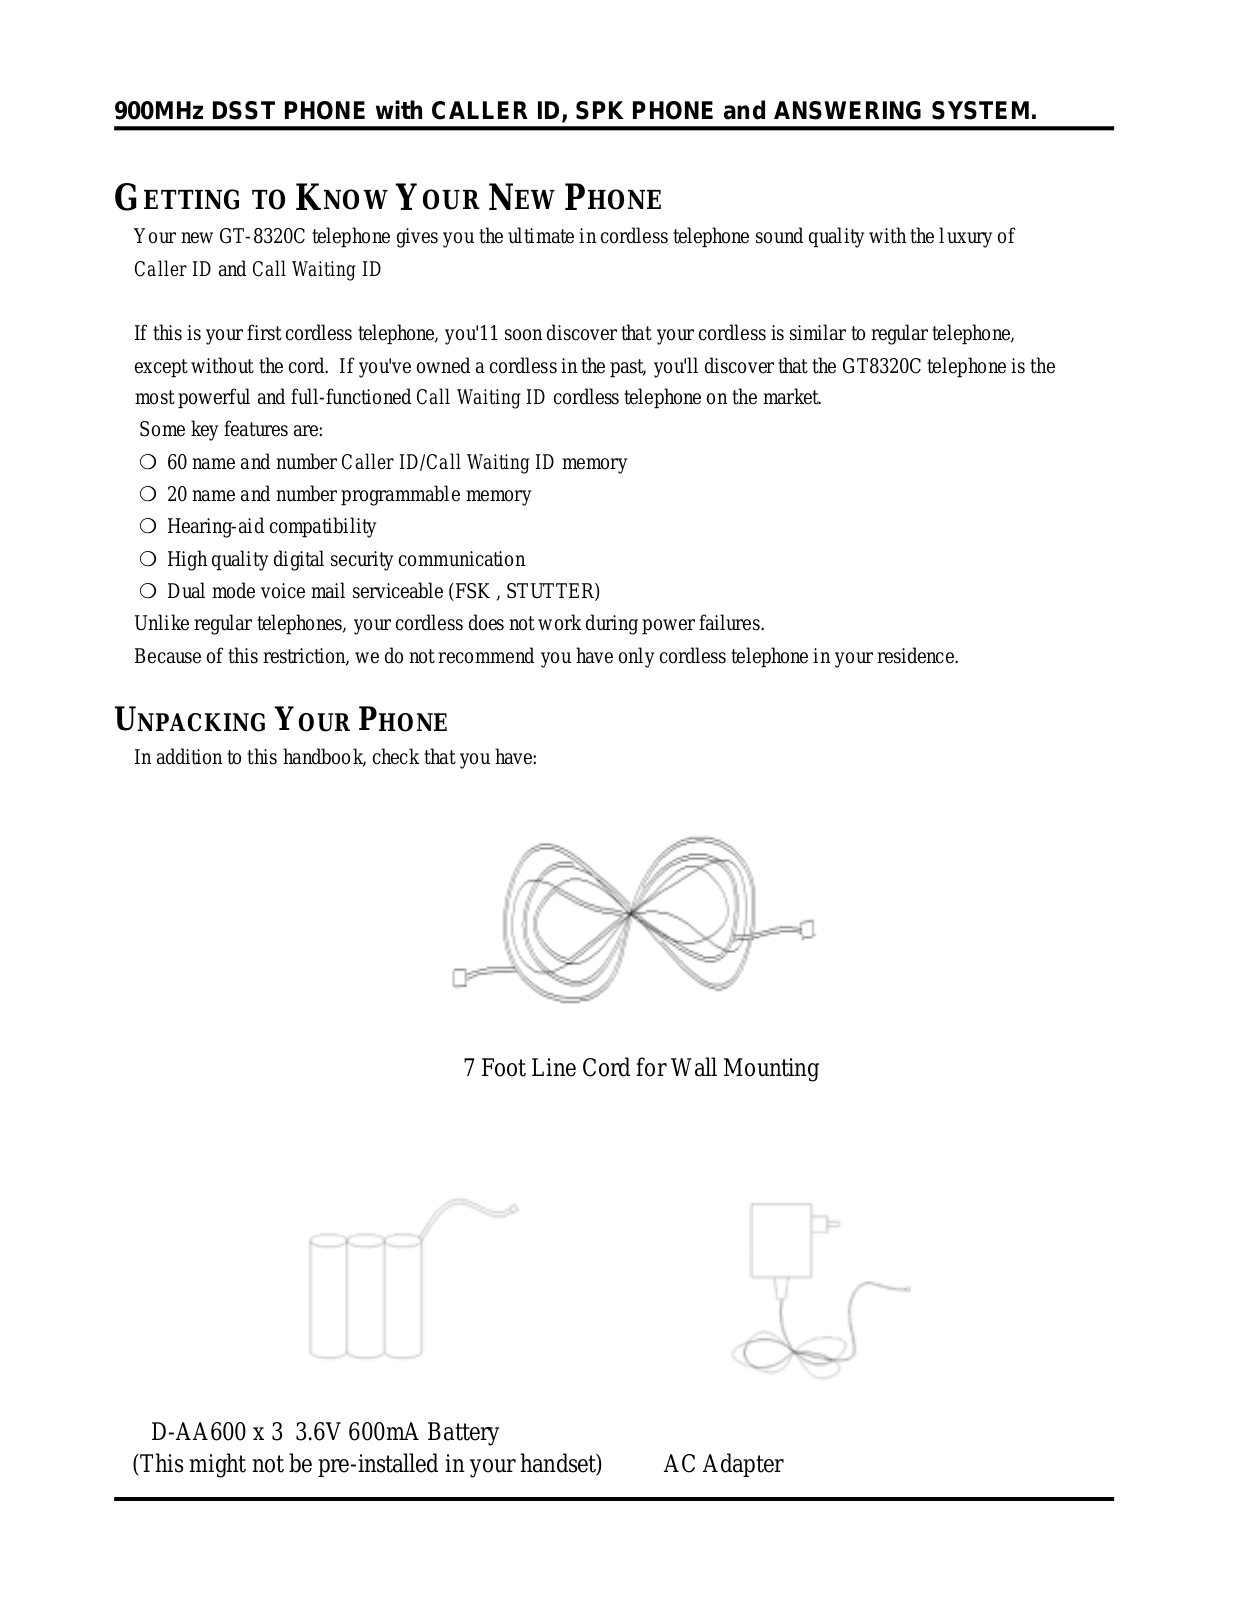
In addition to this handbook, check that you have:

7 Foot Line Cord for Wall Mounting

D-AA600 x 3 3.6V 600mA Battery


(This might not be pre-installed in your handset)

AC Adapter

LG GT 8320C User Manual

900MHz DSST PHONE with CALLER ID, SPK PHONE and ANSWERING SYSTEM.

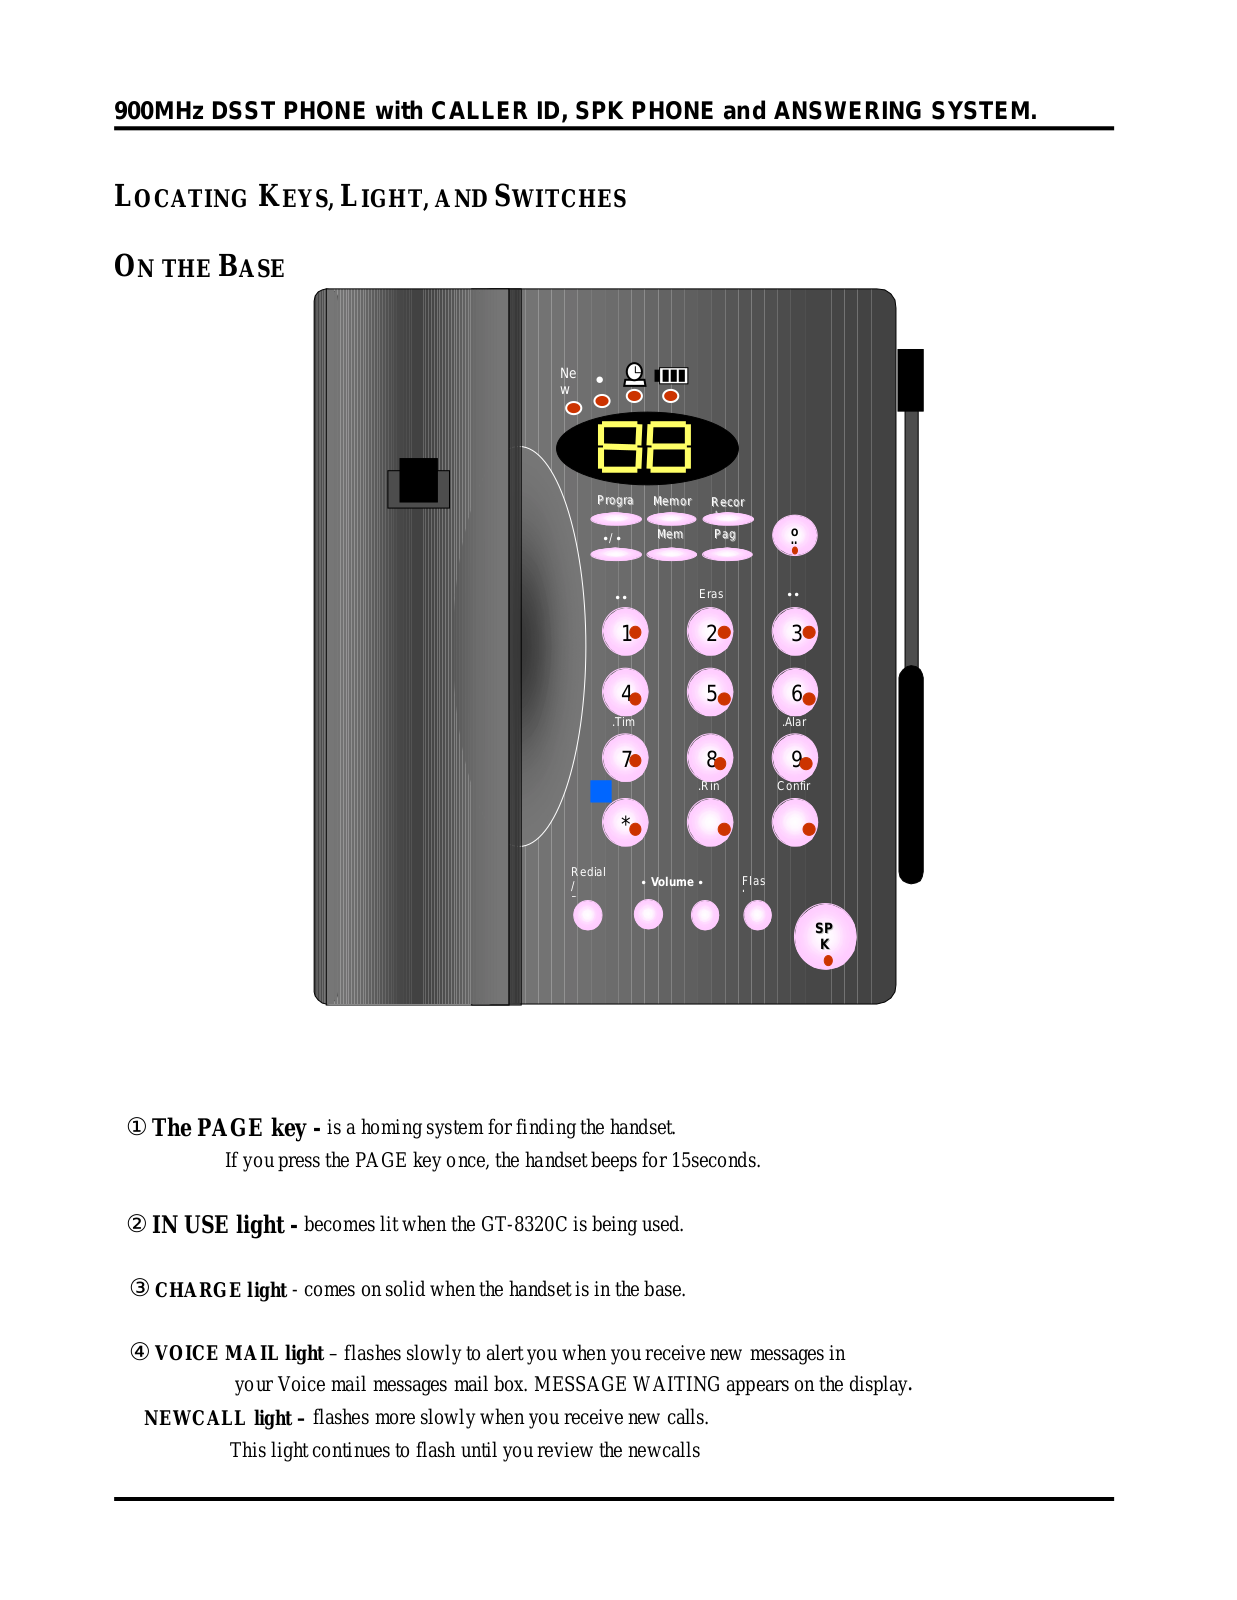
LOCATING KEYS, LIGHT, AND SWITCHES

ON THE BASE

wNe


Progra

Memor

Recor


/

Mem

Pag

O


u


••


Eras

••


1


2

3


4


5

6


.Tim


.Alar


7


8

9


.Rin

Confir


*


Redial

Volume

Flas

/


SP


K

The PAGE key - is a homing system for finding the handset.

If you press the PAGE key once, the handset beeps for 15seconds.

IN USE light - becomes lit when the GT-8320C is being used.

CHARGE light - comes on solid when the handset is in the base.

VOICE MAIL light – flashes slowly to alert you when you receive new messages in

your Voice mail messages mail box. MESSAGE WAITING appears on the display. NEWCALL light – flashes more slowly when you receive new calls.

This light continues to flash until you review the newcalls

900MHz DSST PHONE with CALLER ID, SPK PHONE and ANSWERING SYSTEM.

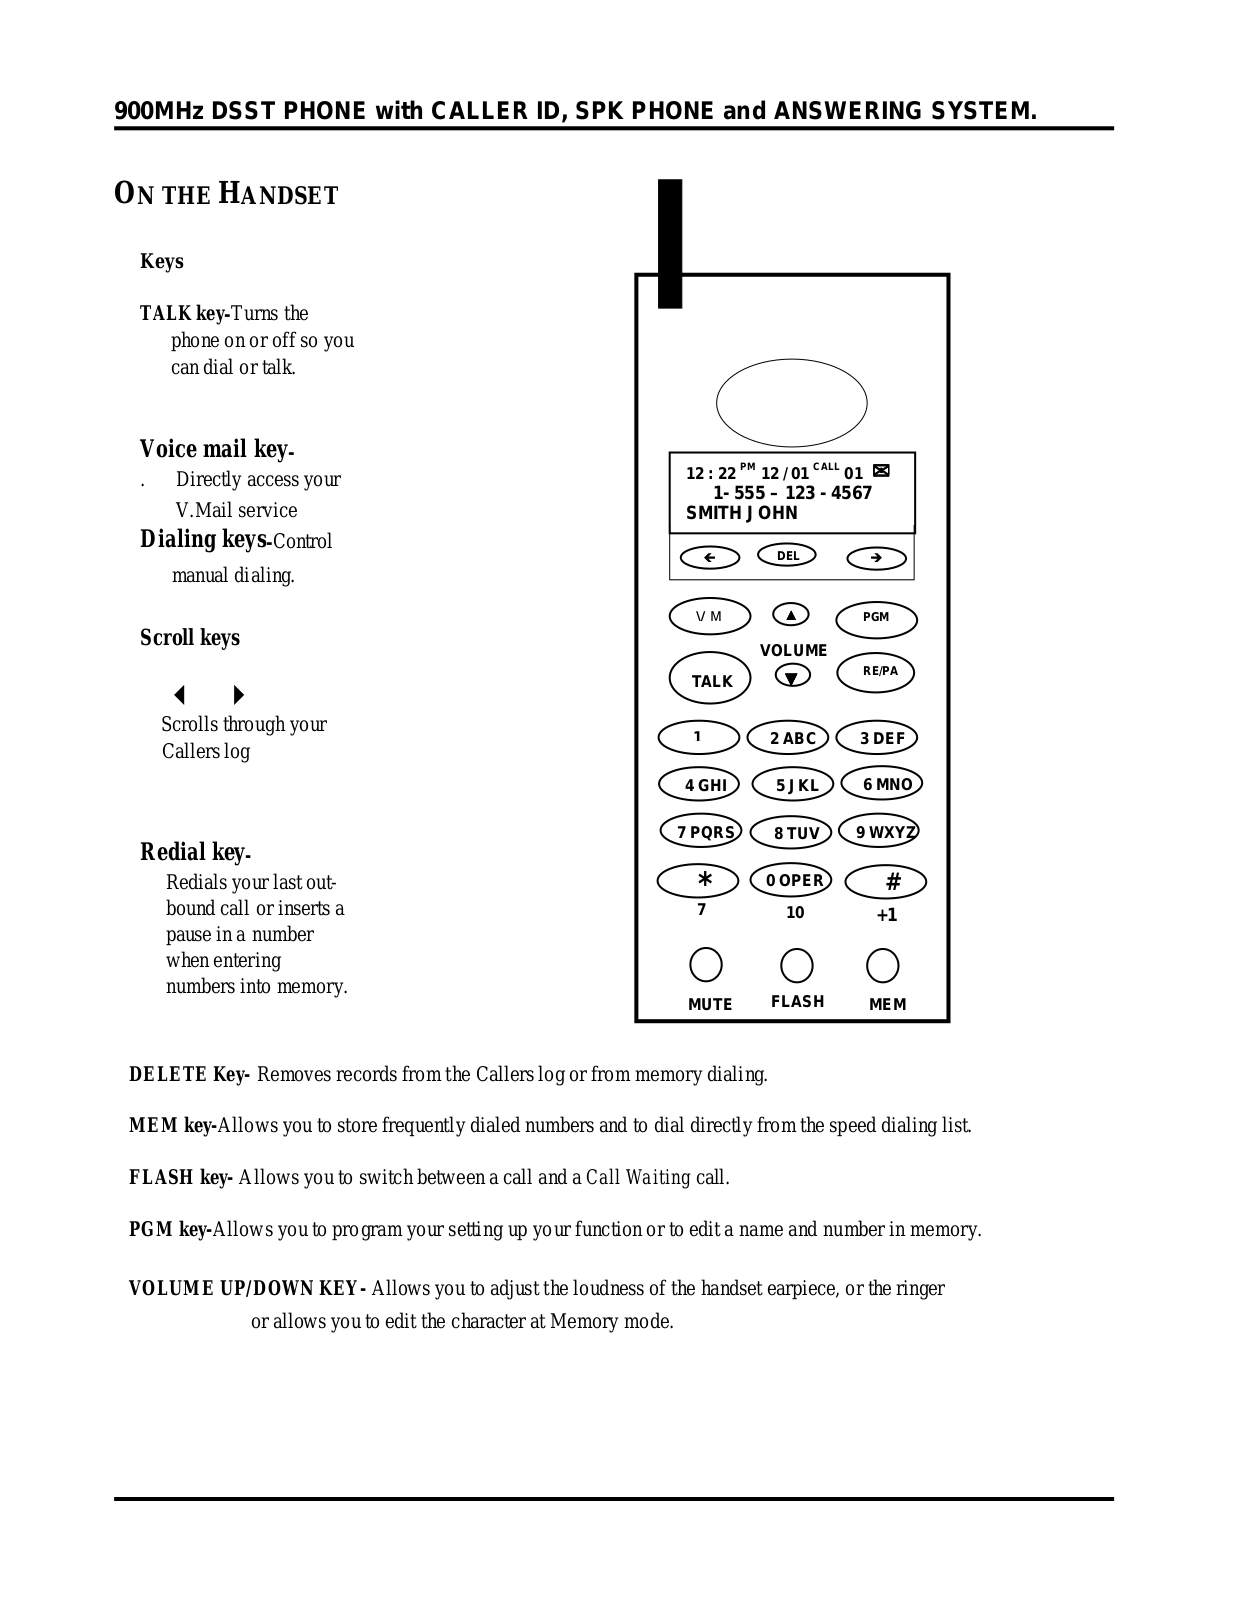
ON THE HANDSET

Keys

TALK key-Turns the phone on or off so you can dial or talk.

Voice mail key-

.

Directly access your

V.Mail service

Dialing keys-Control manual dialing.

Scroll keys

" #

Scrolls through your Callers log

Redial key-

Redials your last outbound call or inserts a pause in a number when entering numbers into memory.

12 : 22 PM 12 / 01 CALL 01

1- 555 – 123 - 4567 SMITH JOHN

"

DEL

!

V M

PGM


VOLUME


TALK

RE/PA


1

2 ABC

3 DEF

4 GHI

5 JKL

6 MNO

7 PQRS

8 TUV

9 WXYZ

*

0 OPER

#


7

10

+1

MUTE

FLASH

MEM

DELETE Key- Removes records from the Callers log or from memory dialing.

MEM key-Allows you to store frequently dialed numbers and to dial directly from the speed dialing list.

FLASH key- Allows you to switch between a call and a Call Waiting call.

PGM key-Allows you to program your setting up your function or to edit a name and number in memory.

VOLUME UP/DOWN KEY- Allows you to adjust the loudness of the handset earpiece, or the ringer or allows you to edit the character at Memory mode.

900MHz DSST PHONE with CALLER ID, SPK PHONE and ANSWERING SYSTEM.

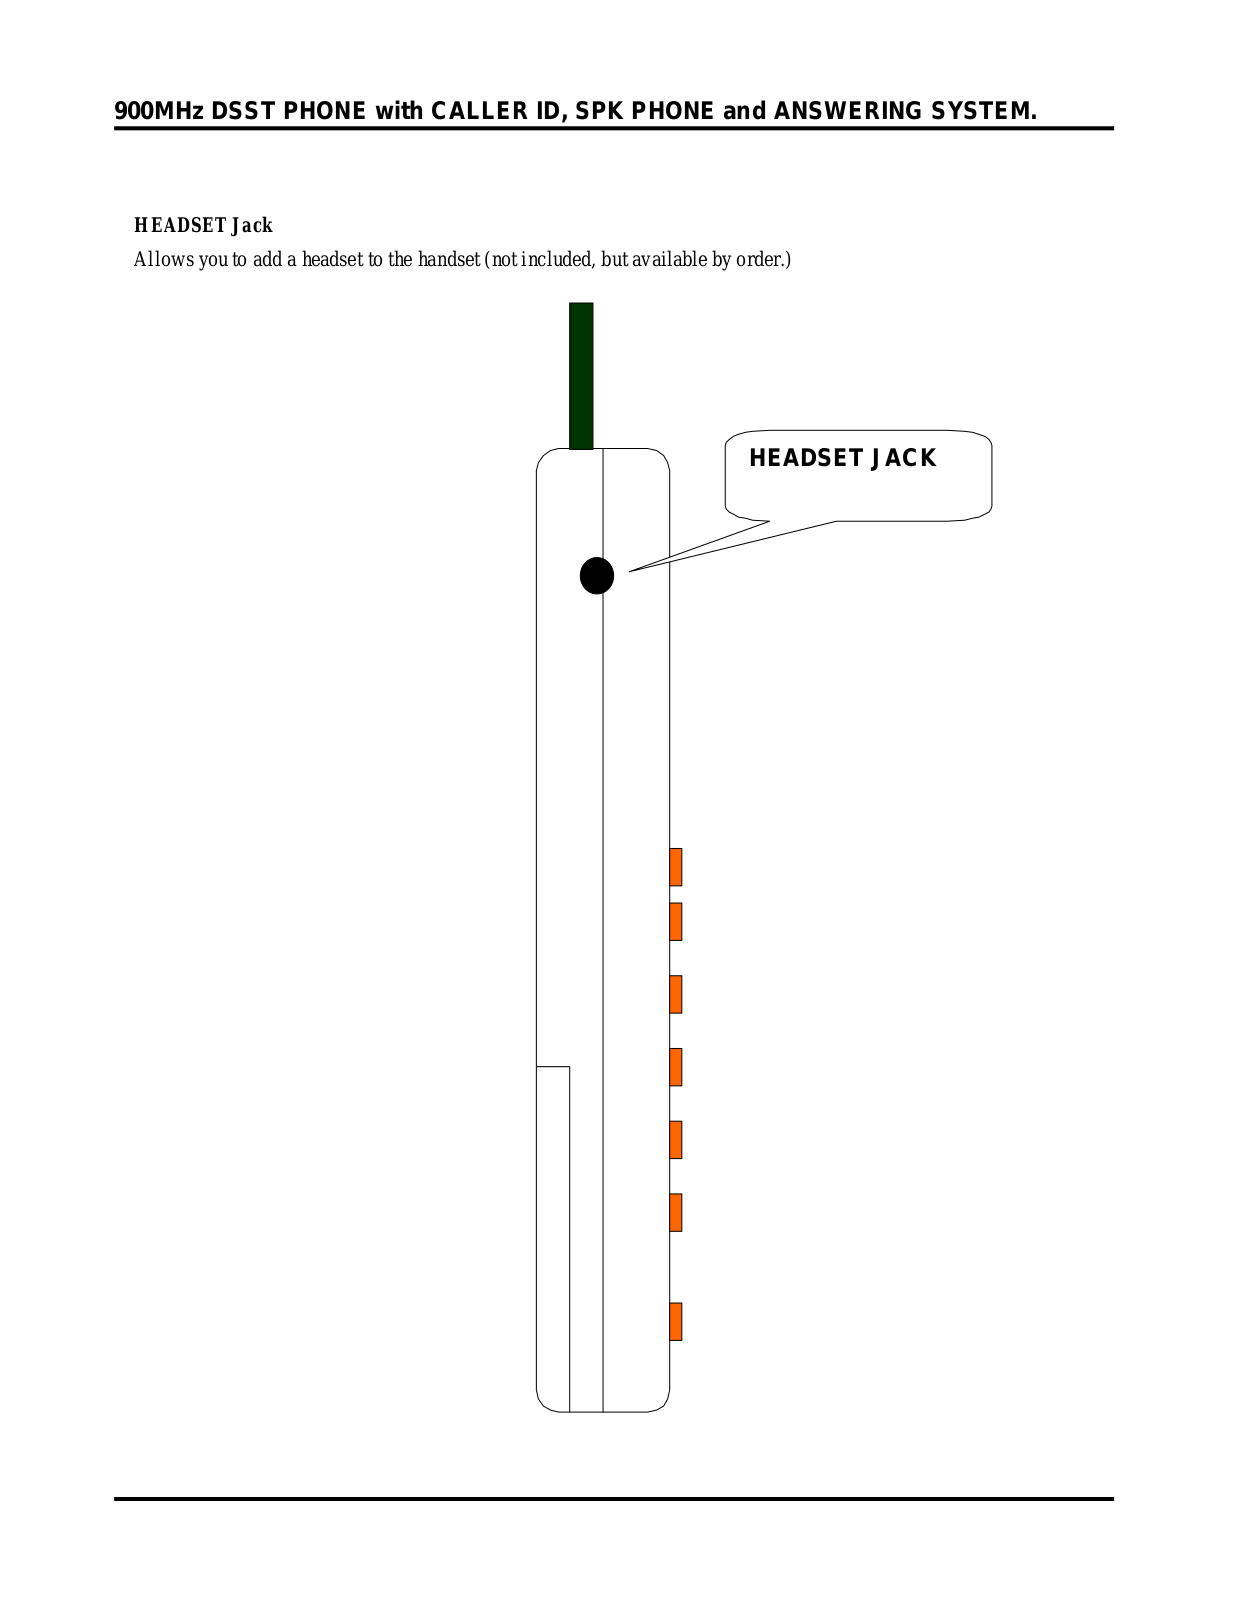
HEADSET Jack

Allows you to add a headset to the handset (not included, but available by order.)

HEADSET JACK

900MHz DSST PHONE with CALLER ID, SPK PHONE and ANSWERING SYSTEM.

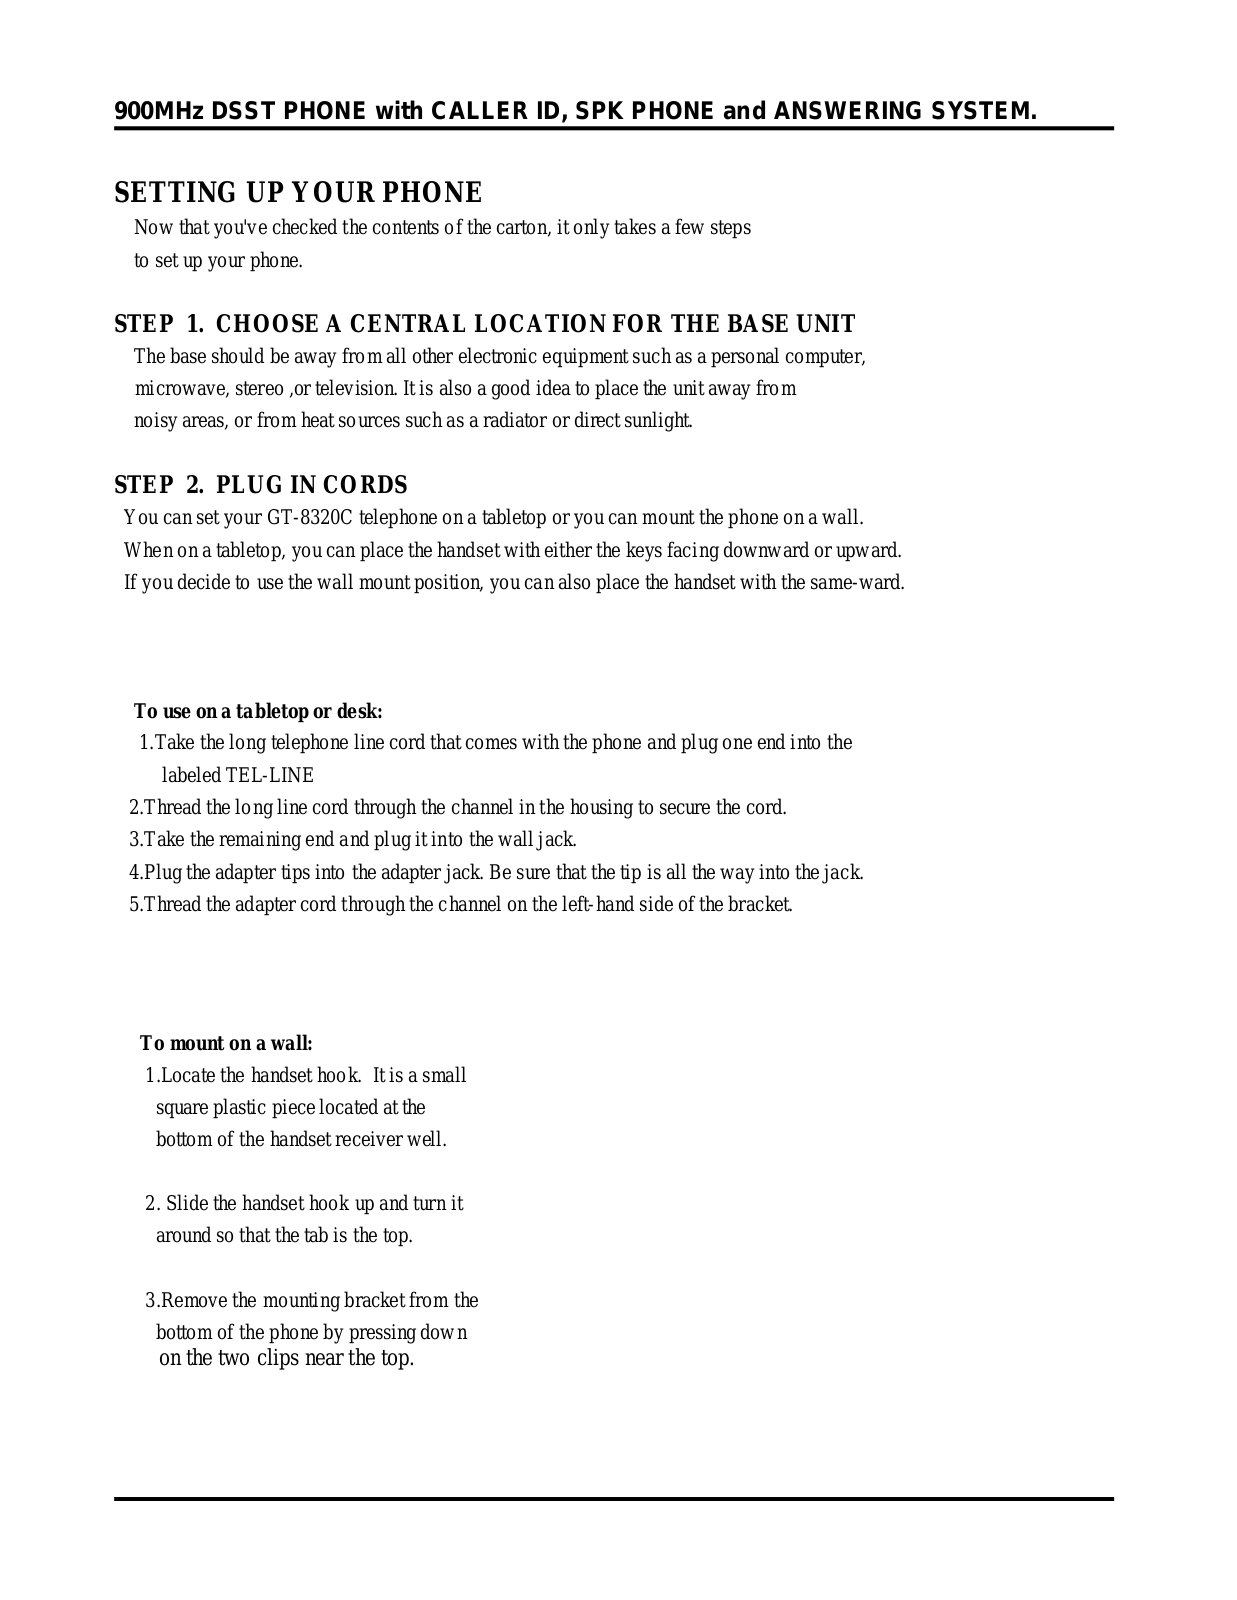
SETTING UP YOUR PHONE

Now that you've checked the contents of the carton, it only takes a few steps to set up your phone.

STEP 1. CHOOSE A CENTRAL LOCATION FOR THE BASE UNIT

The base should be away from all other electronic equipment such as a personal computer, microwave, stereo ,or television. It is also a good idea to place the unit away from

noisy areas, or from heat sources such as a radiator or direct sunlight.

STEP 2. PLUG IN CORDS

You can set your GT-8320C telephone on a tabletop or you can mount the phone on a wall. When on a tabletop, you can place the handset with either the keys facing downward or upward. If you decide to use the wall mount position, you can also place the handset with the same-ward.

To use on a tabletop or desk:

1.Take the long telephone line cord that comes with the phone and plug one end into the labeled TEL-LINE

2.Thread the long line cord through the channel in the housing to secure the cord. 3.Take the remaining end and plug it into the wall jack.

4.Plug the adapter tips into the adapter jack. Be sure that the tip is all the way into the jack. 5.Thread the adapter cord through the channel on the left-hand side of the bracket.

To mount on a wall:

1.Locate the handset hook. It is a small square plastic piece located at the bottom of the handset receiver well.

2. Slide the handset hook up and turn it around so that the tab is the top.

3.Remove the mounting bracket from the bottom of the phone by pressing down

on the two clips near the top.

900MHz DSST PHONE with CALLER ID, SPK PHONE and ANSWERING SYSTEM.

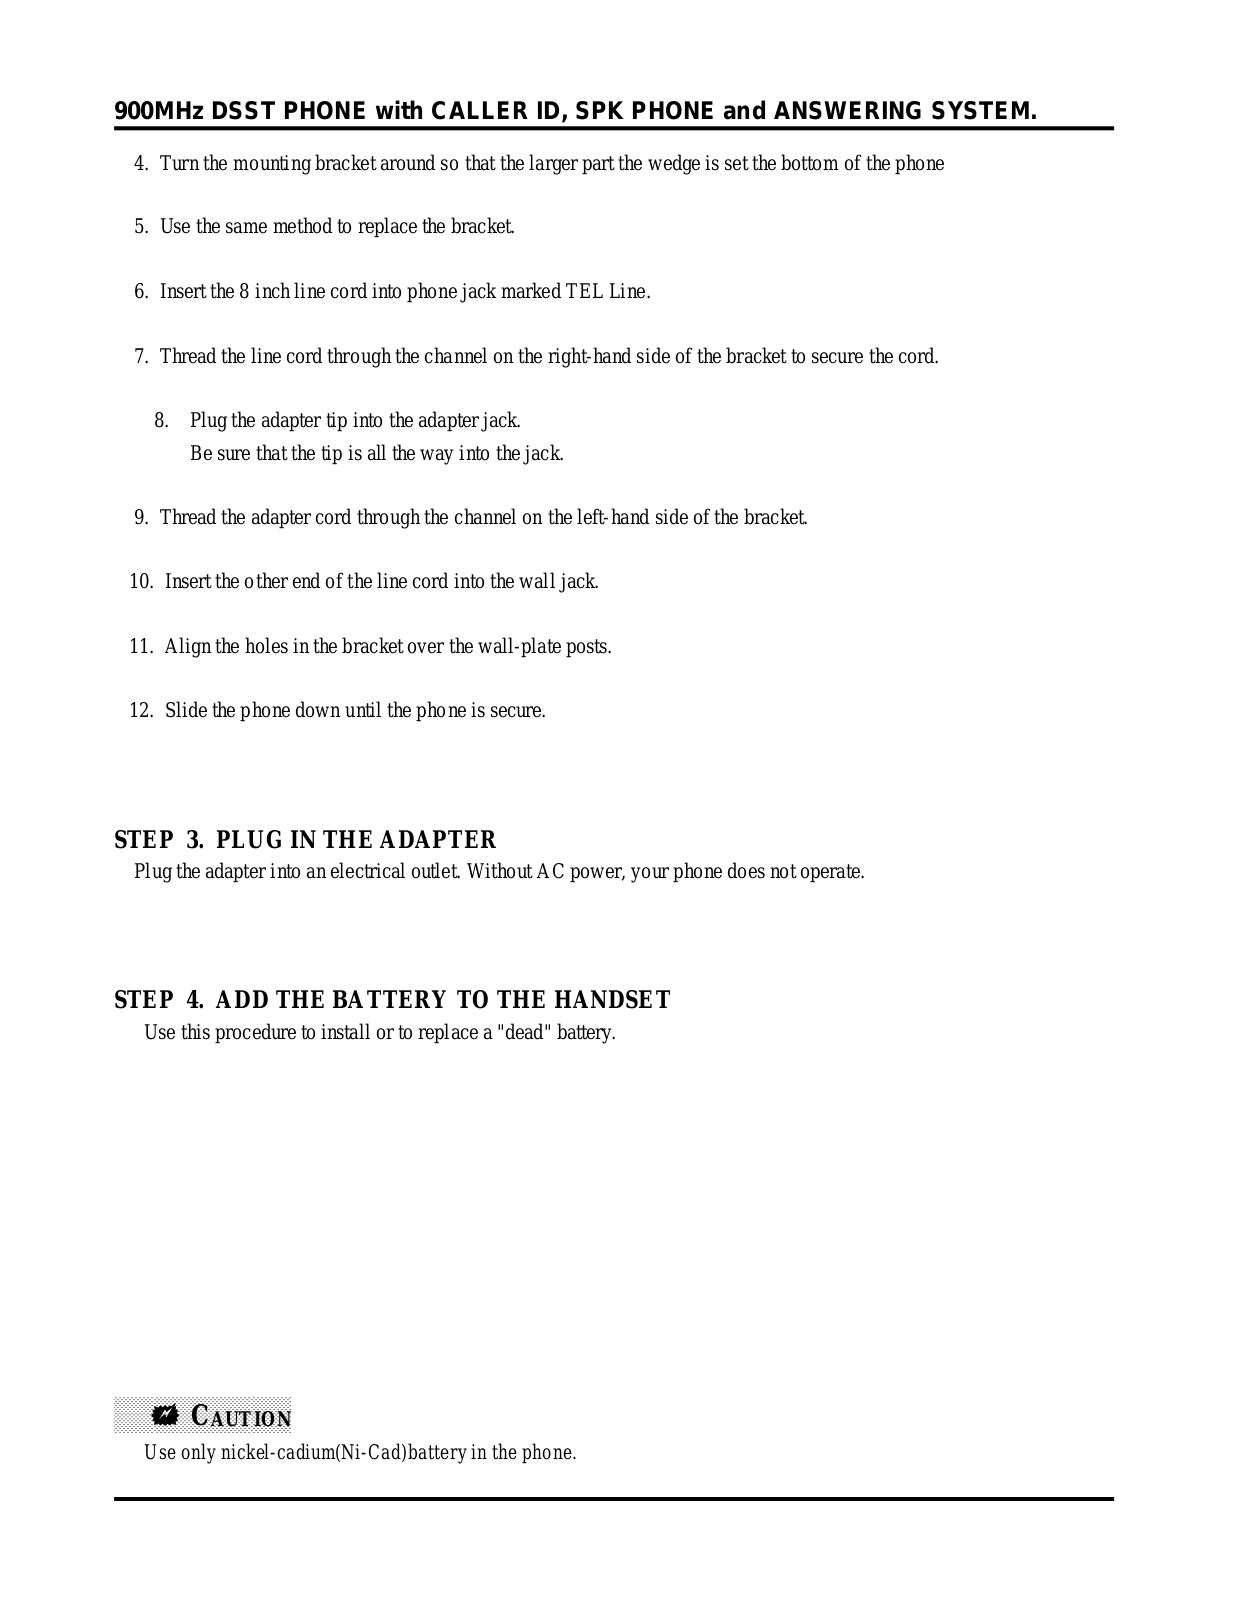
4.Turn the mounting bracket around so that the larger part the wedge is set the bottom of the phone

5.Use the same method to replace the bracket.

6.Insert the 8 inch line cord into phone jack marked TEL Line.

7.Thread the line cord through the channel on the right-hand side of the bracket to secure the cord.

8.Plug the adapter tip into the adapter jack.

Be sure that the tip is all the way into the jack.

9.Thread the adapter cord through the channel on the left-hand side of the bracket.

10. Insert the other end of the line cord into the wall jack.

11. Align the holes in the bracket over the wall-plate posts.

12. Slide the phone down until the phone is secure.

STEP 3. PLUG IN THE ADAPTER

Plug the adapter into an electrical outlet. Without AC power, your phone does not operate.

STEP 4. ADD THE BATTERY TO THE HANDSET

Use this procedure to install or to replace a "dead" battery.

! CAUTION

Use only nickel-cadium(Ni-Cad)battery in the phone.

900MHz DSST PHONE with CALLER ID, SPK PHONE and ANSWERING SYSTEM.

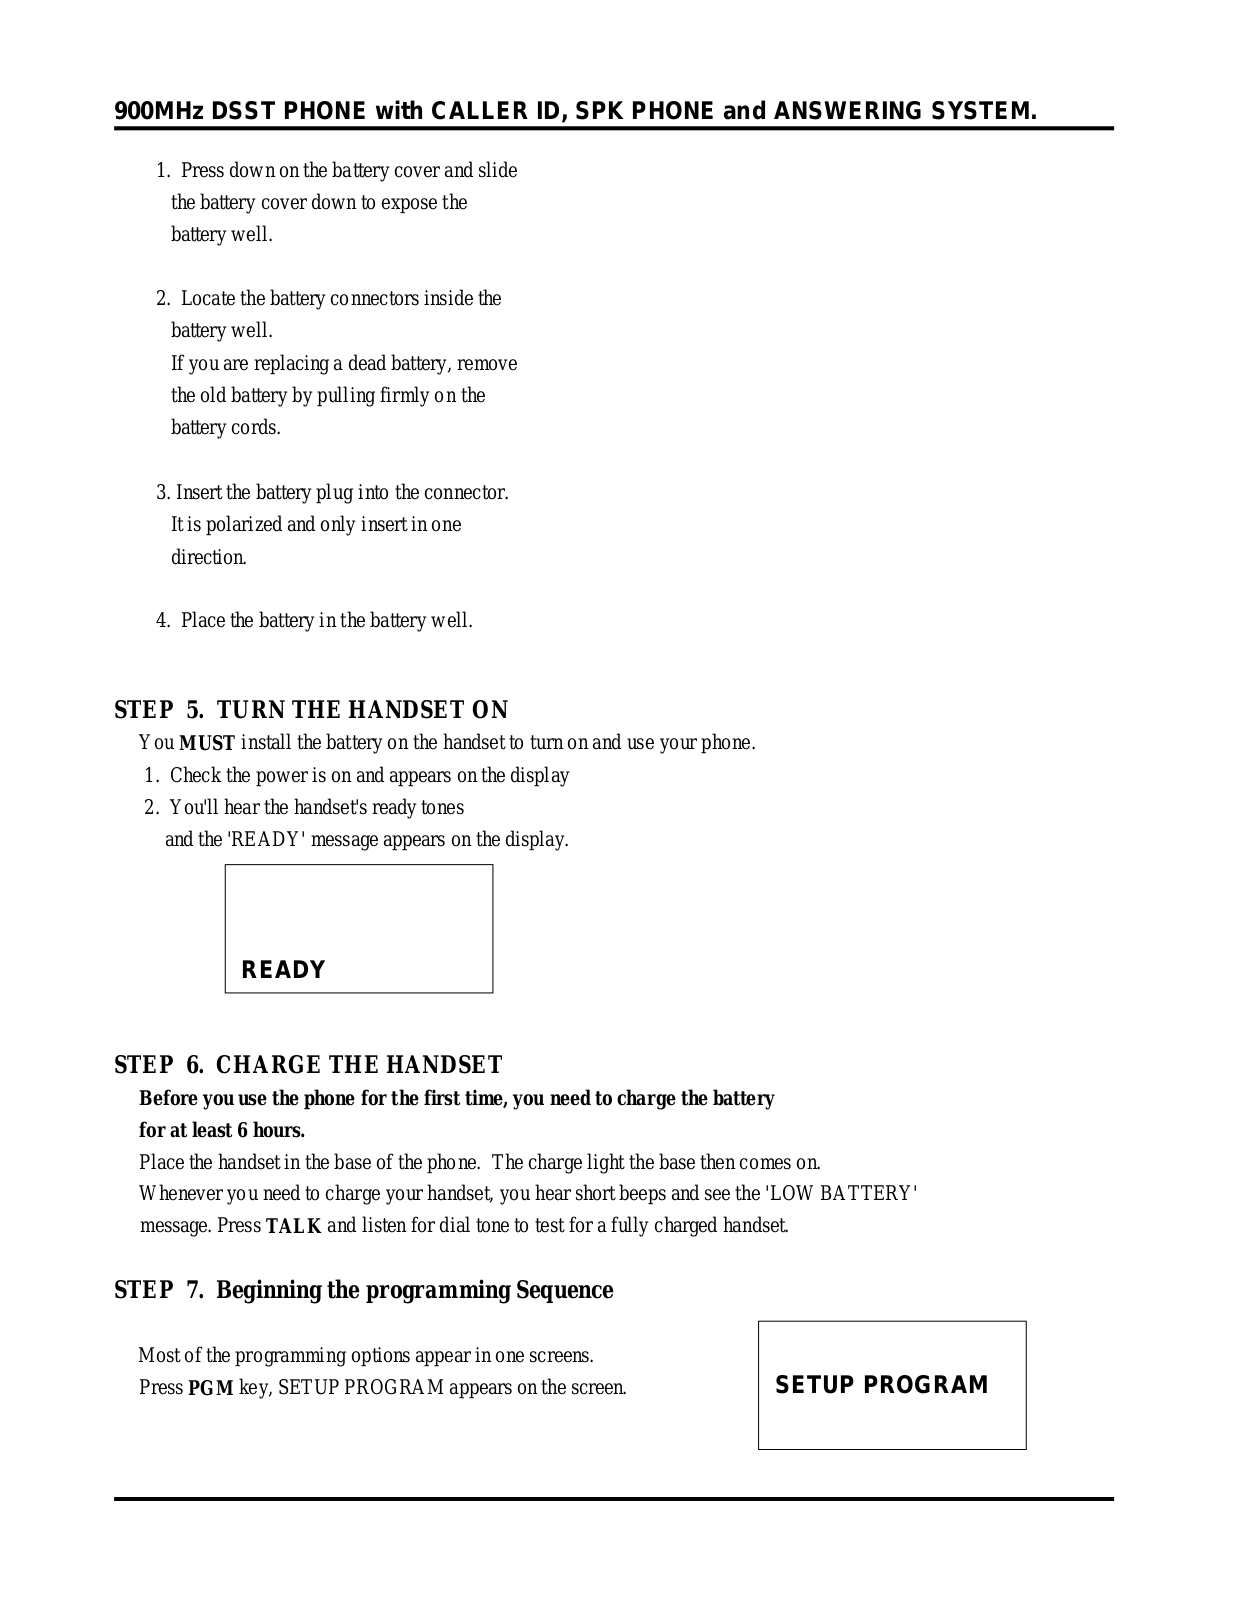
1.Press down on the battery cover and slide the battery cover down to expose the battery well.

2.Locate the battery connectors inside the battery well.

If you are replacing a dead battery, remove the old battery by pulling firmly on the battery cords.

3.Insert the battery plug into the connector. It is polarized and only insert in one direction.

4.Place the battery in the battery well.

5.Replace the battery door.

STEP 5. TURN THE HANDSET ON

You MUST install the battery on the handset to turn on and use your phone.

1.Check the power is on and appears on the display

2.You'll hear the handset's ready tones

and the 'READY' message appears on the display.

READY

STEP 6. CHARGE THE HANDSET

Before you use the phone for the first time, you need to charge the battery for at least 6 hours.

Place the handset in the base of the phone. The charge light the base then comes on.

Whenever you need to charge your handset, you hear short beeps and see the 'LOW BATTERY' message. Press TALK and listen for dial tone to test for a fully charged handset.

STEP 7. Beginning the programming Sequence

Most of the programming options appear in one screens. Press PGM key, SETUP PROGRAM appears on the screen.

SETUP PROGRAM

Loading...
+ 20 hidden pages