

LG GN-292SCK Manual book

L
i
f
e
L
i
f
e
’
s
G
o
o
d
’
s
G
o
o
d
REFRIGERATORFREEZER
OWNER’S MANUAL
MODEL : GN-262, GR-262
GN-292, GR-292
MODEL : GN-262, GR-262
GN-292, GR-292
PLEASE
READ THIS OWNER’S MANUAL THOROUGHLY
BEFORE OPERATING AND KEEP IT HANDY
FOR REFERENCE AT ALL TIMES
P/NO. 3828JP8011F
P/NO. 3828JP8011F

INSTALLATION ............................................... 3
CONTENTS
FEATURE CHART ........................................... 4
OPERATION .................................................... 5
Starting
Temperature Control
Ice Making
Chilled Compartment
Defrosting
Deodorizer (Optional)
SUGGESTIONS ON FOOD STORAGE ........ 8
CLEANING ..................................................... 9
GENERAL INFORMATION ............................ 9
LAMP REPLACEMENT ................................ 10
IMPORTANT WARNINGS ............................ 10
BEFORE CALLING FOR SERVICE ............ 11
2
THIS REFRIGERATOR IS MANUFACTURED WITH GREAT CARE AND UTILIZES THE
LATEST IN TECHNOLOGY.
WE ARE CONFIDENT THAT YOU WILL BE FULLY SATISFIED WITH ITS PERFORMANCE
AND RELIABILITY.
BEFORE USING YOUR REFRIGERATOR, PLEASE READ THIS BOOKLET CAREFULLY.
IT PROVIDES EXACT INSTRUCTIONS FOR INSTALLATION, OPERATION, AND
MAINTENANCE, AND ALSO SUPPLIES SOME USEFUL HINTS.
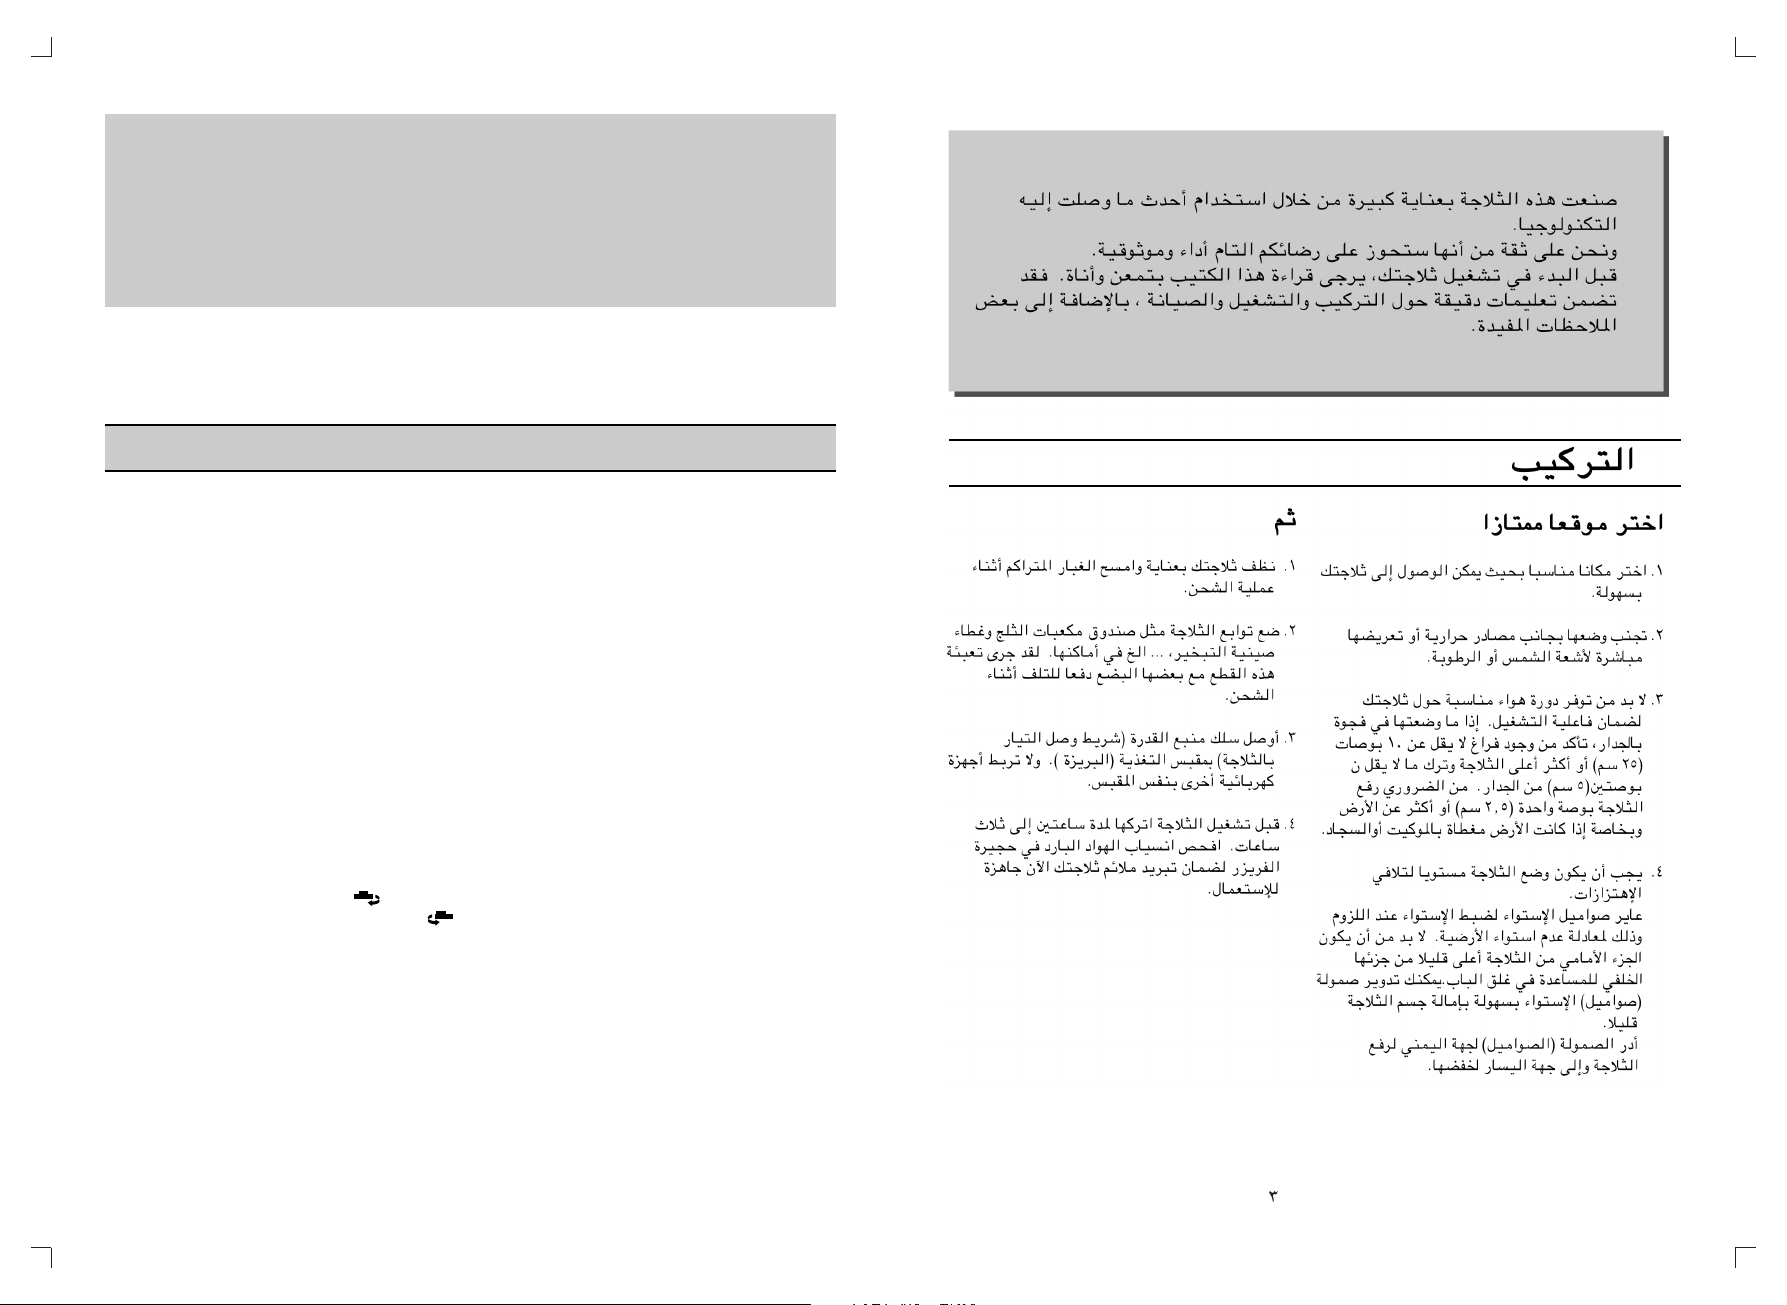
INSTALLATION
SELECT A GOOD LOCATION
1. Place your refrigerator where it is easy to use.
2. Avoid placing the refrigerator near heat
sources, direct sunlight or moisture.
3. Air must circulate properly around your
refrigerator to ensure efficient operation.
If your refrigerator is placed in a recessed area
in the wall, allow at least 10 inches (25 cm) or
greater clearance above the refrigerator and 2
inches (5 cm) or more from the wall.
The refrigerator should be elevated 1 inch
(2.5 cm) from the floor, especially if the floor is
carpeted.
4. To avoid vibrations, the refrigerator must be
level. If necessary, adjust the leveling screw
to compensate for unevenness of the floor.
To close the doors easily, the front should be
slightly higher than the rear. Leveling screw
can be turned easily by tipping the cabinet
slightly. Turn the leveling screw ( ) clockwise
to raise the refrigerator, counterclockwise ( )
to lower it.
NEXT
1. Wipe off all dust accumulated during shipping
and clean your refrigerator thoroughly.
2. Install accessories such as the ice cube box,
evaporating tray cover, etc., in their proper
places. They are packed together to prevent
possible damage during shipping.
3. Connect the power supply cord (or plug) to the
outlet. Don't double up with other appliances
on the same outlet.
4. Prior to use, let the refrigerator run for 2-3
hours. Check the flow of cold air in the freezer
compartment to ensure proper cooling has
taken place.Your refrigerator is now ready for
use.
3
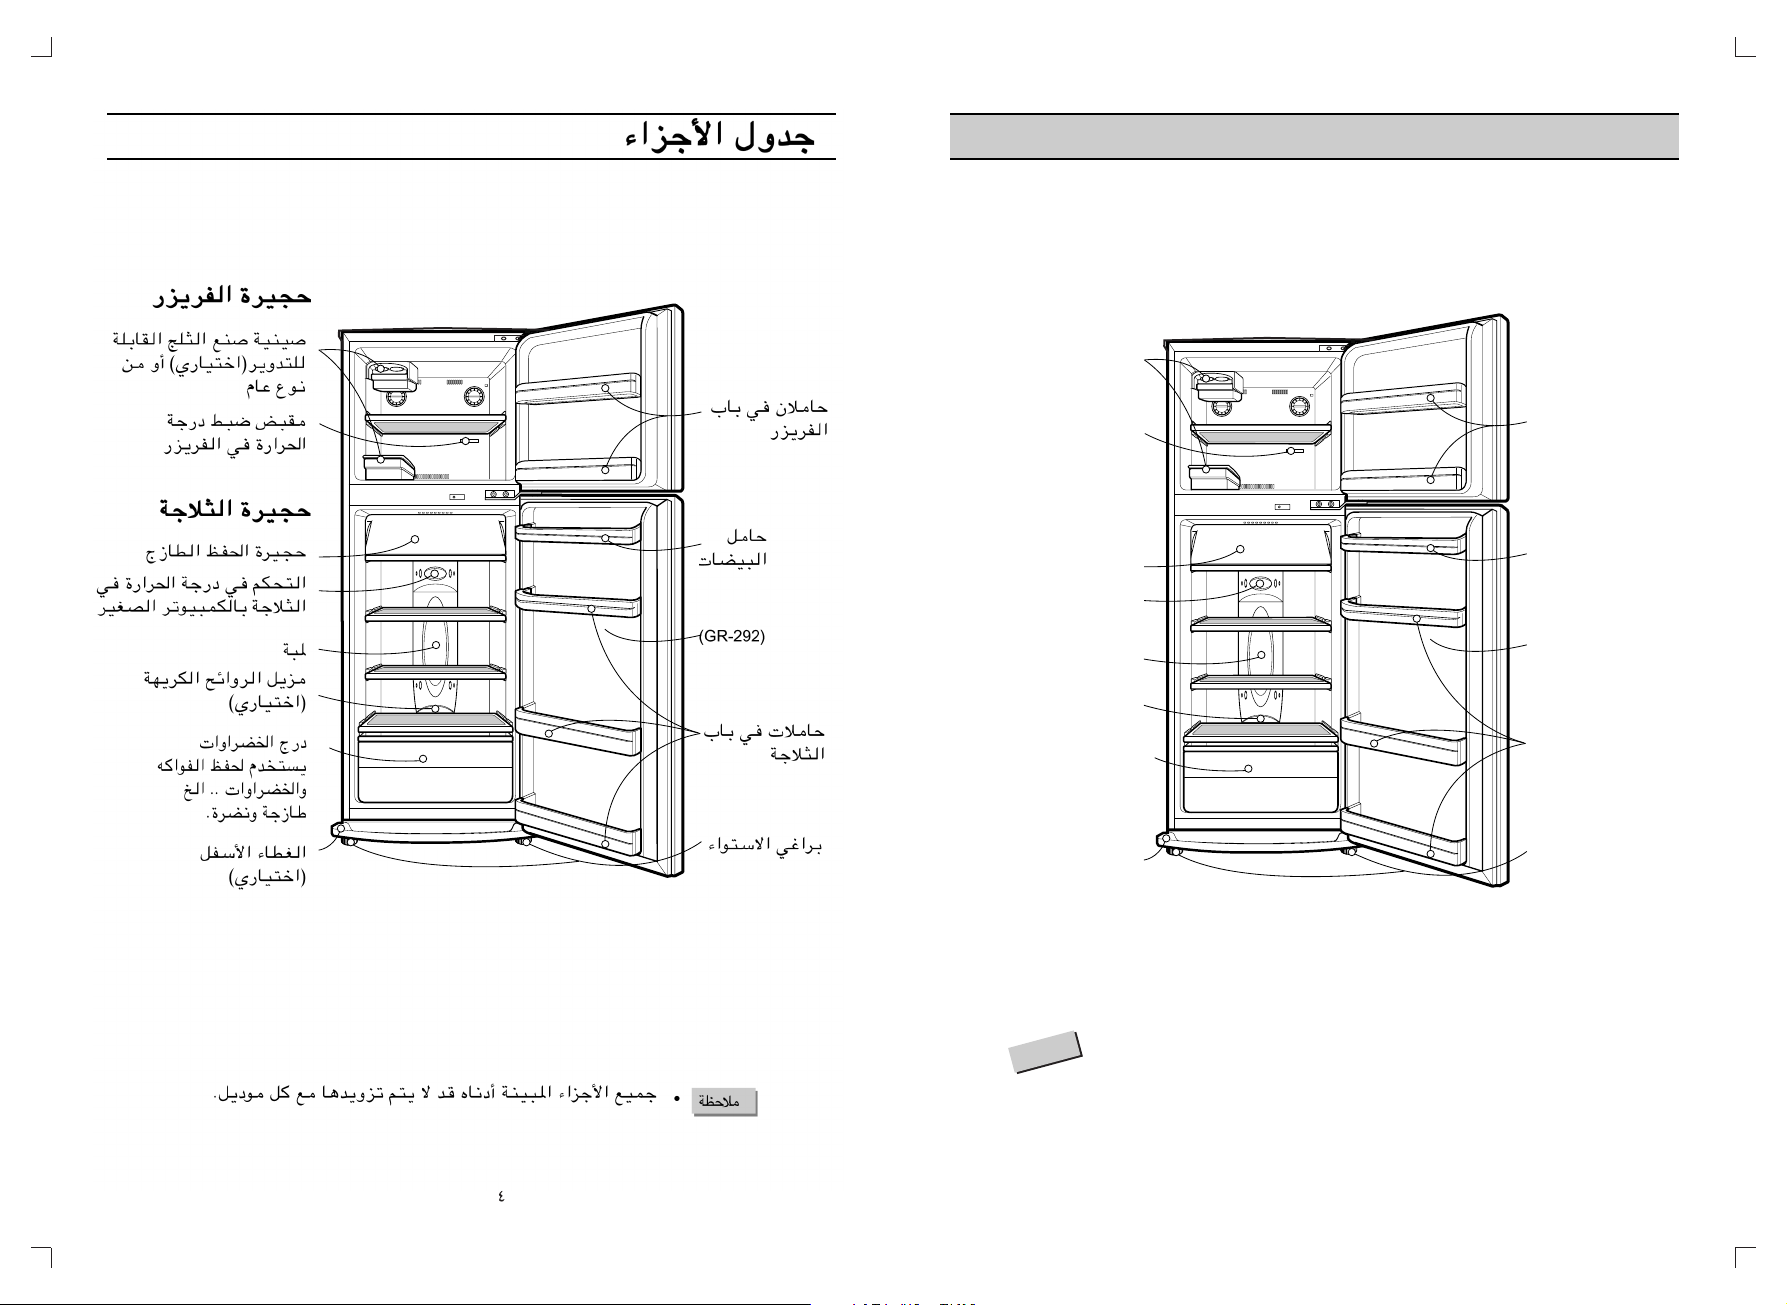
FEATURE CHART
FREEZER
COMPARTMENT
Twisting Ice Serve (Option)
or General Type Ice Making
Freezer Temperature
Control Knob
REFRIGERATOR
COMPARTMENT
Chilled Compartment
Refrigerator Temperature
Electronic Control
Lamp
Deodorizer
(Optional)
Vegetable Drawer
Used to keep fruits
and vegetables, etc.
fresh and crisp.
Cover Lower
(Optional)
Freezer Door Rack
Egg Storage Rack
(GR-292 only)
Refrigerator Door Rack
Leveling Screws
NO ET
All parts shown may not be included with every model.
4
 Loading...