

LG DM5360 USER GUIDE
Additional Information
Specifications
Power Requirements
Power Consumption
Dimensions (W x H x D)
Net Weight Approx. 2.7 kg
Bus Power Supply (USB)
Amplier
(Total RMS output power)
Design and specications are subject to change without
notice.
Refer to the main label on
the unit.
Refer to the main label on
the unit.
Approx. 204.5 mm x
278 mm x 285.5 mm
5 V 0 500 mA
230 W
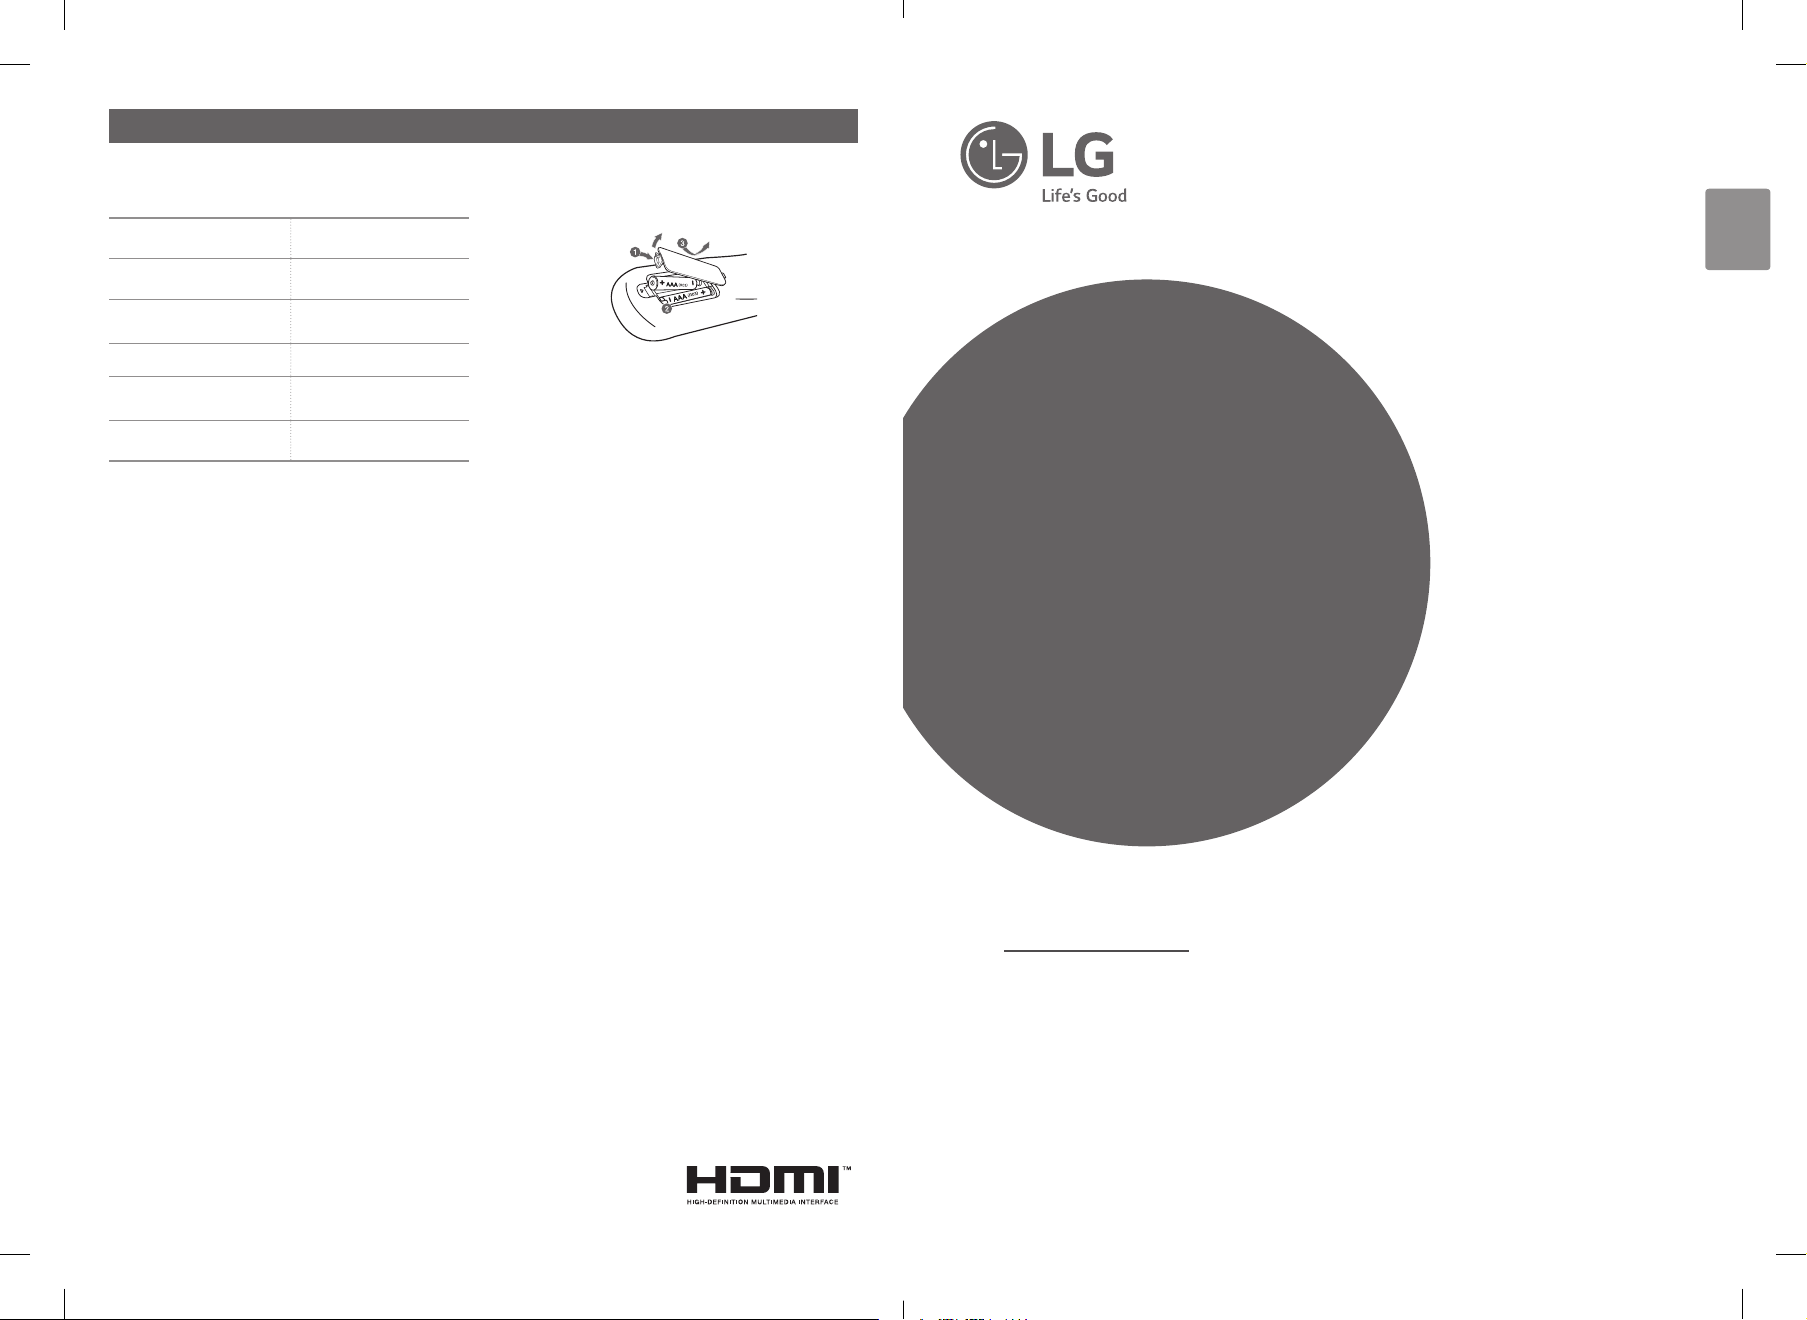
Replacement of battery
POWER: This unit operates on a mains supply of
200 - 240 V ~, 50 / 60 Hz.
Wiring: This unit is supplied with a BS 1363 approved
main plug. When replacing the fuse, always use of the
same rating approved to BS 1362. Never use this plug
with the fuse cover omitted. To obtain a replacement fuse
cover contact your dealer. If the type of plug supplied is
not suitable for the mains sockets in your home, then the
plug should be removed and a suitable type tted. Please
refer to the wiring instructions below:
Warning: A mains plug removed from the mains lead
of this unit must be destroyed. A mains plug with bared
wires is hazardous if inserted in a mains socket. Do not
connect either wire to the earth pin, marked with the
letter E or with the earth symbol 6 or coloured green
or green and yellow. If any other plug is tted, use same
rating of fuse in the plug.
Important: The wires in this mains lead are coloured in
accordance with the following codes:
- BLUE: NEUTRAL, BROWN: LIVE - As the colours of the
wires in the mains lead of this unit may not correspond
with the coloured marking identifying the terminals in
your plug, proceed as follows: The wire which is coloured
blue must be connected to the terminal which is marked
with the letter N or coloured black. The wire which is
coloured brown must be connected to the terminal which
is marked with the letter L or coloured red.
ENGLISH
SIMPLE MANUAL
DVD MINI
HI-FI SYSTEM
To view the instructions of advanced features,
visit http://www.lg.com and then download Owner’s Manual.
Some of the content in this manual may differ from your unit.
MODEL
DM5360
*MFL69597710*
DM5360-FB_AKENHLK_SIM_ENG_7710.indd 2 2017-03-27 10:26:20
www.lg.com

a Display window
b 1/!(Standby/On)
Turns the power on or off.
c U (Skip/Search)
- Skips to the next track/le/chapter.
- Tunes in the desired radio station.
d B. BLAST (Bass Blast)
Press to select BASS effect directly.
Front Panel
e Y (Skip/Search)
- Skips to the previous track/le/chapter.
- Tunes in the desired radio station.
f MIC VOLUME (Microphone Volume)
Adjusts Mic volume.
g Disc tray
h USB Port
You can play sound les by connecting the USB device.
i FUNCTION
Selects the function and input source.
j z (Play/Pause)
- Starts or pauses playback.
- Selects Stereo/Mono.
k REGION EQ
Chooses region equalizer.
l R (Open/Close)
Opens and closes the disc tray.
m MIC (Microphone) jack
Connects a microphone.
n MASTER VOLUME
Adjusts speaker volume.
Rear Panel
AUX IN
TV Connection1
Connect with the unit and TV using HDMI.
a Connect the unit to the TV using HDMI cable.
b Set the input selector to HDMI on the TV.
c Follow the instructions on the TV screen using
remote control.
TV
Speaker Connection
Red
Black
Home Menu2
Home menu appears on the TV screen. Enjoy various
functions on the unit.
a POWER IN
b VIDEO OUT
Connects to TV.
c ANTENNA (FM)
d AUX IN (L/R)
Connects an auxiliary device.
e HDMI
Connects to TV.
f SPEAKERS Terminal
For more information, download the online owner’s manual. http://www.lg.com
DM5360-FB_AKENHLK_SIM_ENG_7710.indd 3-4 2017-03-27 10:26:21
 Loading...