

LG 42LT650H INSTALLATION MANUAL

INSTALLATION MANUAL
LED LCD TV
Please read this manual carefully before operating
your set and retain it for future reference.
LT64**
LT65**
LS64**
P/NO: MFL67099961 (1204-REV00)
Printed in Korea
www.lg.com


CONTENTS
LOCATION AND FUNCTION OF CONTROLS . . . . . . . . . . . . . . . . . . 2~4
EZMANAGER
Introduction . . . . . . . . . . . . . . . . . . . . . . . . . . . . . . . . . . . . . . . . . . . . . . . . . . . . . . . . . . . . . 5
Pro:Centric Auto . . . . . . . . . . . . . . . . . . . . . . . . . . . . . . . . . . . . . . . . . . . . . . . . . . . . . . . . . 5
Pro:Centric Manual . . . . . . . . . . . . . . . . . . . . . . . . . . . . . . . . . . . . . . . . . . . . . . . . . . . . . . . 6
USB Cloning . . . . . . . . . . . . . . . . . . . . . . . . . . . . . . . . . . . . . . . . . . . . . . . . . . . . . . . . . . . . 7
Non Pro: Centric . . . . . . . . . . . . . . . . . . . . . . . . . . . . . . . . . . . . . . . . . . . . . . . . . . . . . . . . . 8
INSTALLATION MENU
Introduction . . . . . . . . . . . . . . . . . . . . . . . . . . . . . . . . . . . . . . . . . . . . . . . . . . . . . . . . . . . . . 9
LG Hotel Mode Setup. . . . . . . . . . . . . . . . . . . . . . . . . . . . . . . . . . . . . . . . . . . . . . . . . 10~14
TV Link-Loader . . . . . . . . . . . . . . . . . . . . . . . . . . . . . . . . . . . . . . . . . . . . . . . . . . . . . . . . . 15
USB Cloning Procedure. . . . . . . . . . . . . . . . . . . . . . . . . . . . . . . . . . . . . . . . . . . . . . . . 16
- Introduction . . . . . . . . . . . . . . . . . . . . . . . . . . . . . . . . . . . . . . . . . . . . . . . . . . . . . . 16
Send To USB . . . . . . . . . . . . . . . . . . . . . . . . . . . . . . . . . . . . . . . . . . . . . . . . . . . . . . . . 17
Receive From USB. . . . . . . . . . . . . . . . . . . . . . . . . . . . . . . . . . . . . . . . . . . . . . . . . . . . 17
Password Change. . . . . . . . . . . . . . . . . . . . . . . . . . . . . . . . . . . . . . . . . . . . . . . . . . . . . . . 18
Set ID Setup . . . . . . . . . . . . . . . . . . . . . . . . . . . . . . . . . . . . . . . . . . . . . . . . . . . . . . . . . . . 18
Configuration Setup . . . . . . . . . . . . . . . . . . . . . . . . . . . . . . . . . . . . . . . . . . . . . . . . . . 19~20
External Speaker. . . . . . . . . . . . . . . . . . . . . . . . . . . . . . . . . . . . . . . . . . . . . . . . . . . . . . . 21
Speaker Output Setup . . . . . . . . . . . . . . . . . . . . . . . . . . . . . . . . . . . . . . . . . . . . . . . . . 22
Pro:Centric. . . . . . . . . . . . . . . . . . . . . . . . . . . . . . . . . . . . . . . . . . . . . . . . . . . . . . . . . . . . . 23
Power Saving . . . . . . . . . . . . . . . . . . . . . . . . . . . . . . . . . . . . . . . . . . . . . . . . . . . . . . . . . . 24
CEC Setup . . . . . . . . . . . . . . . . . . . . . . . . . . . . . . . . . . . . . . . . . . . . . . . . . . . . . . . . . . . 25
Clock Setup . . . . . . . . . . . . . . . . . . . . . . . . . . . . . . . . . . . . . . . . . . . . . . . . . . . . . . . . . . . . 26
DOWNLOAD EXTRA CONTENTS . . . . . . . . . . . . . . . . . . . . . . . . . . . . . 27~28
DOWNLOAD A SPLASH IMAGE. . . . . . . . . . . . . . . . . . . . . . . . . . . . . . . 29~30
1
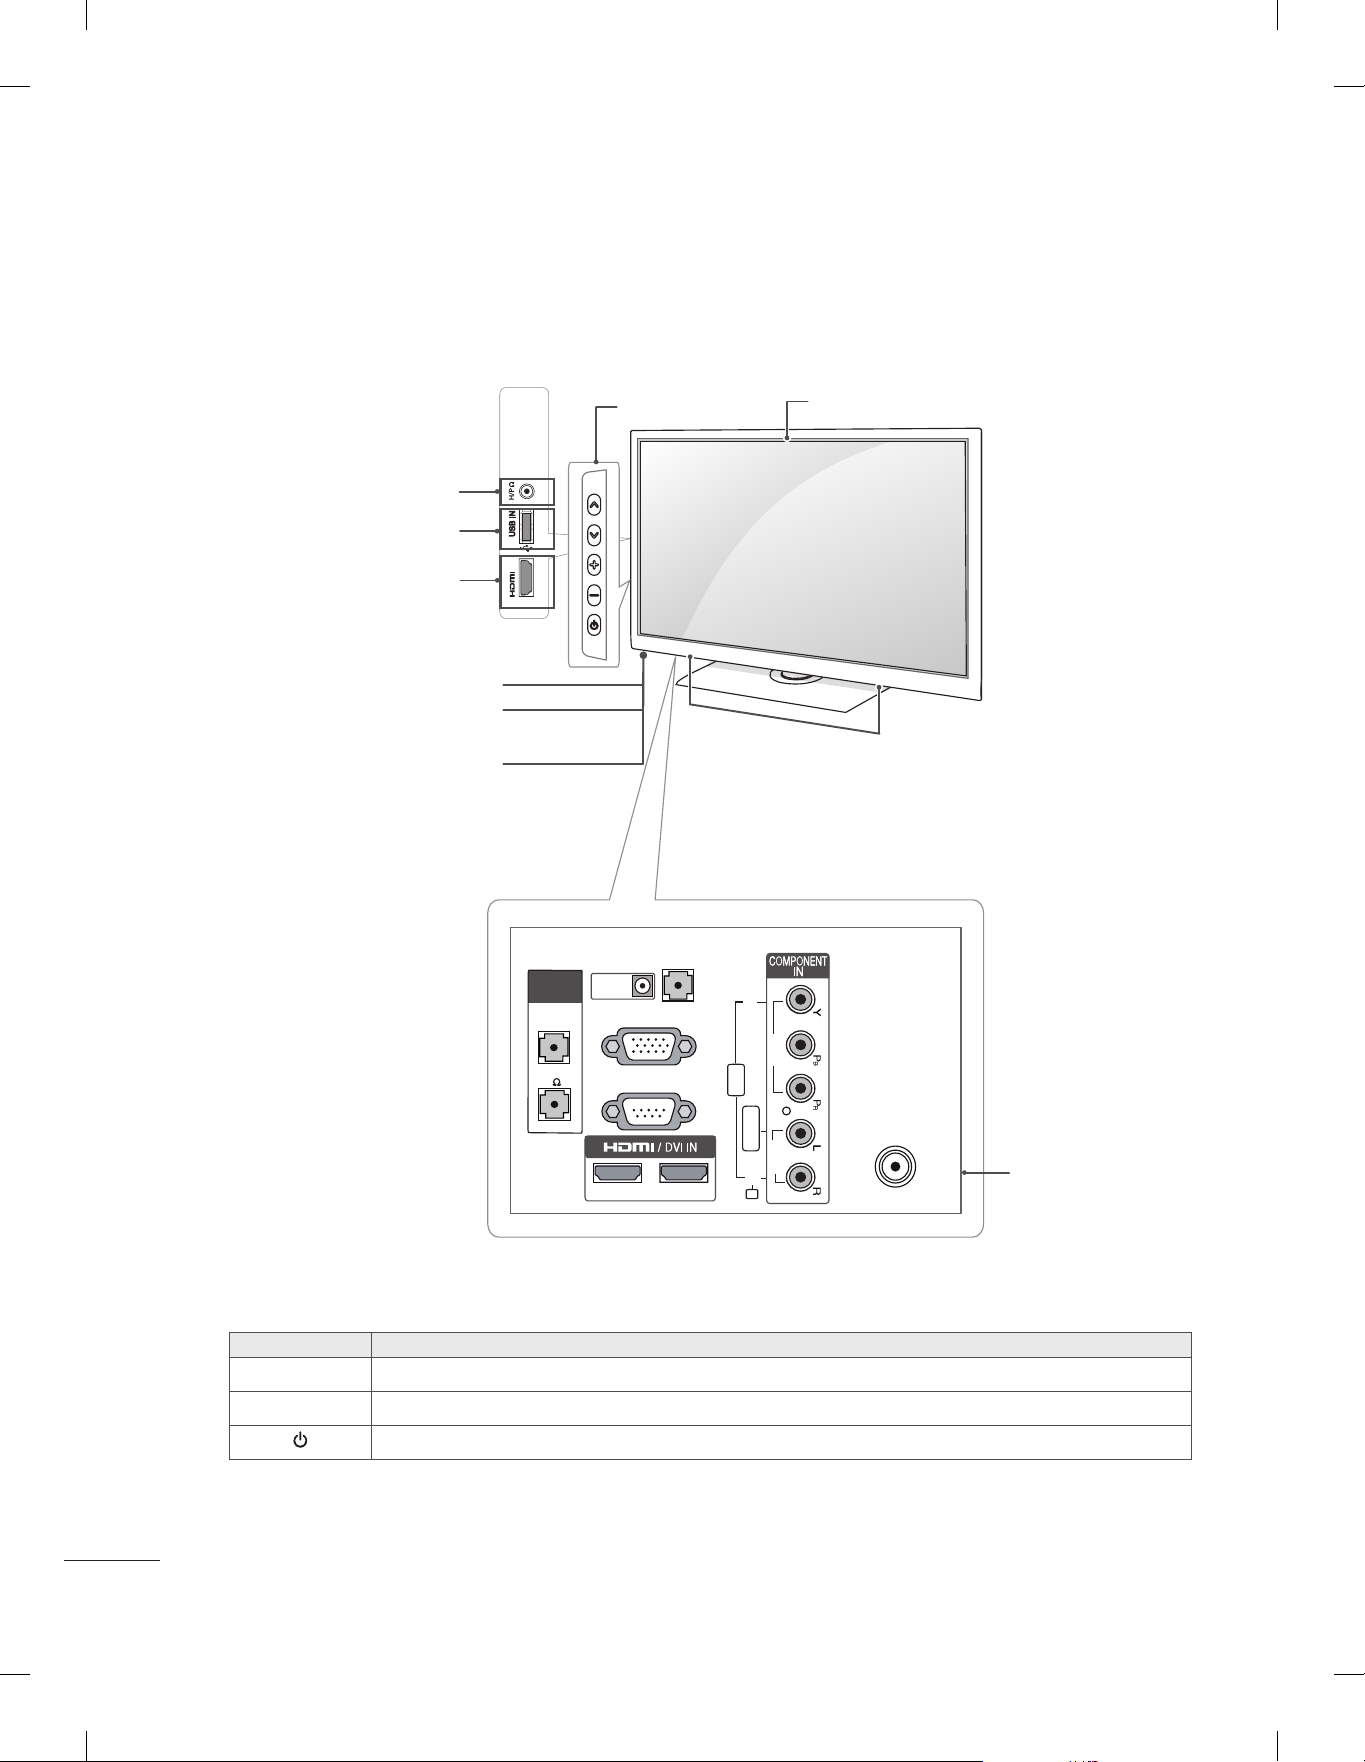
LOCATION AND FUNCTION OF CONTROLS
Image shown may differ from your TV.
y
(Only 26LT64**, 26LT65**)
Headphone Socket
USB input
HDMI IN
Remote control
Power Indicator
(
Can be adjusted using
the Power Indicator in the OPTION -menu.)
Clock LED
(Only LT64**)
R
USB IN
IN 3
SPEAKER
VOLUME
CONTROL
OUT
buttons
DC IN
RGB IN (PC)
AUDIO IN
(RGB/DVI)
Screen
Speakers
VIDEO
VIDEO
2
STEREO
(8 )
RS-232C IN
(CONTROL & SERVICE)
1
AV IN
L/MONO
AUDIO
AUDIO
2
R
Button Description
∨∧
- +
Scrolls through the saved channels.
Adjusts the volume level.
Turns the power on or off.
ANTENNA / CABLE
IN
Connection panel

Image shown may differ from your TV.
y
(Only 32/37/42/47LT64**, 32/37/42/47LT65**)
Headphone Socket
USB input
HDMI IN
Remote control
Power Indicator
(
Can be adjusted using
the Power Indicator in the OPTION -menu.)
Clock LED
(Only LT64**)
R
USB IN
IN 3
SPEAKER
OUT
VOLUME
CONTROL
STEREO
(8 )
buttons
OPTICAL
DIGITA L
AUDIO OUT
RGB IN (PC)
RS-232C IN
(CONTROL & SERVICE)
1
AUDIO IN
(RGB/DVI)
2
Speakers
VIDEO
VIDEO
AV IN
L/MONO
AUDIO
AUDIO
R
Screen
ANTENNA / CABLE
IN
Connection panel
Button Description
∨∧
- +
Scrolls through the saved channels.
Adjusts the volume level.
Turns the power on or off.
3
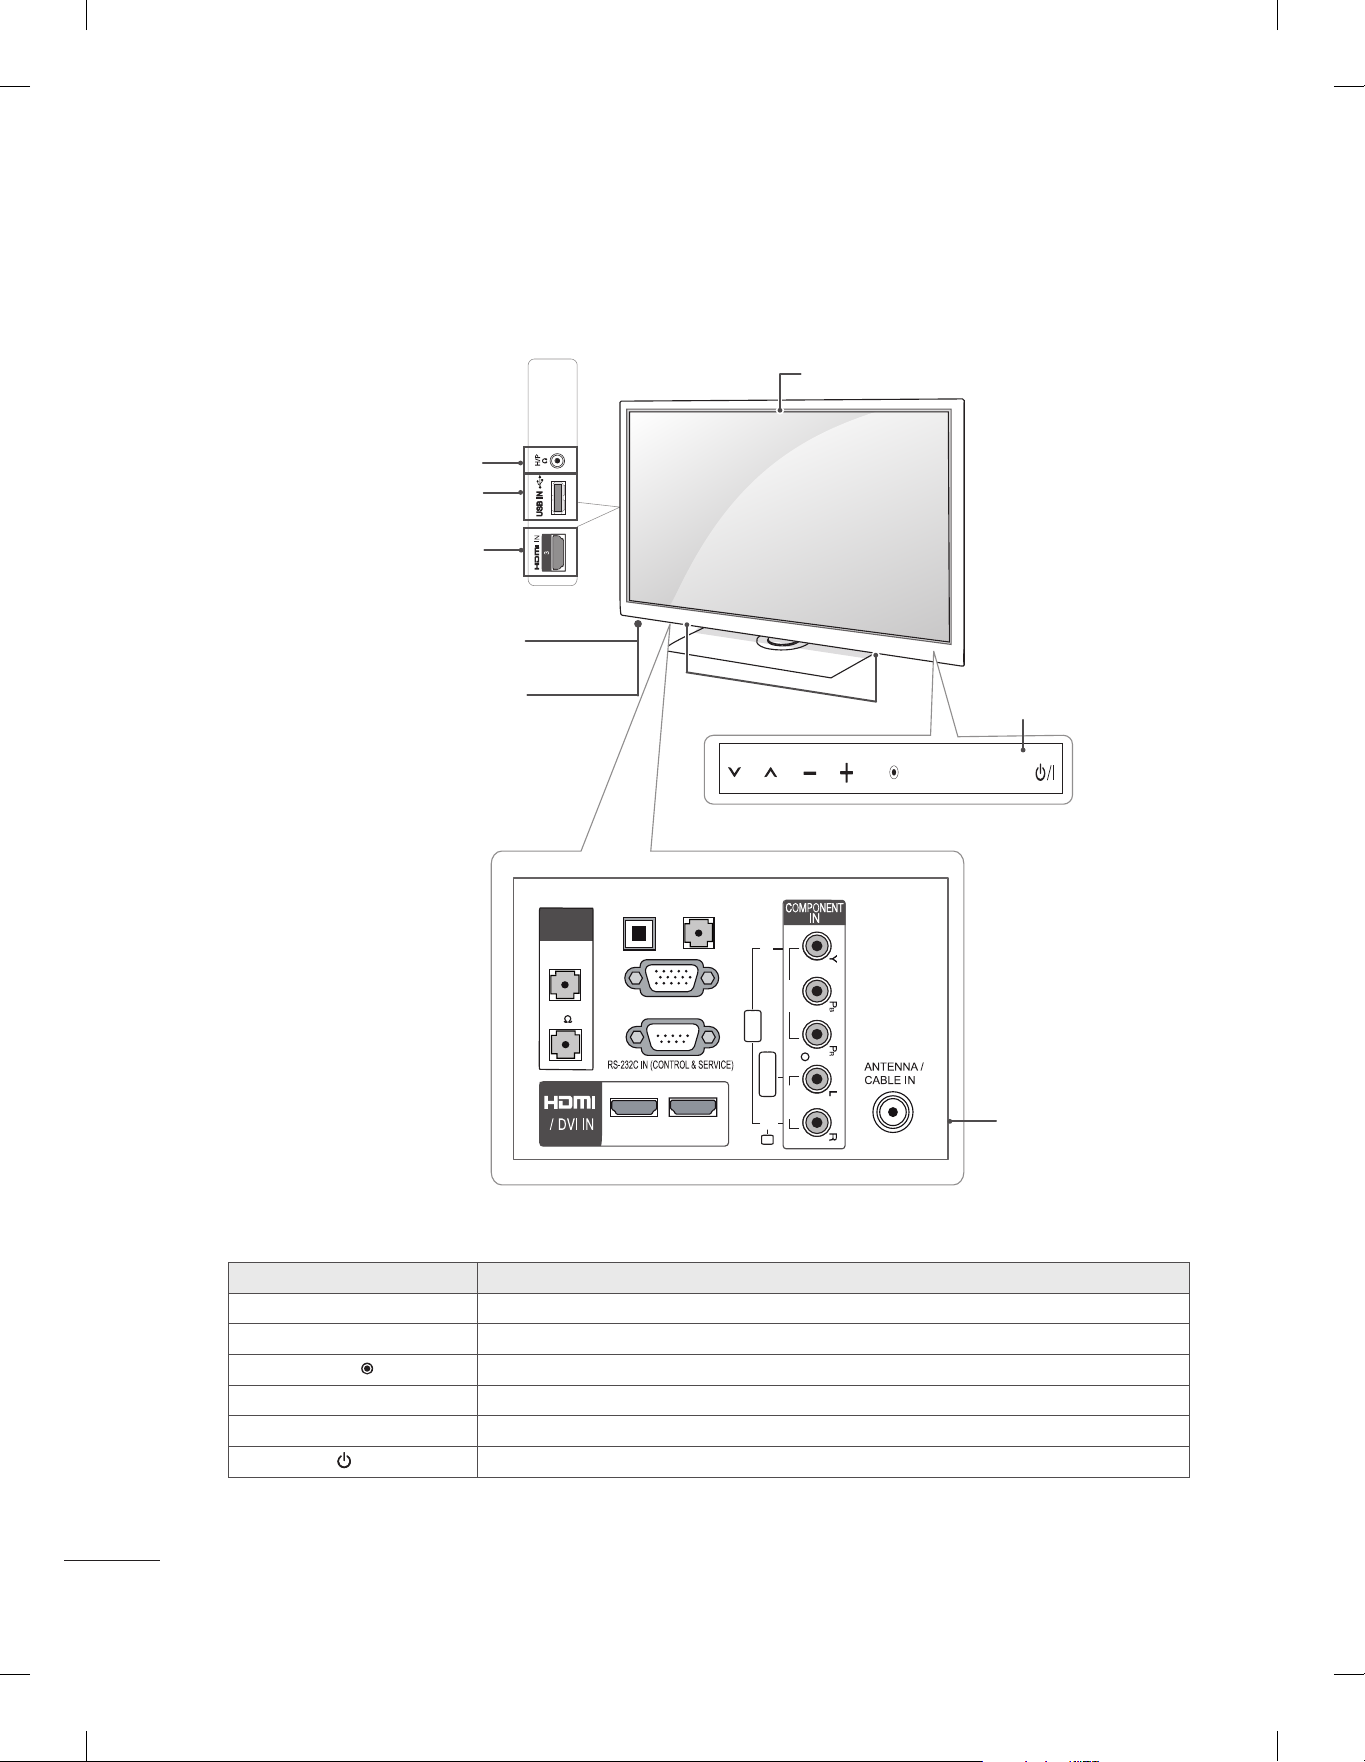
Image shown may differ from your TV.
y
(Only 55LS64**)
Screen
Headphone Socket
USB input
HDMI IN
Remote control
Power Indicator
(
Can be adjusted using
the Power Indicator in the OPTION -menu.)
R
USB IN
SPEAKER
OUT
VOLUME
CONTROL
STEREO
(8 )
OPTICAL
DIGITA L
AUDIO OUT
AUDIO IN
(RGB/DVI)
RGB IN (PC)
Speakers
VIDEO
VIDEO
AV IN
SETTINGS INPUT
OK
Touch buttons
4
L/MONO
AUDIO
AUDIO
2
1
R
Touch button Description
∨∧
- +
OK
Scrolls through the saved programmes.
Adjusts the volume level.
Selects the highlighted menu option or confirms an input.
SETTINGS Accesses the main menu, or saves your input and exits the menus.
INPUT Changes the input source.
/ I
Turns the power on or off.
Connection panel
EZMANAGER
Introduction
This set-up menu will be invoked when it is turned on first time or user selects Factory Reset of main
menu.
If TV fails to set up and turn it off, TV will show failure message and run installation again on next
power-cycle.
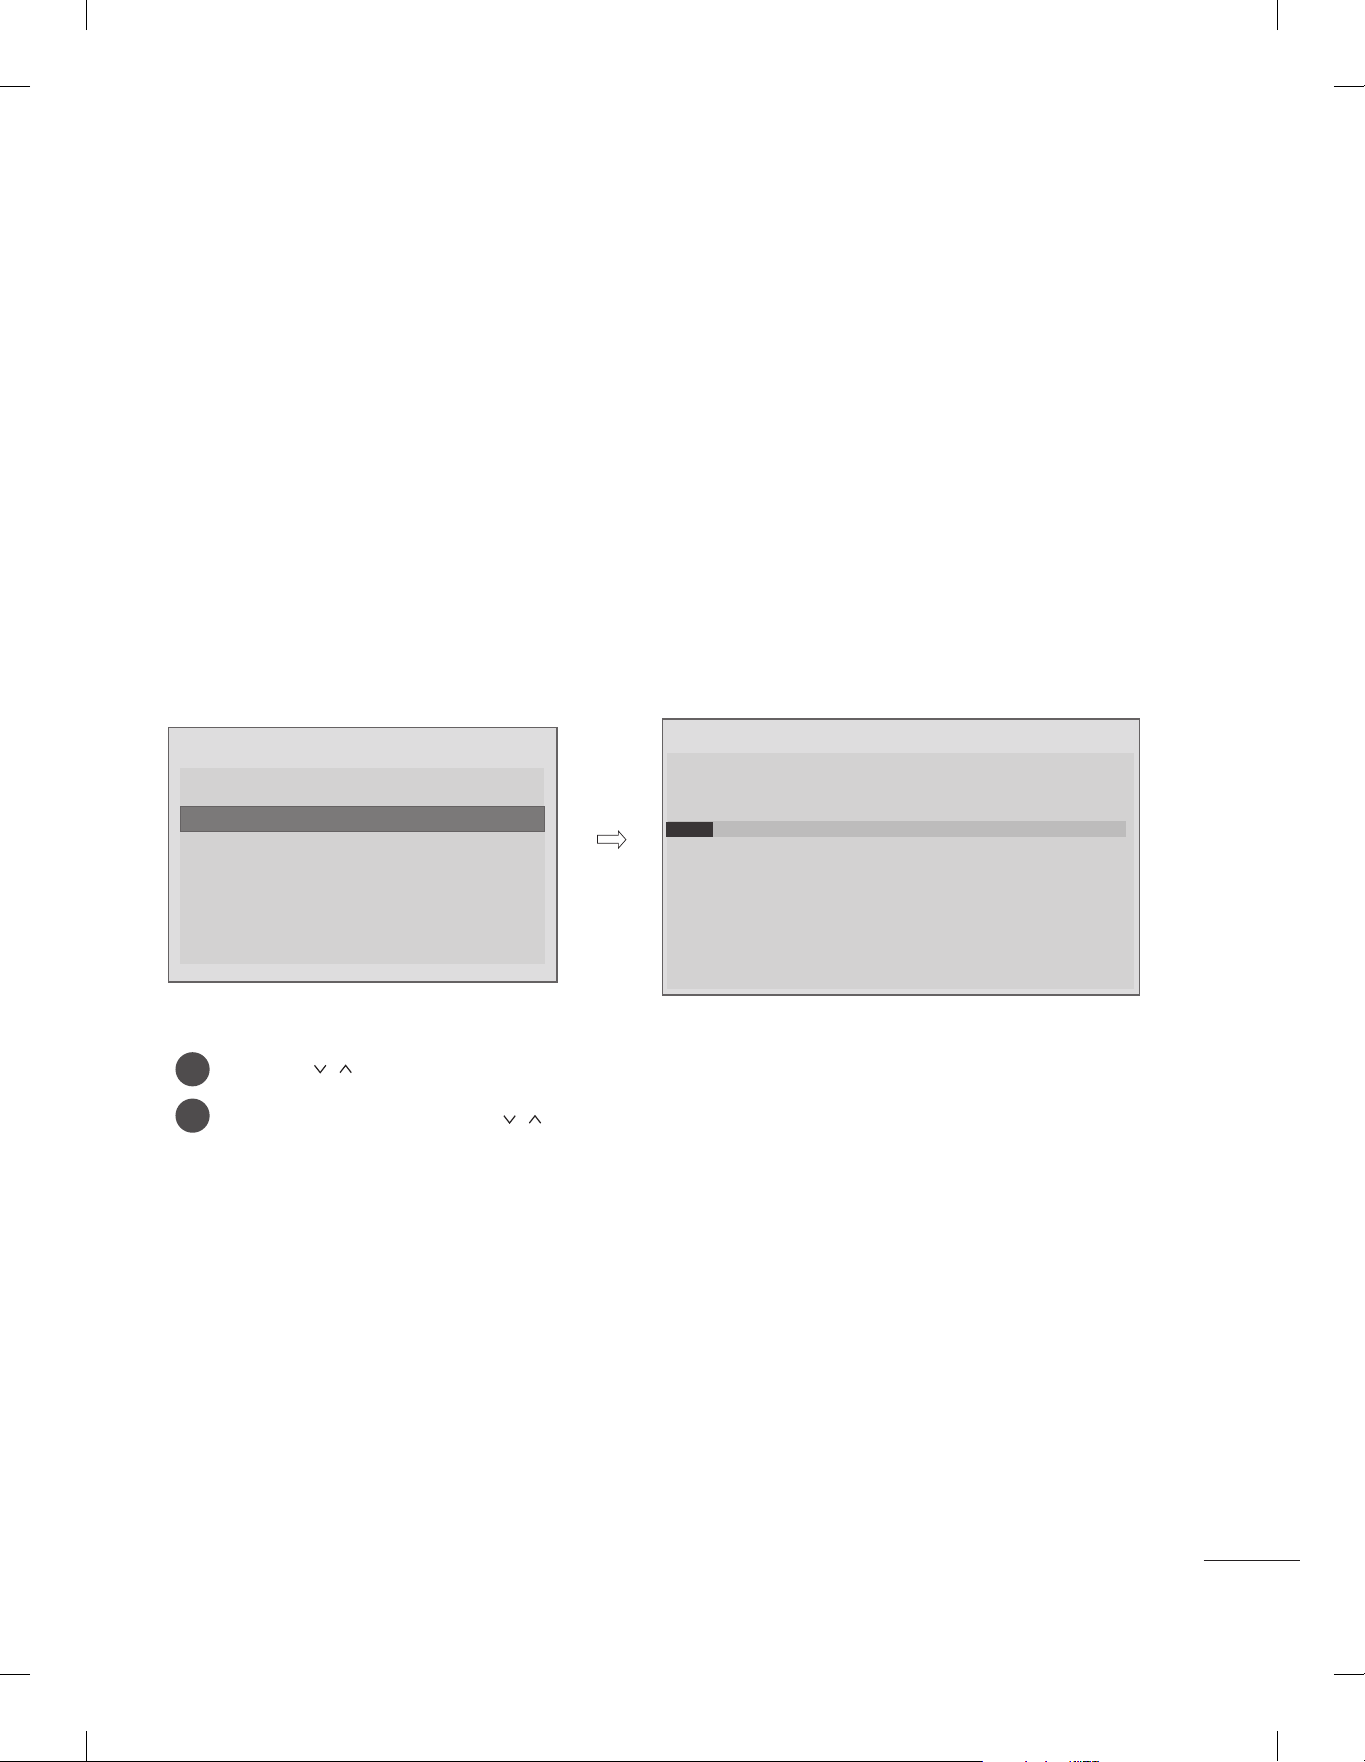
Pro:Centric Auto
Image shown may differ from your TV.
y
WELCOME
Please select the Mode.
Pro:Centric Auto
Pro:Centric Auto
Pro:Centric Manual
USB Clonning
Non Pro:Centric
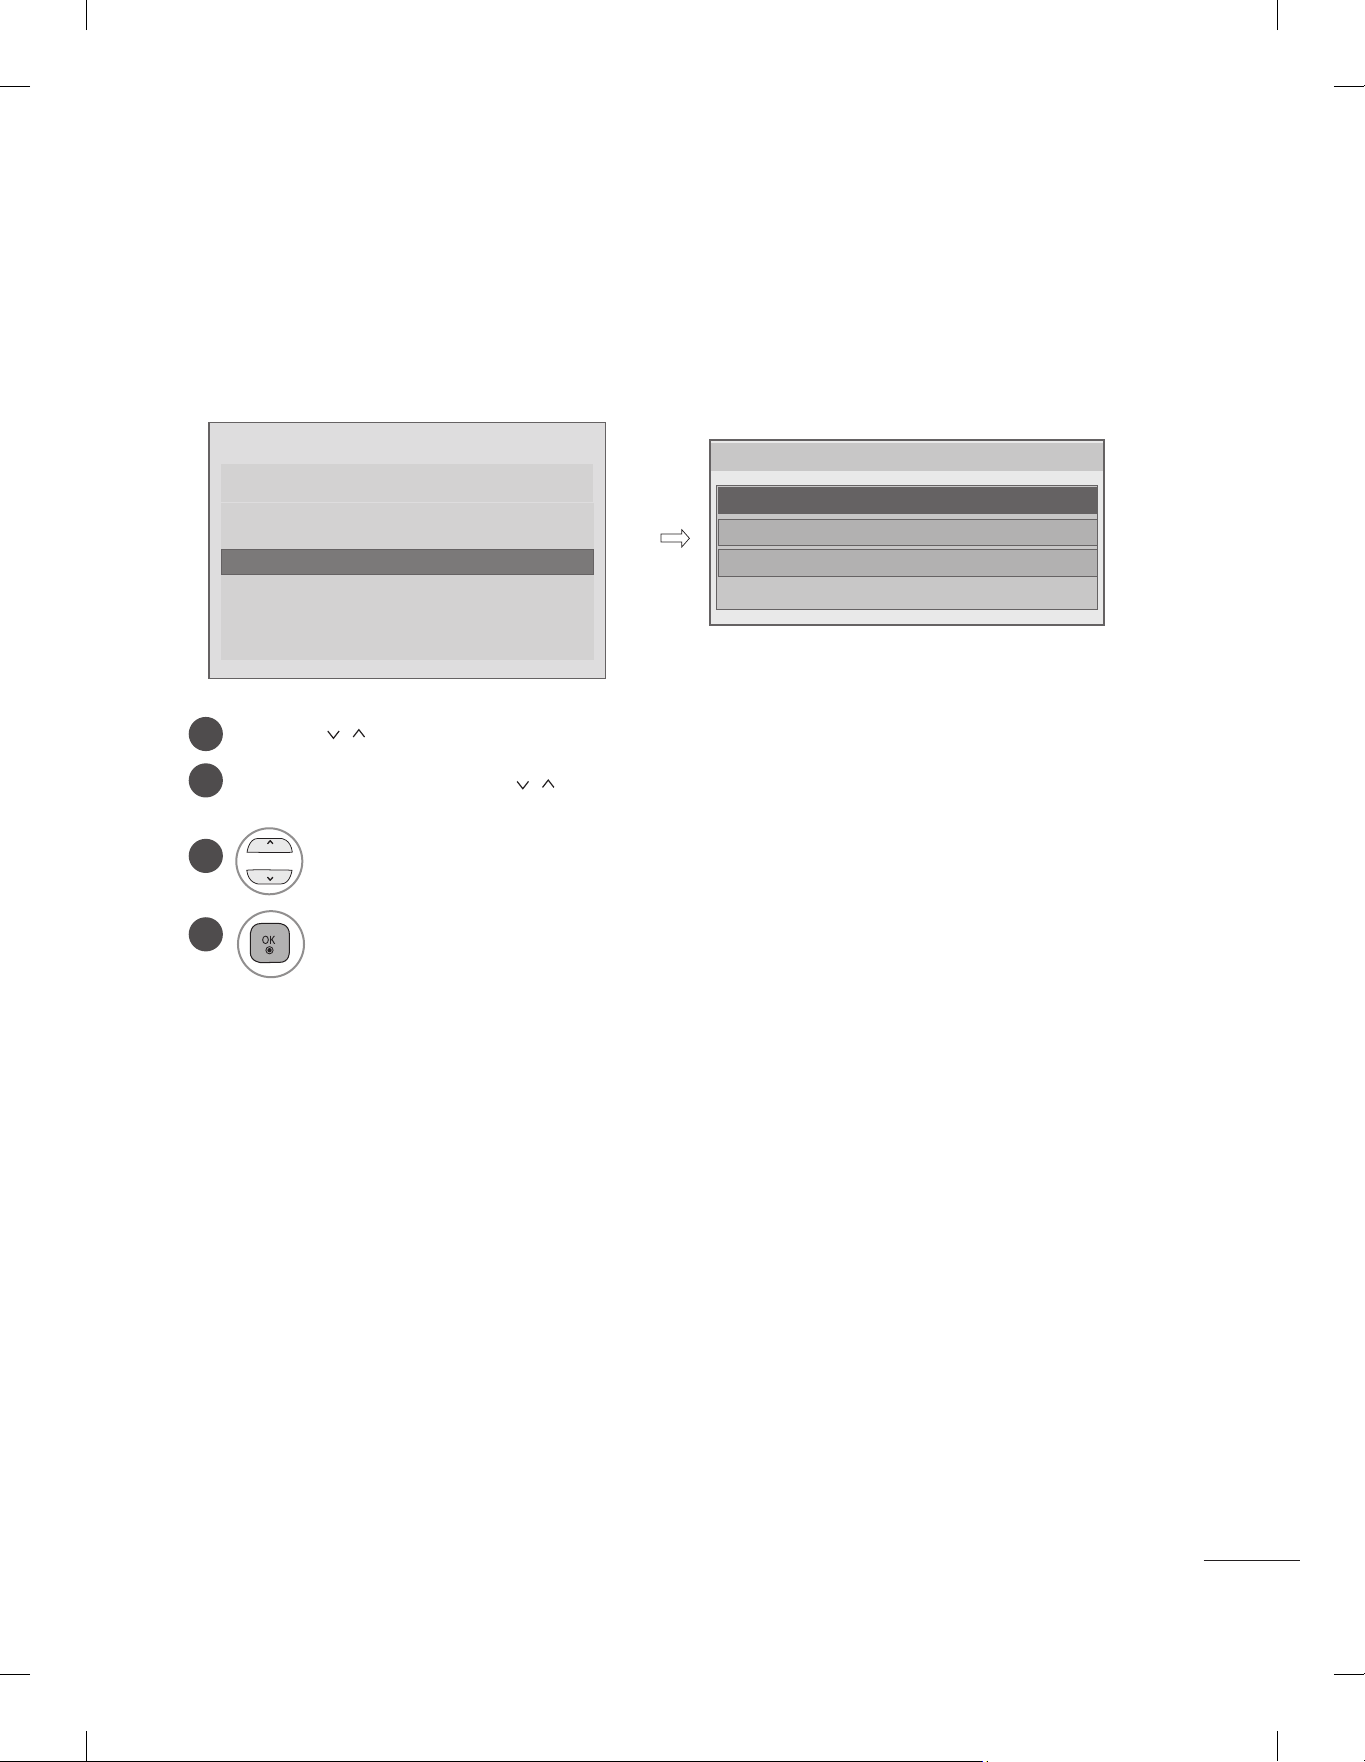
Use the button to select the Pro:Centric Auto.
1
Use the OK button and then
2
button to select Pro:Centric Auto.
Auto Installation
Processing Pro:Centric Configuration.
Step 2 may take up to 30 min(s).
Please wait...
10%
Step 1 searching for the network type : RF
Step 2 searching for the server setting : In progress
Step 3 searching for the platform type :
Step 4 downloading HCAP files :
Step 5 downloading EZI files :
Step 6 saving the Configuration :
Do not unplug power and signal cables.
5
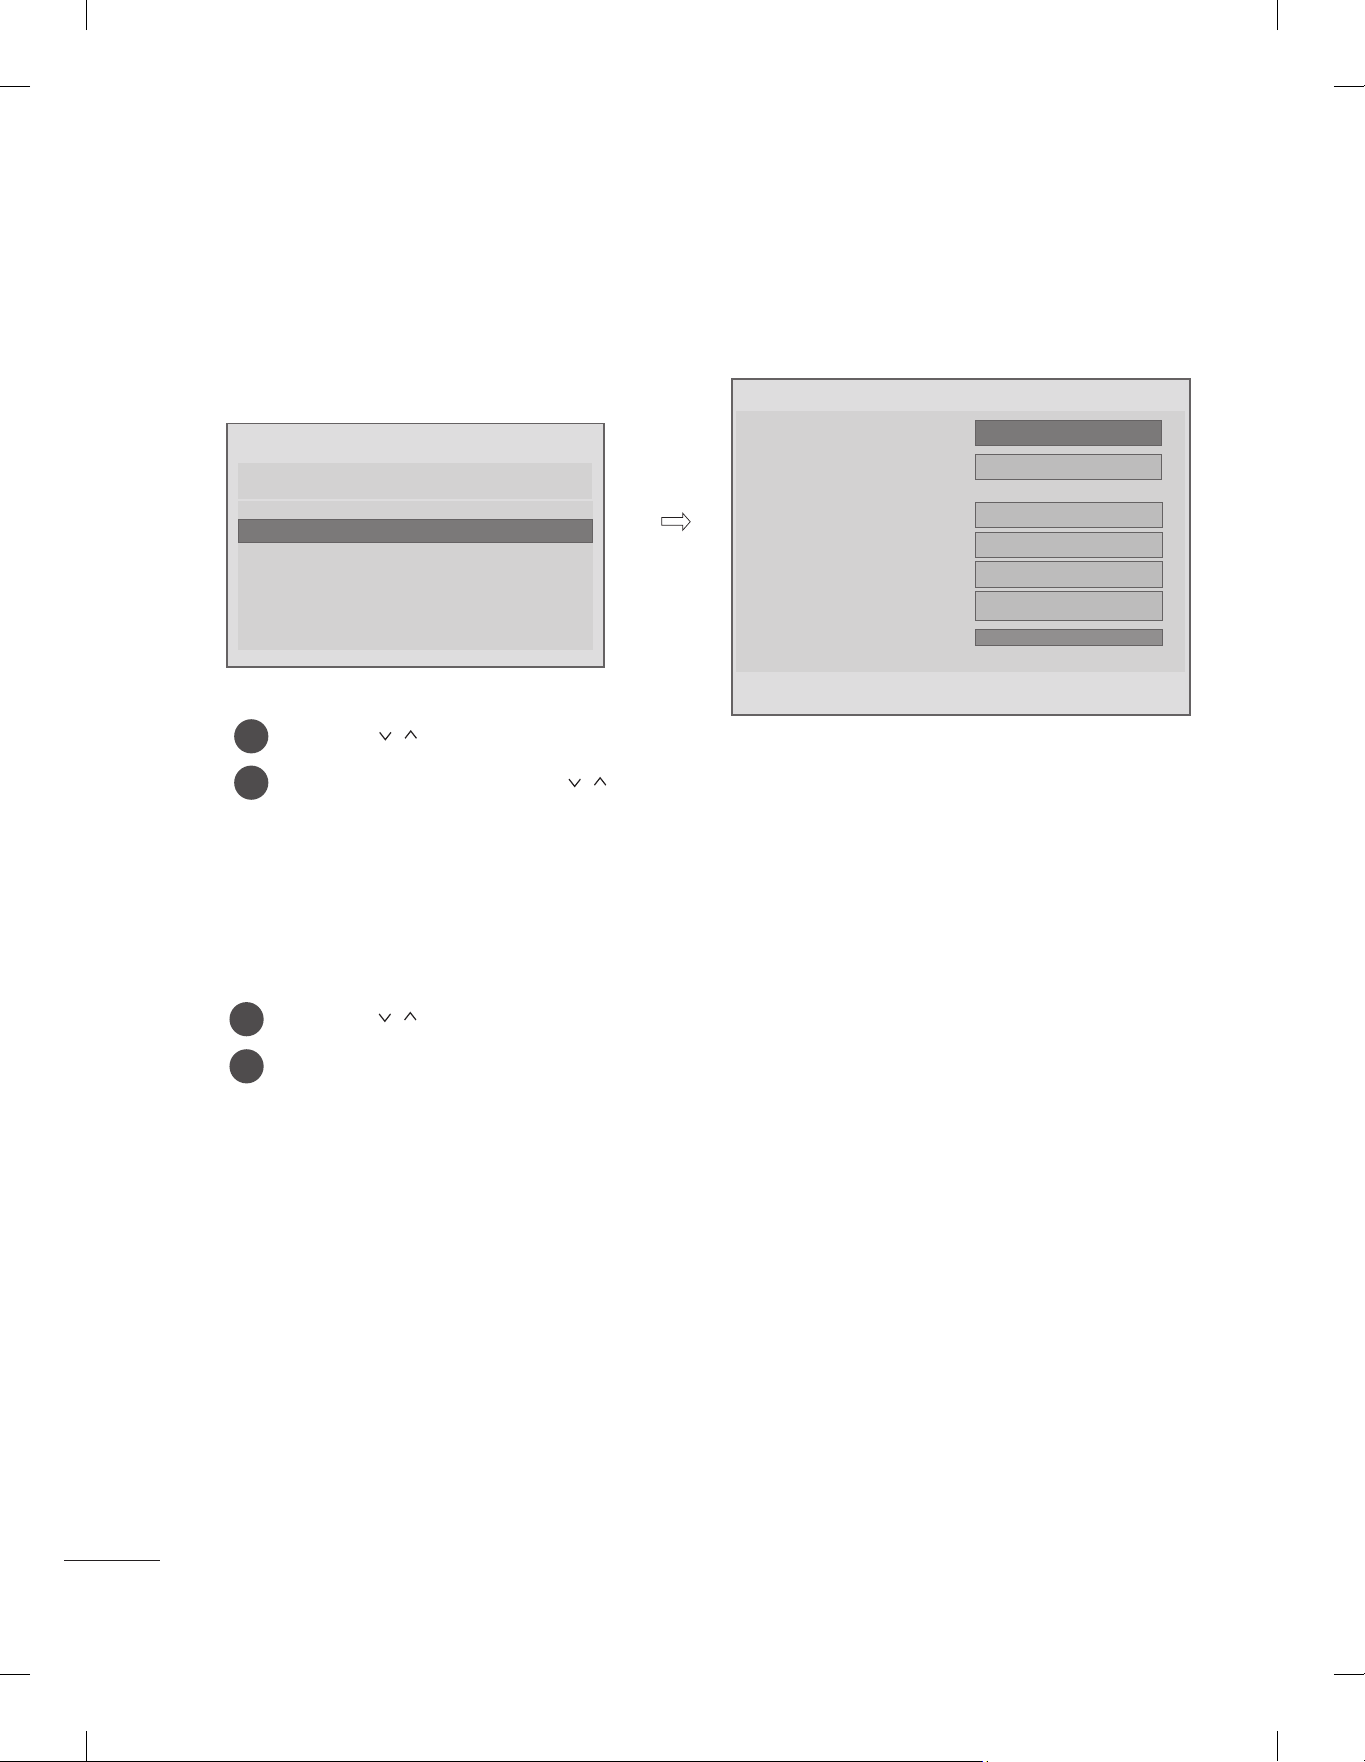
Pro:Centric Manual
Image shown may differ from your TV.
y
WELCOME
Please select the Mode.
Pro:Centric Auto
Pro:Centric Manual
Pro:Centric Manual
USB Clonning
Non Pro:Centric
Use the button to select the Pro:Centric Manual.
1
Conguration
Pro:Centric Mode
Country
Data Channel
RF Type
Frequency (KHz)
Symbol rate (kS/s)
Modulation
Signal Strength
0%
BACK
◄
NEXT
GEM
UK
DTV
----------
-------
16QAM
►
Use the OK button and then
2
button to select Pro:Centric Manual.
(1 ) Pro:Centric Mode
- Data range : GEM , FLASH
- Default : GEM
(2) Country (Depending on model)
Use the button to select Country.
1
Use the OK button to select Country.
2
(3) Data Channel
A. RF Type
- Data range : DTV, Cable DTV
- Default : DTV
B. Channel Number (or RF Freq.)
- Default : ------
- Set the physical number or frequency for data channel.
C. Symbol rate : 1~ 7400(Default : ------)
D. Modulation : 16/32/64/128/256QAM
* Symbol rate and Modualtion are 'Enable' when RF Type is 'CABLE DTV'.
* If current selected channel is data channel, this menu will show “data channel” status.
6
USB Cloning
Image shown may differ from your TV.
y
WELCOME
Please select the Mode.
Pro:Centric Auto
Pro:Centric Manual
USB Clonning
USB Clonning
Non Pro:Centric
Use the button to select the USB Cloning.
1
Use the OK button and then button to select USB Cloning.
2
3
Choose a file to be written to
the target TV
4
* For more details, see p.15 'USB Cloning Procedure'.
TV is cloning image from the USB.
xx4-LOW00001.TLL
xx4-LOW00005.TLL
xx4-LOW99999.TLL
7
Non Pro: Centric
Image shown may differ from your TV.
y
WELCOME
Please select the Mode.
Pro:Centric Auto
Pro:Centric Manual
USB Clonning
Non Pro:Centric
Non Pro:Centric
Use the button to select the Non Pro:Centric.
1
Use the OK button and then button to select Non Pro:Centric.
2
Non-Pro:centric will help you to select a language, a country and customize the basic settings.
8
INSTALLATION MENU
Introduction
The abundant functions for Hotel TV linked with software installation can be projected on OSD as
‘Installation Menu’.
The wide range of hotel features can be performed simply on additional window to enhance the LG
hotel TV’s easy installation and convenient operation for Hotelier and System Integrators.
Image shown may differ from your TV.
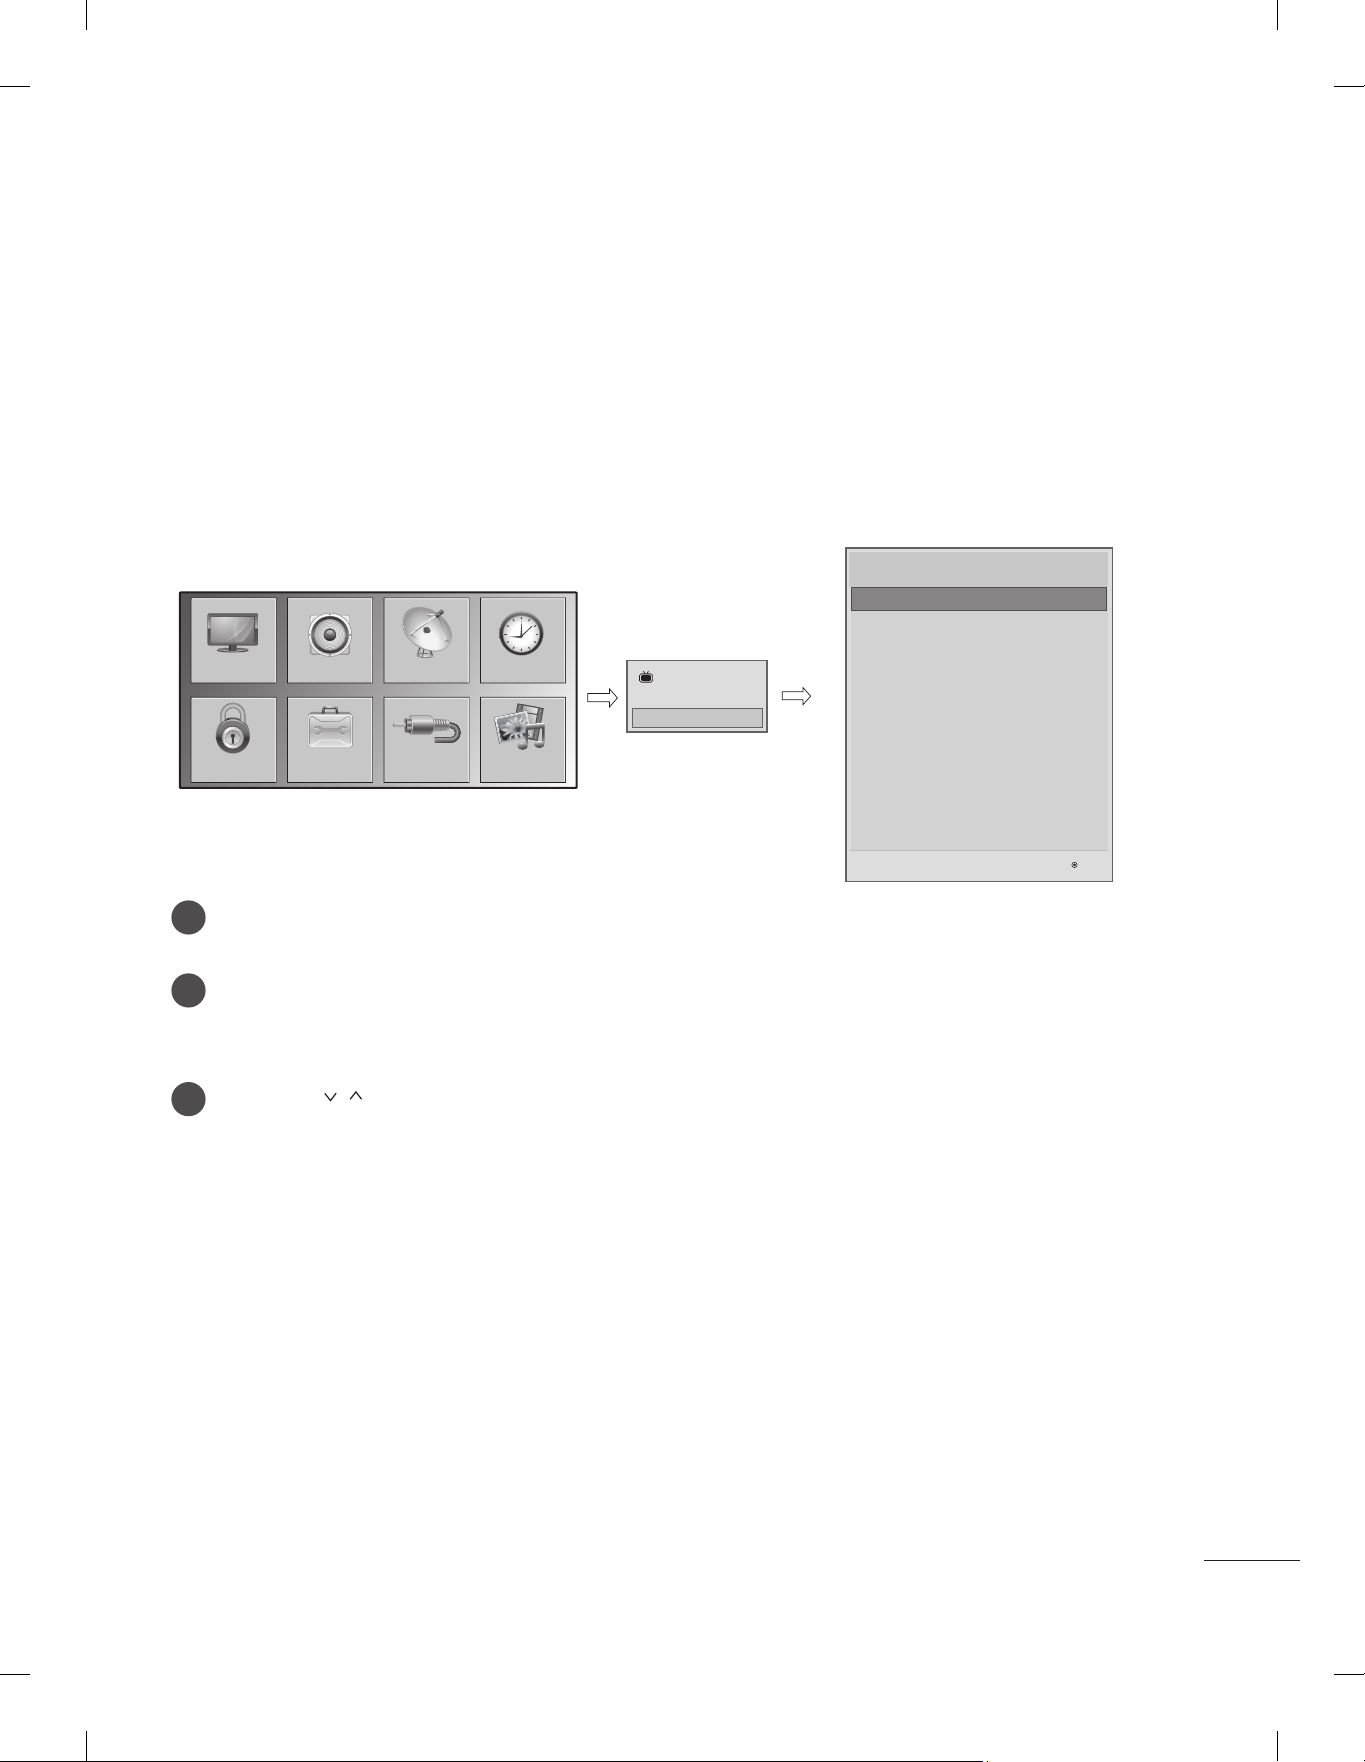
y
Installation Menu (V2.23)
LG Hotel Mode Setup
LG Hotel Mode Setup
TV Link-Loader
Password Change
PICTURE
SETUP
OPTIONLOCK
INPUT
TIMEAUDIO
MY MEDIA
TV
7
C05
Set ID Setup
Configuration Setup
External Speaker
Pro:Centric
Power Saving
CEC Setup
Clock Setup
S/W V 02.05.01.01 / MCU V 02.04 / FPGA V d. 279
Press the Home button for more than 5 seconds using the user remote control, programme
1
information will appear at top left on the screen.
Enter a four digit password and press OK button.
2
• The TV is set with the initial password “1-1-0-5”.
3
Use the
button to select the desired menu.
OK
9
 Loading...