How it Works
Log In / Sign Up
Buy Points
How it Works
FAQ
Contact Us
Questions and Suggestions
Users
LG
Loading...
#
20LS5R
27
20LS5RC
20LS7D
8
20LS7DC
2
20LS7DC-UB
20LS7DC-UK
20LS7DUK
20M35A
20M35A-B
3
20M35D
20M35D-B
2
20M35P-B
2
20M35PD-M
2
20M35PH-B
2
20M35TD-B
2
20M35TH-B
2
20M37A
20M37AA-B
2
20M37A-B
3
20M37D
20M37D-B
2
20M37H
20M38A
2
20M38A-B
3
20M38D
20M38H
20M39A-B
20M39H-B
20M44A-B
20M45A
20M45A-B
20M45D
20M47D-B
2
20MK4
2
20MK400A-B
8
20MK400H
20MK400H-B
11
20MK410H
20MK420H
20MK430H
20MN47A
20MP37A
20MP38A-B
20MP38HQ-B
20MP47A
20MP47A-P
2
20MP47PI-P
20MP48A
20MP48AB-B
3
20MP48A-P
5
20MP48HA-B
2
20MP48HB-B
3
20MT45A-PT
2
20MT45A-PTP
20MT45D
2
20MT45D-PU
20MT47AC-PT
2
20MT48AE-PT
3
20MT48AF-PT
2
20MT48DF
2
20MT48DF-PS
20MT48DF-PU
20MT48DF-PZ
10
20MT48VF
2
20MT48VF-PZ
2
20MT49DF-PS
20PF9925/12S
210
2
212N
212
2120B
2125A
212R
2167MT
216SC
21855SS
21CA7RB
2
21CA8AGE
21CA8RB
21CA8RGE
3
21CB3RGE-AY
21CC2AG
21CC2RB
3
21CC2RG
6
21CC40M
21CC40MX
21CD1RGE
3
21CD1RGS
21DK2
21FA26
21FA2RG4A9
21FA2RG-AZ
21FA2RGE-T9
21FA2RGE-TY
21FA2RGE-TZ
21FA3AL
2
21FA3RG
2
21FA3RL
21125
21295
Loading...
Loading...
Nothing found
20MP48HA-B
Owner’s Manual
47 pgs
15.06 Mb
0
QUICK SETUP GUIDE
4 pgs
1.13 Mb
0
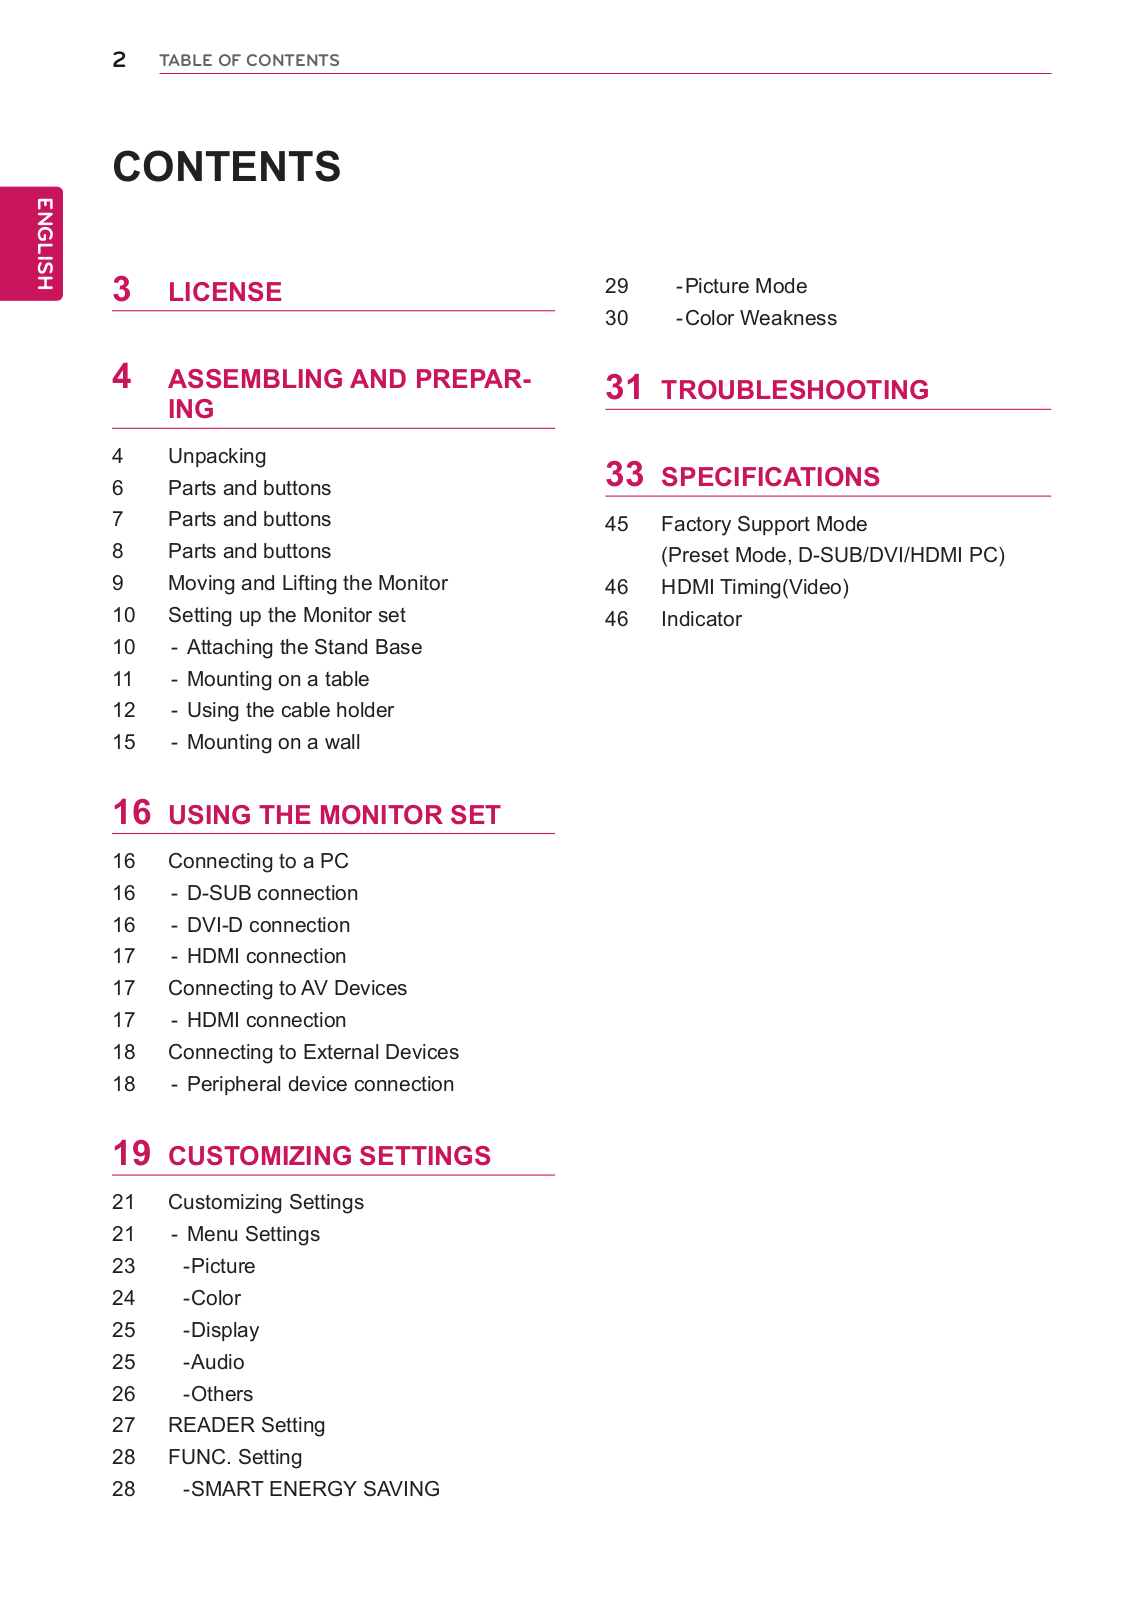
Table of contents
Loading...
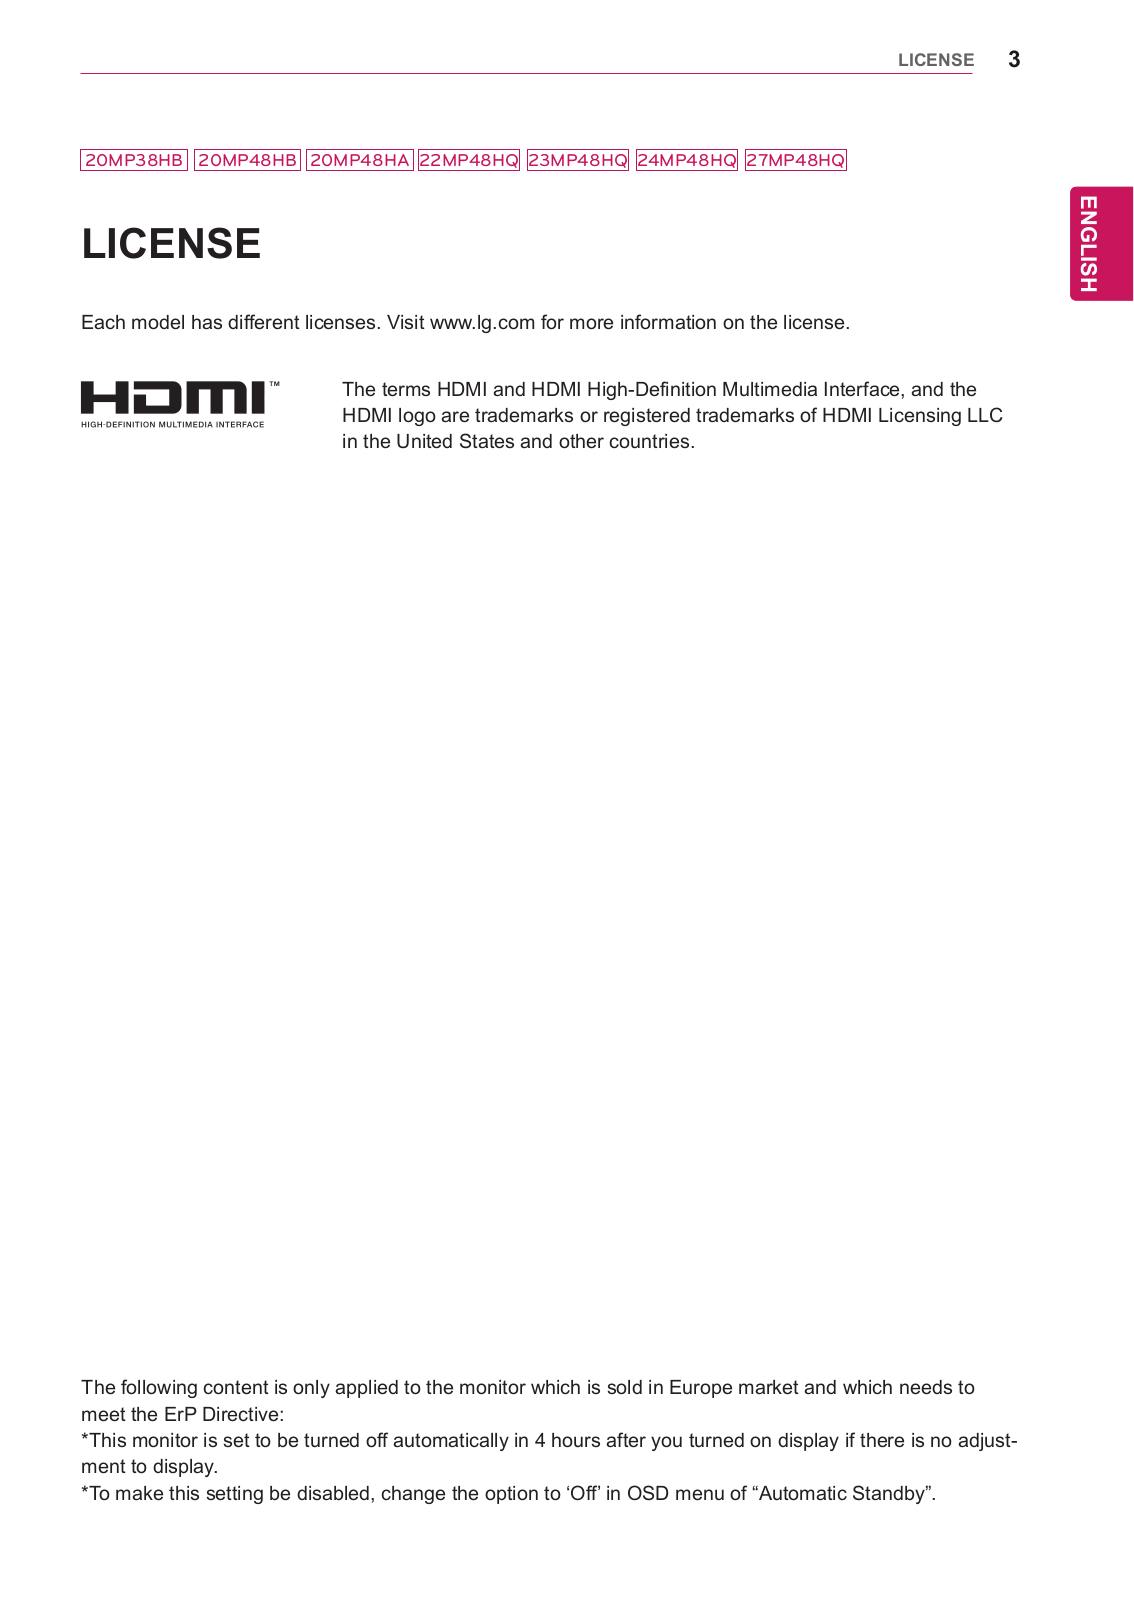
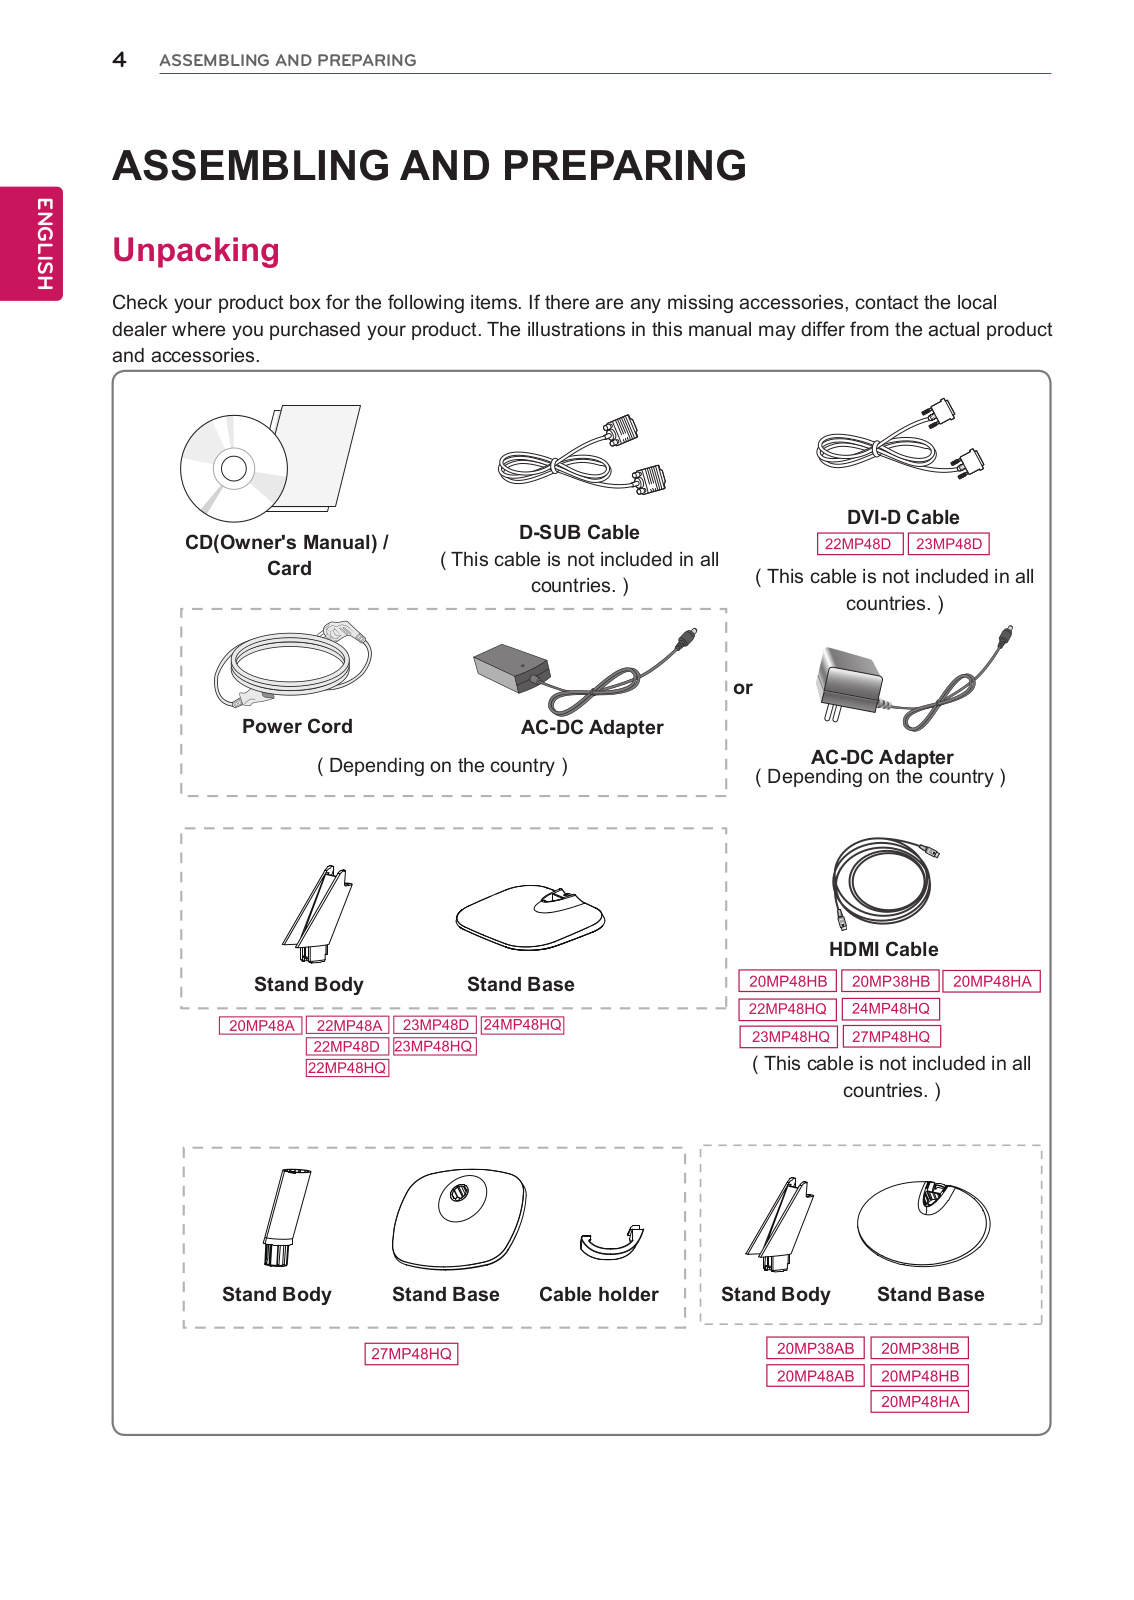
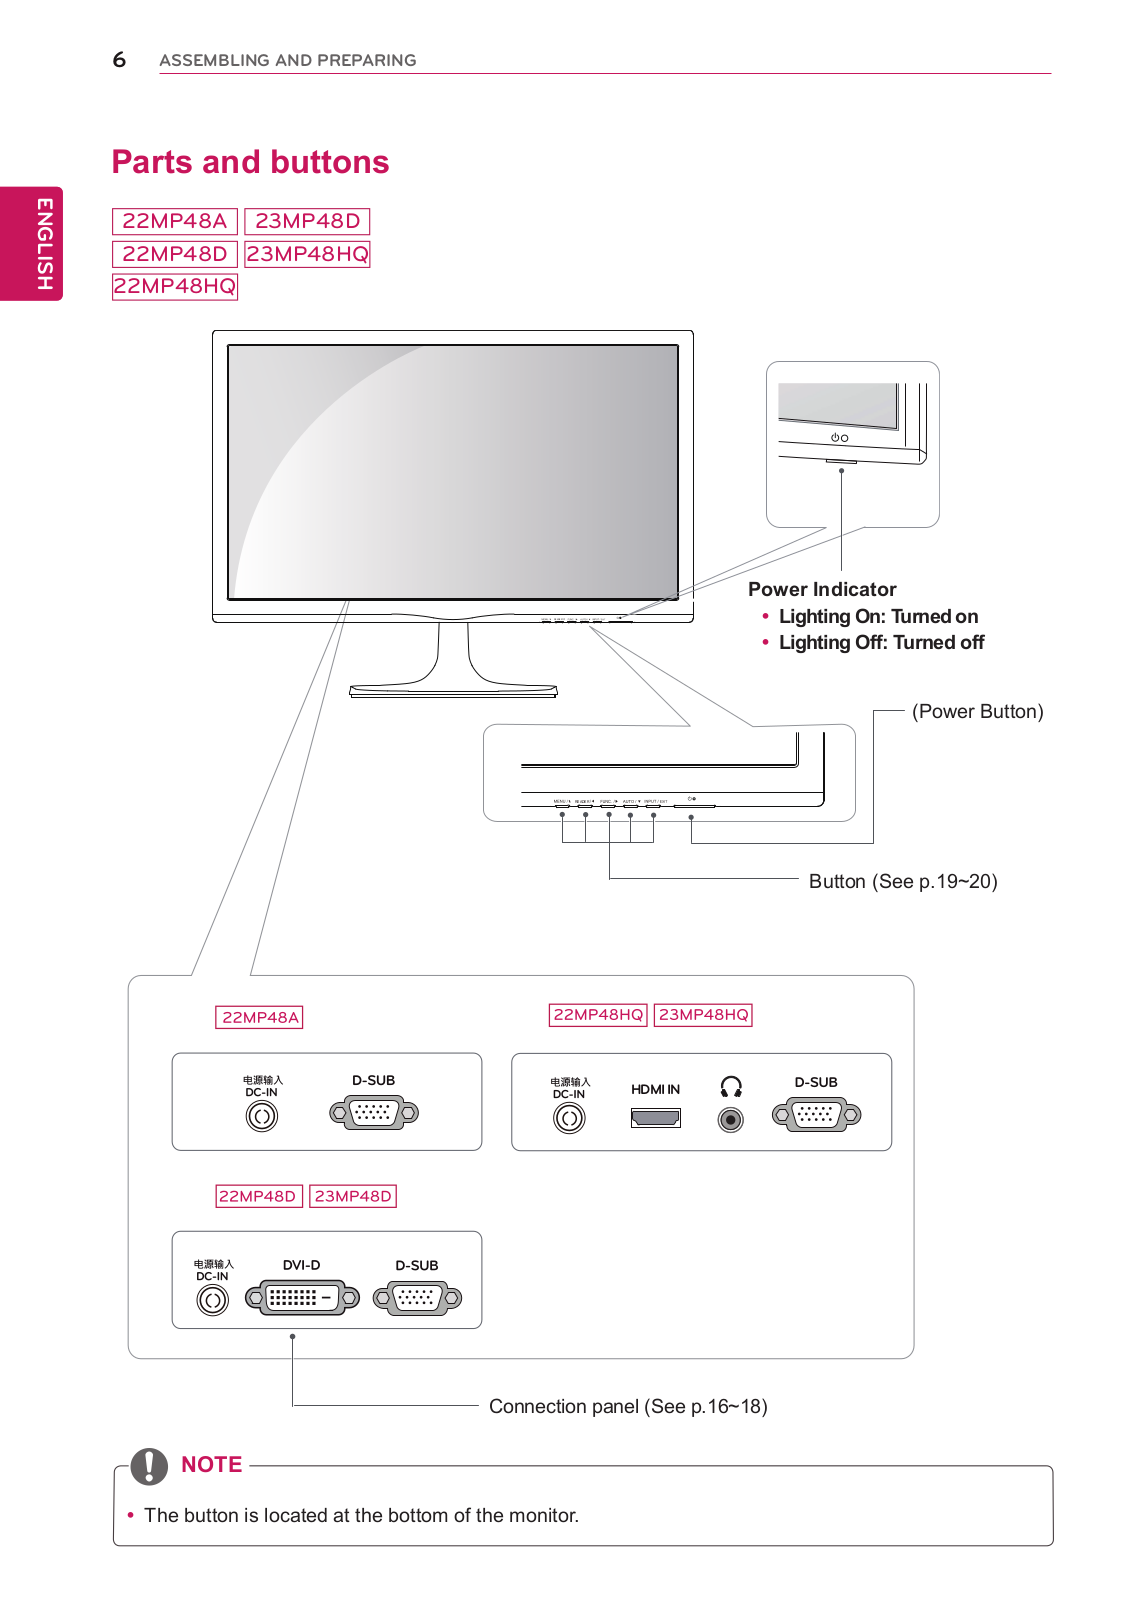
LG 20MP48HA-B Owner’s Manual
...
LG Owner’s Manual
Download
Specifications and Main Features
Frequently Asked Questions
User Manual
Download
Loading...
+
32
hidden pages
Unhide
You need points to download manuals.
1 point = 1 manual.
You can buy points or you can get point for every manual you upload.
Buy points
Upload your manuals
 Loading...