

Page 1

LEVO combi /combi JR
SERVICE MANUAL
This manual is for use by LEVO AG agents or their authorized dealers.
Read these instructions before servicing the wheelchair.
This service manual must be read in conjunction with the user manual.
Alterations in constructional and technical manner or to the electronic require the
written authorisation of LEVO AG; otherwise no warranty or product liability will be
accepted.
Version 1.2
Page 2

2
Inhalt
1 Introduction ................................................................................................ 3
2 Disinfect ..................................................................................................... 3
2.1 Areas which has to be disinfected .............................................................. 3
2.2 Procedere ............................................................................................... 3
3 Health & safety ............................................................................................ 4
4 Adjustments................................................................................................ 4
4.1 Seat depth ............................................................................................. 4
4.2 Low shearing at the back ......................................................................... 4
4.3 Adjustment of the backrest ...................................................................... 4
5 Electronic control system .............................................................................. 5
5.1 Programming R-Net and VR2 .................................................................... 5
6 General repair instruction ............................................................................. 7
7 Tools & torque settings ................................................................................. 7
8 Important information .................................................................................. 7
9 Recommended safety checks ......................................................................... 8
10 Cleaning ..................................................................................................... 9
11 Repairs ..................................................................................................... 10
11.1 Replacing the drive wheels ..................................................................... 10
11.2 Replacing the tire of a drive wheel ........................................................... 10
11.3 Replacing the front wheels ..................................................................... 11
11.4 Replacing the back wheel ....................................................................... 11
11.5 Replacing the gas spring of the rear wheel ............................................... 12
11.6 Replacing the wheel fork (front and rear) ................................................. 13
11.7 Replacing of the rear fork ....................................................................... 13
11.8 Replacing the connector of the back low shearing system ........................... 14
11.9 Replacing the driving motor .................................................................... 15
11.10 Replacing the batteries .......................................................................... 16
11.11 Battery Wiring ...................................................................................... 16
11.12 Replacing the Joystick module R-Net ....................................................... 17
11.13 Replacing the power module R-Net .......................................................... 17
11.14 Control box .......................................................................................... 18
11.15 ISM-Box ............................................................................................... 18
11.16 Replacing the gas spring ........................................................................ 19
11.17 Replacing the actuator “standing”............................................................ 20
11.18 Replacing the actuator „Lift“ ................................................................... 21
11.19 Replacing the actuator “lying” ................................................................. 22
11.20 Replacing the "legrest" actuator .............................................................. 22
11.21 Replacing of lights and indicators ............................................................ 23
11.22 Front Light ........................................................................................... 23
11.23 Back Light ............................................................................................ 23
11.24 Indicators ............................................................................................. 24
12 Main fuse .................................................................................................. 24
13 Testing the wheelchair................................................................................ 24
14 Version Management .................................................................................. 25
Page 3

3
1 Introduction
Apart from regular charging of the batteries and keeping the wheelchair clean the
LEVO combi is maintenance-free and no attention is required by the user.
Because of the complexity of the wheelchair the LEVO agent or authorized dealer
should carry out a safety check at least once per year.
This service manual is to be used by the LEVO agent or authorized dealer. The manual
gives information on how to perform a safety check and carry out repairs to the LEVO
combi. This manual provides a good service to the persons in charge of the
maintenance of the LEVO combi. And of course, the user appreciates the safety and
the reliability of a well maintained wheelchair.
This manual must always be read and used with the user manual.
2 Disinfecting
Before carrying out any service work it is advisable to disinfect. Use for disinfecting
ready, alcohol spray, which are suitable for whole areas e.g. "Germex spray" the
company Pramol chemistry
2.1 Areas which has to be disinfected
Armrest and Joystick
Back upholstery
Seat
Legrest
Footrest
Knee support
2.2 Procedere
Cover the Chassis with plastic films or the like as to protect them from corrosion.
Clean them. Above components with a water hose or better with a water hose
and a mild soap solution
Enter and leave the agent at least one minutes affect the above components with
a disinfectant spray.
Do not dry completely the components.
Page 4

4
3 Health & safety
Accidents do occur. When working on or testing the wheelchair be aware of the dangers
and take care to ensure your own and other peoples health and safety.
Please note all regulations and rules about safety in electronics and mechanics.
4 Adjustments
The majority of the adjustments can be carried out by the user or his family and are
covered in the instruction manual. However, the LEVO agent should always, on
delivery, adjust the wheelchair to suit the user.
The body-related settings of your LEVO combi are to be adapted precisely to
the needs of the patient. Improper settings can cause serious physical injury
to the user!
4.1 Seat depth
The adjustment of the seat depth should only be done by the LEVO agent or authorised
dealer. For information consult the user instruction manual at section 7.1.
4.2 Low shearing at the back
The adjustment of the low shearing at the back should only be done by the LEVO agent
or authorised dealer. For information consult the user instruction manual at section 7.5.
4.3 Adjustment of the backrest
The adjustment of the backrest should only be done by the LEVO agent or authorised
dealer. For information consult the user instruction manual at section 7.6. and 7.7.
Page 5

5
5 Electronic control system
The preset settings are chosen to ensure safe operation. The settings are in compliance
with all relevant legal requirements regarding the entire operating range of the joystick
and the speed control. In case the preset settings don’t meet the needs of the user, the
control system can be programmed individually; the maximum speed might be
decreased for example.
Warning: Programming should only be conducted by healthcare professionals
with in-depth knowledge of Penny & Giles electronic control systems.
Incorrect programming could result in an unsafe set-up of a wheelchair for
the user. LEVO AG accepts no liability for losses of any kind if the drive or
stability characteristics of the wheelchair are altered without prior notification
and discussion with LEVO AG.
It is in the responsibility of the person programming the control system to make sure
that the stopping distance requirement specified for the country in which the
wheelchair will be used is satisfied. If the braking rate is low, the forward and reverse
maximum speed settings may need to be re-programmed. It is in the responsibility of
the person programming the control system to make sure that the settings are safe
and to note any programming changes made.
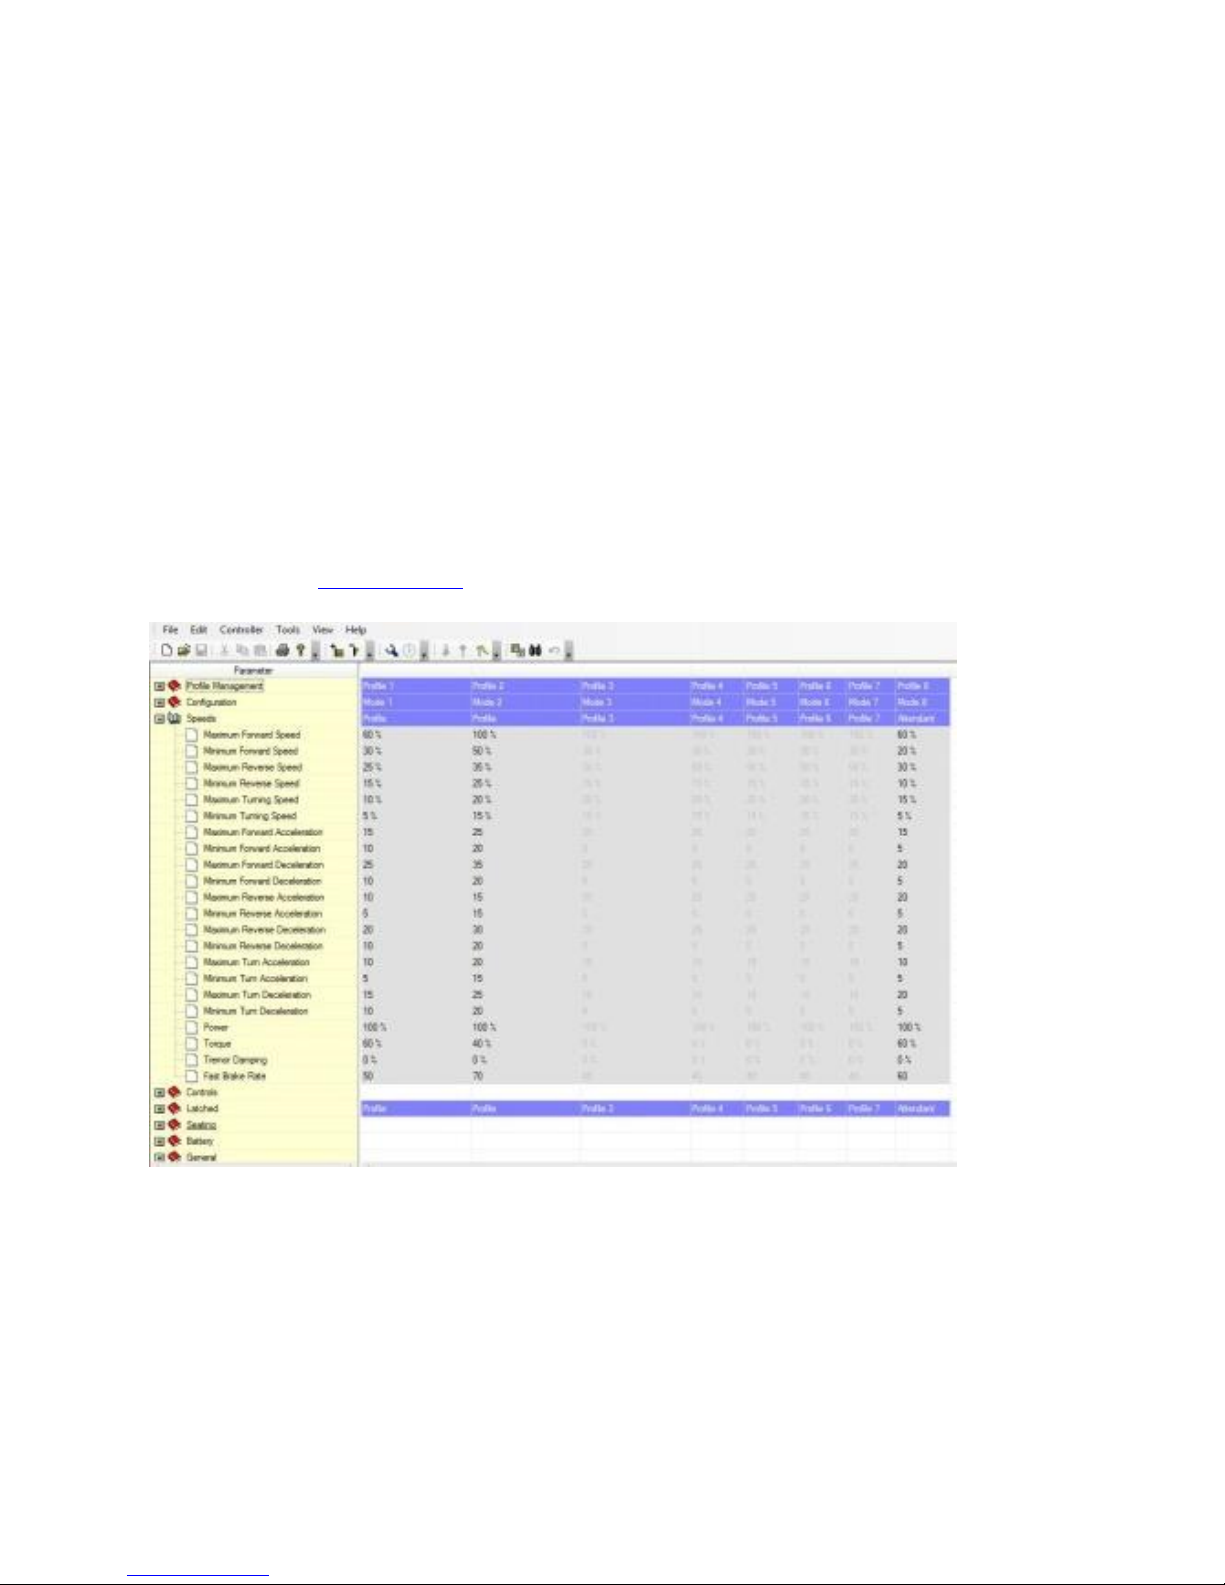
5.1 Programming R-Net and VR2
The programming is done by dubbing the control software of a laptop or PC to the
Controller of the wheelchair. Laptop / PC must be equipped with the appropriate PGDT
software.
• Start the software on your laptop / PC.
• Insert the read-in between the cable ends of the control panel cable and the
Controller; the interface is located below the armrest.
• Connect via the USB interface, the read-in on the laptop / PC.
• Transfer the program
The drive programs are made to give the user more ease of use and even better
drive characteristics.
All will be fitted with standard programs that provide the user with different
standard profiles programmed in the drive software.
The benefit for the user is that there is a more flexible way of speed and driving
settings in the chair, for both indoor and outdoor use.
Because multiple profiles per ordered speed setting are used, you do not need
to make the choice for the Standard, Classic and Fun at the order form
anymore.
Page 6
6
Motor setting improvements:
To optimize the current through the motors when they are pushed to their
limits, we have improved some parameters in the motor settings section of the
drive software.
Your benefits with these improvements are that the motors will be driven
towards their limits in a less intense way, which gives the motors a more
durable and longer life during extreme situations.
To perform a smoother start and stop of the on slopes, we have optimized the
motor compensation value. Now the user of the chair will experience nearly no
rollback when coming to a full stop or when starting to drive on a slope.
Service Instructions:
The new programs can be downloaded from the secured Login section of the
LEVO website: www.levo.ch
Page 7

7
6 General repair instruction
Only a LEVO agent or their authorized dealers should carry out servicing and repairs to
the LEVO combi.
Repairs: For advice in all repairs in Switzerland contact LEVO AG, Switzerland. For
all other countries contact your local LEVO agent. Addresses are given at the front
of this service manual or on the homepage www.levo.ch
Major repairs: For all major repairs, e.g. bent or damaged frame, always replace
complete components. Never try to repair damaged steel work or components.
Replacement parts: Factory replacement components should be used in all repairs;
these are available from LEVO AG. To order parts see the parts list drawings and
the correlative list, both available at LEVO AG.
• Locknuts must never be reused, but must be replaced by new ones.
• Secure each screw connection against inadvertent release. Use lock nuts or screw
securing adhesive, medium strength.
• Repairs to engines and electronic components must only be performed by the LEVO.
7 Tools & torque settings
The following tools are required to service the wheelchair:
Spanners and sockets: 8 mm through to 24 mm.
Hexagon key: 2 mm through to 8 mm.
Screwdrivers: 1 Nm through to 50 Nm.
Phillips head screwdriver and slotted screwdriver
Soft headed hammer
Snap through tool
Torque settings:
Bolt size
Torque Nm
M4
3
M5
6
M6
10
M8
25
M10
50
8 Important information
Do not reuse nuts. Always replace with a new nut.
Always use thread locking compound.
Always use recommended components and parts available from LEVO AG.
Do not modify or repair the frame.
LEVO AG is responsible for any repairs on gas springs, motors and electronic
parts.
Page 8

8
9 Recommended safety checks
The following safety checks should be carried out at least once per year. This should
be done by a LEVO agent or authorized dealer. If a fault is found do not allow the
wheelchair to be used until it has been corrected.
Make sure that the backrest, options and additional material is fixed safely. Using a
V-Trak backrest system check the lever of the backrest. All levers have to be
completely pushed down. Repair any fault found immediately.
Examine the wheelchair frame for any damage. Replace any damaged or faulty
components.
Examine the condition of the seat cushion and the backrest and replace if
necessary.
Examine condition of all harnesses, straps and buckles and replace if necessary.
Examine and operate the footrest mechanism. Replace any damaged or faulty
components.
Examine nuts, bolts, pivots and frame plugs for tightness and general condition.
Replace any faulty components.
Examine the rear wheel, the front wheels and their castors for free rotation and
security. Optimize the rotation and repair any fault found.
The tires are maintenance-free besides occasional cleaning. Use a damp cloth for
cleaning. Tires must get replaced when the tire’s profile is worn down. (For more
information please consult sector 8.1. to 8.4.).
Check the free wheel device and the motor disengaging lever for correct operation.
Repair any fault found.
Check the mechanical function of the motor disengaging lever. Pull the motor
disengaging lever out and turn it simultaneously to the OFF position. At this stage it
should be possible to push the wheelchair. Pull the motor disengaging lever out and
turn it simultaneously to the ON position to activate the motor brakes. The power
wheel should be blocked now. In case the power wheels are not completely blocked,
it is absolutely necessary to replace the motor.
Check the powered function of the motor disengaging lever. Switch on the joystick
module and start driving forwards. Let of the joystick. As a reaction the wheelchair
should stop and the solenoid brakes of the motor should snap in evidence. Repeat
this check driving backwards and to each side. In case the motor brakes don’t
function correctly check the battery indicator on the joystick module for any failure
indication. Consult the controller self help guide (user manual sector 23) for details
about failure indications.
Page 9

9
Make sure all the connectors are properly inserted, that the brake solenoids are
energized and that the solenoid coil is not open or short-circuited by testing the two
bigger pins on the motor lead plug. If necessary, replace the motor.
Check all electrical cables and wires for chafing and clamp spots. Replace if
necessary.
Check all electrical connectors for corrosion and security. Replace if necessary.
Clean the batteries and terminals. Test the battery capacity and advise the
customer of their condition. Charge the batteries before returning the wheelchair to
the customer.
Check all MODE functions as standing-up and sitting as well as the optionally added
functions (lift, backrest reclining, and seat tilt, lying to standing directly). Repair any
fault found.
Check all lights and indications. Replace components with failures.
Use all functions and drive the wheelchair as a final check. In case you notice any
kind of problems arrange the fixing.
10 Cleaning
Before returning the wheelchair to the customer ensure the wheelchair is
clean and well presented:
If there is any dirt it should be cleaned off using a damp cloth and then dried
thoroughly.
For more stubborn stains wipe with a damp cloth using a mild solution of warm
water and soap.
Never use furniture polish or any fluids containing alcohol to clean the
frame.
In case of dirt on the seat cushion cover or the back rest cover, you can remove
both of it and wash it softly. Do not wash it warmer than 40 degree Celsius.
Page 10

10
1
1.1.1.2 C
1.1.1.3 B
1.1.1.4 2
1.1.1.5 D
1.1.1.6 E
1.1.1.7 B
1.1.1.8 A
1.1.1.9 F
1.1.1.10 G
11 Repairs
Note the mandatory items listed in the Instruction Manual before replacing
components.
11.1 Replacing the drive wheels
When removing a wheel, the wheelchair must be unoccupied. The wheelchair must be
supported (B) so that it neither falls over or moves when a wheel is removed.
Pull off the protective end cap which covers the
countersunk screw.
Remove the countersunk screw (A) using a 5 mm
hexagon key.
Remove then the black washer (F, picture 2).
Withdraw the wheel from the wheelchair.
To mount the new wheels follow the instructions in the
reverse order.
11.2 Replacing the tire of a drive wheel
When replacing the tire, means removing a wheel, the wheelchair must be unoccupied.
The wheelchair must be secured so that it cannot fall over or move when a wheel is
removed.
Remove the drive wheel as described in sector 8.1.
Remove the four black countersunk screws (G) to take the flange © of the wheel
using a 5 mm hexagon key.
Remove five screws (H) of the rim using a 6mm hexagon key.
Withdraw the rims (B1 and B2) from the tire (A).
Reassemble in reverse order.
To fit the rims to the tire use gunk to make it easier.
Important: Take note of the circulation direction indicated on the tire
before fixing.
Page 11

11
1.1.1.11 A
3
11.3 Replacing the front wheels
When removing a wheel, the wheelchair must be unoccupied. The wheelchair must
be supported so that it neither falls over nor moves when a wheel is removed.
Pull off the protective end caps from the axle.
Loosen the hexagon screw and washer using a 13
mm hexagon key and remove the screw, the
Washer and the nut (1.1).
Withdraw the wheel from the fork.
Reassemble the new wheel in reverse order.
Make sure all washers are placed correctly!
11.4 Replacing the back wheel
When removing the wheel, the wheelchair must be unoccupied. The wheelchair must be
secured so that it cannot fall over or move when the wheel is removed.
Loosen the screw (1.1) using a 6 mm hexagon key
and remove the screw, the washer and the nut.
Withdraw the back wheel from the fork.
Reassemble the new wheel in reverse order.
Make sure all washers are placed correctly!
1.1.1.12 A
4
Page 12

12
11.5 Replacing the gas spring of the rear wheel
Lift the back wheel up with a clamping set.
Remove the supporting handle notice.
Loose the clamping set, so that the gas springs are
relieved.
Remove the securing clips at both gas springs above
and below with a screwdriver.
Now you can take off the gas springs from the ball
pin and exchange them.
Install everything again in reverse order.
4a
4b
4c
4d
Page 13

13
A
5
11.6 Replacing the wheel fork (front and rear)
When removing a wheel and/or a wheel fork, the
wheelchair must be unoccupied. The wheelchair must be
supported so that it neither falls over nor moves when a
wheel is removed.
Loosen the hexagon spike (A) at the wheel fork axle
as much as it needs to withdraw the fork from the
mount. (Use a 24 mm hexagon key.)
Replace the wheel fork.
Reassemble the used wheel in case it is still in a good
condition. Doing so please follow the instruction in sector
8.3. respectively 8.4.
Mount the new wheel fork in the reversed order.
(Picture 3 shows all parts in details.)
11.7 Replacing of the rear fork
Lift the rear wheel, as described under 11.6 replacing the gas springs of the rear wheel.
Unscrew the rear fork from the sleeve of the rear bracket. To do this with the wrench
on the hexagon A (see figure below).
The assembling of the rear wheel fork is done in analogy of the disassembling in the
reverse order.
A
Page 14

14
11.8 Replacing the connector of the back low shearing system
As a standard a connector of medium size is fixed. The shearing range regarding the
back movement is 9 cm / 3,5”. The replacement of this connecting piece using a
shorter or a longer piece causes a variation of 8 cm / 3” respectively 10 cm / 4” of
the shearing range.
Raise the seat to its maximum upright standing
position.
Switch off the joystick module.
Loosen the fillister head screw at the backrest tube as
well as the double-head screw at the seat plate using
a 4 mm hexagon key.
Remove the mentioned screws, the washers and the
connector.
First mount the upper end of the new connector at the
backrest tube. Make sure to put the two washers back
in place.
After that mount the lower end of the new connector
at the seat plate using the corresponding punched
hole (A on picture 6 and 7). Again make sure to put
the two washers back in place.
A B C
7
Page 15

15
11.9 Replacing the driving motor
When removing the driving motor, the wheelchair must be unoccupied. The
wheelchair must be secured so that it cannot fall over or move while replacing the
driving motor.
Take out the main fuse like described in 12.
Open the cover of the battery box and disconnect the
motor plug (A) from the power module.
Remove first the drive wheel as described in sector
8.1.
Remove the motor cover loosening the screws using
a 4 mm hexagon key.
Loosen the motor disengaging lever cable.
Now loosen the four cylinder head screws (B) at the
motor using a 6 mm hexagon key.
Mount the new motor with the four cylinder head
screws (B) using the 6 mm hexagon key again.
Fix the disengaging motor cable as described in
sector 8.7.
Reassemble the motor cover.
Mount the drive wheel in the reverse order.
Connect the motor plug to the power module.
Switch on the safety cut-out.
10
A
B
11
Page 16

16
11.10 Replacing the batteries
Caution: The battery box is heavy, take care when lifting and carrying.
Caution: When working on the batteries take great care not to short out the
terminals with any metal tools etc. Always remove wristwatches or jewelry.
When reconnecting; make sure all wires are connected to the correct battery
terminals.
Caution: Contact with acids is dangerous. If you come into contact with acids,
rinse the contaminated body parts immediately with water and consult your
doctor. Take off immediately using acid contaminated clothing.
Caution: Always wash your hands after working on the batteries.
If possible, raise the seat to the fully upright
position.
Switch off the safety cut-out.
Open the battery cover.
Loosen the screws at the electrical contact of the
batteries using a 13 mm screw wrench and
remove the small metal terminal piece (A).
Lift the batteries out of the battery box.
Put the new batteries in the battery box.
Reassemble in the reverse order.
The batteries should always be replaced as a complete set.
11.11 Battery Wiring
The figure shows the
correctly wiring of the batteries.
1A B
Page 17

17
11.12 Replacing the Joystick module R-Net
Switch off the joystick module.
Unplug the joystick cable at the back of the joystick
module.
Loosen the two hexagon screws (A) at the back of the
joystick module using a 2.5 mm hexagon key and
remove them.
Lift the Joystick module.
Mount the new joystick module in the reverse order.
11.13 Replacing the power module R-Net
Raise the seat to its maximum upright
standing position.
Take out the fuse.
Open the cover of the battery box.
Loosen the 4 screws that hold the limit
switch plate , and remove the plate
Cut the cable ties
Lift the power module, that you get
access to the front of the power module
Unplug the following cables from the power module: ISM-cable (A), left motor cable
(B), battery cable (C), right motor cable (D), limit switch cable (E), limit switch cable
(F) (all cables are listed from the left to the right hand side, see picture 14).
A
Page 18

18
11.14 Control box
Ziehen Sie die folgenden Kabel aus dem Power Modul heraus: ISM-Kabel (A),
linkes Motorkabel (B), Batteriekabel (C, rot-schwarz oder rot-blau), rechtes
Motorkabel (D), Endschalter-Kabel (E), Endschalter-Kabel (F). (Genannt von
links nach rechts, siehe Abbildung 14).
Note that the connectors are locked with plug-in fuses:
• Motor connector: Press the latches on the upper side edges of the connector (B + D).
• Battery connector: Press the snap closure on the top surface of the connector (C).
• The power module is attached with Velcro at the bottom of the battery box, so it does
not slip while driving. Lift the old power module from the battery box.
• Install the new power module as described above in reverse order.
11.15 ISM-Box
The ISM-box controls the lighting and the actuators. This box can be expanded
in the same way as the controller.
B A F E D
C
ISM-Box
Page 19

19
11.16 Replacing the gas spring
The gas spring serves for easy manual rising of the seat in case of any disorder
considering of the batteries or the actuator “standing” and you still need access to the
battery box in order of any repair.
The gas spring raises the seat and supports it in the standing position without the
actuator “standing” in use.
Raise the seat to the maximum standing position.
Lift the clip (B) on the upper part of joint of the gas spring using a slotted screwdriver
(A) and press the joint part off the joint pivot (C).
Caution: Do not remove the clip!
Lift the clip on the lower part of the joint of the gas spring
using a slotted screwdriver and press the joint part off the
joint pivot.
Caution: Do not remove the clip!
Remove the gas spring now. Mount the new gas spring in
the reverse order pressing the ends on the correlative
joint pivot.
A
B
C
15
Page 20

20
11.17 Replacing the actuator “standing”
Raise the seat to the upright standing position.
Switch off the joystick module and the safety cut-out.
Remove the quick-release axle (A, picture 16) from the upper end of the actuator.
Push the seat further to the upright position as high as it needs to remove the
actuator off the recess drilled into the seat support. In case the seat is already at
the maximum standing position the gas spring has to be unfixed at the upper end.
(Read the instruction in sector 8.13.)
Remove the clip (A, picture 17) at the inside of the lower end of the actuator.
Press out the spike (B, picture 17); use a hammer and a snap through tool to strike
the spike carefully out of the rod.
Unplug the actuator from the battery box and remove it.
Reassemble the new actuator in the reverse order.
16
17
Page 21

21
11.18 Replacing the actuator „Lift“
• Remove the main fuse from the battery and pull the side under the rear cover
out. Please refer to the information under "11 Assurance "in the manual.
• If the chair is equipped with sun function, move the seat to the reclining position
and then pull the main fuse (wheelchair de-energized). This gives you an ideal
position of the leg supports for the replacement. Is the LEVO combi not equipped
with optional seat functions, loosen the bolt / lock washer connection C between
the legrest and backrest construction and fold the legrest upward (E) (see Figure
18b and 18c). The bolt / lock washer connection is near the cotter pin (D) of the
standing actuator.
• Do you support the bottom rail of the yoke (A) with a block of wood (B), wooden
stick or similar so that the elevator cannot fall down. (See Figure 18a).
• Unplug the actuator from the ISM / controller.
• Remove the spring clip (A, Figure 17) at the upper end of the actuator.
• Take the locking pin (B, Figure 17) out, respectively, beat him with a punch
tool and the hammer pressing gently out.
• Loosen the actuator at the upper end of the holder of the actuator "lift"
• Remove the spring clip at the lower end of the actuator. Remove the cotter
pins as described above. (See figure 17).
• Install the new actuator as described in the reverse order.
Make sure that the piston rod of the new actuator is retracted. Start with
the lower end of the actuator, by plugging the actuator in the battery box.
Take out the piston rod of the actuator until the actuator bracket for the
"lift" fits in.
18b
18c
C
D
E
18a
A
B
Page 22

22
A
19
11.19 Replacing the actuator “lying”
Raise the seat to the upright standing position.
Switch off the joystick module and take out the
fuse.
Disconnect the plug of the actuator “lying” from
the battery box.
Loosen the screw (A on picture 19) using a
8 mm flat wrench.
Remove the back end of the actuator from the
connecting part.
Remove the clip (A on picture 17) at the front
end of the actuator.
Press out the spike (B on picture 17),
respectively use a hammer and a snap through
tool to strike the spike carefully out of the rod.
Press the front end of the actuator down and off
the bracket. Pull it then to the front and off the
back bracket.
Now remove the actuator.
Reassemble the new actuator “lying” in the reverse order.
Take care that the piston rod of the new actuator is retracted (inside). Start work
at the front part of the actuator and connect the plug of the actuator at the
battery box first. Retract the piston rod until it fits to the halter at the back.
11.20 Replacing the "legrest" actuator
• Remove the footrest as described in "11.3 Footplate "in the instruction manual
• Unplug the actuator C at the ISM / control box
• Remove the bolt connection at the points A and B and remove the actuator
Install the new actuator as described above in reverse order.
Make sure that the piston rod of the new actuator is retracted. Start with the lower end
of the actuator, by plugging the actuator in the battery box. Take out the piston rod of
the actuator until the actuator bracket for the "lift" fits.
A B C
Page 23

23
11.21 Replacing of lights and indicators
11.22 Front Light
Release screw A (Abb. 120)
Pull carefully the front light cable out of the support respectively out of the
flexible hose.
Cut off the shrinked isolation
Unplug the light respectively replace it with the new one
Shrink respectively isolate the two connections
Feed in the cable into the hose and fix the light at the support
11.23 Back Light
• Unplug the lightning cable inside respectively below the cover
• Release the screws and nuts to take out the plate including the light
• Take out the light from the plate and replace it by the new one
• Assemble in the reverse order.
Caution: Always take out the fuse first before any part of the lighting
system will be replaced or fixed.
Please be aware about all electronic safety regulation before you start
changing any lighting components.
All lighting components may only be replaced as a whole
B
Pic. 120
C
Rückleuchte
Scheinwerfer
Blinker
Back Light
A
Front Light
Indicator
B
Page 24

24
11.24 Indicators
The plugs of the front indicators are in the spiral protection hose
To find them you follow the cables beginning inside the indicator support
Unplug the red cable socket
Release the indicator by a wrench number 17
Loosen the nut, which is mounted on at the inner side of the light support. In case
the nut is too much tightened, it will be necessary to use a second wrench to hold
the counter nut outside of the light support
Replace the light by the new one and assemble in reversed order
12 Main fuse
The main fuse housing is under
the chair cover in the rear.
To get access, carefully open the
cover as shown.
Open the fuse cover, insert one
of the two fuses which are
delivered in a separate plastic
bag and snap the fuse cover
back.
Store the fuse cabling properly
above the batteries by the
attached Velcro strap.
13 Testing the wheelchair
Always perform full functional tests on the wheelchair when repairs have been
completed and before it is returned to the customer. Only return the wheelchair to the
client when all faults have been rectified.
Main fuse
Page 25

25
14 Version Management
Version No.
Date
Description
Autor
1.0
2012.07.30
First Edition Combi 923
B. Maurer
1.1
2014.03.2010
Diverse adjustments
H. Bögli
1.2
2014.06.02
TÜV Certification Update finalized
H. Bögli
 Loading...