

Page 1
MA_p300
.ND@
L−force Controls
Montageanleitung
Mounting Instructions
Instructions de montage
Instrucciones para el montaje
Istruzioni per il montaggio
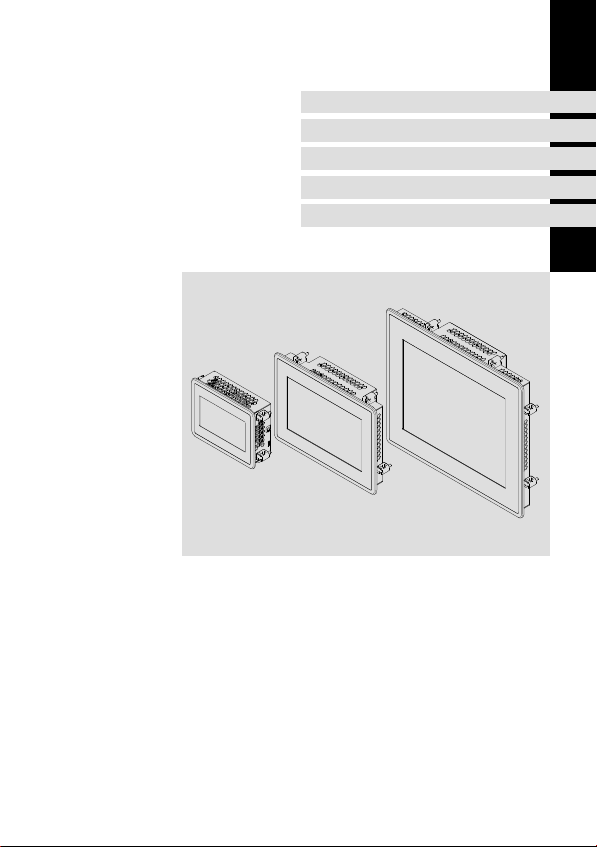
p300 4.3 ... 10.4 "
Ä.ND@ä
P30GAP..., P30GAH...
Panel Controller, HMI
Page 2

Stop!
Montage/Demontage bei ausgeschalteter Versorgungsspannung durchführen,
um elektronische Bauteile vor Beschädigung zu schützen.
Lesen Sie diese Dokumentation und die Bedienungsanleitung zum Gerät, bevor
Sie mit den Arbeiten beginnen.
Dokumentationen und Hilfsmittel rund um die Lenze Produkte finden Sie im
Download−Bereich unter
http://www.Lenze.com
ƒ Im Einbauraum ist eine ständige und ausreichende Luftzirkulation zwingend
erforderlich, um die Wärme des Geräts abzuleiten. Die Lüftungsschlitze dürfen nicht
abgedeckt werden.
ƒ Achten Sie bei der Wahl des Aufstellortes auf eine ergonomische Stellung des
Bildschirms, sowie auf Lichteinfall, der Reflektionen auf dem Bildschirm verursachen
könnte.
ƒ Während der Montage besteht die Gefahr, dass der Controller aus dem
Einbauausschnitt fällt. Sichern Sie ihn deshalb gegen Herunterfallen, bis alle
Schraubspanner montiert sind.
ƒ Während der Montage liegt der Dichtring des Frontrahmens frei und kann
beschädigt werden.
– Gehen Sie während der Montage sorgsam mit dem Dichtring um.
– Schützen Sie den Dichtring vor UV−Strahlen.
– Kontrollieren Sie den Dichtring jedes Mal auf Unversehrtheit, bevor Sie das Gerät
montieren.
ƒ Das Gerät muss fest im Einbauausschnitt sitzen und die Frontplattendichtung muss
korrekt aufliegen. Andernfalls wird auf der Gerätevorderseite die Schutzklasse IP65
nicht erreicht!
MA_p300 DE/EN/FR/ES/IT 1.1
2
Page 3

Stop!
Only carry out mounting/dismounting when no voltage is applied in order to
protect electronic components from damage.
Read this documentation and the operating instructions for the device before
you start working.
Documentation and tools around the Lenze products can be found in the
download area at
http://www.Lenze.com
ƒ Continuous and adequate air circulation is essential in the installation space so that
the device’s heat is correctly dissipated. Make sure that the ventilation slots are never
covered.
ƒ When choosing the installation location, ensure that the screen is in an
ergonomically suitable position and that light is unable to cause irritating reflections
on the screen.
ƒ During installation, there is a danger that the controller will fall out of the mounting
cutout. You should therefore secure it to prevent this happening until all screw
clamps have been fitted.
ƒ During mounting, the gasket of the front frame is exposed and can be damaged.
– Handle the gasket with care during mounting.
– Protect the gasket against ultraviolet rays.
– Check the gasket to make sure it is undamaged before you install the device.
ƒ The device must be securely seated in the mounting cutout and the front panel seal
must be correctly fitted. Otherwise, class of protection IP65 will not be achieved on
the front side of the device!
MA_p300 DE/EN/FR/ES/IT 1.1
3
Page 4

Stop !
Procéder au montage/démontage à l’état hors tension, afin d’éviter tout
risque d’endommagement des composants électroniques.
Lire le présent fascicule et la documentation relative à l’appareil avant toute
manipulation de l’équipement !
Toutes les documentations et des informations complémentaires sur les
produits Lenze peuvent être téléchargées sur notre site Internet à l’adresse
suivante :
http://www.Lenze.com
ƒ Assurer impérativement une ventilation suffisante permanente pour évacuer la
chaleur dissipée par l’appareil. Ne pas couvrir les orifices de ventilation.
ƒ Placer l’écran en fonction des exigences ergonomiques et de la lumière directe qui
risque de provoquer des réflexions sur l’écran.
ƒ Pendant les opérations de montage, le contrôleur risque de tomber de l’encoche de
montage. Le maintenir afin d’éviter qu’il tombe jusqu’à ce que tous les goujons
soient montés.
ƒ Pendant les opérations de montage, le joint d’étanchéité du cadre avant n’est pas
protégé et risque alors d’être endommagé.
– Pendant le montage, manipuler le joint d’étanchéité avec soin.
– Protéger le joint d’étanchéité contre les rayons UV.
– Avant chaque montage de l’appareil, vérifier l’intégrité du joint d’étanchéité.
ƒ L’appareil doit être bien fixé dans l’encoche de montage et le joint du cadre avant
doit être correctement positionné faute de quoi l’indice de protection IP65 n’est pas
atteint sur la face avant de l’appareil !
MA_p300 DE/EN/FR/ES/IT 1.1
4
Page 5

¡Alto!
Realizar el montaje/desmontaje con la tensión de alimentación desconectada
para proteger los elementos electrónicos contra posibles daños.
Lea la documentación y el manual de instrucciones del equipo antes de
empezar con los trabajos.
Encontrará documentación y material de ayuda sobre los productos de Lenze
en la sección de descargas de
http://www.Lenze.com
ƒ Es indispensable disponer de una circulación de aire suficiente en el lugar de
montaje, para poder eliminar el calor emitido por el equipo. No se deben cubrir las
ranuras de ventilación.
ƒ Al elegir el lugar de montaje debe tenerse en cuenta la posición ergonómica de la
pantalla, así como la entrada de luz, que podría generar reflejos sobre la pantalla.
ƒ Durante el montaje existe el peligro de que el controlador se caiga del marco de
montaje. Por ello es necesario asegurarlo contra la caída hasta que se hayan montado
todos los tensores roscados.
ƒ Durante el montaje, el anillo obturador del marco frontal queda expuesto y puede
resultar dañado.
– Tenga cuidado con el anillo obturador durante el montaje.
– Proteja el anillo obturador contra rayos UV.
– Compruebe siempre que el anillo obturador esté en perfecto estado antes de
montar el equipo.
ƒ El equipo debe estar montado fijamente en el marco de montaje y la junta de la placa
frontal colocada correctamente. ¡En caso contrario la cara frontal del equipo no
cumplirá con las exigencias de la clase de protección IP65!
MA_p300 DE/EN/FR/ES/IT 1.1
5
Page 6

Stop!
Quando si effettua il montaggio o lo smontaggio bisogna scollegare la
tensione di alimentazione, in modo da proteggere gli elementi elettronici da
eventuali danni.
Prima di iniziare i lavori, leggere la presente documentazione e le istruzioni
operative del dispositivo.
Documentazione e strumenti relativi ai prodotti Lenze sono disponibili
nell’area di download del sito
http://www.Lenze.com
ƒ Per una corretta dissipazione del calore dell’apparecchio, è assolutamente necessario
assicurare una circolazione d’aria sufficiente e costante nell’area di montaggio.
Accertare che le feritoie di ventilazione non siano ostruite.
ƒ Installare lo schermo in una posizione ergonomicamente corretta e assicurare che la
luce non provochi riflessi sullo schermo.
ƒ Fissare il Controller in modo da evitarne la caduta dall’apertura di montaggio, finché
tutti i tenditori a vite non sono stati montati.
ƒ Durante il montaggio la guarnizione di tenuta del telaio frontale è esposta e può
danneggiarsi.
– Durante il montaggio maneggiare con cautela la guarnizione di tenuta.
– Proteggere la guarnizione di tenuta dai raggi UV.
– Prima di montare l’apparecchio, controllare ogni volta l’integrità della guarnizione
di tenuta.
ƒ Controllare che l’apparecchio sia posizionato saldamente nell’apertura di montaggio
e che la guarnizione della piastra frontale sia collocata correttamente. In caso
contrario sul lato frontale dell’apparecchio non viene raggiunta la classe di
protezione IP65!
MA_p300 DE/EN/FR/ES/IT 1.1
6
Page 7

Abmessungen
Dimensions
Encombrements
Dimensiones
Dimensioni
e2
e3
e1
a2
> 40 > 40
> 40
b
b1
!
> 100
> 40
a1
a
p300XXX002
a a1 a2 b b1 e1 e2 e3
[mm]
p300, 10.9 cm (4.3") 130 117 117 104 91 42 3 −
p300, 17.8 cm (7") 210 191 117 155 136 47 4 22
p300, 26.4 cm (10.4") 282 263 117 240 221 47 4 22
MA_p300 DE/EN/FR/ES/IT 1.1
7
Page 8

Montage
Mounting
Montage
Montaje
Montaggio
m
1.
!
p300, 10.9 cm (4.3") 119 94
p300, 17.8 cm (7") 194 139
p300, 26.4 cm (10.4") 266 224
MA_p300 DE/EN/FR/ES/IT 1.1
n
m n
[mm]
8
p500_006
Page 9

2.
p300, 10.9 cm (4.3 ") = 4 x
p300, 17.8 cm (7 ") = 4 x
p300, 26.4 cm (10.4 ") = 8 x
a
x
b
c
x Schraubspanner−Positionierhilfe
x Positioning aid for screw clamps
MA_p300 DE/EN/FR/ES/IT 1.1
p300_007
9
Page 10

3.
max.
p300, 10.9 cm (4.3 ") = 10 Ncm (0.9 lb-in)
p300, 17.8 cm (7 ") = 20 Ncm (1.7 lb-in)
p300, 26.4 cm (10.4) = 20 Ncm (1.7 lb-in)
p300_008
MA_p300 DE/EN/FR/ES/IT 1.1
10
Page 11

MA_p300 DE/EN/FR/ES/IT 1.1
11
Page 12

© 07/2014
Lenze Automation GmbH
F
Postfach 10 13 52, D−31763 Hameln
Hans−Lenze−Str. 1, D−31855 Aerzen
Germany
(
+495154 82−0
Ê
+495154 82−2800
lenze@lenze.com
ü
www.lenze.com
Service Lenze Service GmbH
Breslauer Straße 3, D−32699 Extertal
Germany
(
0080002446877 (24 h helpline)
Ê
+49515482−1112
service@lenze.com
MA_p300 § .ND@ § DE/EN/FR/ES/IT § 1.1 § TD15
10987654321
 Loading...