

Page 1
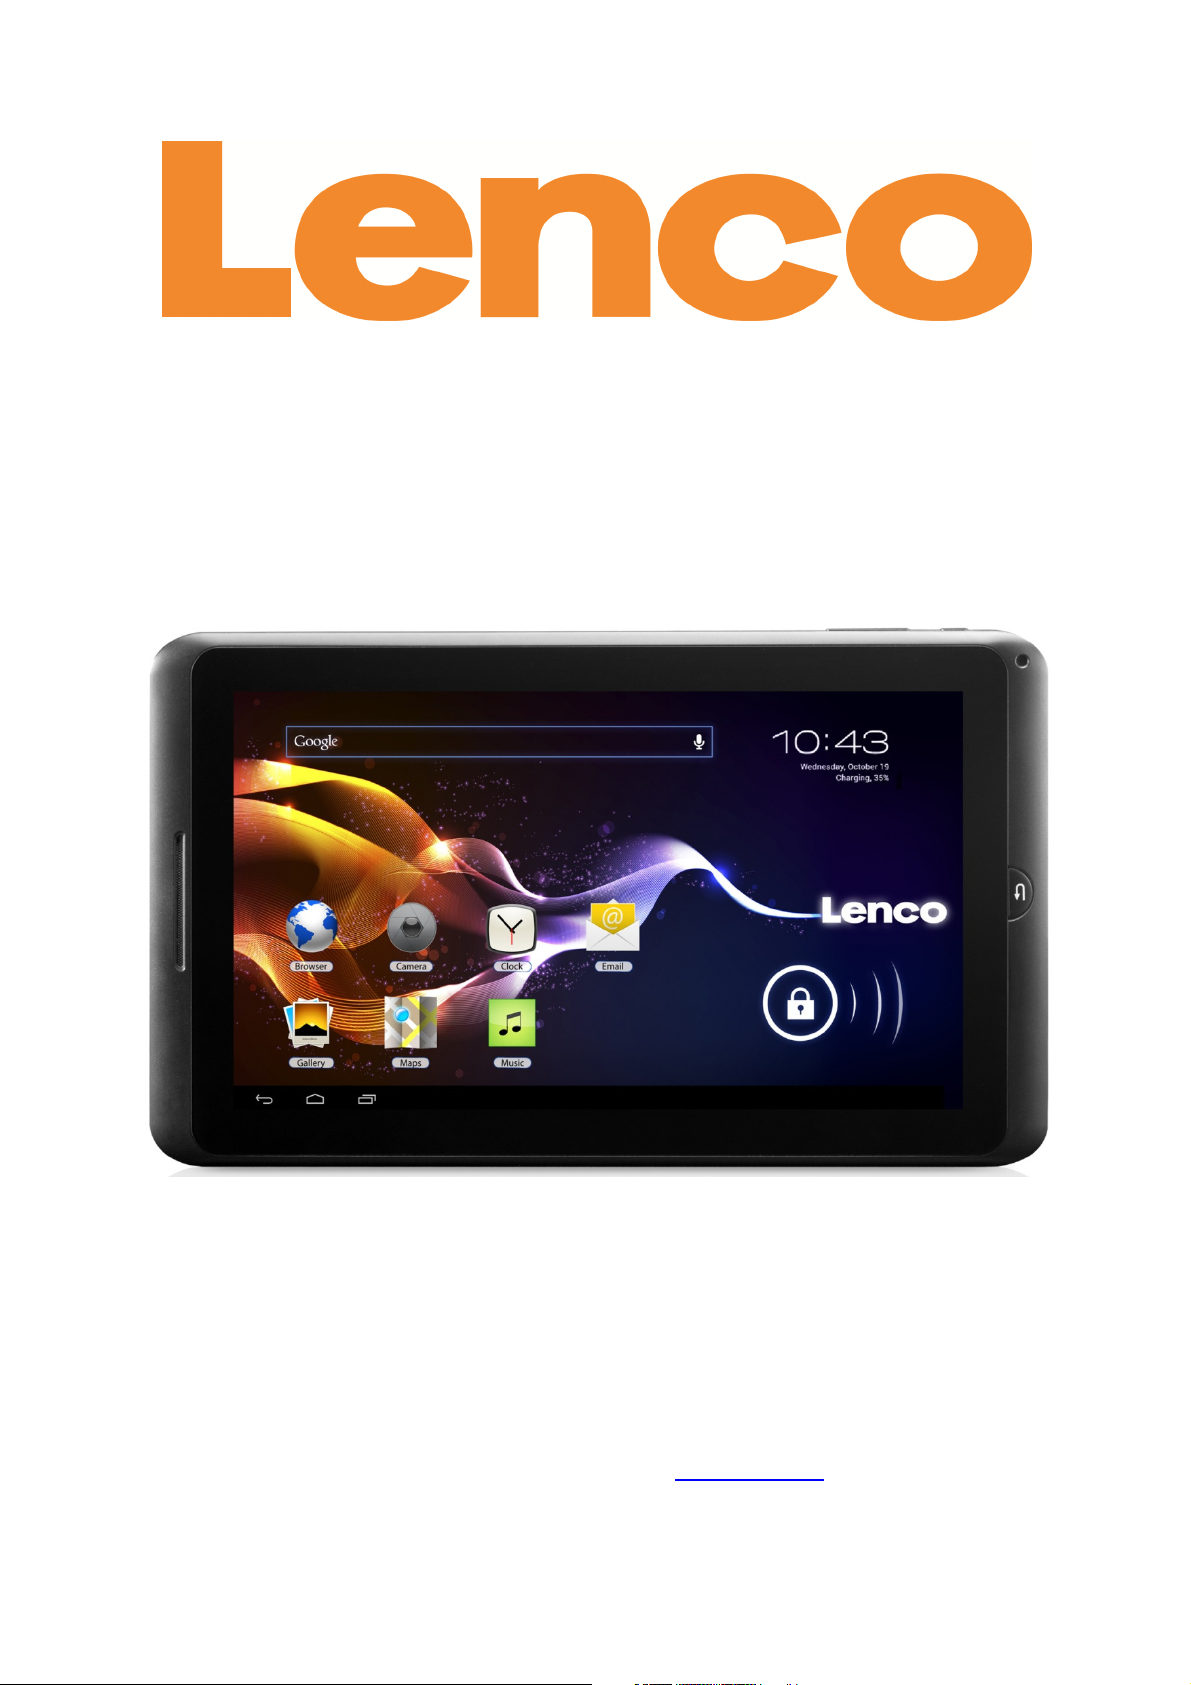
TAB-1013
25 CM (10,1") INTERNET TABLET WITH
ANDROID™ 4.0
User manual
For information and support, www.lenco.eu
UM_TAB-1013_GB_V1.0
Page 2

Table of content
What’s in the box? ...................................................................................................... 3
IMPORTANT SAFETY INSTRUCTIONS .................................................................... 4
Exploring the device ................................................................................................... 7
Getting Started ........................................................................................................... 8
Turning the Tablet on and off .................................................................................. 8
Turning the Screen On and Off (Standby) ............................................................... 8
Unlocking the Screen .............................................................................................. 9
About Applications ...................................................................................................... 9
Preinstalled Applications ......................................................................................... 9
Installing Applications ............................................................................................ 10
Connect to a Wi-Fi network ...................................................................................... 10
Connecting to a Computer ........................................................................................ 11
Service and support .................................................................................................. 12
Specifications ........................................................................................................... 13
End of life .................................................................................................................. 13
2
Page 3

Dear customer,
Thank you for purchasing this Lenco product. Quality and usability is our top priority.
In order to let you fully enjoy this product, we manufactured this product using high
quality standards, materials, components and care.
Note:
This user manual is printed prior to the product development. When a part of the
product specification must be changed to improve operability or other functions,
priority is given to the product specification itself. In such instances, the instruction
manual may not entirely match all the functions of the actual product. Therefore, the
actual product and packaging, as well as the name and illustration, may differ from
the manual. The screen shown as an example in this manual may be different from
the actual screen display.
Lenco is not liable for any consequential damage.
What’s in the box?
Our factory assembles the content of the box with the utmost care. If unfortunately an
accessory is missing in the box, please contact your dealer as soon as possible.
Checking the accessories supplied:
1 x Main unit
1 x AC Adaptor
1 x USB cable
1 x USB Host cable
1 x Earphone
1x Quick guide
3
Page 4
IMPORTANT SAFETY INSTRUCTIONS
READ CAREFULLY BEFORE USE.
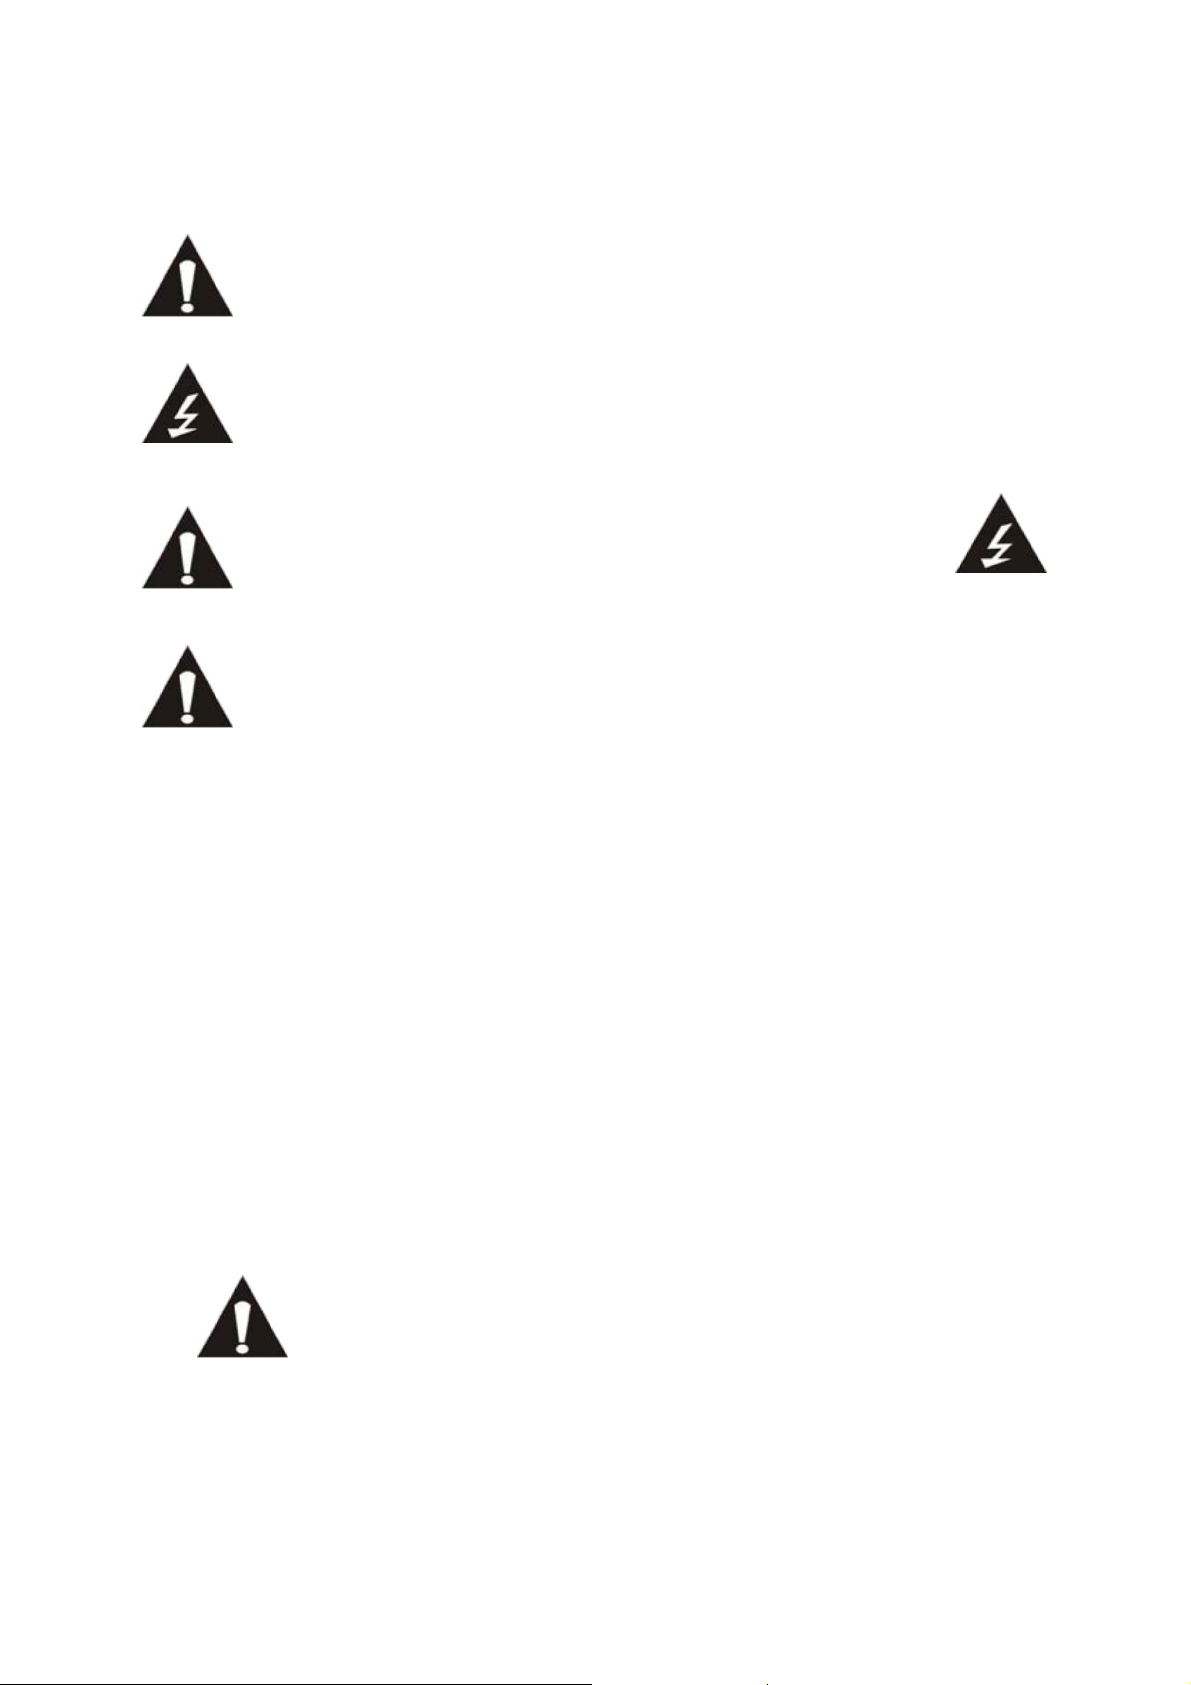
This symbol indicates that there are important operating maintenance
instructions in the user manual accompanying this unit.
This symbol indicates that dangerous voltage is present within this unit
constituting a risk of electric shock or personal injury.
CAUTION
RISK OF ELECTRICAL SHOCK
DO NOT OPEN
CAUTION: TO PREVENT ELECTRICAL SHOCK, DO NOT REMOVE ANY
COVER SCREWS. THERE ARE NO USER SERVICEABLE PARTS
INSIDE. REQUEST A QUALIFIED SERVICE PERSON TO PERFORM
SERVICING.
Keep these instructions in mind:
Do not use this unit near water.
Clean only with a slightly damp cloth.
Do not cover or block any ventilation openings. When placing on a shelf leave 5
cm (2”) free space around the whole unit.
Install in accordance with the supplied user manual.
Protect the power cord from being walked on or pinched, particularly at plugs, and
the point where it exits the unit. Do not place heavy items on the power cord,
which may damage it. Take note that the power cord cannot be reached and
pulled by young children, avoiding injury.
Unplug this unit during lightning storms or when unused for a long period of time.
Keep the unit away from heat sources such as radiators, heaters, stoves, candles
and other heat-generating products.
Avoid using the device near strong magnetic fields.
Normal functioning of the product may be disturbed by ESD. If so, simply reset
and restart the device following the instruction manual. During file transmission,
please handle with care and operate in a static-free environment.
WARNING! NEVER INSERT AN OBJECT INTO THE PRODUCT
THROUGH VENTS OR OPENINGS. HIGH VOLTAGE FLOWS IN
THE PRODUCT AND INSERTING AN OBJECT CAN CAUSE
ELECTRIC SHOCK AND/OR SHORT INTERNAL PARTS. FOR THE
SAME REASON, DO NOT SPILL WATER OR LIQUID ON THE PRODUCT.
Do NOT use in wet or moist areas such as bathrooms, steamy kitchens or near
swimming pools.
Do not use this unit when moisture condensation may occur.
4
Page 5

This unit has been produced according to all current safety regulations. The following
safety tips should safeguard users against careless use and the dangers connected
with such use.
Although this unit has been carefully manufactured and rigorously checked before
leaving the factory, as with all electrical appliances, it is possible for problems to
develop. If you notice smoke, an excessive build up of heat or any other
unexpected phenomena, you should disconnect the plug from the mains power
socket immediately.
Ensure that the unit is sufficiently ventilated!
This unit must operate on a power source specified on the specification label. If
you are not sure of the type of power supply used in your home, consult your
dealer or local power company.
The socketoutlet must be installed near the equipment and must be easily
accessible.
Do not overload AC outlets or extension cords. Overloading can cause fire or
electric shock.
This unit is a class II device. It does not require a grounded connection.
Ensure that the unit is sufficiently ventilated!
Keep away from rodents. Rodents enjoy biting into power cords.
Always hold the plug when pulling out the plug from the mains supply socket. Do
not pull the power cord. This can cause a short circuit.
The screen is made of plastic and can break if damage is done to it. When
broken, be careful with sharp edged plastic splinters to avoid injury.
Avoid placing the unit on any surfaces that may be subject to vibrations or shocks.
To protect the unit during a thunderstorm unplug the AC power cable and
disconnect the aerial. Caution: Do not touch the aerial (RF) connector.
When the unit is not used for long periods of time, unplug the AC power cable for
safety reasons.
Do NOT tap or shake the screen, you may damage the internal circuits. Take
good
To clean the tablet pc use a soft dry cloth. Do NOT use solvents or petrol based
fluids. For stubborn stains, you may use a damp cloth with dilute detergent.
We are not responsible for damage or lost data caused by malfunction, misuse,
modification of the device or battery replacement.
If the device will not be used for an extended period of time, please charge the
battery at least once per month to maintain battery life.
Charge the battery if:
a) The battery level icon displays (An empty battery)
b) The device powers off automatically when restarted.
Do not interrupt the connection when the device is being formatted or transferring
files. Otherwise, data may be corrupted or lost.
5
Page 6

Declaration of Conformity
Products with the CE marking comply with the EMC Directive
(2004/108/EC) and the Low Voltage Directive (2006/95/EC) issued by
the Commission of the European Community.
IMPORTANT NOTES:
The USB memory stick should be plugged into the unit directly. Don’t use
an USB extension cable because it can cause interference resulting in
failing of data.
WARNING: long term exposure to loud sounds may lead to temporary or
permanent hearing impairment.
Where to install
Locate the tablet pc away from direct sunlight and a strong light, soft indirect lighting
is recommended for comfortable viewing. Use curtains or blinds to prevent direct
sunlight falling on the screen. When the tablet pc is put away place it on a sturdy
platform of which the surface should be flat and steady. This will prevent it from
falling over. Make sure the tablet pc is located in a position where it cannot be
pushed or hit by objects, as pressure will break or damage the screen, and so that
small objects cannot be inserted into the ventilation slots or openings in the cabinet.
6
Page 7

Exploring the device
1. VOL-/VOL+
Press VOL- to decrease the volume
level. Press VOL+ to increase the
volume level.
2. Power
Press to turn the unit on, or to turn the
screen on or off.
Press and hold to access the Power
Off menu.
3. Camera
Use it to take pictures or capture
videos.
4. Headphone
Audio output connection for
headphones.
5. HDMI
Connect to a TV or other displays.
6. MIC
Use internal MIC to record voice.
7. Adapter In
Charge and power the tablet with the
adapter.
8. USB OTG
Connect to a USB device or a
computer to transfer data (e.g. music,
videos,photos, files).
9. microSD
Load external microSD memory cards
here.
10. Reset
Reset the tablet.
11. USB HOST
Connect to a USB device.
12. Back
Press to return to the previous screen.
If the keyboard is on the screen, Press
to close the keyboard.
7
Page 8

Getting Started
Turning the Tablet on and off
To turn the tablet on:
Press and hold the Power key until the LCD screen turns on. Wait until the Home
screen appears; the tablet is now ready for use.
To turn the tablet off:
Press and hold the Power key until the
Device Options menu appears.
Touch ok the screen to turn off the tablet.
Turning the Screen On and Off (Standby)
When the tablet is on, you can turn off the screen to conserve battery power. Simply
press the Power key once to turn the screen off. Press the Power key again to turn
the screen back on.
Note:
To conserve battery power, the screen can be set to turn off automatically when the
tablet is not in use (between 1 minute and 30 minutes). This Screen timeout option
can be found in the Display menu.
Page 9

Unlocking the Screen
When the screen turns off, you will have to unlock the screen when you turn it back
on. To unlock the screen, drag the lock icon across the screen towards the lock icon.
About Applications
To open an application, touch the application icon on the home screen or in the
Launcher where you can tap the icon right up on the home screen to get in.
Launcher screen:
The screen shown above is for illustrative purposes only. Reserves the right to
modify and improve the final list of applications available on the tablet.
Preinstalled Applications
Some applications have been installed on your tablet for your convenience.
These applications include:
1. Browse the web.
2. Perform simple mathematical operations.
3. Take pictures or videos with the frontfacing camera.
4. Check your e-mail.
5. Play music.
6. Access the Settings menu to adjust the tablet’s options.
9
Page 10

Installing Applications
You can also download an install additional applications from the device's
applications marketplace, the web browser, or other sources.
The tablet must be set to allow installation of applications from non-Market
sources. The Unknown sources option can be set in the Application settings
menu.
Connect to a Wi-Fi network
The Notification bar displays icons that indicate your tablet’s Wi-Fi status.
Notification that an open Wi-Fi network is in range.
Connected to a Wi-Fi network (waves indicate connection strength).
[no icon] There are no Wi-Fi networks in range, or the Wi-Fi radio is off.
1. Turn on the Wi-Fi radio if it is not already on. To turn on Wi-Fi:
a. Go to the Home screen: Press the Home key.
b. Open the Settings menu: tap the icon right up
on the home screen to get into the launcher, then touch Settings icon.
c. Open the Wireless & networks menu: Slide the icon to ON status.
When Wi-Fi is on, the tablet will look for and display a list of available Wi-Fi
networks. If a network that you have connected to previously is found, the tablet
will connect to it. If you don't see your network in the list, you can force the tablet
to re-scan. To scan for networks, tap the Menu key, and then touch Scan.
2. Select an available Wi-Fi network to connect to:
In the same Wi-Fi settings menu above,touch a network in the list.
If the network is open,the tablet will prompt you to confirm connection to the
network. Touch Connect to confirm.
If the network is secured (as indicated by a Lock icon),the tablet will prompt you to
enter a password or other credentials.Touch the Wireless password box to show
the on-screen keyboard and then use it to enter the password. Touch Connect to
confirm.
10
Page 11

When you have successfully connected to a Wi-Fi network, the Notifications bar
at the low of the screen will show a Wi-Fi signal indicator.
To learn about how to add a Wi-Fi network when it is not in range or when the
router is set to obscure the network name (SSID); or to configure advanced
Wi-Fi options, please refer to the user manual.
Connecting to a Computer
Connect the tablet to a computer to transfer files.
1.Connect your tablet to the computer. With the included USB cable: Plug the
small end of the cable into the USB 2.0 high speed connector of the tablet.
Plug the large end of the cable into an available USB 2.0 high speed port on
the computer.
2. When your tablet is connected, slide up the USB icon right down on the
screen and then touch icon USB connected.
11
Page 12

3. Mount the storage.
Touch button Turn on USB storage to mount the tablet's built-in storage. When
it is mounted, you can copy files to or from your tablet.
If you need help setting the display mode of the TV, please refer to the
documentation provided by the TV manufacturer. If there is no sound from the
tablet on your TV, you may need to set the HDMI switch sound settings.
Service and support
Lenco has written this user manual with the utmost care. If you still have difficulties
using this product after you have read user manual than you can contact us via
www.lenco.eu or by phone:
Lenco helpdesk:
Germany 0900-1520530 (Local charges)
The Netherlands 0900-23553626 (Local charges + 1ct P/min)
Belgium 026-200115 (Local charges)
France 017-0480005 (Local charges)
The helpdesk is accessible from Monday till Friday from 9 AM till 6 PM.
In case your device needs repair, our helpdesk will redirect you to your local dealer.
Lenco offers service and warranty in accordance to European law, which means that
in case of repair (both during and after the warranty period), you should contact your
local dealer. Please note: it is not possible to send repairs to Lenco directly.
Important note: If the unit is opened by a non-official service center, the warranty
expires.
12
Page 13

Specifications
Processor
BOXCHIP A10 1GHz(Cortex
A8)
RAM 1GB DDR3
Storage
Display
4~16GB(option) flash built-in; microSD card slot (max.32GB
supported)
10.1”TFT LCD(1024x600), Capactive touch screen
Wi-Fi
Networking
Video
IEEE 802.11 b/g/n
Mini HDMI,type C (1080p and 720p supported)
Output
Audio
Output
3.5mm headphone
PC Interface USB 2.0 high speed
Built-in microphone
Additional
Features
Front facing camera(0.3MP)
1x1W speaker
Operating
System
Android™ 4.0
Power Rechargeable Li-poly battery power Adapter(DC 5V,2A)
Playback
Time(hours)
About 13 hours for
About 4.5 hours for web
music,
browsing
About 3.5 hours for video,
End of life
This symbol indicates that the relevant electrical product or battery should
not be disposed of as general household waste in Europe. To ensure the
correct waste treatment of the product and battery, please dispose them in
accordance to any applicable local laws of requirement for disposal of
electrical equipment or batteries. In doing so, you will help to conserve
natural resources and improve standards of environmental protection in
treatment and disposal of electrical waste (Waste Electrical and Electronic
Equipment Directive).
When you see a crossed-out wheeled waste container on the product, it means that the
product is subject to the EU directive 2002/96/EC.
13
 Loading...