

Lawmate PV-400W Quick Manual
PV-400W
D1 WI-FI Lite DVR Cam Input
Quick Guide
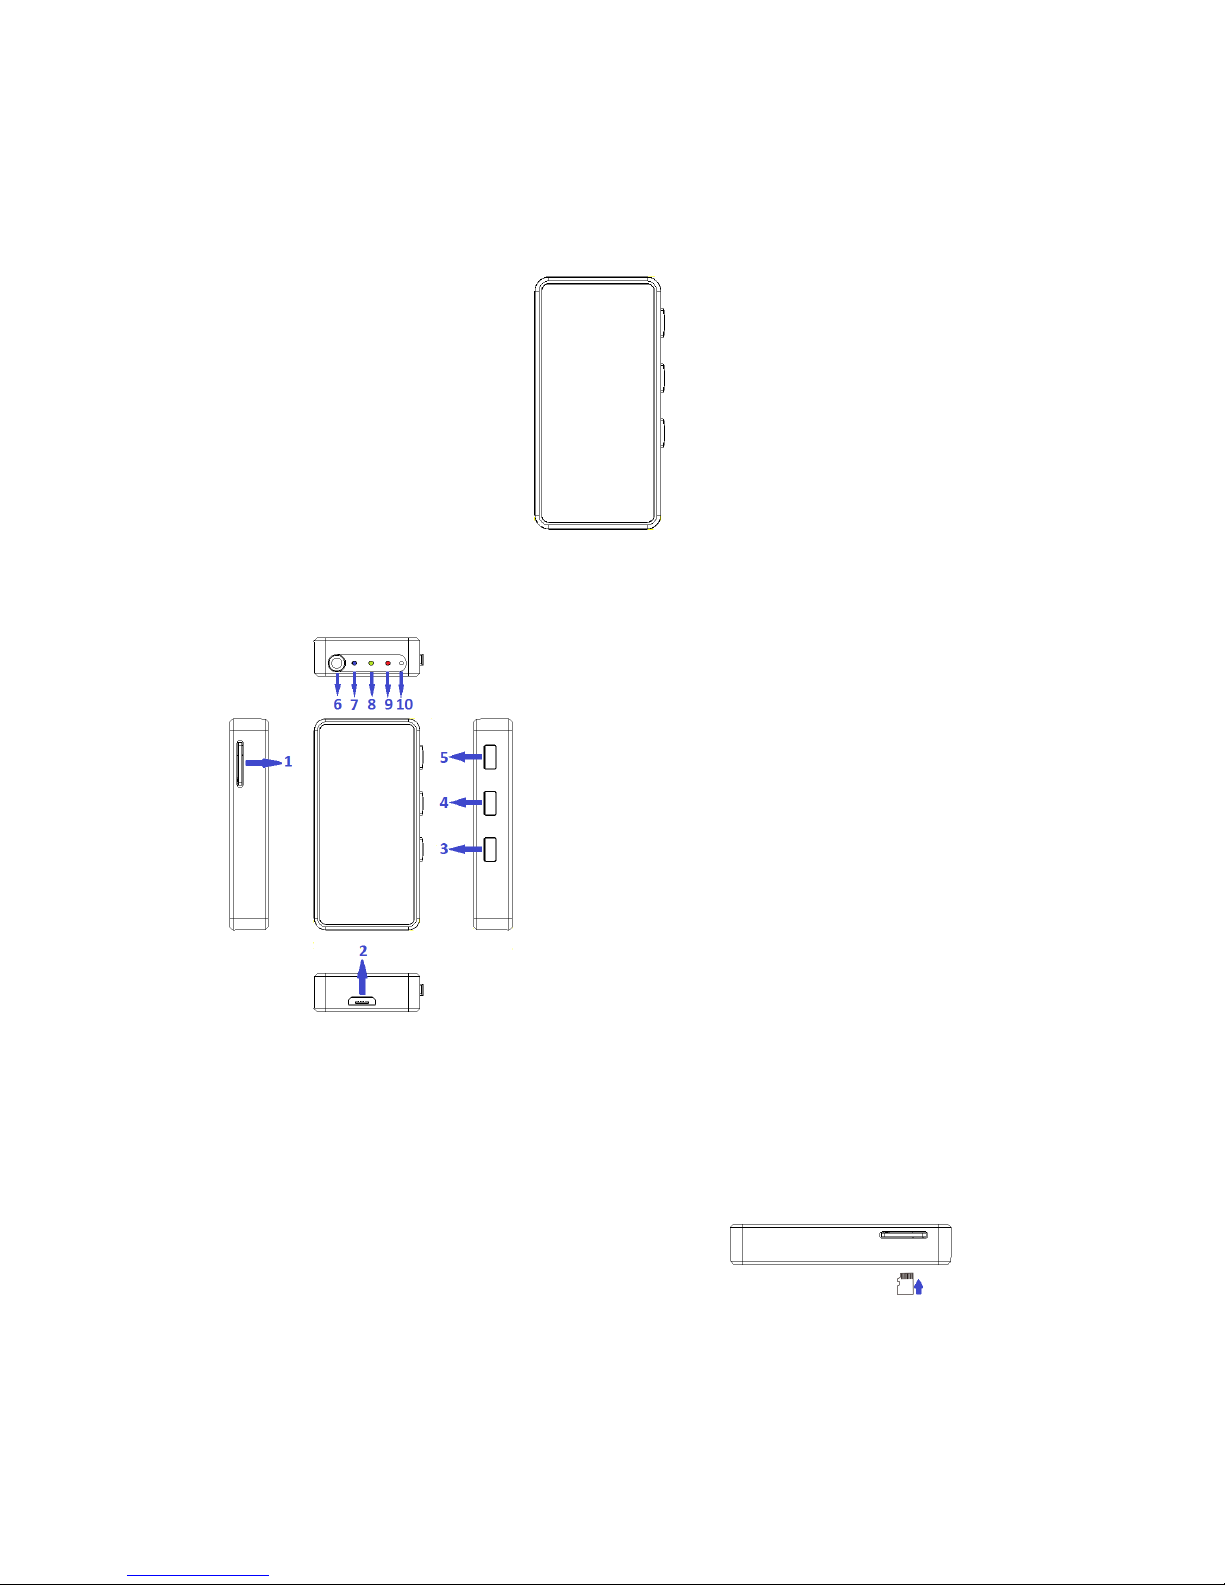
A. Regarding the Device
1) Memory Card Slot
2) USB Charge
3) REC Button
4) WI-FI On/Off & WI-FI Reset
5) Power On/Off Button
6) CAM In Port
7) Power On LED
8) WI-FI & Client LED
9) REC & No SD Card LED
10) Microphone
B. Power
1) Power supplied from a common USB port with DC5V
C. Insert the SD Card
1) Place the SD Card into SD Card Slot, Press the SD Card
for take out the SD Card.
D. Button Function
1) Power On:Press button○5the device is power on.
2) Power Off:Press button○5the device is power off.
3) WI-FI On/Off:Press button○4to turn on WI-FI or turn off WI-FI. (The WI-FI is on when the device is
power on and it start recording.)
4) REC On/Off:Press button○3to turn on REC or stop REC. (The WI-FI is on when the device is power on
and it start recording.)
5) Reset WI-FI Default:Hold the button○4for 10 sec.
E. LED Light
1) Blue LED Light On:Power On
2) Red LED Light On:Please check the SD card. (Can’t recognize the card or lack of memory capacity)
Red LED Light Blinking:Recording
3) Green LED Light On:WI-FI On
Green LED Light Blinking:WI-FI Direct/WI-FI Client connecting
Green LED Light Continue Blink 2 times and stop one sec.:Enter Client, but no connection.
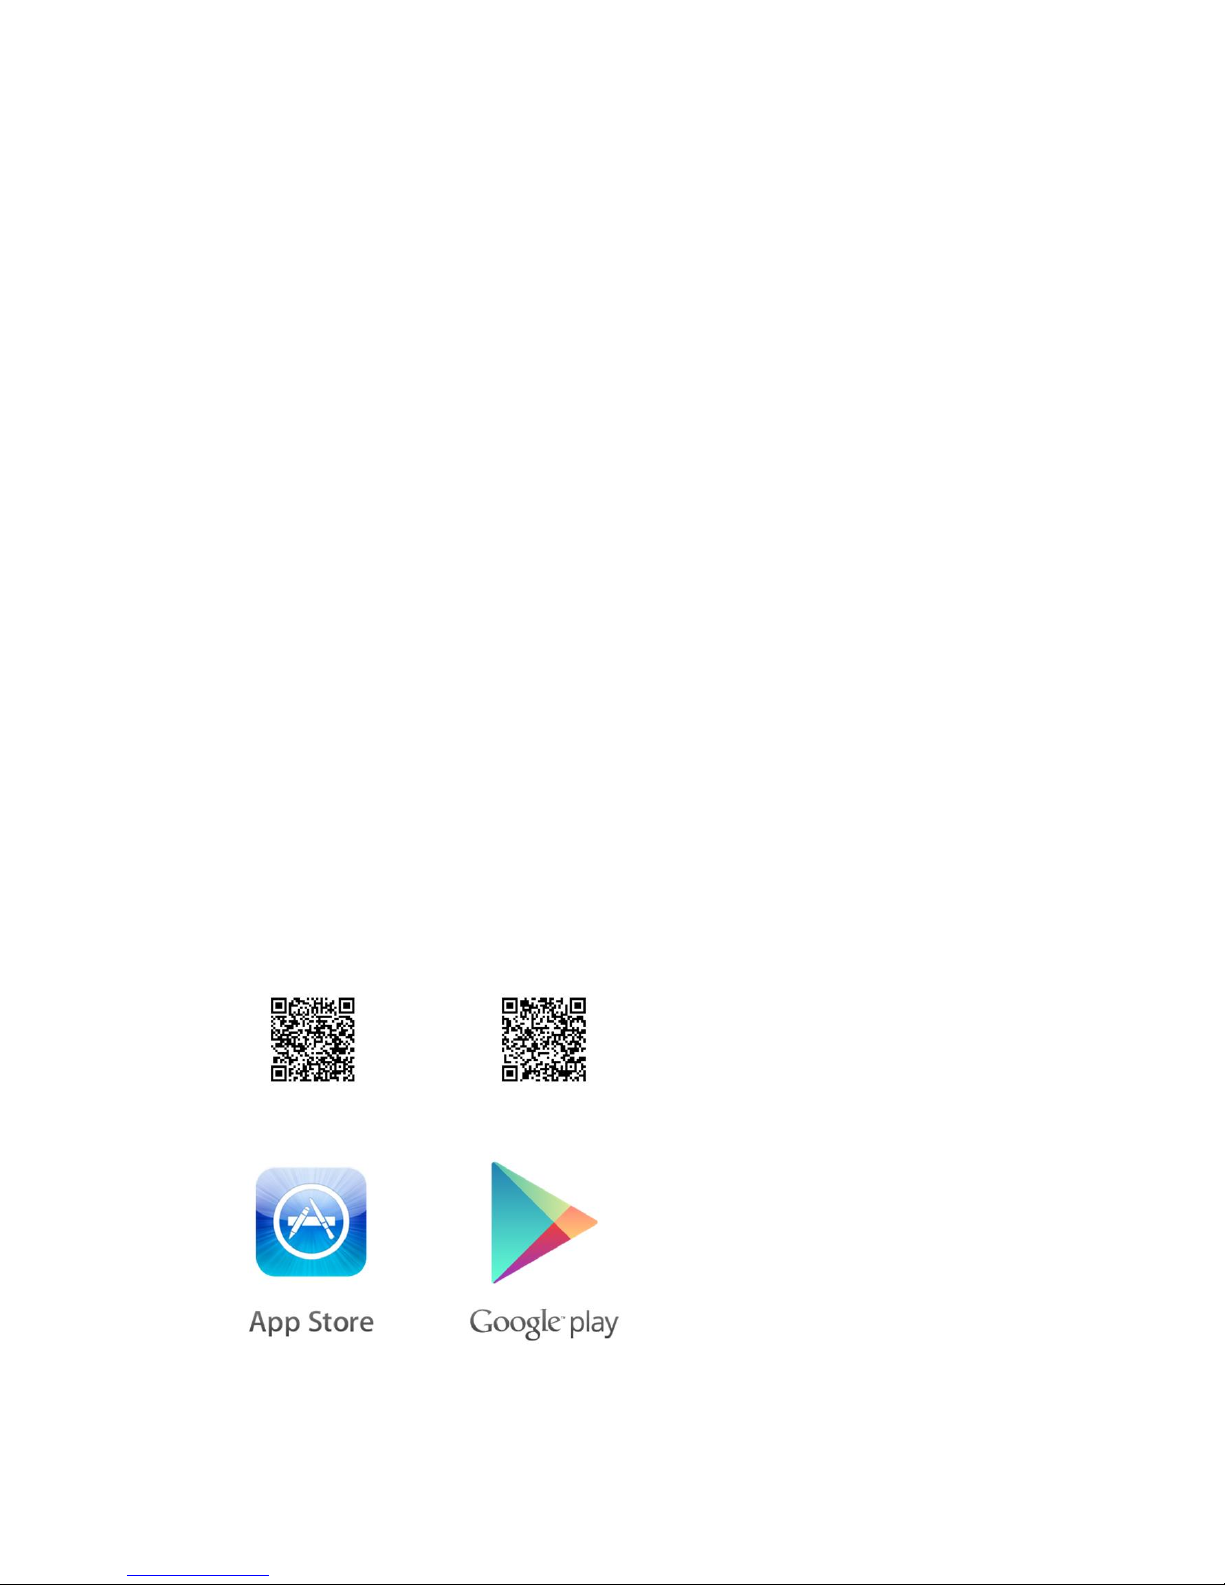
H. APP download QR Code (Scan the QR code to download the APP or directly type &
search “SecurePro” in App store or Google play for installation)
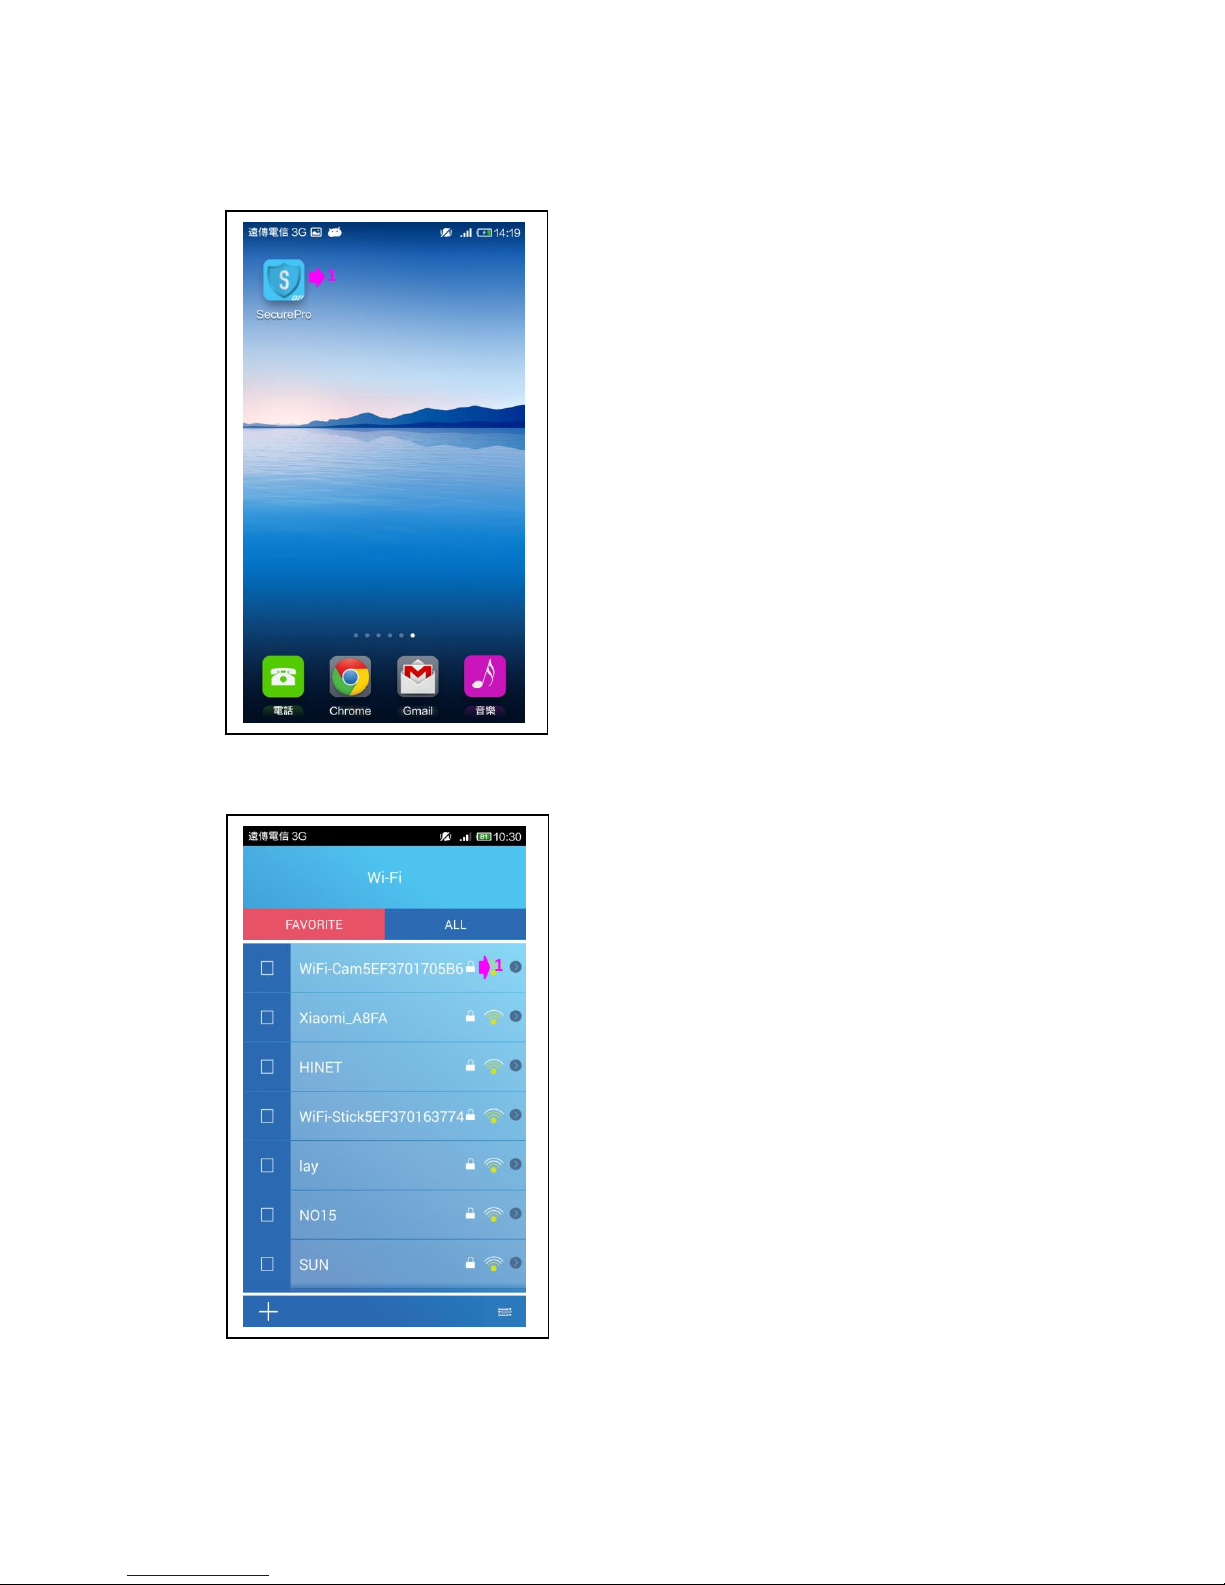
I. Establish WIFI connection (Android)
1) Start your smartphone APP.
1) Choosing the device’s WI-FI which you need to connect.

1) Enter the password.
(The factory initial password is 123456878.)
1) WI-FI connection.
1) Enter WI-FI connection.
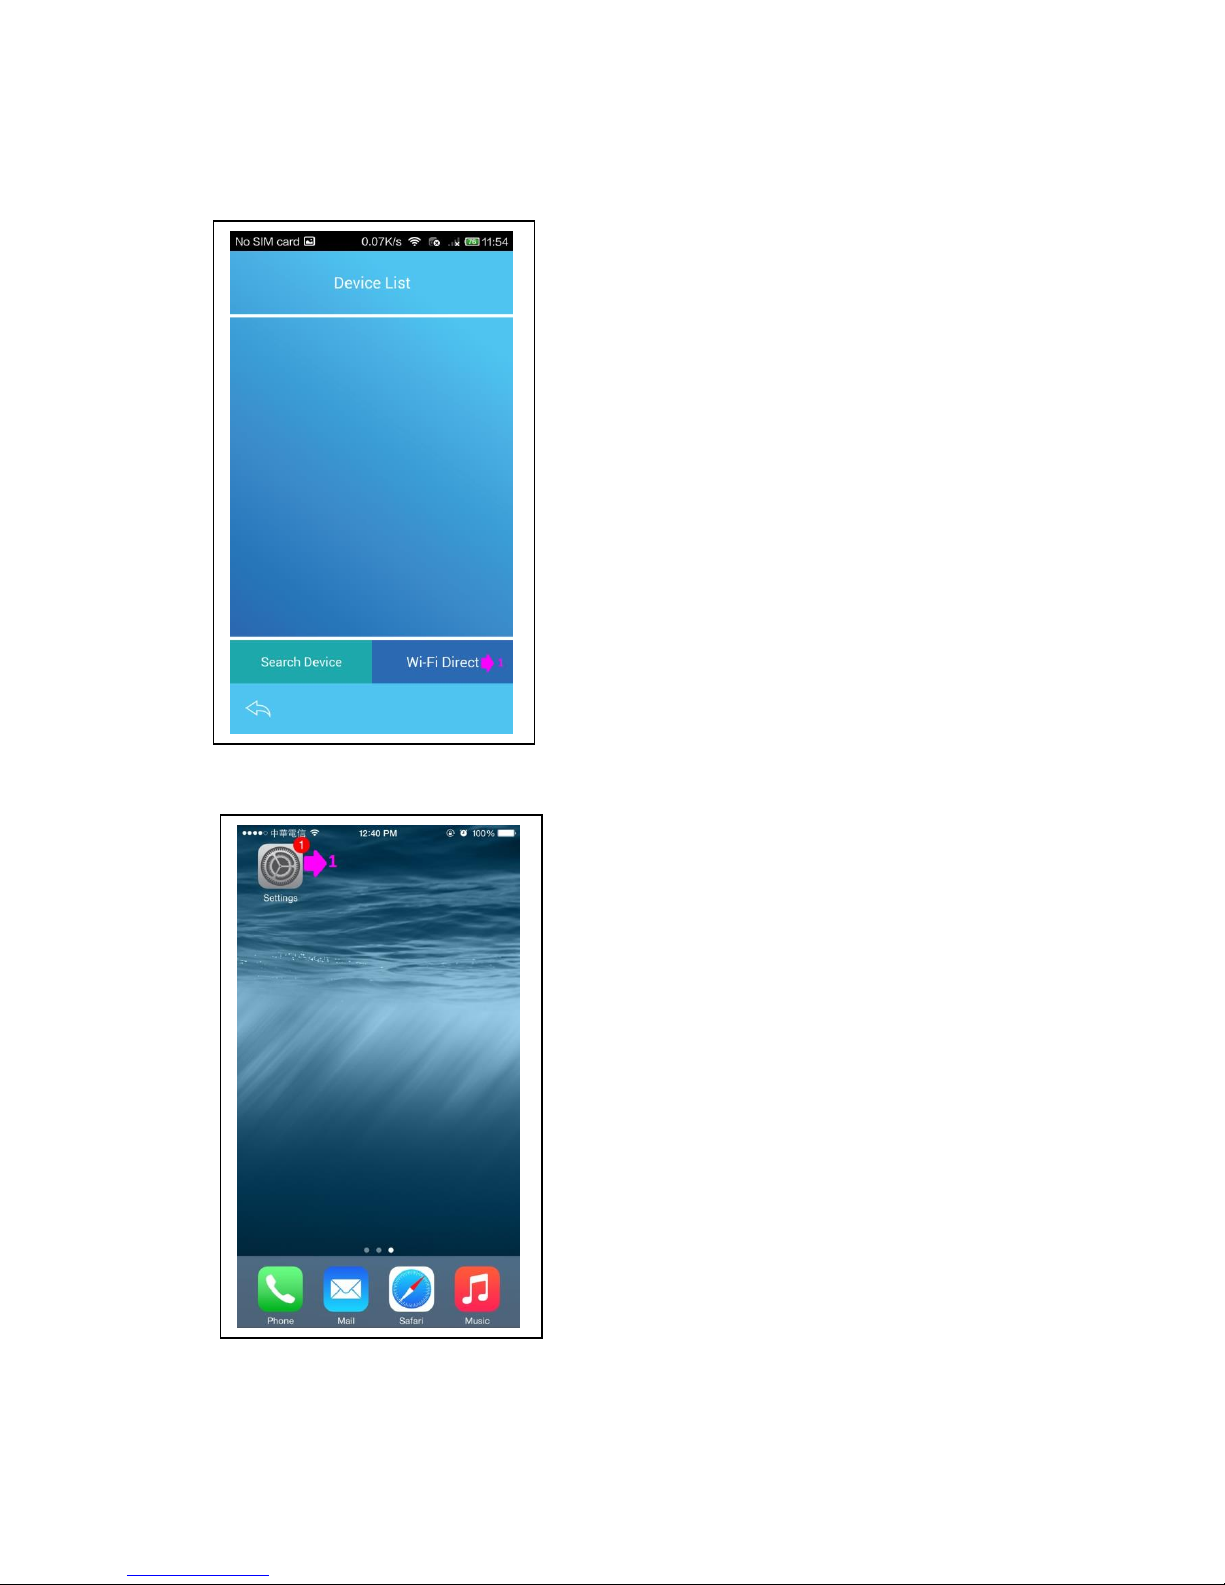
* Establish WIFI connection (iOS)
1) Chose settings.
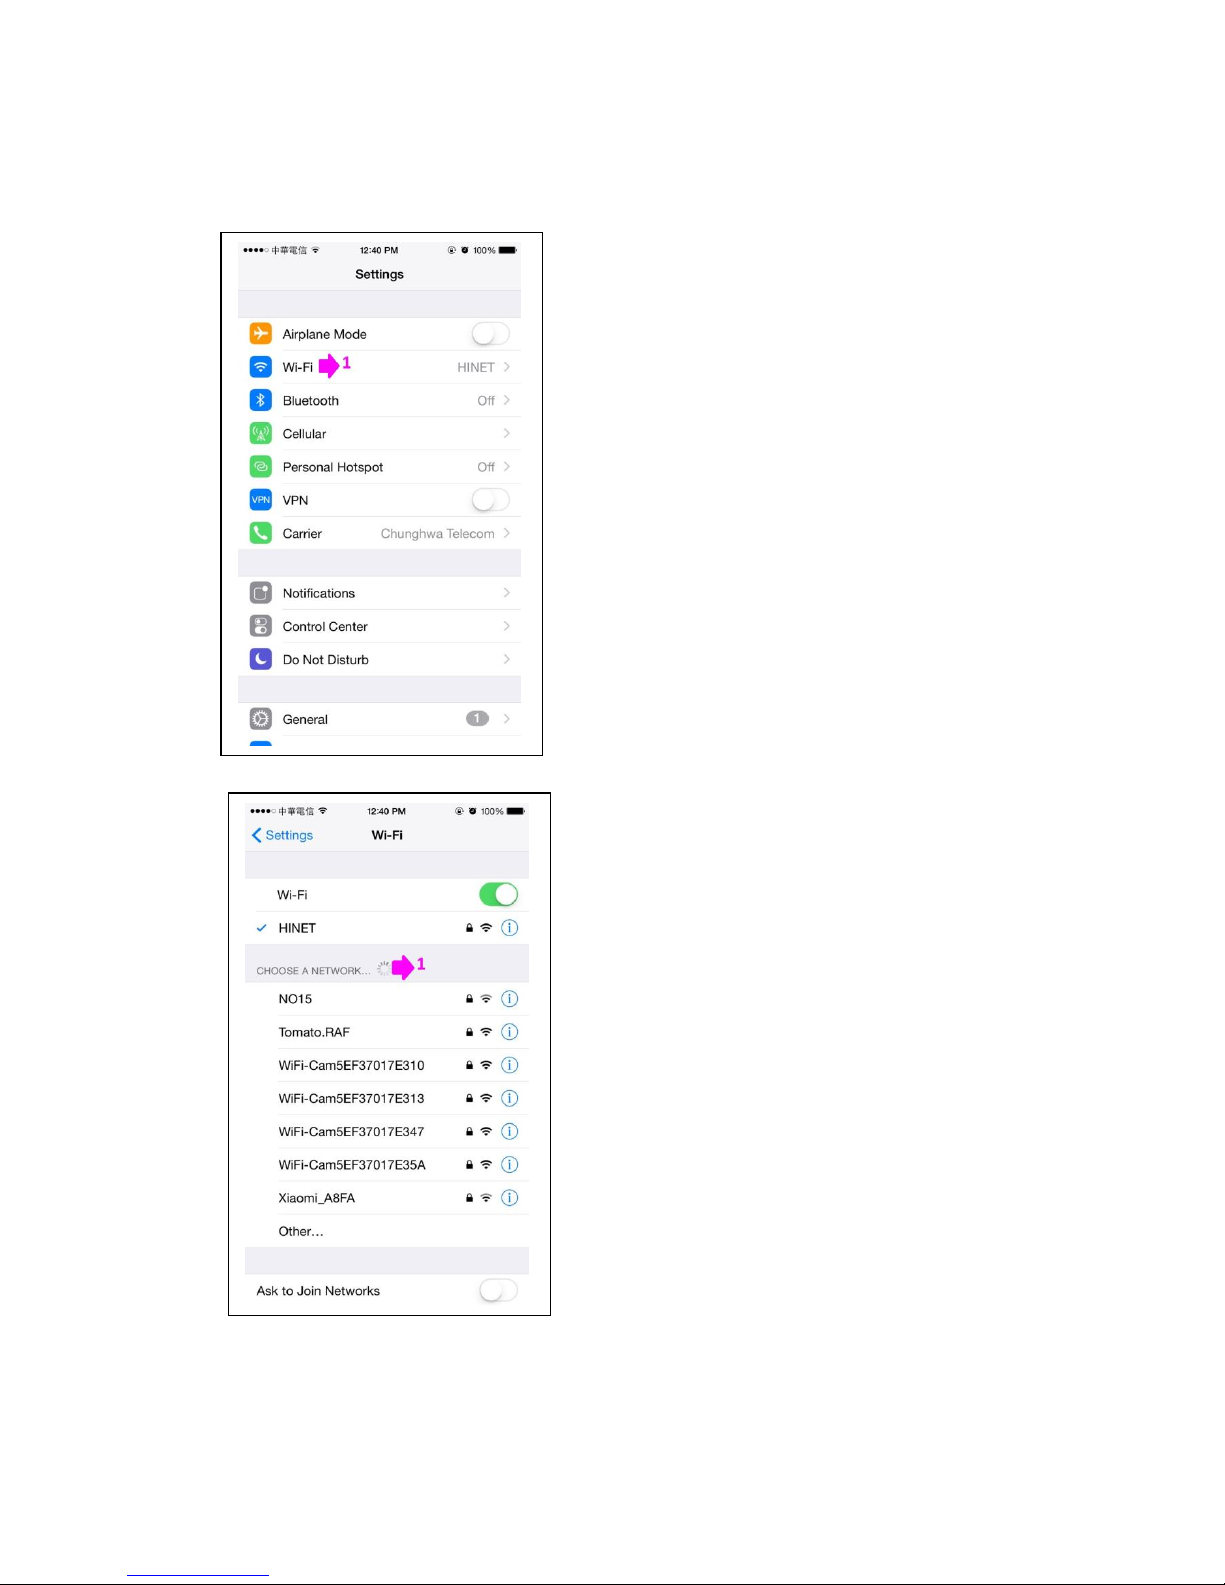
1) Chose Wi-Fi.
1) Choosing the host’s WI-FI which you need to connect.
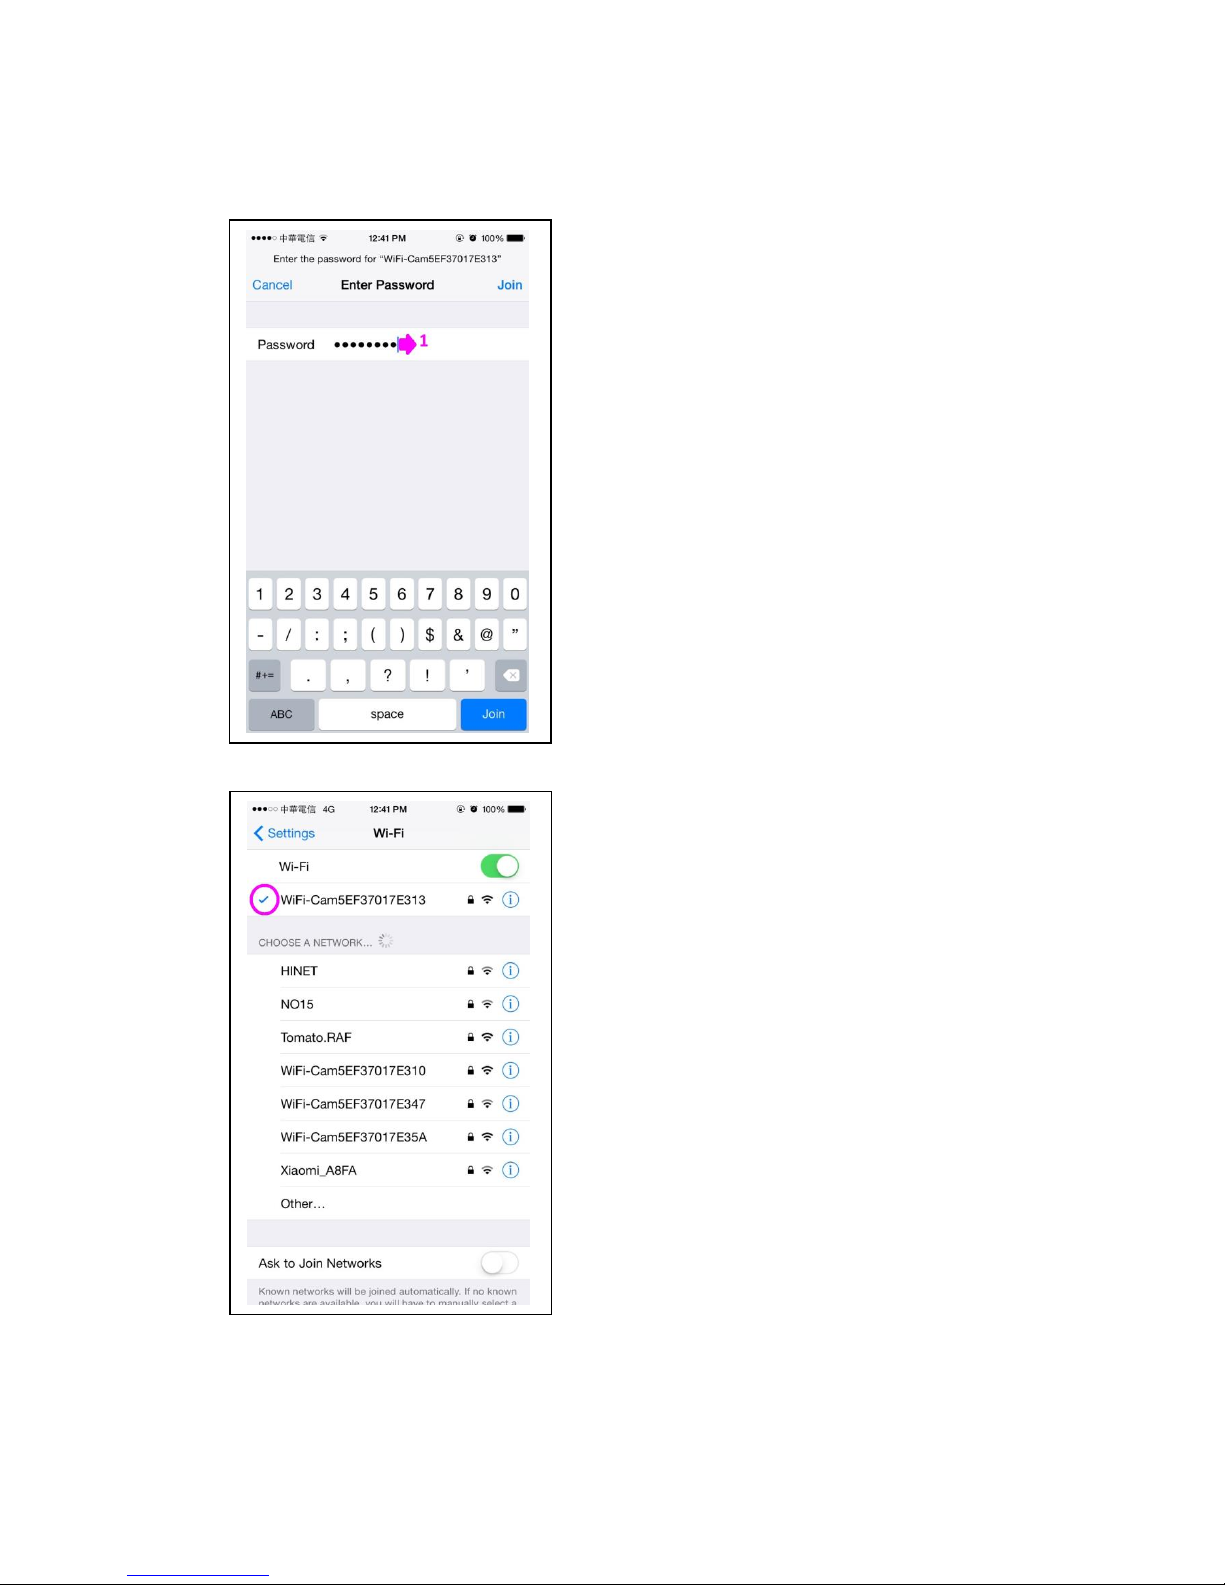
1) Enter the password.
(The factory initial password is 12345678)
1) Confirm WI-FI has been connected.
 Loading...