

Page 1
1 3 2
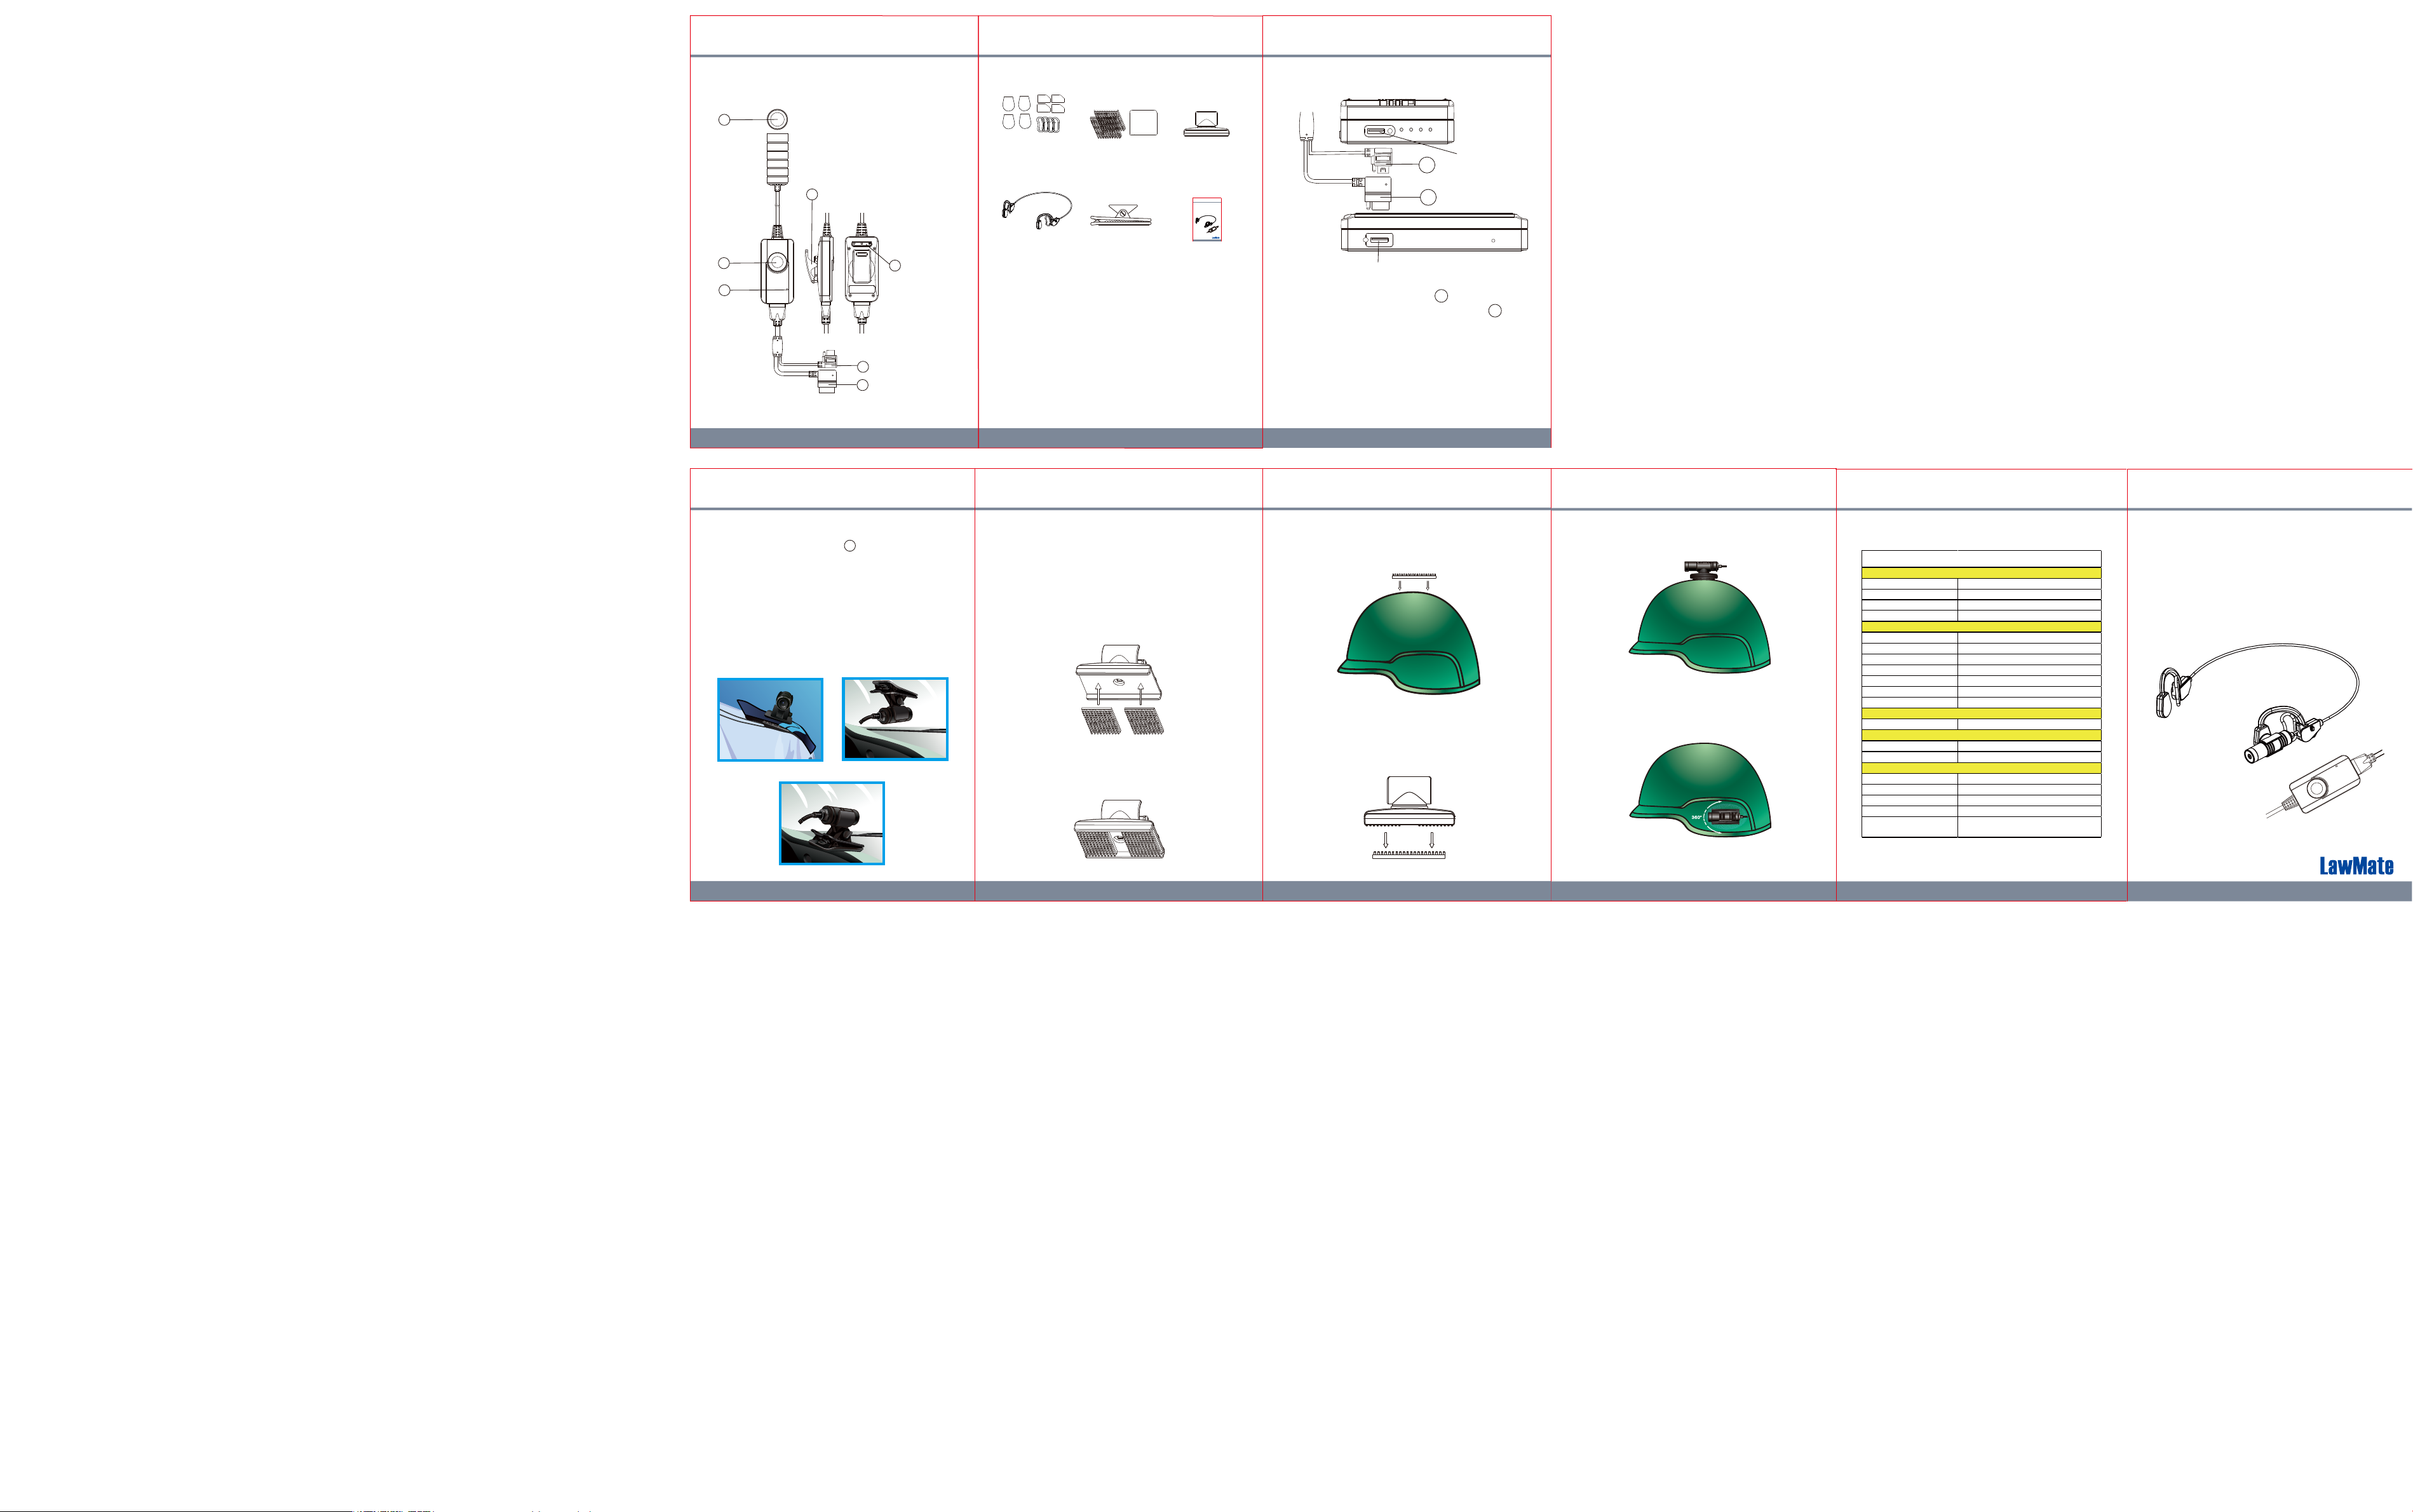
1. Name and Parts
5
V1.0
4
6
7
-10℃ ~ 60℃
20 ~ 90%
-30℃ ~ 80℃
84g
(
ER-18HD
1
2
1. Lens
2. Power On/Off Button
3. Microphone
4. Camera Connector
5. Controller Connector
6. LED Indicators
Red - Record
Blue - Power
7. Back Clip
7
2. Package Contents
4. Connect to DVR
3M
Replacement
Pads
(PAD-ER)
Head Set
6
(YSD-HB20H)
Tapes & Velcros
(3M-SJ3551-4)
Mount Clip
(YSD-LP20H)
Mount Clip
(YSD-VL20H)
ER-18HD
1080p Full HD Digital
Tactical Headset Camera
Quick Guide
LawMate, innovation never stops
®
V1.0
Quick Guide
Camera In Port
CON
Controller Port
5
4
3
5
4
*Warranty will be void if serial number sticker is tampered.
5. Operation
Power on / off - Press for 3 secs to power
on & off the DVR.
Record - When the DVR is powered on, the
camera starts to record automatically. When
DVR is powered off, camera stops recording
at the same time.
6.
YSD-LP20H
Fixed on shoulder
strap or lapel
Application
Fixed on dashboard
2
Fixed on windshield
3. LED Indicators
Solid Red LED - Recording on
Solid Blue LED - Power on
7.
YSD-VL20H
To ensure a perfect match of two subjects, use the 3M
Dual Lock tapes in the package (this applies to
Velcro too). Here is how to proceed:
Step 1:
Clean the surface of the mount with alcohol and let it dry before you
attach the small 3M Dual lock tapes as shown in illustration. Align the 3M
Dual lock tapes with the very left and right side of the mount. Leave the
tapes attached to the mount for at least 24 hours for acheiving the
maximum adhesive force.
Step 2:
When the two small 3M Dual Lock tapes are correctly attached to the
sides of the mount, an adequate space should be vacant in the middle as
shown in illustration 2. By reserving a space in the middle can ensure the
3M Dual Lock tapes be strongly attached to a sphere shape object like a
helmet.
Application
L R
1.
2.
Plug the Controller Connector to the Controller
Port on DVR; plug the Camera Connector to
5
4
the Camera In Port on DVR.
Note: DVR cannot be powered on if no camera
is connected.
Step 3:
Clean the surface of the helmet with alcohol and let it dry before
you attach the big 3M Dual Lock tape as shown in illustration 3.
3.
Step 4:
It is very important to leave both the mount and helmet attached to
each other for at least 24 hours. This would ensure the tape deliver
maximum adhesive force so that when detaching the mount from the
helmet the tapes would not fall off from the object.
4.
■
Attaching the mount on the top of a helmet
■
Attaching the mount at the side of a helmet
(The camera angle is adjustable upwards or downwards)
8.
Speficication
Resolution
Video Resolution 1080p
Sensor Resolution 2000 x 1121
Pixel Size 2.8um(H) x 2.8um(V)
Digital Picture Resolution (H)1920x(V)1080
CMOS Camera Module
Built-in Image Sensor Progressive 1/2.9 inch SONY CMOS
Illuimination Sensitivity 0.1 Lux @ F2.0 50IRE
Lens F/No F1.8
Focal Length M=3.62 mm O=5.35 mm
Angle of View 141°
Depth of Field 50 cm ~ ∞
Electronic Shutter 1/8 ~ 1/30,000
Video Output
Video Output I2C Data
P
ower
Power Supply Voltage DC 3.3 V ± 5%
Power Supply Current 220 mA
Physical
Operating Temperature
Operating Humidity
Storage Temperature
Dimension Length(50)xDiameter(20)mm
Weight
Camera and cable controller included)
ER-18HD
1080p Full HD Digital
Tactical Headset Camera
Quick Guide
LawMate, innovation never stops
®
 Loading...