

Page 1

xPico® 240 Evaluation Kit Quick Start Guide
WHAT’S
IN THE
BOX
xPico 240
Evaluation Board
1. HARDWARE OVERVIEW
Power LED
u.fl to RP-SMA Adapter
Cables and Antennas
LED 2
Ethernet Speed
xPico 240
Module
LED1
Status
5V Power Supply with
Regional Adapters
LED 3 Ethernet
Activity
Reset
Defaults
Firmware &
License Agreement
Wake
DB9 RS232
Serial Port
Peripheral I/O
Header
3.3V
Header
USB Port
Host/Device
Install
for USB Host
2. HARDWARE INSTALLATION
2a. Attach the antenna(s) to the evaluation board.
2b. Supply power to the evaluation board by plugging in the included power adapter to the 5V
DC Power Input (shown above).
2c. Move the ON/OFF power switch to ON.
2d. Proceed to the next page for instructions on how to configure the xPico 240 using the web
manager UI.
10/100
Ethernet
RJ 45
5V DC
Power Input
Power
On/Off
Page 2
xPico® 240 Evaluation Kit Quick Start Guide
xPico® 240 Quick Start Guide
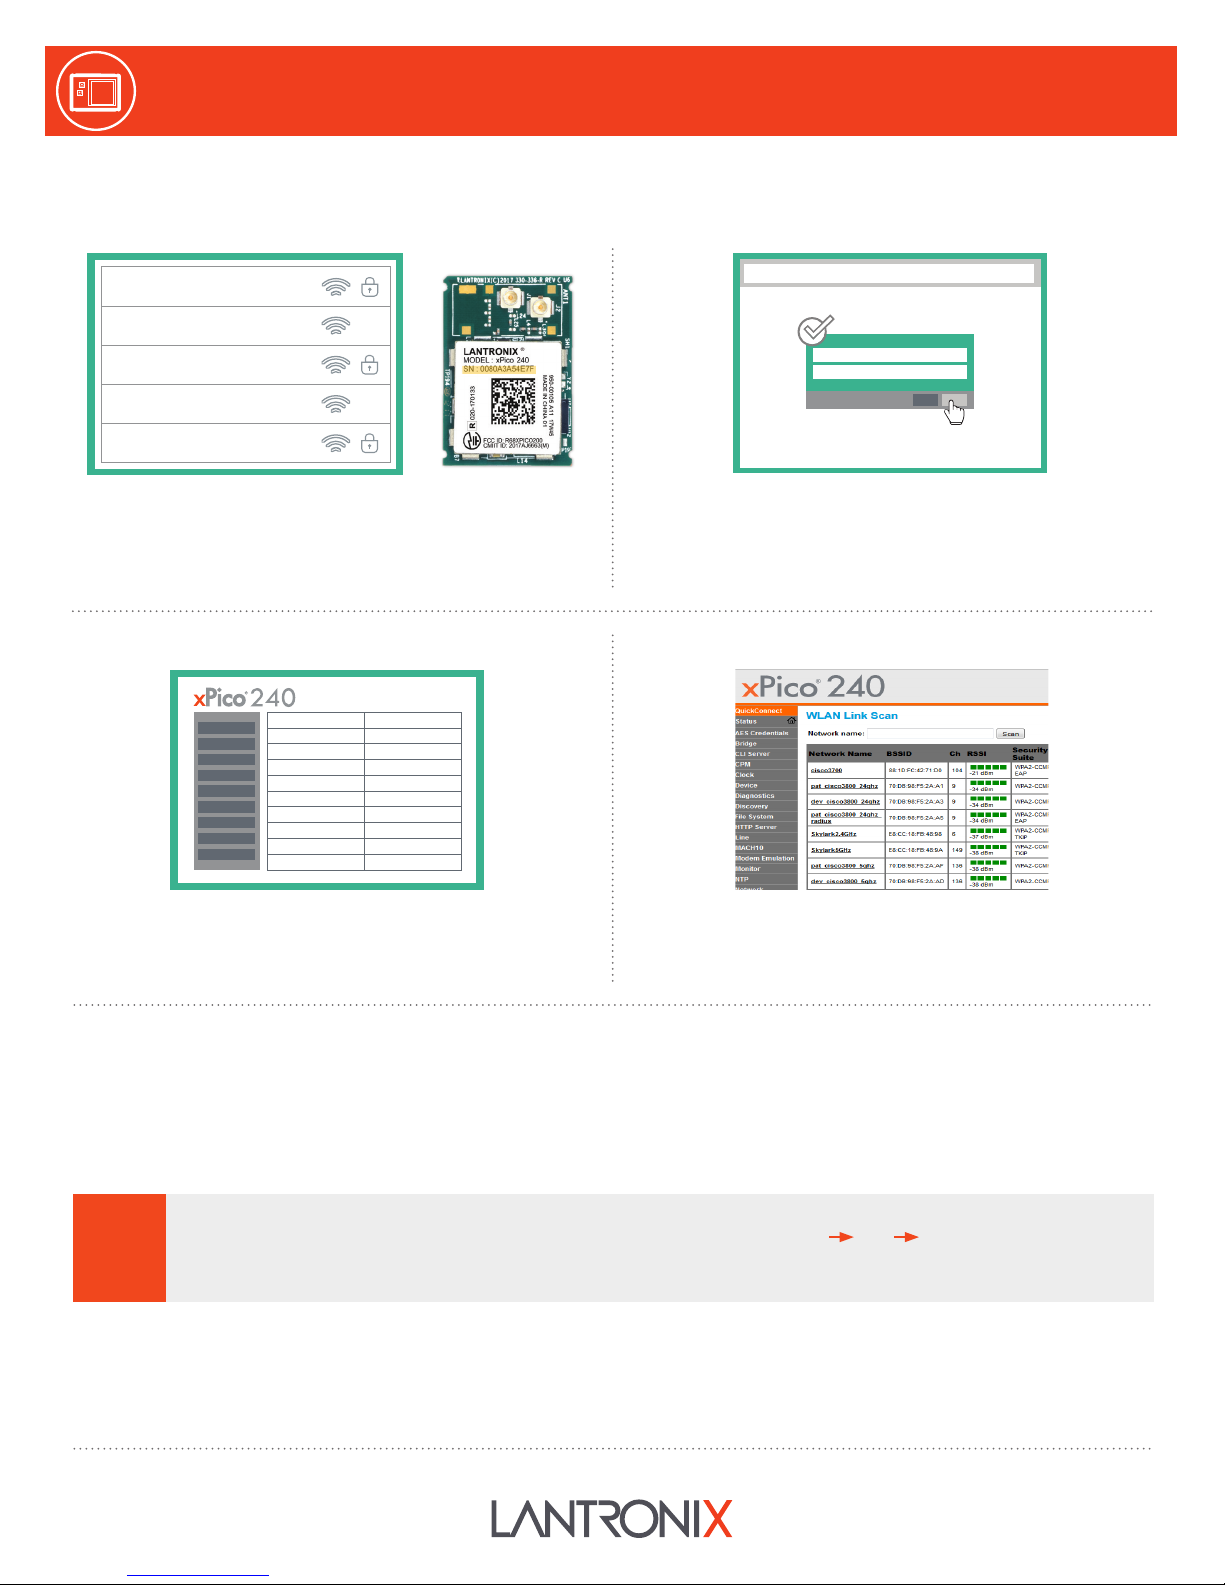
3. CONNECT TO WEB MANAGEMENT CONSOLE
The steps below outline how to access the web management console to begin configuring the xPico 240 gateway.
xPico 240 XXX-XXX
Network 1
Network 2
Network 3
Network 4
3a. Connect to the network using the unique xPico 240 SSID.
This number refers to the last 6 digits of the serial number
printed on the module. See highlighted section. The default
password for this Wi-Fi Soft AP is PASSWORD (case sensitive).
3b. Connect to 192.168.0.1 using your web browser. The
default USER ID = admin and PASSWORD = PASSWORD
(both case sensitive).
192.168.0.1
Username
Password
4. INITIAL CONFIGURATION
4a. Once logged in, click the Quick Connect menu to
continue with the configuration of the xPico 240 and
connect to the Wi-Fi network.
4b. On the Quick Connect Page, the wireless client interface
can be configured. The xPico 240 can now connect to a
network from the list of available wireless networks.
5. COMPLETE THE CONFIGURATION
Continue with the rest of the unit configuration using the Web Managment Interface (UI). Context-sensitive help is available in-line
within the Web UI. The unit can also be configured using the Command Line Interface (CLI). The CLI is accessible via the serial port. For
detailed instructions, please refer to the xPico 200 Series User Guide:
docs.lantronix.com/products/xpico-200/
KEEP YOUR DEVICE SECURE. Please change the default Soft AP SSID password and administrator password before
proceeding further. From the “Network” menu in the Web UI, follow this path: ap0 Link Configuration to set the AP
!
TECHNICAL SUPPORT
For technical support queries, visit http://www.lantronix.com/
support or call (800) 422-7044 Monday – Friday from
6:00 a.m. – 5:00 p.m., Pacific Time, excluding holidays.
©2017 Lantronix, Inc. All rights reserved. Lantronix and xPico are registered trademarks of Lantronix, Inc. All other trademarks are the property of their respective owners. Specication are subject to
change without notice. 900-800-R Rev A
password. Click OK to apply these new settings. Next, from the “User” menu in the Web UI, select admin user and enter a
new password. Click OK to apply these new settings. Reboot and continue with the rest of the configuration.
LATEST FIRMWARE
For the latest firmware downloads,
visit http://www.lantronix.com/support/downloads
 Loading...