

Page 1
TouchPoint
Lancer Corporation
6655 Lancer Blvd.
San Antonio, Texas 78219
800-729-1500
“Lancer” is the registered trademark of Lancer © 2015 by Lancer, all rights reserved.
User Guide
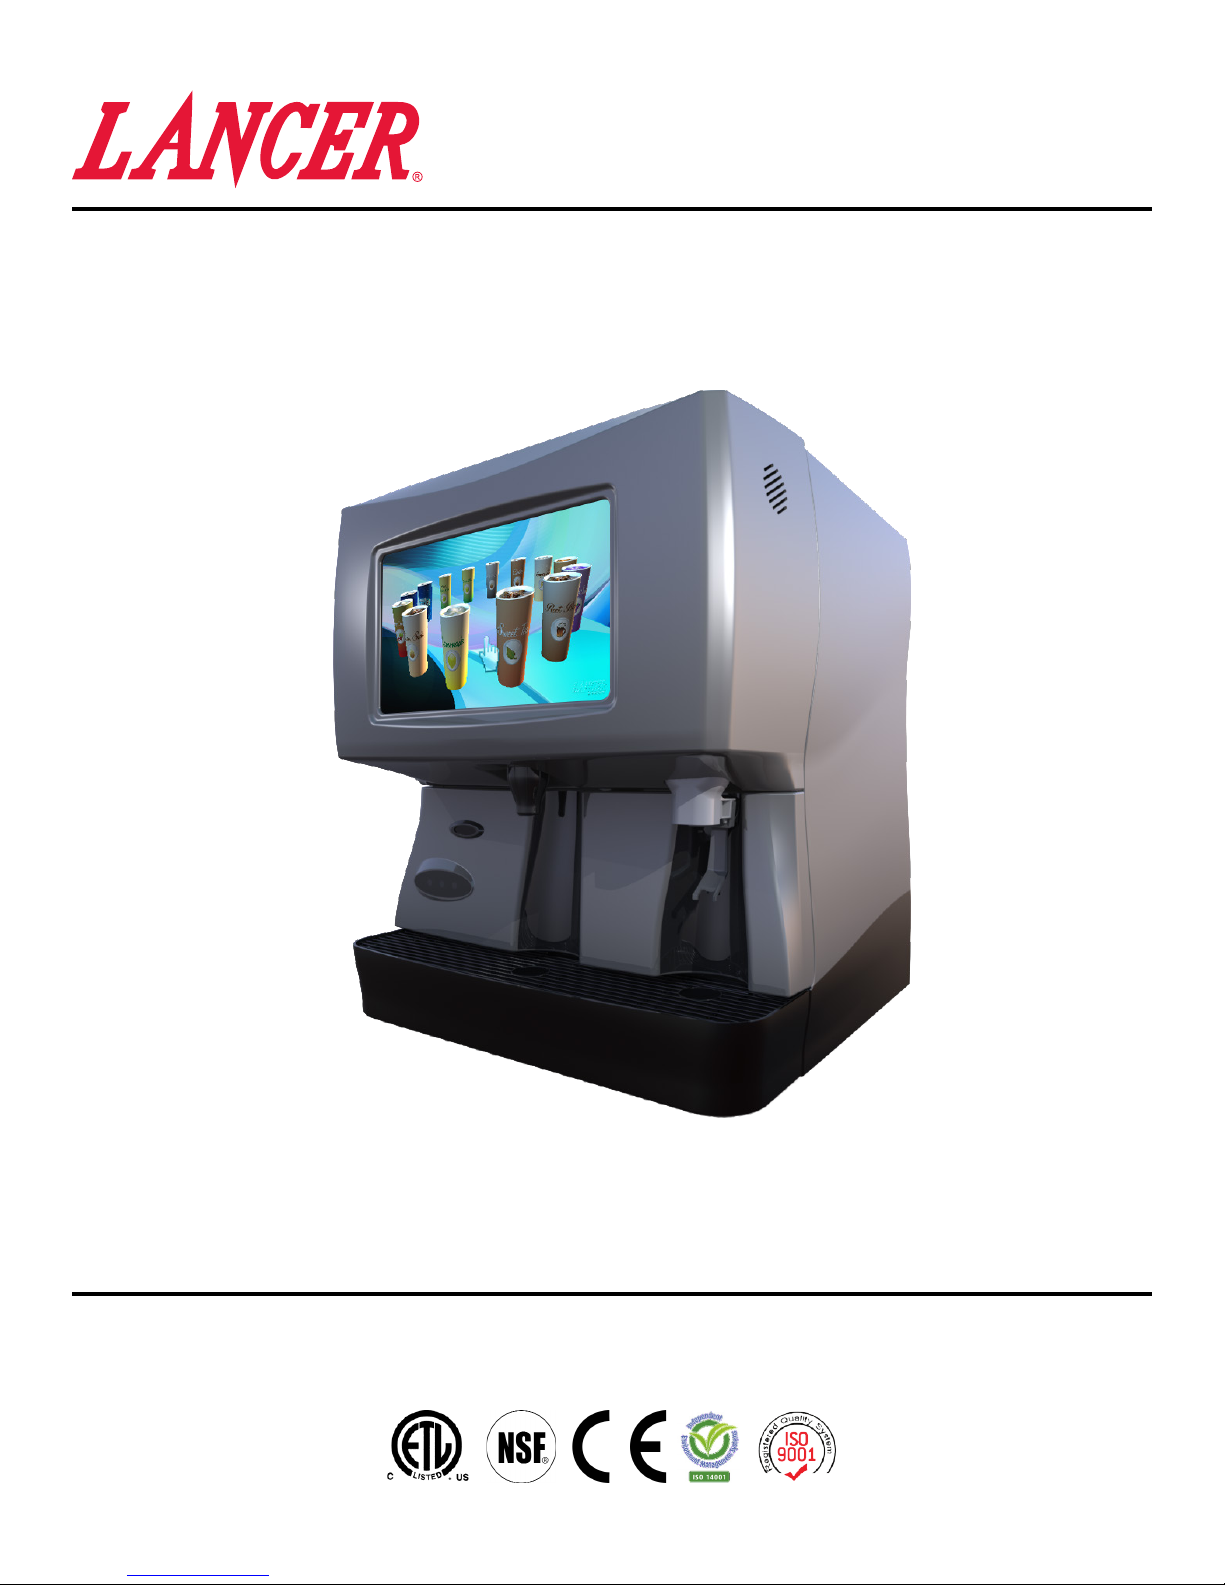
4800T
Technical Support/Warranty
800-729-1550
custserv@lancercorp.com
lancercorp.com
PN: 28-2810/01
Page 2
Introduction:
This User Guide is meant to guide the manager through Lancer’s TouchPoint touch screen software.
This guide will inform and educate the manager on all of the features and functions associated with the
TouchPoint unit software. If a complete Operations Manual is required, please refer to the Lancer web
site (lancercorp.com) or for your convenience, scan this QR code with a mobile device (app required)
for immediate access. Contact Lancer Customer Service if any assistance is required.
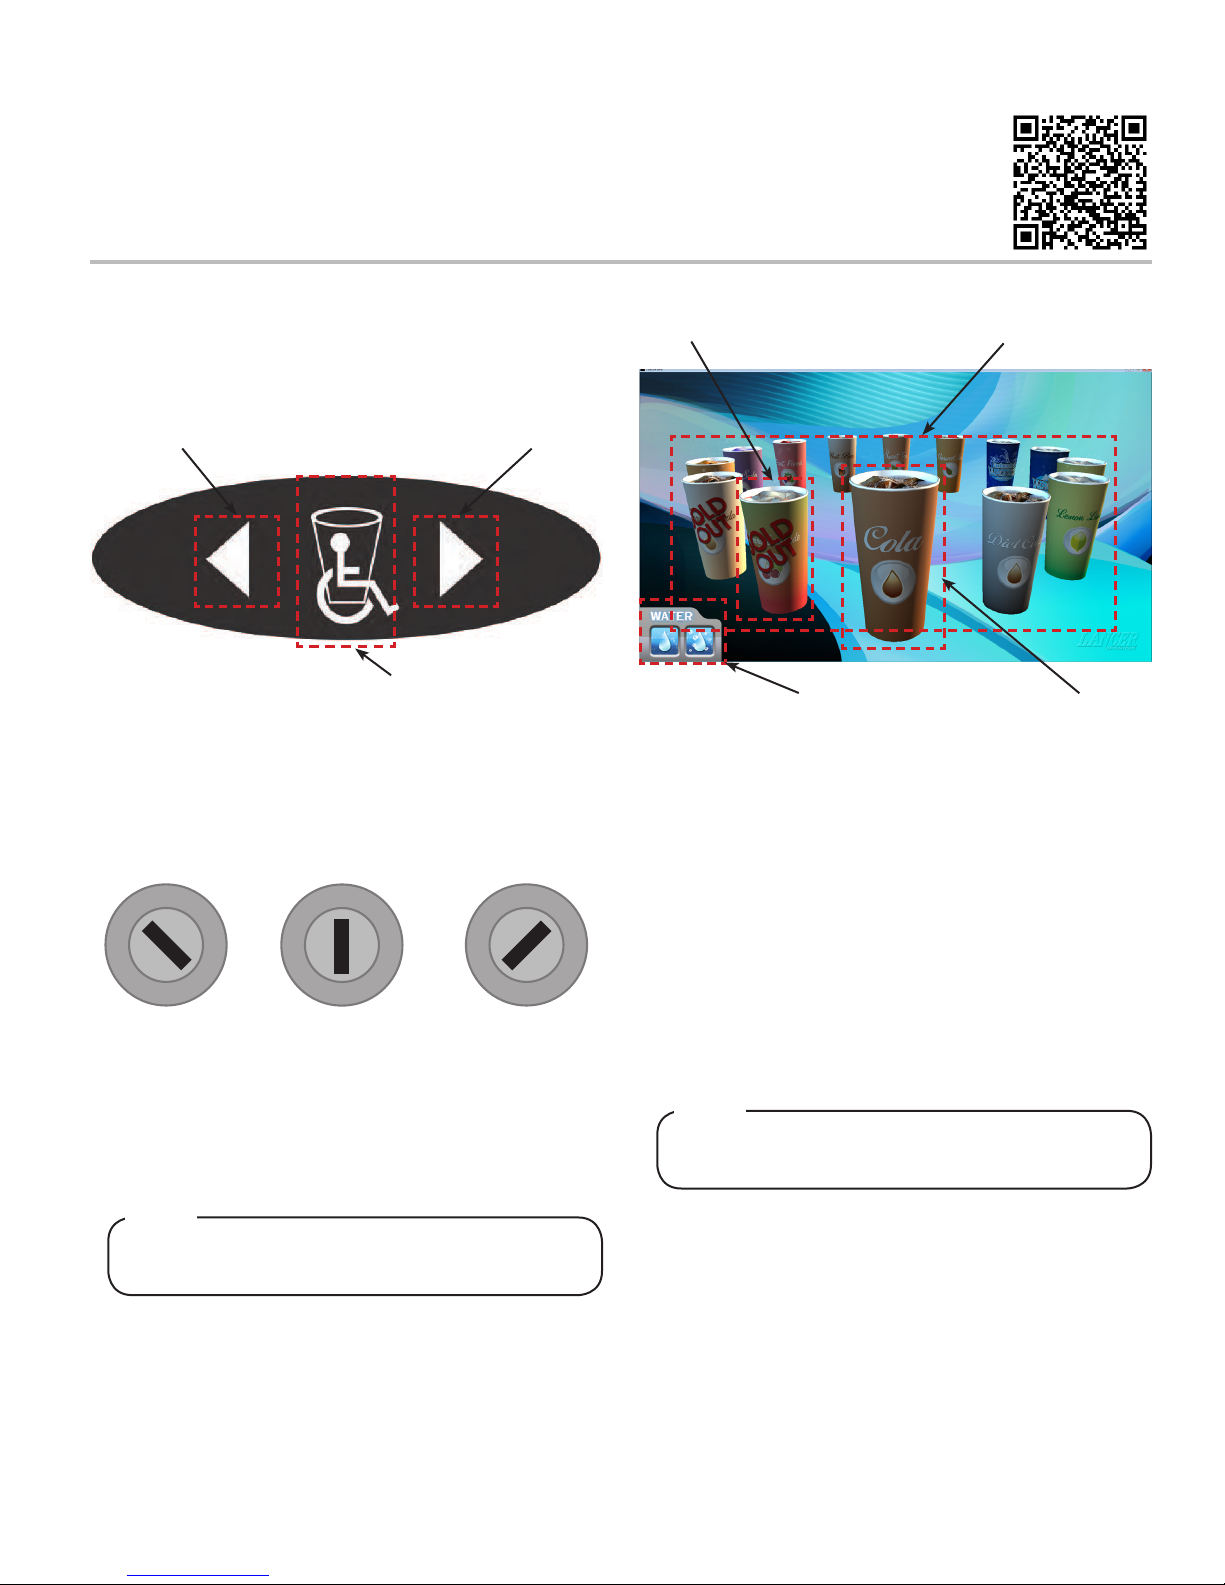
ADA Keypad
For users that cannot reach the touch screen, an ADA
keypad is located on the splash plate. The user can cycle
through the selections using the arrows and make their
selection using the select button.
B B
A
A. Select - Performs the highlighted task
B. Navigation Arrows - Scrolls left and right
Modes of Operation
The key switch gives access to: Disable Dispense Mode,
Run Mode, and Service Mode.
“Valve OFF” Position
Touch Screen
Disabled
1. To operate insert the key provided into the key switch
located on left side of the unit.
2. Turn the key switch to the position labeled above.
“Run” Position
Normal Operation
Mode
“Service” Position
Service Mode
Main Menu Screen
Selection Screen
B
C
A. Cup Carrousel - Displays available beverages
B. Sold-Out Cup - Beverage tagged sold-out
C. Water Selection - Plain/Carb water dispense
D. Selected Cup - Beverage to be dispensed
The selection screen give the consumer the option to:
1. Swipe right-to-left to rotate the cup carrousel clockwise.
2. Swipe left-to-right to rotate the cup carrousel counter
clockwise.
3. Touch any cup in the carrousel to make it selectable.
4. Touch the selected cup to dispense.
5. Touch water icons to dispense Plain or Carbonated
water.
NOTE
Brands that have been tagged sold-out cannot be
selected.
A
D
NOTE
DO NOT leave the key in the key switch while not in
use.
2
Page 3
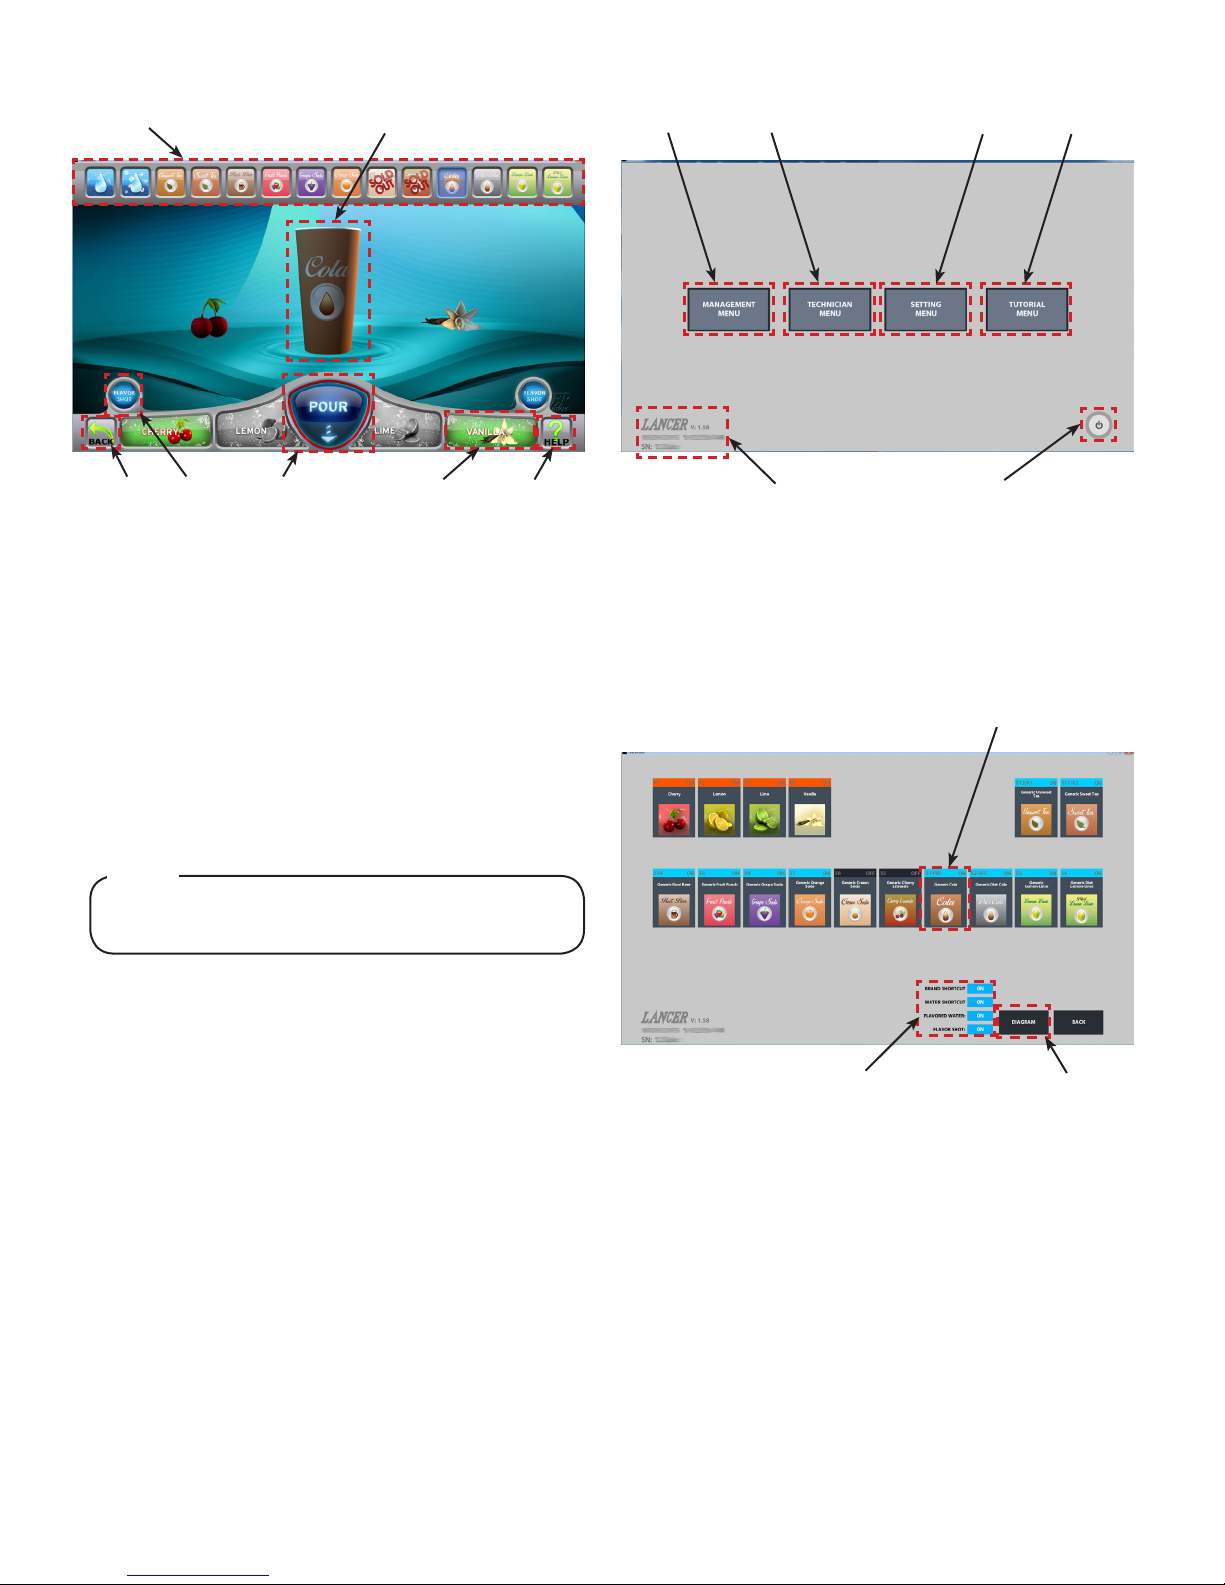
Pour Screen
A A C
B
Service Mode Menu
B D
CDEFG
A. Drink Selection Bar - Displays available beverages
B. Cup - Beverage to be dispensed, Dispense beverage
C. Help - Demonstrates how to navigate screen
D. Bonus Flavor - Allows blending (when enabled)
E. Pour - Dispenses the selected beverage
F. Flavor Shot - Allws dosing (when enabled)
G. Home - Returns to the selection screen
The pour screen gives the consumer the option to:
1. Blend: Select up to two bonus avors to blend into
their selected beverage.
2. Dose: Add a dose of a bonus avor to their selected
beverage.
3. Pour: Pour their selected beverage.
NOTE
Blending and dosing can be disable in the
Management Menu.
4. Select the question mark for a demo of how to
interact with the unit.
5. Select the up arrow to return to the selection screen.
F
A. Management Menu - Basic functions
B. Technicians Menu - Service related functions (limited)
C. Setting Menu - Hardware and Software functions
D. Tutorial Menu - Service related ho-to videos (limited)
E. Power Options - Shutdown and restart
F. Unit Information - Software version, time, date, serial #
E
Management Menu
A
C
A. Sold Out - Manually disable a product from being
dispensed
B. Diagram - Displays usage data
C. Enable/Disable - Dosing, avor shot in water, water
shortcut, and brand shortcut
B
3
Page 4

Technician Menu
Software Settings
A
A
B
C
A. Passcode Keypad
Settings Menu
A
E
A. Software Settings
B. Hardware Settings
C. Access Settings (limited)
D. Media Settings
E. Video Settings
D
A. Replace background picture
B. Replace local video les
B
C
C. Update GUI les
D. Show Tech options (limited)
Hardware Settings
A
D
E
A. Valve Board Reset
B. Proximity Sensor - Enable/Disable proximity sensor
C. Volume - toggle volume
D. Date/Time
E. Auto-Reboot (Default: 3:00 AM)
B
D
C
4
Page 5

Access Settings
Power Options
A B CA
A. Passcode Keypad
Media Settings
A
A. Video Input (Default: Local Video)
Tutorial Menu
A. Restart
B. Shutdown
C. Cancel
Auto Reboot Feature
TouchPoint is capable of running overnight. The auto
reboot feature will ensure proper functionality. The default
setting is 3:00 am and will only require less than a minute
to complete. To change the time:
1. Access the Settings Menu.
2. Select the Hardware Settings Tab.
3. Select “+” or “-” to change the time at which rebooting
will take place.
4. Switch to service mode.
Shutting Down
To properly shutdown:
1. Switch to Service Mode.
2. Select the power icon in the lower right hand corner.
A
3. Select Shutdown.
4. Unplug the unit.
To power up, either unplug and plug in the power cord or
remove the merchandiser and press the red power button
located behind the touch screen on the left side of the
control box.
A. Passcode Keypad
5
Page 6

Sold-Out Feature
When no product is available that beverage can be
manually switched to sold-out to prevent the consumer
from dispensing. To switch a product to sold-out:
1. Access the Management Menu.
2. Select the beverage that is sold-out to change the
state to Off.
3. The cup on the selection screen will now be labeled
“Sold-Out” and cannot be selected.
4. Select Save.
NOTE
Ifnobonusavorsaretobeused,setthemtosold-
outtohidethebonusavorbuttonsinthepour
screen.
Flavor Blending Feature
This allows the consumer to blend up to two bonus
avors with a selected brand (ex. Cola with vanilla,
Lemon-Lime with cherry and vanilla). The factory default
is set to enable avor blending. To disable avor blending:
1. Access the Management Menu
2. Set the bonus avors to sold-out to change the state
to Off.
3. The bonus avors will be hidden in the pour screen.
4. Select Save.
Flavored Water Feature
This allows the consumer to blend up to two bonus
avors with plain or carbonated water (ex. Plain water
with lemon, carbonated water with cherry). The factory
default is set to enable avored water. To disable avored
water:
1. Access the Management Menu
2. Select Flavored Water to change the state to Off.
3. The bonus avors will be hidden in the pour screen
for plain and carbonated water only.
4. Select Save.
Flavor Shot Feature
This allows the consumer to add an additional dose of
bonus avoring to any beverage (ex. Cherry, vanilla,
lemon, etc.) without dispensing more beverage syrup or
water (bonus syrup only). The dispense time is limited to
2.5 second but can be repeated. The factory default is set
to enable avor shots. To disable avor shot:
1. Access the Management Menu
2. Select Flavored Shot to change the state to Off.
3. The avor shot button will be hidden in the pour
screen for all beverages.
4. Select Save.
Usage Diagram Feature
Displays the estimated volume (uid ounces) dispensed.
A new unit will not display any usage data until at least
ten dispenses have occurred. To display the usage diagrams:
1. Access the Management Menu.
2. Select Diagram.
3. Select one of the options below:
• 24 Hour Trafc: Finished drink dispensed per
hour over a seven day period.
• Daily Trafc: Finished drink dispensed per day
over a seven day period.
• Syrup Ranking: Syrup, plain water, and carbonat-
ed water dispensed over a 30 day period.
• Combo Ranking: Five most dispensed avor shot
combinations dispensed over a 30 day period.
Customization
To access these features the supplied USB drive must be
used.
1. Remove Merchandiser.
2. Insert the USB drive into an unused USB port located
on the left side of the control box behind the touch
screen.
6
Page 7

Background
Ensure the background image is formatted accordingly:
• File name: mainbg
• File format: PNG image
• Image size: 1920 x 2540 px
• Resolution: 72 ppi
• Other sizes/resolutions will be scaled to t and may
be distorted.
Upload the image onto the USB drive folder FileUpdate-BGTexture.
To change the background image:
1. Access the Setting Menu.
2. Select Software Setting.
3. Select Upload/Replace Background Picture.
4. Allow a few seconds for the task to be complete.
5. Switch to user mode.
Videos
Ensure the videos are formatted accordingly:
• Optimal resolution: 720p or 1080p
• Frame rate: 30 FPS
• Video codec: MPEG-4 or H.264
• Audio codec: AAC
• File format: .MP4 or .MOV
Upload the videos onto the USB drive folder FileUpdate-Media.
To upload new videos:
1. Access the Setting Menu.
2. Select Software Setting.
3. Select Upload/Replace Local Video Files.
4. Allow a few seconds for the task to be complete.
5. Switch to user mode.
7
Page 8

LancerCorp.
800-729-1500
TechnicalSupport/Warranty:800-729-1550
custserv@lancercorp.com
lancercorp.com
 Loading...