

Page 1
AT Kelly Torso
Directions for Use
Page 2

260-00001 Laerdal
2
Page 3

Table of Contents
Laerdal Recommends 4
Items Included 5
Skills Taught 5
Preparing the Manikin for Use 6
Head 6
Lungs 6
Abdominal Thrust 6
Instructions for Use 6
Airway Management 6
Manually Generated Carotid Pulse 6
Tension Pneumothorax Decompression 7
Central Vein Cannulation 8
Care and Maintenance 9
Replacement Parts 10
260-00001 Laerdal
3
Page 4

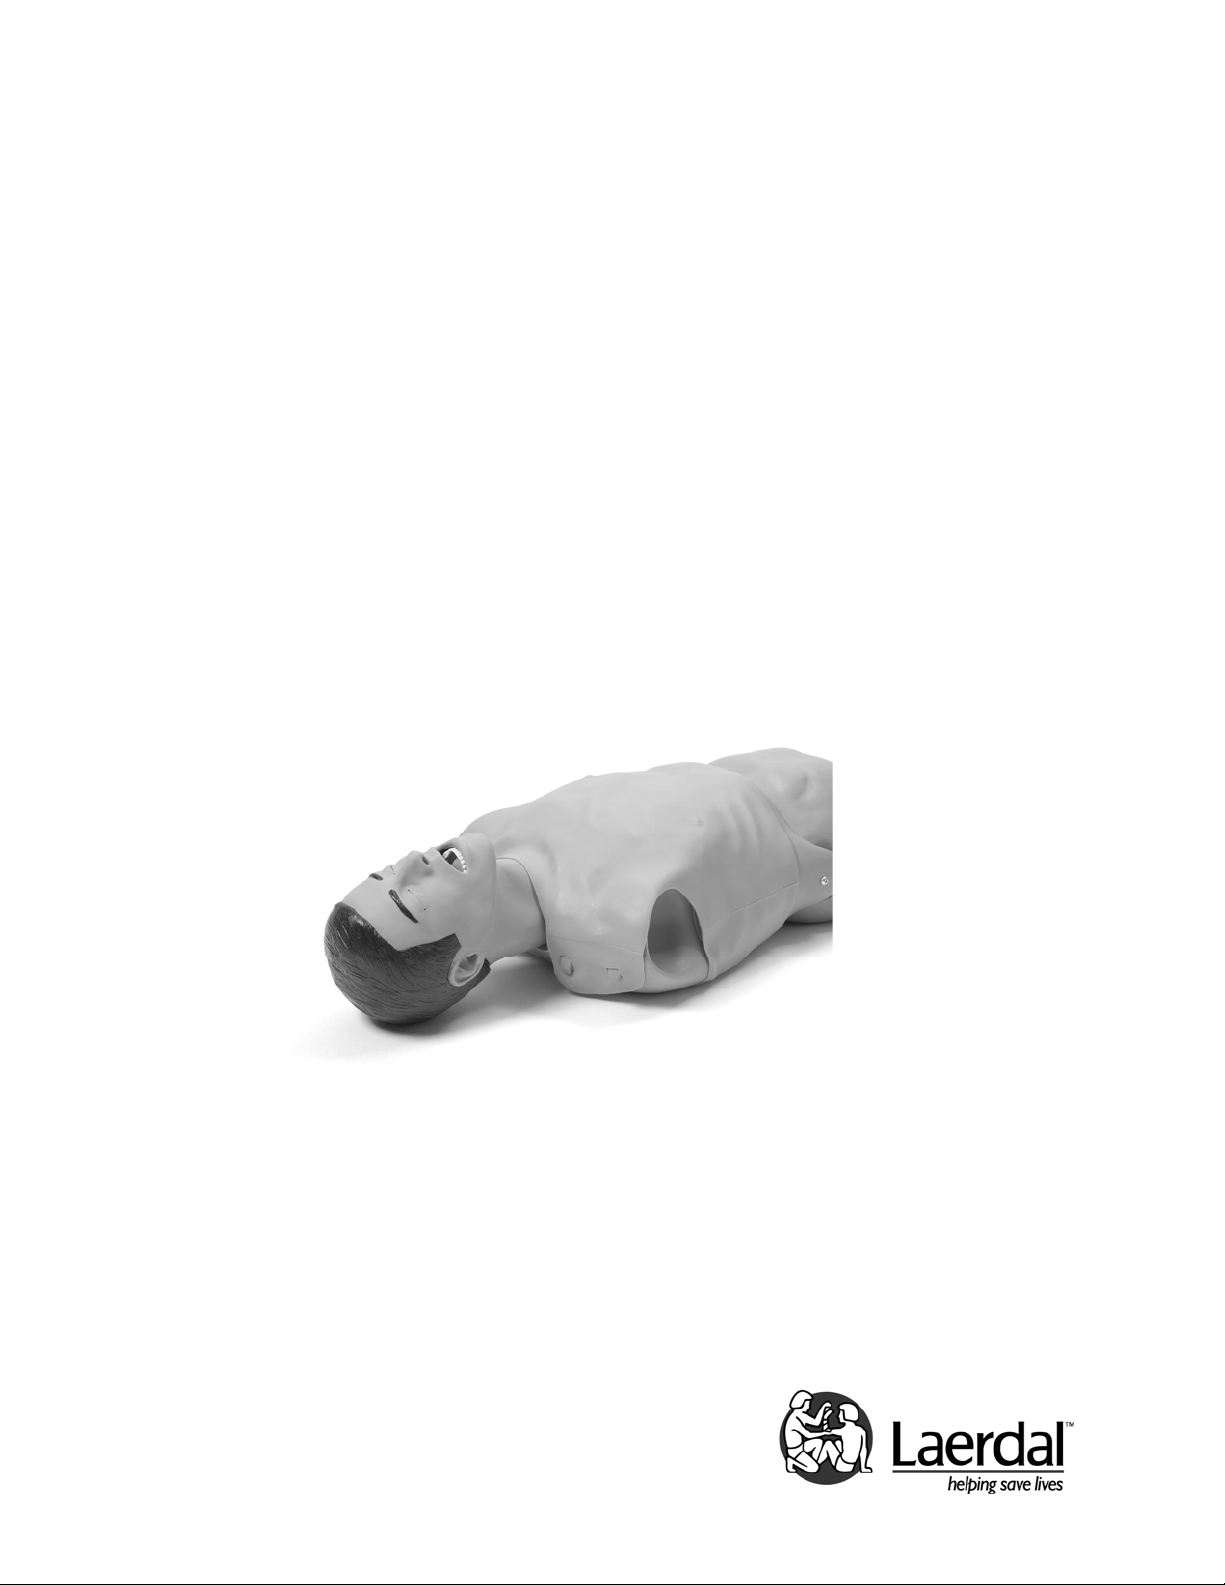
The AT Kelly Torso (260-00001) is a lifelike manikin, which
realistically simulates a male patient. It is specifically
designed for training professionals in the practice of prehospital trauma skills.
The manufacturing quality of this simulator should provide
many sessions of training when reasonable care and
maintenance are practiced.
Laerdal Recommends:
Endotracheal tube - Size 7.5 ID to 8.5 ID
Stylet to assist when intubating
Straight or curved laryngoscope blade - Size 3 or 4
Tension pneumothorax decompression -16 or 18-gauge
IV catheter
260-00001 Laerdal
4
Page 5

Items Included:
(1) AT Kelly Torso Trainer
(1) Bladder Replacement Kit
(1) Manikin Lubricant
(1) Tank Top
(1) Carry Case
(1) Laerdal Global Warranty Booklet
(1) Directions for Use
Skills Taught:
Airway Management Skills:
• Oral Intubation
• Nasal Intubation
• Oropharyngeal airway insertion
• Nasopharyngeal airway insertion
• Digital Intubation
• EOA/EGTA/PTL
• Combitube® Insertion
• Suctioning
Circulatory Skills:
• Subclavian Cannulation
Other Skills:
• Pneumothorax Decompression (Bilateral Mid-
Axillary Sites and Bilateral Mid-Clavicular)
• Chest Compressions
• Abdominal Thrust
• Stomach Auscultation to verify proper airway
positioning
260-00001 Laerdal
5
Page 6

Preparing Manikin for Use:
Head:
Head is connected to torso with a long bolt at base of neck,
secured with a wing nut.
To remove:
1. Unfasten chest skin at shoulders.
2. Pull it back to expose chest cavity.
3. Lift hard chest plate to locate lungs and esophagus.
4. Lift esophagus, trachea and lungs out of way.
5. Unscrew and remove the wing nut and washer at
base of neck.
6. Head will now slip out of torso.
To attach, reverse procedure.
Lungs:
Lungs may be removed from bronchial tubes by unscrewing
them from connectors. To replace, reverse procedure.
Abdominal Thrust:
To remove abdominal thrust module, remove screws from
each side of manikin. Module will slide out. To replace,
reverse procedure.
Instructions for Use:
Airway Management:
• Spray inside of pharynx, both nostrils and all
intubation tubes with a liberal amount of Manikin
Lubricant or liquid soap.
• Recommended endotracheal tube size is 7.5 ID to 8.5
ID.
• The use of a stylet to assist when intubating is
recommended.
• Straight or curved laryngoscope blades, size 3 or 4
are recommended.
Manually Generated Carotid Pulse:
Locate red carotid pulse bulb on right side of manikin.
Squeeze bulb to generate desired pulse rate.
260-00001 Laerdal
6
Page 7

Tension Pneumothorax Decompression:
1. Locate black blood pressure bulb on right axillary side
of the torso.
2. Tighten air release knob so that no air escapes as you
pump bulb.
3. Pump bulb several times to prepare each of four (4)
sites for decompression.
4. Insert either a 16 or 18 gauge IV catheter.
Puncturing correct intercostal space will allow “hissing of air”
as chest is decompressed.
To repair external puncture sites:
1. Use a tongue depressor or small spatula to apply a
thin layer of putty wax to puncture site.
2. Smooth out to desired appearance.
To replace internal bladder bags:
(A) Bilateral Mid-Clavicular Sites:
• Remove chest skin from torso.
• Lift chest plate exposing underside.
• Remove screws that secure Velcro® strap. (Figure 1)
Fig. 1
• Remove foam pads.
• Disconnect bladder hose from inline hose connector,
being sure hose does not fall through hole and into
torso.
• Remove bladder from site cavity and slip hose out of
cable tie.
260-00001 Laerdal
7
Page 8

• Trim bladder tubing to match original tubing length to
fit this manikin style. Insert new pneumothorax
bladder into site cavity and reposition hose under
cable tie.
• Reconnect hose to inline hose connector.
• Replace foam pads over pneumo bladders.
• Secure Velcro® strap to chest plate with screws
removed previously.
• Return chest plate to proper position on torso.
• Replace chest skin over torso, being sure to secure
skin at shoulders.
(
B) Bilateral Mid-Axillary Sites:
• Remove chest skin from torso.
• Remove pneumo pad from side of torso. (Figure 2)
• Disconnect bladder hose from inline hose connector,
being sure hose does not fall through hole and into
torso.
• Remove bladder from pneumo pad and discard.
• Trim bladder tubing to match
original tubing length to fit this
manikin style. Connect new
bladder hose to inline hose
connector.
• Insert new pneumo bladder into
pneumo pad.
• Replace chest skin over torso,
being sure to secure skin at
shoulders.
Fig. 2
Central Vein Cannulation:
Two central veins may be cannulated: internal jugular (central
approach only) and subclavian.
1. Attach IV bag and tubing to central vein tube located
on right side of manikin. (It is in same location as
blood pressure bulb and carotid pulse bulb).
2. Fill IV bag with desired amount of fluid and infuse.
3. Aspirate line using a needle and large syringe until
fluid is drawn.
To remove, reverse procedure.
260-00001 Laerdal
8
Page 9

Care and Maintenance:
1. Clean with mild soap and water; do not submerse
manikin or parts in cleaning fluids or water.
2. Use only on clean surface. Avoid felt tipped markers, ink
pens, acetone, iodine or other staining products and
avoid placing the manikin on newsprint or inked lines of
any kind.
3. To ensure longevity, each manikin should be cleaned after
each training session and a general inspection should be
conducted regularly.
4. Modules and all other parts should be drained and airdried thoroughly before storage and disinfected when
needed. After use of injection pads (use water only),
accumulated water should be squeezed out. Do not store
wet foam pads in the skin. To prevent mildew or mold,
pads can be soaked in a mild solution of disinfectant and
water or bleach and water. Squeeze excess solution from
pads, allow them to dry, then store or reinsert in
manikin.
5. Articulating parts will benefit from a light application of
talcum powder prior to training sessions.
6. Store properly between teaching sessions.
Cautions and Warnings
This product contains Natural Rubber latex which may
cause allergic reactions when in contact with humans.
260-00001 Laerdal
9
Page 10

Replacement Parts:
Product Number: Description:
201-00150 Intubation Head with
Lungs
260-00650 Intubation Head only
260-00250 Chest Plate Assembly
260-00550 Compression Shaft
ACLS
260-00850 Compression Spring
ACLS
260-00750 Stomach Auscultation
Kit
260-00350 Right Pneumo Pad
260-00450 Left Pneumo Pad
100-00850 Abdominal Thrust
Module
205-01050 Bulb Assembly with
Connectors
100-00550 Pulse Simulator
Assembly
300-00650 Manikin Lubricant
260-00950 Bladder Replacement
Kit
100-00650 Tank Top
100-00750 Carry Case
Please contact Customer Service Representatives for more
information on Replacement Parts in other skin tones.
260-00001 Laerdal
10
Page 11

260-00001 Laerdal
11
Page 12

© Laerdal Medical, Gatesville TX. All rights reserved
1002751 Rev C
 Loading...