

Page 1
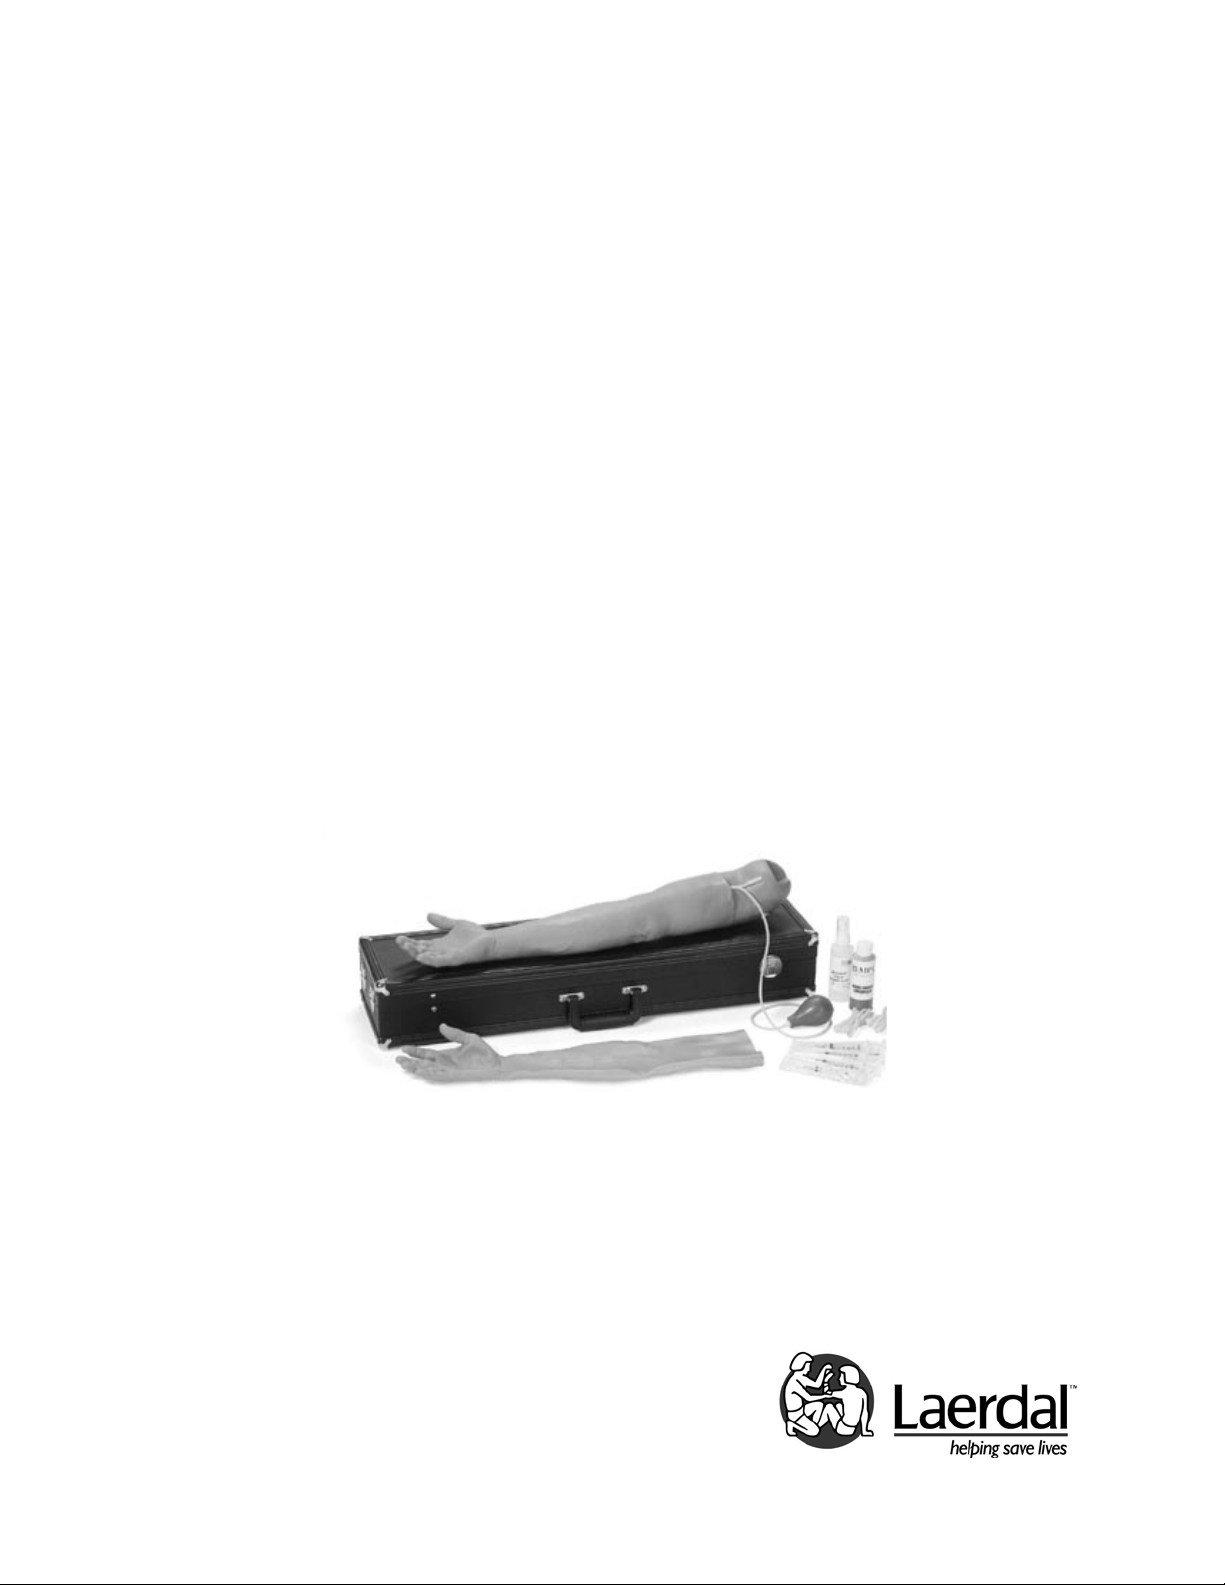
Arterial Stick Arm
Kit
Directions for Use
Page 2

375-80001 Laerdal
2
Page 3

Table of Contents
Items Included 4
Skills Taught 4
Preparing the Simulator for Use 5
Replacing Skin and Arteries 5
Care and Maintenance 7
Replacement Parts 7
375-80001 Laerdal
3
Page 4

The Arterial Stick Arm Kit (375-80001) consists of a fullsize, lifelike adult right arm with replaceable skin and
arteries. It is specifically designed for training professionals
in the drawing of arterial blood samples for monitoring
blood gases.
As a result of quality construction and the ease of replacing
individual parts, this trainer should provide many sessions of
training when reasonable care and maintenance are
practiced.
Items Included:
(1) Arterial Stick Arm
(1) Replacement Skin and Arteries
(1) Pulse Simulator
(5) Syringes
(1) Bottle of Blood Concentrate
(1) Bottle of Manikin Lubricant
(1) Hard Carry Case
(1) Laerdal Global Warranty Booklet
(1) Directions for Use
Skills Taught:
• Proper procedure for obtaining ABG – Arterial
Blood Gases
375-80001 Laerdal
4
Page 5

Preparing the Simulator for Use:
1. Remove pulse generator (red syringe bulb) and fill with
water. Blood concentrate can also be added.
2. Attach filled pulse generator onto one end of arterial
tubing.
3. Allow fluid to flow through arm.
4. Place arm in horizontal position with palm up.
5. Flex the wrist for accurate positioning to perform the
radial arterial stick.
6. Squeeze the pulse generator for palpating a radial or
brachial arterial pulse.
7. Perform the arterial stick.
Replacing Skin and Arteries:
When excessive leaking occurs at the puncture sites, either a new
artery or skin should be installed to reduce loss of fluid.
We recommend working at a sink when replacing skin and
arteries.
Replacing skin:
1. Cut off skin. This can be done with a
sharp knife or scalpel. (Figure1)
2. Discard skin.
Replacing arteries: (Keeping skin)
1. Lubricate inside of skin with liquid
detergent; let it flow down into the finger
area.
2. Begin at top of arm and slowly pull skin
down and off of arm. Do not roll, as
that will cause skin to bind. (Hand
may detach with skin, but can be replaced
by taking the 2 ¼ peg out of mandrel. Put
the two-piece hand together and put back
in mandrel. Put peg back through hole to
connect hand and mandrel.
3. Remove tubing from track in mandrel. Glue may
need to be scraped away to allow removal.
4. Rinse and dry artery grooves well and swab with
alcohol. Be sure to remove any excess glue.
5. Place new arteries along grooves, spot gluing as
needed. (We recommend fast-drying glue.)
Laerdal Recommends
Fig. 1
375-80001 Laerdal
5
Page 6

6. Generously lather arm mandrel with liquid soap and
water combined.
Heat arms skins before replacing on mandrel. This can be
done with a blow-dryer.
Laerdal Recommends
7. Slide hand into skin.
8. Work skin over fingers, as with a glove. (Photo 1)
Photo 1
9. Work arm skin up, over mandrel. (Photos 2 & 3)
Photo 3Photo 2
375-80001 Laerdal
6
Page 7

Care and Maintenance:
1. Clean with mild soap and water; do not submerse
trainer or parts in cleaning fluids or water.
2. Use only on clean surface. Avoid felt tipped markers, ink
pens, acetone, iodine or other staining products and
avoid placing the manikin on newsprint or inked lines of
any kind.
3. To ensure longevity, each trainer should be cleaned
after each training session and a general inspection
should be conducted regularly.
1. Modules and all other parts should be drained and air-
dried thoroughly before storage and disinfected when
needed.
2. Articulating parts will benefit from a light application of
talcum powder prior to training sessions.
3. Store properly between teaching sessions.
Cautions and Warnings
This product contains Natural Rubber latex which may
cause allergic reactions when in contact with humans.
Replacement Parts:
Product Number: Description:
375-81001 Arterial Stick Arm
375-80150 Skin & Artery
Replacement Kit
300-00650 Manikin Lubricant
270-00350 Hard Carrying Case
300-00750 Blood Concentrate
200-02350 Hardware Set
Please contact Customer Service Representatives for more
information on Replacement Parts in other skin tones.
375-80001 Laerdal
7
Page 8

© Laerdal Medical, Gatesville TX. All rights reserved
1001990 rev B
September 13, 2006
375-80001 Laerdal
8
 Loading...