

Page 1
.
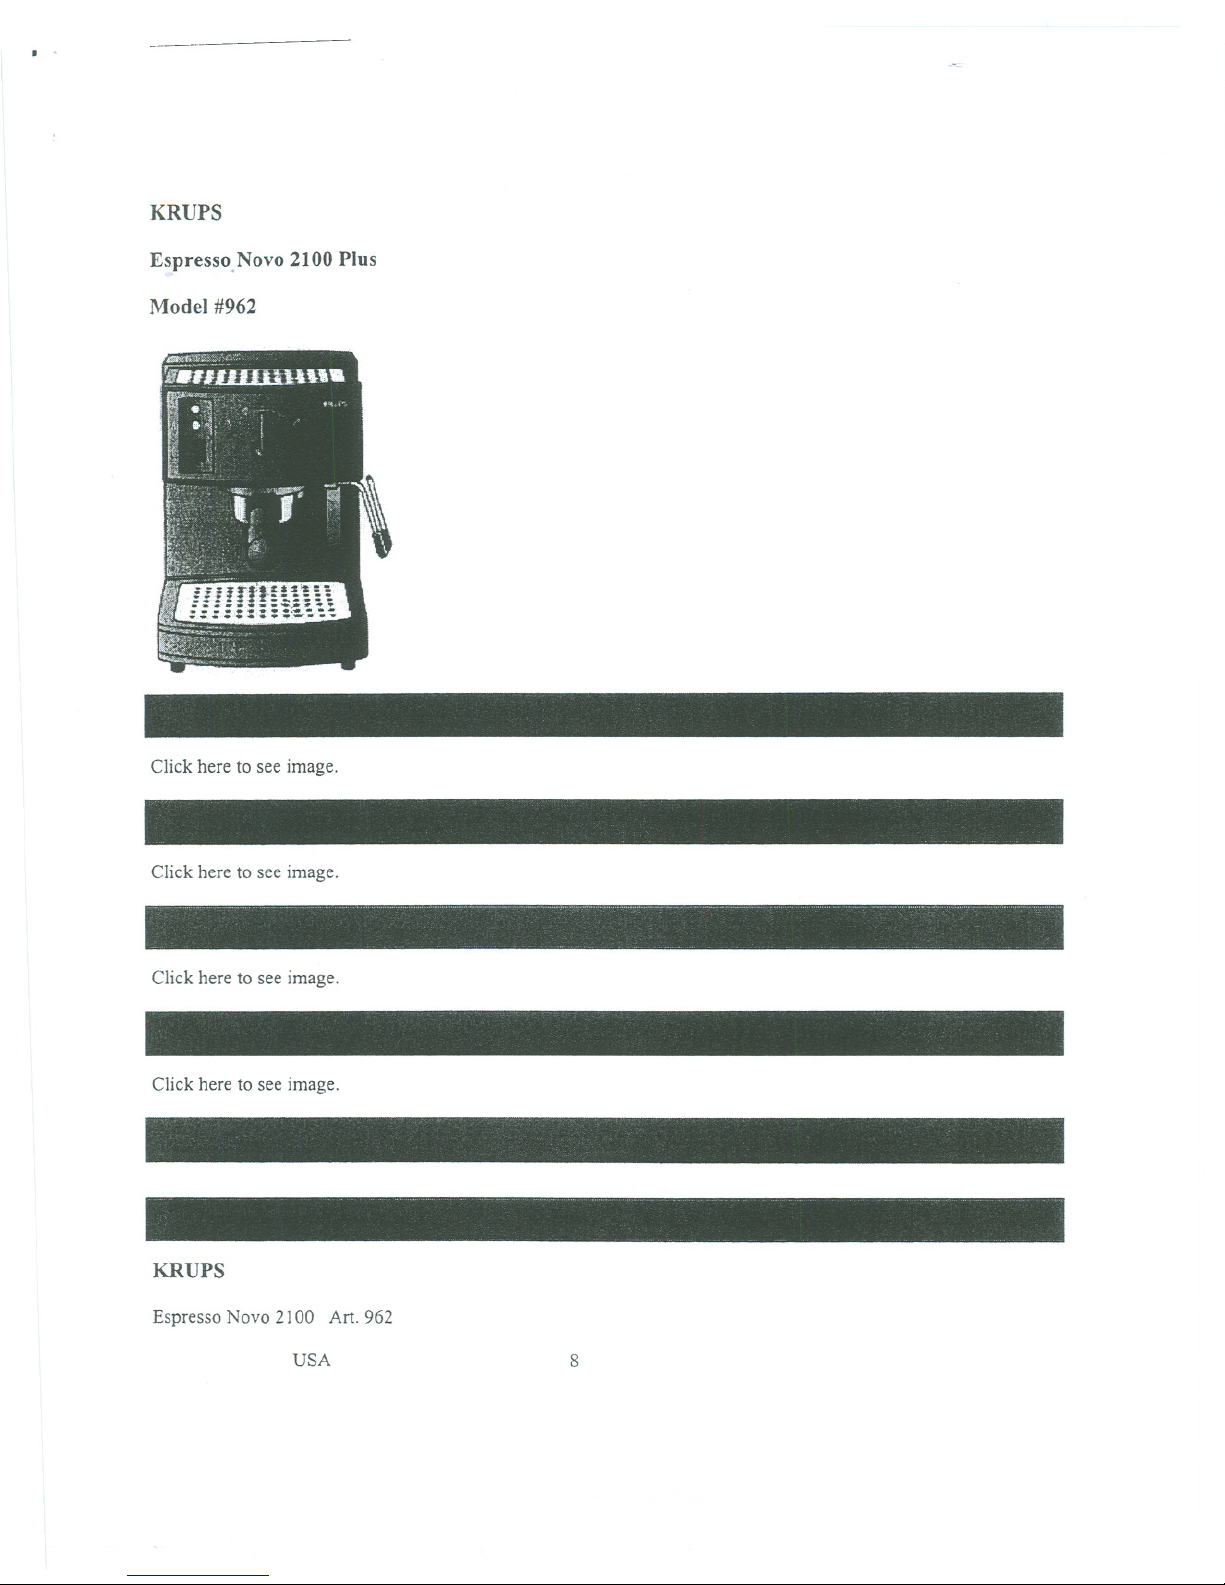
KRUPS
Espresso,Novo 2100 Plus
Model #962
Click here to see image.
Click here to see image.
Click here to see image.
Click here to see image.
KRUPS
Espresso Novo 2100 Art. 962
USA 8
Page 2
Instructions for use
Warranty
Guarantee of Performance
IMPORTANT SAFEGUARDS
When using electrical appliances, basic safety precautions shouldalways be followed, to reduce the risk of fire,
electric shock, and/or injury to persons, including the following:
.Read all instructions and information in this instructionbook and any other literature included in this carton
referring to this product before operating or using this appliance.
.Do not touch hot surfaces. Use handles or knobs.
.To protect against electric shock do not immerse cord, plugs, or appliance in water or other liquid.
.Close supervision is necessary when any appliance isused by ornear children.
.Unplug from outlet when not in use and before cleaning. Allow to cool before putting on or taking off parts, and
before cleaning the appliance.
.Do not operate any appliance with a damaged cord orplug or after the appliance malfunctions, or has been
damaged in any manner. Return appliance to the nearest authorized KRUPS Service Center for examination, repair
or adjustment (see Guarantee of Performance).
.The use of accessory not evaluated for use with this appJiance may cause injuries.
.Do not use outdoors.
.Do not let cord hang over edge of table or counter,or touch hot surfaces.
. Do not place on or near a hot gas or electric burner, or in aheated oven.
. To disconnect, turn switch to "OFF", then remove plug from wall outlet
.Do not use appliance for other than intended use.
.Use extreme caution for other than intended use.
.For household use only.
CAUTION:
SAVE THESE INSTRUCTIONS
SPECIAL CORD SET INSTRUCTIONS
Regarding your Cord Set:
Page 3
A. A short power-supply cord is provided to reducerisks resulting from becoming entangled in or tripping over a
longer cord.
B. Longer extension cords are available and maybe used if care is exercised in their use.
C. If a long extension cord is used, (I) themarked electrical rating of the extension cord should be at least as great
as the electrical rating of the appliance, (2)if the appliance is of the grounded type, the extension cord should be a
grounding-type 3-wire cord, and (3) the longer cord should be arranged so that it will not drape over the counter top
or table top where it can be pulled on by children or tripped over.
D. This appliance has a polarized plug (one blade is wider than the other). As a safety feature, this plug will fit in a
polarized outlet only one way. if the plug does not fit fully in the outletreverse the plug. If it still does not fit,
contact a qualified electrician. Do not attempt to defeat this safety feature.
Description
Click to view image.
a - Lid
b - Removable water container
c -Water level indicator
d -Warming plate for cups
e -Control selector
0 Hold «Off» position
fU11Preheatposition
~ Steam/Froth/Heat liquids position
..!:!?Espresso coffee position
f -On/Off indicator light (red)
g -Temperature control light (orange)
h -On/Off switch
i-Brewing head
j - Steam nozzle
k - Perfect Froth attachment
I - Removable overflow grid
m-Removable drip tray
n -Measuring spoon
0 -Filter basket for one or two cups
p -Filter holder for ground coffee
Espresso coffee
Your new Krups espresso machine has been constructed to make cafe quality espresso, cappuccino and latte at
home. Espresso coffee is richer in aroma and stronger than normal coffee. It is typically served in small preheated
espresso cups. Hot water is passed through the ground coffee to obtain this delicious foamy, black coffee, with its
Page 4

_um -_u - u-- d-U
revitalizing effect.
You can recognize an espresso by its characteristic aroma and its typical light brown «crema» found on top of
the coffee. But this requires high pressure and an excellent espresso coffee which has been well roasted and
cOiTectlygtound. If you cannot buy ground espresso coffee, use a coffee grinder to grind the beans. The coffee
must not be ground too fine. It must be slightly granulated. If itis too fine, you risk blocking the grid of the
brewing head and the filter.
To guarantee complete success for your espresso, you must also use freshly-drawn water (so that it has not had time
to stagnate in the air), without any chlorine odor and at a fairly coldtemperature.
Before using your machine for the first time
Click here to see steps 1-11.
Before using your appliance for the first time, clean the water heating system (without coffee in the filter holder and
filling the water container once or twice as folJows:
. Open the lid and lift out the water container using the handle (1). Fill the water container with fresh, cold water
(2).
. Replace the water container back into the appliance by positioning it firmly in the water container compartment
(3) and close the lid.
The water level in the water container can be checked at any time using the window provided for this purpose, so if
necessary you can add more water (4).
.Turn on the appliance (5). The red operating light and the orange temperature control indicator light will both
come on.
.Place one of the filter baskets in the filter hold (11). Then put the filterholder on the appliance's brewing head.
.To ensure that the filter holder is in the correct position, turn the handle so itpoints to the left at a 45 degree angle
(6), place the filter holder flat against the brewing head, then turn thehandle towards the right (7) as far as it can go
(8).
.Place a container, as large as possible,beneath the filter holder (9).
.As soon as the orange indicator light goes off, turn the selector to the .he setting (9) and anow an the water in
the water container to run through.
.If necessary, you can stop the operation by turning the selector to the 0 setting to empty the container, then
resume the operation.
Using the various functions of your espresso machine
Click here to see steps 1-11.
Page 5

Click here to see steps 12-19.
1. Espresso function
For best results, we recommend that you first pre-heat the accessories (filter holder, filter basket and cups) without
putting in ground coffee. To do this:
.Fill the water container with fresh, cold water(1) (2) (3) and turn on the appliance (5).
.Put the filter holder and an empty filterbasket in place (11) (6) (7) (8), and place the espresso cups underneath.
As soon as the appliance reaches the correct temperature the orange indicator lightwill go out.
.Turn selector to the LP setting (9).
-
.When the cups are full of hot water, reset the selectorto the 0 setting.
After making your first espresso and the appliance is hot, the espresso cups can then be pre-heated on the cup
warming plate.
Preparing an espresso:
.Fill the water container (1) (2) (3) and turn on the appliance (5).
.Put the filter basket for one or two cups intothe filter holder (11).
.Place some ground coffee in the filterbasket, at thesame time tamping it down firmly; the coffee should reach the
lip of the filter (12) (13).
.Remove any ground coffee which is lyingaround the rim of the filter (4).
.Replace the filter holder into the machine. Turn the filter holder until it is firmly locked into place (15).
.Place one or two espresso cups beneath the filter holder.
As soon as the appliance reaches the correct temperature the orange indicator light will go out.
.Then turn the selector tot he .!:e setting (10).
. When the cups are full, reset the selector to the 0 setting.
.Remove the filter holder with the filter basket from the machine, and remove the coffee grounds (17).
The filter basket can be refilled to make more espressos.
If you are preparing more than one cup of espresso,disregard the orange thermostat light. It simply indicates that
Page 6

the thennostat is regulating the temperature.
2. Steam function For Preparing Cappuccinos and Lattes
The thumping noise which occurs while steam isbeing produced comes from the intennittent regulation of the
p'lmp and has no effect on the proper working of the appliance.
If you wish to make an espresso immediately after using the steam function, the appliance must first be
allowed to cool down in order to achieve the correct temperature for preparing an espresso.
.To do this, place a container below the filter holder (without coffee) andposition correctly, then turn the selector
to the .besetting (10).
.AlIow the water to follow through until the orange indicator light comes on. Then turn the selector to 0 the
setting.
After this, you can make another espresso.
Ix~gand af£er:us~~Nth~':Ill~chinel the metallic parts' of th~:~.!ea~ noz~lec~n'becoJ
Click here to see steps 20- 27.
.Frothing Milk
The Perfect Froth attachment makes it easy to produce frothy, steamy milk for making a cappuccino or latte.
.Mount the Perfect Froth attachment to the end of the steam nozzle (18).
.Fill the water container with fresh, cold water (1) (2) (3) and turn on the appliance (5).
. Move the steam nozzle to the exterior of the appliance.
.Take a stainless steel frothing pitcher and filI it 1/3 to 1/2 full with fresh, cold milk. The milk and frothing pitcher
must be well chiIled (so it is not advisable to run the frothing pitcher under hot water before frothing the milk). We
recommend using skim or 2% milk ifyou prefer a stiff, dense froth. Use regular milk if you prefer a more creamy
type of froth.
.Turn the selector to the .nro setting (19).
Once the appliance reaches the right temperature, the orange temperature control light will go out.
. Hold the frothing pitcher under the steam nozzle equipped with the Perfect Froth attachment in such a way that
the tip is immersed in the milk.
.Turn the selector to the \!!!I setting (20). Keep the pitcher straight during this operation. Do not allow the tip of
the nozzle to touch the bottom because this could obstruct the passage of the steam.
Note: Do not bring mi1kto a boil (this wilIhappen if large bubbles start forming at the surface of the mi1k).
.Once the froth has been produced, turn the selector to the f\Jijsetting (19) for the folIowing cleaning operation in
order to prevent the milk from drying on the steam nozzle:
Page 7

-Remove the container.
-Place an empty container under the steam nozzle.
- Select the \filr setting again (20) to remove the milkresidue.
- Turn the selector to the 0 setting.
- Clean the steam nozzle and the Perfect Froth attachmentwith a damp cloth.
For more thorough cleaning of the Perfect Froth attachment,please refer to the section on « Cleaning the Machine
».
. Heating liquids
Heating liquids is done with the steam nozzle only(without the Perfect Froth attachment)
.Fill the water container (1) (2) (3) and turn on the appJiance(5).
.Move the steam nozzle to the exterior of the appliance.
.Turn the selector to the t\AJsetting (19).
Once the appliance reaches the correct temperature, the orange temperature control light will go out.
.Immerse the steam nozzle in the container holding the Jiquidto be heated.
.Then turn the selector to the ~ setting (20) until the Jiquid is hot enough, then reset the selector to the 0 setting
and remove the container.
.For liquids other than water, turn the selector to the nnr setting (19) for the following cleaning operation in order
to prevent any blockage of the opening of the steam nozzle:
-Place an empty container below the steam nozzle.
- Select the ~. setting again (20) to remove theresidue of the liquid.
- Turn the selector to the setting O.
-Clean the steam nozzle with a damp cloth.
For more thorough cleaning of the nozzle, please refer to the section on « Cleaning the Machine ».
Click here to see steps 20 - 27.
Cleaning the Machine
.Never wash your espresso machine accessories in the dishwasher.
After use, the water container must be emptied.
.Removable drip tray
After using the appliance, remove the overflow grid and empty the removable drip tray (21) (22). If several
Page 8

espressos are being prepared one after the other, the drip tray should be emptied from time to time (about once
every 7 -8 espressos). If necessary, clean the drip tray and its grid (21) (22) with water and a little non-abrasive
dishwashing liquid, rinse and dry. When reassembling the machine, ensure that the plastic baffle lining is in the
right place (23).
. The brewing head, the filter basket and the filter holder
These must be cleaned after each use. All you need to do is wipe a damp cloth over the brewing had of your
appliance and to wash the other accessories in water and a little nonabrasive dishwashing liquid, rinse and dry.
If the brewing head is heavily clogged up, unscrewthe strainer using a coin, clean it and refit it, pressing down
firmly (24).
When your espresso machine is not being used, do not leave the filter holder on the appliance to prevent wear on the
gasket.
.The cup warming plate: remove this to clean it with water anda little non-abrasive dishwashing liquid, rinse and
dry (25).
. Steam nozzle: wipe with a damp cloth after each use.
Important:
Clean the steam nozzle each time you have immersed it in milk, otherwise the inside of the nozzle becomes clogged
with milk particles. Allow the steam to escape into a wet cloth for one or two seconds after frothing milk. This will
flush out any milk residue.
.Perfect Froth attachment: For more through cleaning of the Perfect Froth attachment, you can be dismantle it.
.Remove parts A and C from the metal tube B (27).
.Clean all three parts with hot water. If need be, unclog the opening of part A using a fine needle. Be careful not
to enlarge the opening.
.Be careful with the little plastic nozzle cap (part A) when you replace the Perfect Froth attachment.
.Jfthe steam nozzle becomes clogged for any reason, use a paperclip to clear out any milk residue from the steam
nozzle (26).
. Percolation head gasket
From time to time this gasket must be cleaned:
.Put the filter basket in the filter holder and place the filter holder in the machine.
.Place a container under the filter holder.
.Turn on the appliance.
.Turn the selector to the setting .!:B.
.When the hot water starts to filter through, turn the filter holder slowly from left to right so that the water filters
through between the gasket and the filter.
Page 9

Descaling
.Descaling of your espresso machine should be done fairly frequently with citric or tartaric acid.
However, we would advise you to use the Krups descaling solution which is available from Krups, Descaling
depends on the hardness of the water, but also on the frequency of use. Then follow the following method:
.Unscrew the strainer from the head of the appliance and clean it.
.Dissolve 2 teaspoons of the descaling product or a packet of KRUPS descaling solution, in 17 ounces of
lukewarm water and pour the whole batch into the empty water container.
.Place a container under the brewing head. Run through about 1/3 ofthe liquid
immediately, setting the selector to the LP position (9). Then turn machine back to the 0 position.
-
.Wait for 10 - 15 minutes to allow the descaler to take effect.
.Again, start the machine .h!? and allow the rest of the liquid to run through. Turn back to 0 position.
.Refill tank with fresh water and turn to the J:!? position. Turn back to 0 position. Repeat with fresh water one
more time.
.Replace the strainer on the head of the appliance (see section on For more thorough cleaning of the Perfect Froth
attachment, please refer to the section on « Cleaning the Machine ».
Problems, probable causes and how to correct them
Problems Probable Corrective
causes actions
Espresso not hot The accessories (cups,
Preheat the accessories
enough
filter basket and filter
(cups, filter, filter
holder are cold).
holder) See section
«Preparing an
espresso> >.
Page 10

Coffee leaks around
The filter holder has not
See section «Preparing
the filter holder
been assembled
an espresso».
correctly.
There are coffee grounds
Clean around the filter
on the edge of the filter and the gasket.
The brewing head gasket Clean the gasket with a
is dirty.
damp cloth.
The brewing head gasket
Contact an authorized
is defective
Krups Service Center.
Pump is very noisy
No water in the
Fi1l the water container.
container.
Water container Press firmly down on the
incorrectly mounted.
water container.
Coffee grounds too old
Use fresh coffee
or very dry and the
pump cannot produce
pressure.
Water does not run No water in the
Fi11the water water
through
container.
container.
Water container
Press firmly down on the
incorrectly mounted.
water container.
The filter is blocked, the
Clean the filter and the
coffee grounds are too
strainer on the head. See
fine or tamped down too the section «Cleaning
hard.
the Machine» and try a
coarser coffee.
Brewing head strainer is
Remove and clean the
encrusted.
strainer. See section on
«Cleaning the
Machine».
Appliance needs
See section on
descaling.
<<Descaling> >.
Page 11

Recipes
Water runs through Coffee grounds too
Try a finer coffee
too quickly
coarse
Quantity of ground
Use a spoon provided to
coffee is insufficient. measure out the coffee.
Coffee grounds not Tamp down the coffee
tamped down firmly again.
enough.
The espresso has no Coffee grounds too
Try a finer-ground
froth (froth on
coarse
coffee
coffee)
Coffee grounds not Tamp down the coffee
tamped agam
The espresso has no
Coffee grounds stale or
Use fresh coffee
crema (golden
too dry
brown froth on
coffee)
The milk is not very
Steam nozzle blocked See section on
frothy «Cleaning the
Machine».
Perfect Froth attachment
See section on
blocked
«Cleaning the
Machine».
Milk not fresh. Use fresh milk.
Milk is lukewarm. Use chilled milk.
Lots of water on the
Grounds not properly Tamp down the coffee
coffee grounds tamped down grounds.
Insufficient quantity of
Increase the quantity of
ground coffee ground coffee.
Page 12

Savor your espressojust as you like it: when you want to relax or to top off a good meal.
Here are a few recipes which you will be able to create with your espresso machine.
.Original espresso
.Take one measuring spoonful of good quality well roasted espresso coffee, and make an espresso directly into a
pre-heated cup.
If you use good, finely ground coffee, the cup willbe crowned by a fine head of golden froth (crema).
.Add sugar if desired and treat yourself.
Traditionally espresso is served without milk but plenty of sugar.
.Cappuccino
For a state of the art cappuccino, the ideal quantities are as follows: 1/3espresso, 1/3hot, steamed milk,.1/3 frothy
milk.
. Use 5 oz. cups which have been pre-heated.
. Fill them with 1/3 espresso coffee. Using the Perfect Froth Attachment to makesteam and froth, fill the cup with
another 1/3 of steamed milk and 1/3of froth.
. Lastly, sprinkle with drinking chocolate powder or cinnamon.
.Cafe latte
For a state of the art latte, the ideal quantities are as follows: 1/2 espresso, 1/2 hot, steamed milk topped with some
frothed milk.
. Prepared a classic espresso in a large cup.
.Add steamed milk.
.Top with some froth.
.Iced coffee a I'Italienne
4 vanilla ice cubes, 2 cups of cold, sweetened espresso, 4 ounces milk, freshcream, grated chocolate.
. Mix the cold espresso with milk.
.Distribute the ice cubes among the glasses,pour the coffee over them and decorate with fresh cream and grated
chocolate.
. Friesian coffee
. Add a small glass of rum to a sweetened cup of espresso.
.Top with a good layer of fresh cream and serve.
Limited One Year Warranty
Page 13

Your KRUPS #962 is covered by the foJlowingwarranty:
If within one year from date of purchase, this KRUPSproduct fails to function because of defects in materials or
workmanship, KRUPS North America wilI, at its option,repair or replace the unit with our charge, provided the
owner has a proof of date of purchase.
This warranty wilI be void if malfunction was caused by damage to the product by accident, misuse, use on
frequency or voltage other than marked on the product and/or described inthe instructions, abuse including
tampering, damage in transit, or use for commercialpurpose. This warranty gives you specific legal rights, and you
may also have other rights which may vary from state to state.
GUARANTEE OF PERFORMANCE
This fine KRUPS product is manufactured accordingto a rigid code of quality standards, and, with minimum care,
should give years of satisfying service. However, should theneed arjse for repair or for replacement parts within or
after the warranty period, please call our CONSUMER SERVICEDEPARTMENT:
E. U. : (800) 526-5377
24-hours a day, 7 days a week.
Canada:
(905) 669-0114
Monday-Friday 8:00 a.m.- 4:30 p.m.
You wiIl be provi~ed with specific instruction on how to get your product repaired.
The department wilI also be able to answer anygeneral product questjons you may have.
Before caIling the Consumer Service Department,please have the type number of your KRUPS appliance available.
You must have this information before calIing our Consumer Service Department so that we may better answer your
questions. The type number can be located by looking at thebottom of your appliance.
This product is Type #962
Any general correspondance can be addressed to:
E.U.:
Canada:
KRUPS North America, Inc.
P.O. Box 3900
Peoria, IL 61612
KRUPS Service
20 Caldari Rd
Concord, Ontario
L4K 4N8
Art. 962
USAIF
N° 826 388-A
0020101/9/02.00/10'500
 Loading...