

Kraus KGD52SINK, KGU55BLACK, KGD52BLACK, KGD50BLACK, KGD54BLACK User Manual
...
INSTALLATION MANUAL
Forteza™ Series
Granite Kitchen Sink
KGD-50 / KGD-52 / KGD-54 / KGU-55
www.kraususa.com I Toll Free: 1.800.775.0703 I © 2017 Kraus USA Inc. I REV. November 2, 2017

Thank you for your purchase
We would like to take this opportunity to thank you for choosing Kraus.
We hope that you are completely satised with your purchase, and enjoy it for years
to come. If you have any questions, or require technical assistance, please contact
us at 800.775.0703 and one of our representatives will be happy to help.
For more information about Kraus products, please visit:
www.kraususa.com
In order to activate your warranty and get faster access to customer support, please
register your new Kraus product at:
www.kraususa.com/registration
Sincerely,
Kraus USA Customer Service
1

Please note:
• KGUs can be installed undermount only (Option B)
• KGDs can be installed topmount & undermount (Options A & B)
Prior to Installation:
Make sure that you have all necessary parts by checking the parts list. If any part is
•
missing or damaged, please contact Kraus Customer Service at 800-775-0703 for a
replacement
• Inspect the sink prior to installation to make sure that it has not been damaged
during shipping
• Use the cut-out template provided by Kraus
• Observe all plumbing and building codes according to your state requirements
For technical assistance or replacement parts, please contact Kraus
Customer Service and one of our representatives will be happy to help:
Toll-Free: 800-775-0703 or customerservice@kraususa.com
The step-by-step guidelines in the installation instructions are a general reference for installing a
Kraus sink. Should there be any discrepancies, Kraus cannot be held liable. It is recommended to
install all Kraus products by hiring a licensed professional.
2
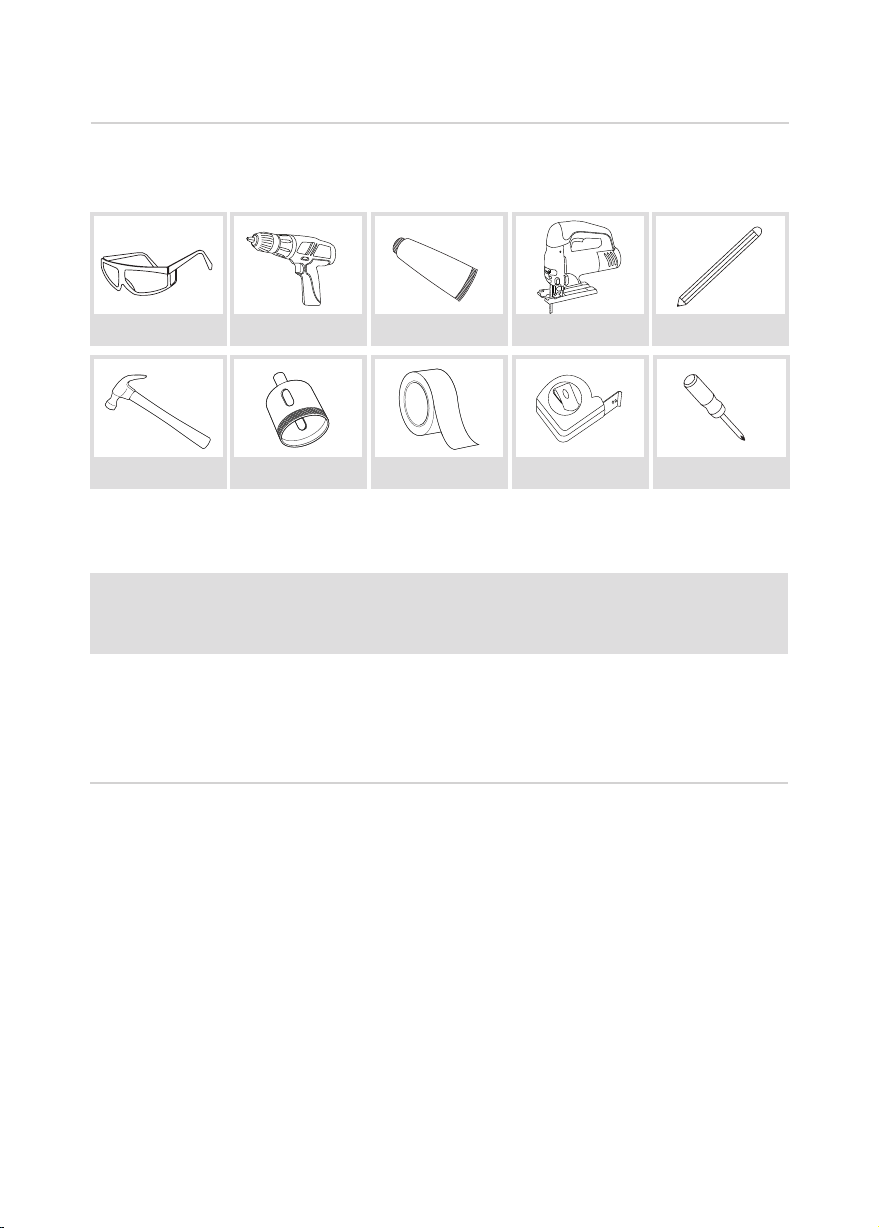
Tools and Required Materials
Phillips screwdriver
Safety Goggles
Hammer
Drill
Hole Saw
Silicone Adhesive Jig Saw
Masking Tape
Tape Measure
NOTE: Specialized tools may be necessary to install Kraus granite sinks with
countertop materials other than wood, marble, or granite
Parts List
• Cut-Out Template
• Mounting Hardware
• Drain
Pencil
Screwdriver
3
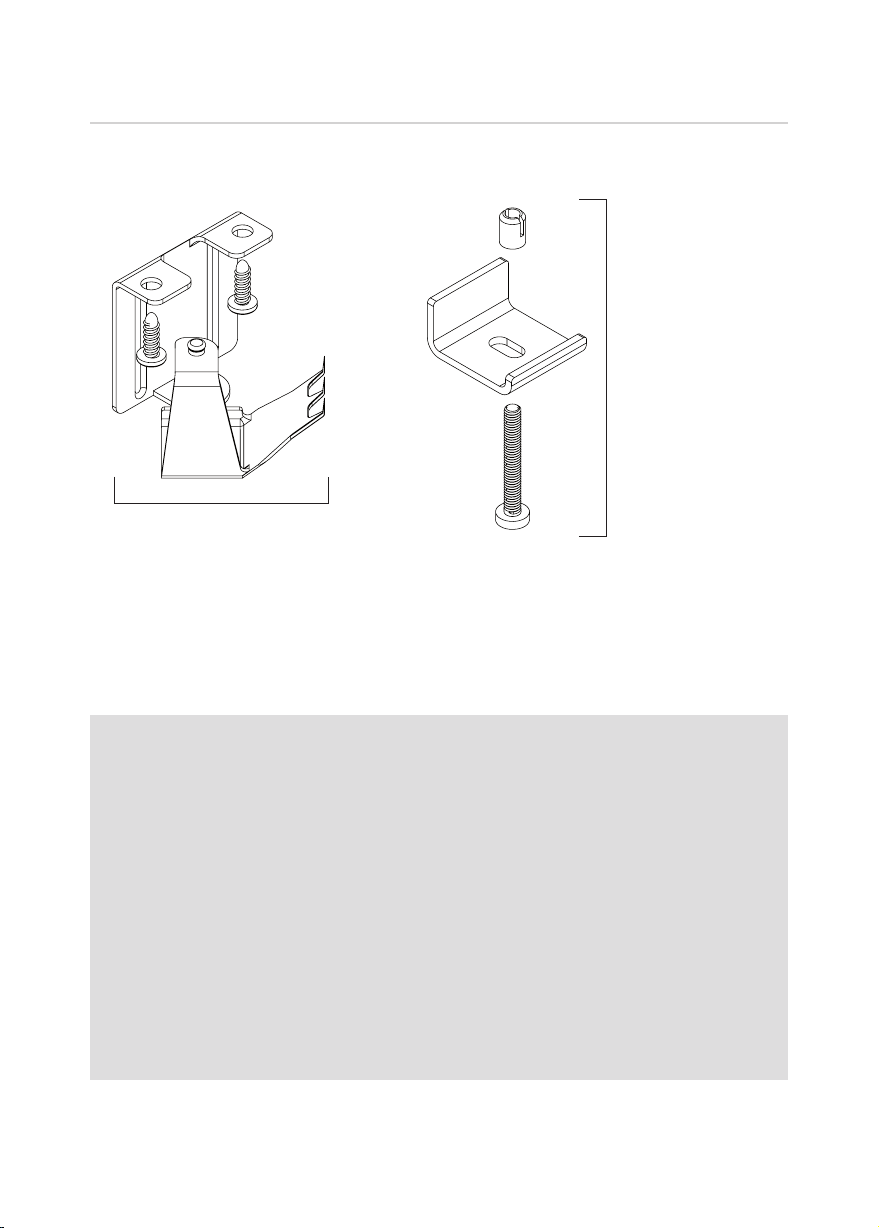
Hardware (Included)
Kit for Drop-In
Installation
Kit for Undermount
Installation
Important
• Instructions may vary depending on countertop material. Read all instructions
carefully, and ensure that counters are compatible with sink installation before
proceeding
• Follow the plumber’s code and builder’s code eective in your area
• Shut o water valves prior to installation
• Open sink packaging and verify that the sink is in perfect condition. Put sink back
into packaging to protect it until time of installation
• To replace an existing sink, make sure that the cut-out hole in the counter is of an
adequate size to t the new sink
4
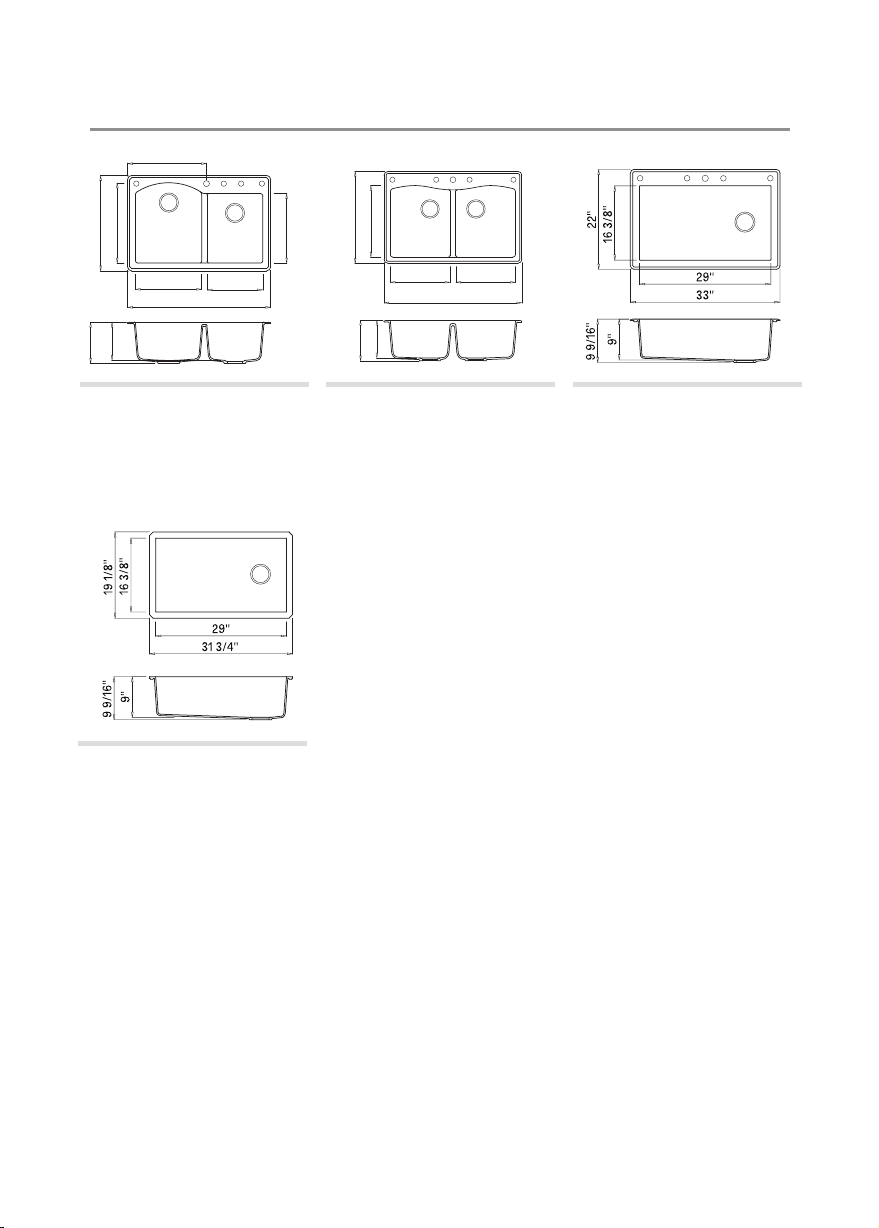
Dimensions
9 1/2''
8 13/16''
9 11/16''
18 3/16''
22''
18 1/2''
15 5/16''
12 7/8''
33''
KGD-50
33” X 22” X 9 1/2”
Min Cabinet Size: 36”
Drain Model #: ST-2 x (2)
KGU-55
31 3/4” x 19 1/8” ” x 9 1/2”
Min Cabinet Size: 36”
Drain Model #: ST-1G
22''
16 1/16''
17 1/8''
9''
KGD-52
33” X 22” 9 3/4”
Min Cabinet Size: 36”
Drain Model #: ST-2 x (2)
14 1/4'' 14 1/4''
33''
KGD-54
33” x 22” x 9 5/8”
Min Cabinet Size: 36”
Drain Model #: ST-1G
5
 Loading...