

Page 1

KRAMER ELECTRONIC S LTD.
VIA Site
Management
Software
MODEL:
We b Admin Us er M an ual
P/N: 2900-300496 Rev 1
Page 2

VIA Site Management - Introduction
1
1 Introduction
VIA Site Management software (VSM) is a software application that allows an
administrator to monitor and make changes to all connected VIA Collage, Campus
or Connect PRO gateways. It is a Web-based interface that allows the
administrator to:
1. Add or modify an existing VIA Gateway (VIA Collage/VIA Campus/VIA
Connect PRO).
2. Push various settings like configuration, gateway features, client features,
and so on to Collage/Campus/Connect PRO units.
3. Update Collage/Campus/Connect PRO units from the central server when
the updates become available.
4. Manage the following statuses for all Collage/Campus/Connect PRO units
attached to the VSM:
CPU usage
HDD usage
Off/On status
Configuration and download status
FW Version status
VSM can automatically provide individual configuration to added gateways or the
settings can be configured locally.
1.1 Purpose
This document clarifies the various features associated with VSM and how to use
it to manage the added gateways.
Page 3

2
VIA Site Management - Introduction
1.2 Intended Audience
This document is for Kramer’s customers, resellers and distributors who want to
understand how to use VIA Site Management software. We expect that you have
a working knowledge of VIA Collage, VIA Campus and VIA Connect PRO to use
this product.
In addition, we recommend that a network administrator or someone similar use
and configure this product.
If you are not a network administrator but have working knowledge of the abovementioned products, we suggest that you consult with the person who manages
the network in your organization before making changes to the network and other
settings.
Page 4
VIA Site Management - Login
3
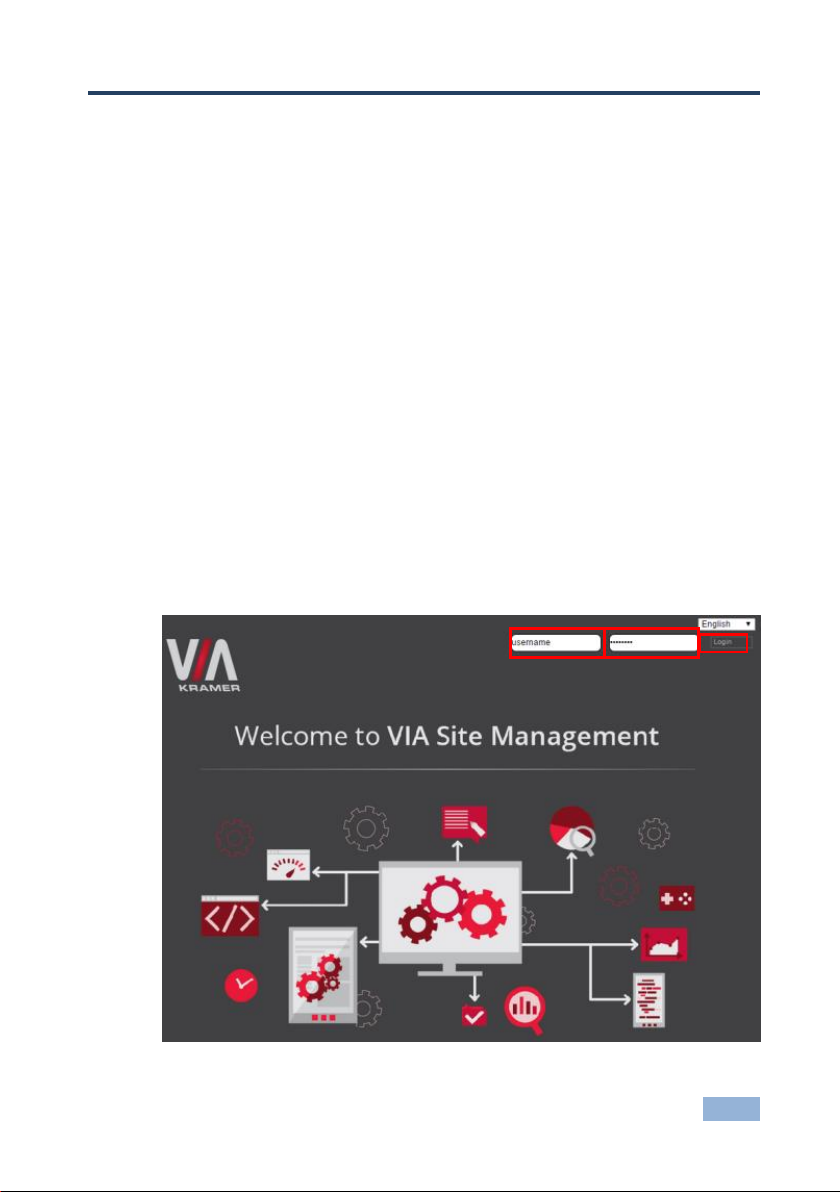
2 Login
Before using VIA Site Management software, you must log in to its Web interface.
Access the Web interface by typing in VSM IP address. As an example, we use
the address http://192.168.100.125/.
1. Type the IP address of the VSM in the address bar of a browser.
2. The default Web page lists all the VIA devices available on your network
(once configured).
3. Click on “Admin Login” on the upper right side of this page to access the
administration part.
4. Type the username and password of the Web administrator:
Default user: su
Default password: supass
5. Click Login.
Page 5
4
VIA Site Management - User Management
3 User Management
This section explains how the administrator can create extra users who manage
the server.
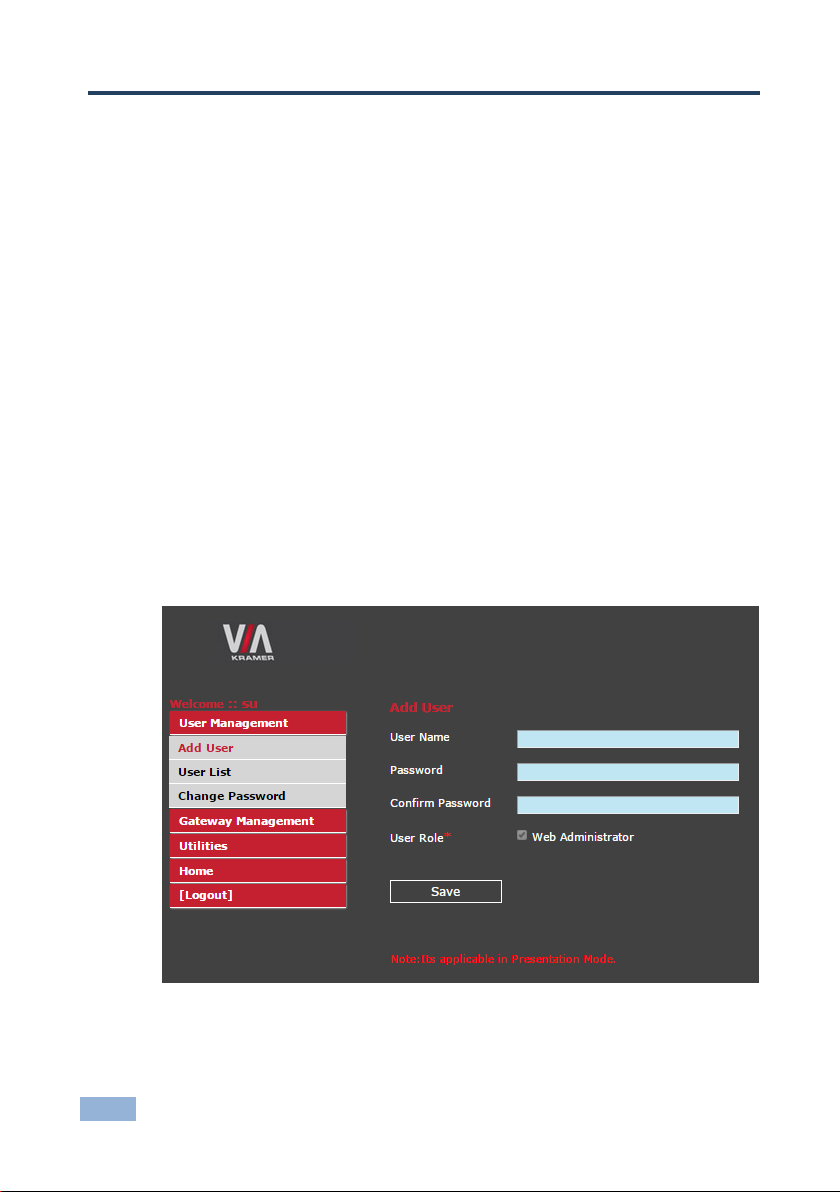
3.1 Adding a User
Create new user names for logging in to a VIA Site Management software. All
users are created as administrators of the VIA Site Management software.
1. Click Add User.
2. In the User Name field, type a username. Text beside this field shows if the
typed username is available.
3. In the Password field, type a password.
4. In the Confirm Password field, re-type the password.
5. Click Save.
Page 6
VIA Site Management - User Management
5
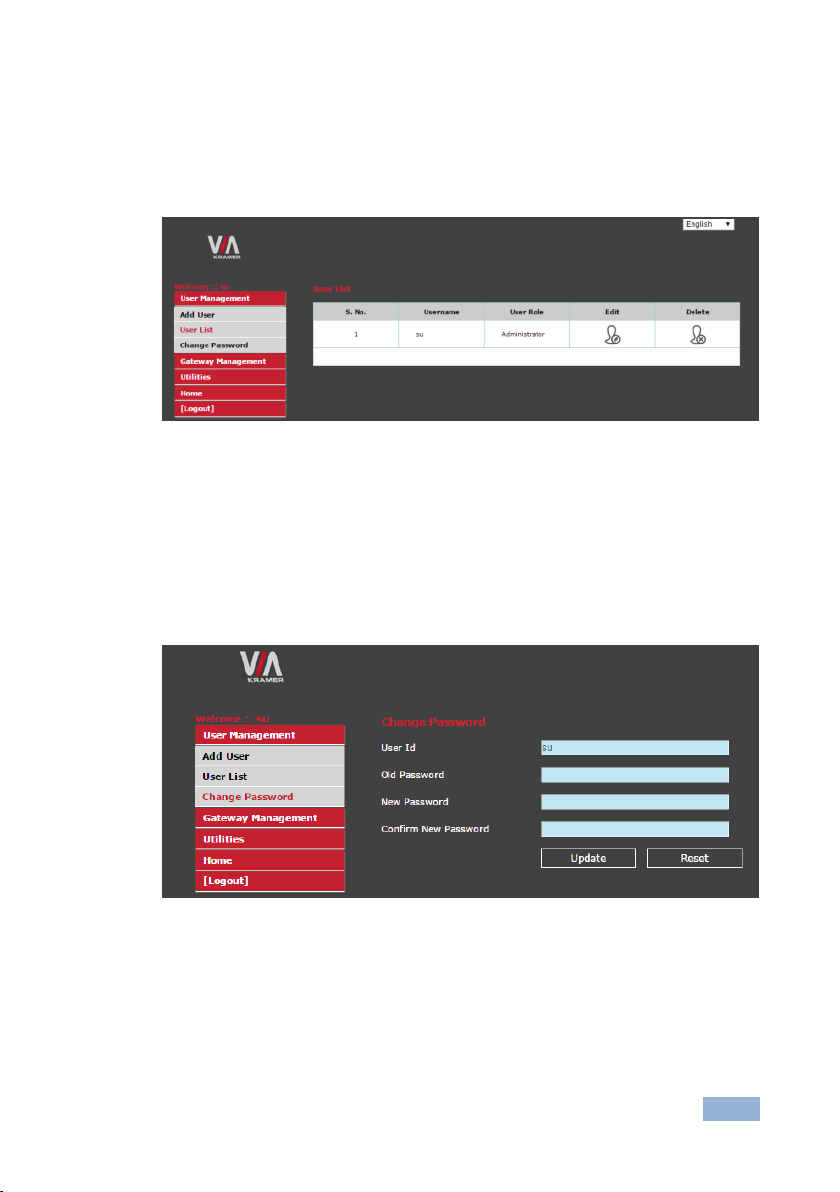
3.2 User List
The user list is the first page that opens after a successful login. It lists all the
users.
Click on the Edit button of a user to change their password
The Delete button deletes the user.
Note: The default user “su” cannot be deleted. Edit User options does not allow you to
change a username.
3.3 Change Password
This page allows you to change the password for a logged in user.
1. In the Old Password field, type the old password.
2. In the New Password field, type the desired password.
3. In the Confirm Password field, retype the desired password.
4. Click Update.
Page 7
6
VIA Site Management - Gateway Management
4 Gateway Management
This feature helps make uniform changes to all gateways. You can create, edit
and delete groups of gateways apart from adding new gateways to selected
groups.
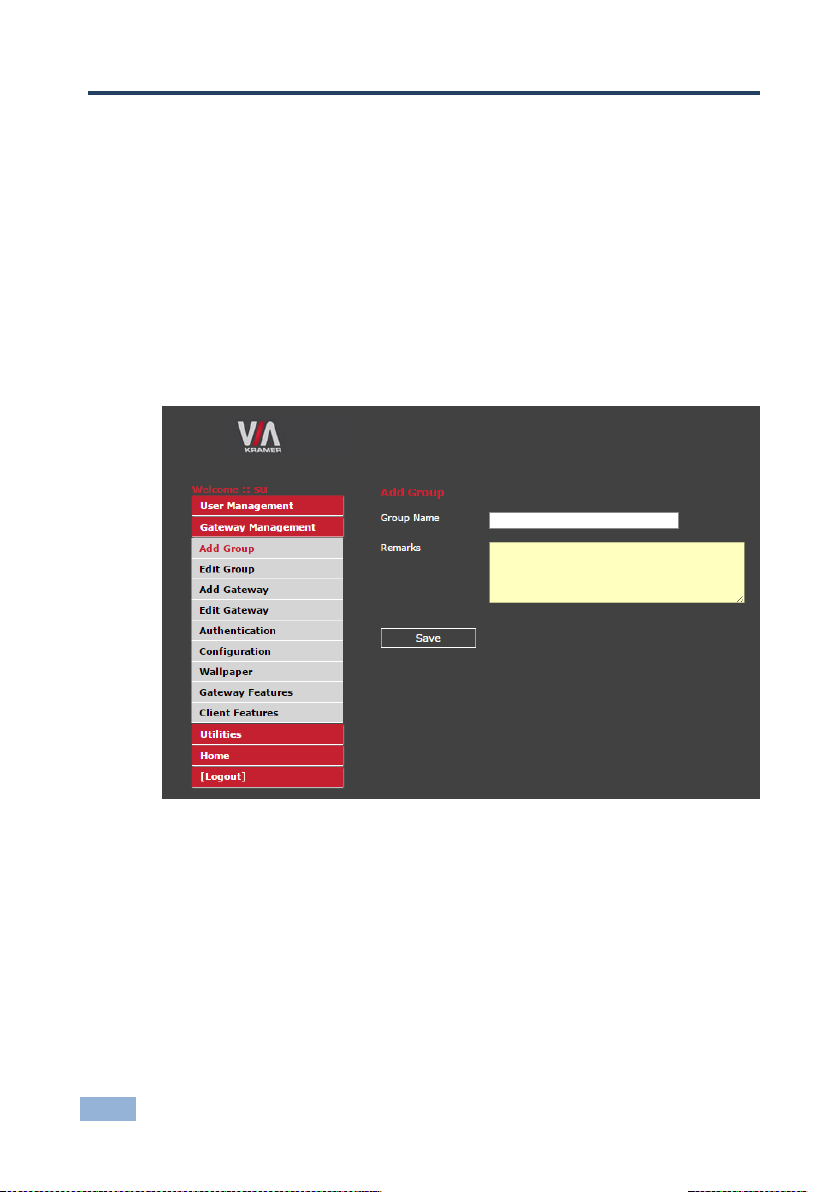
4.1 Adding a Group
Here you can create groups and add gateways to them, making gateway
management easier. The configuration changes applied to a group take effect on
all gateways after restarting.
1. Click Gateway Management.
2. Click Add Group.
3. Enter a Group Name.
4. Enter Remarks showing details of the group added.
5. Click Save.
Page 8
VIA Site Management - Gateway Management
7
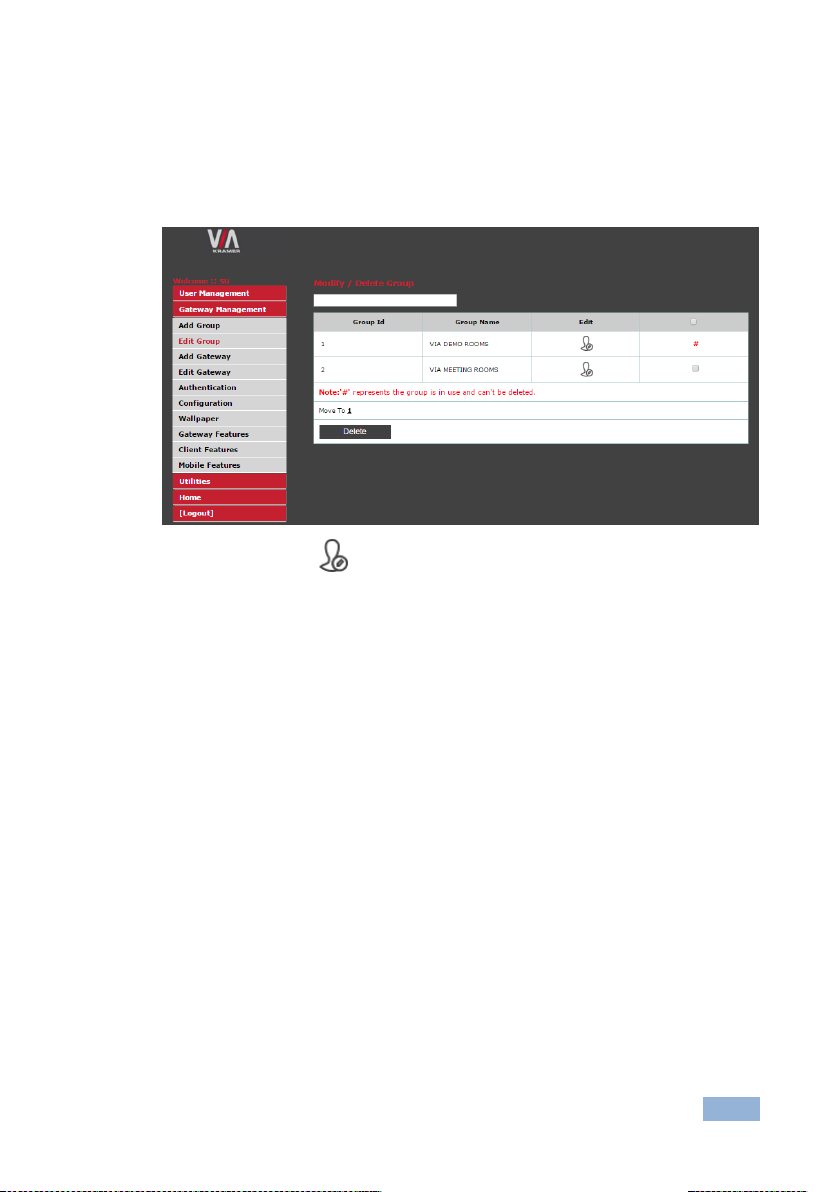
4.2 Edit Group
Make changes to an existing group using this option. Previously added groups can
be deleted from here.
To edit a group, click .
A screen appears similar to the Add Gateway page where you can edit a group’s
name and its associated remarks.
If a particular group is empty, meaning it has no added gateways, a checkbox is
seen with it. To delete these empty groups, check the checkboxes and click
Delete.
If there are gateways added to a group, a hash tag (#) replaces the checkbox to
denote that these groups can only be edited and not deleted.
4.2.1 What You Can Do
Edit Group Name
Edit Remarks for that group
Delete a group with a checkbox
Page 9
8
VIA Site Management - Gateway Management
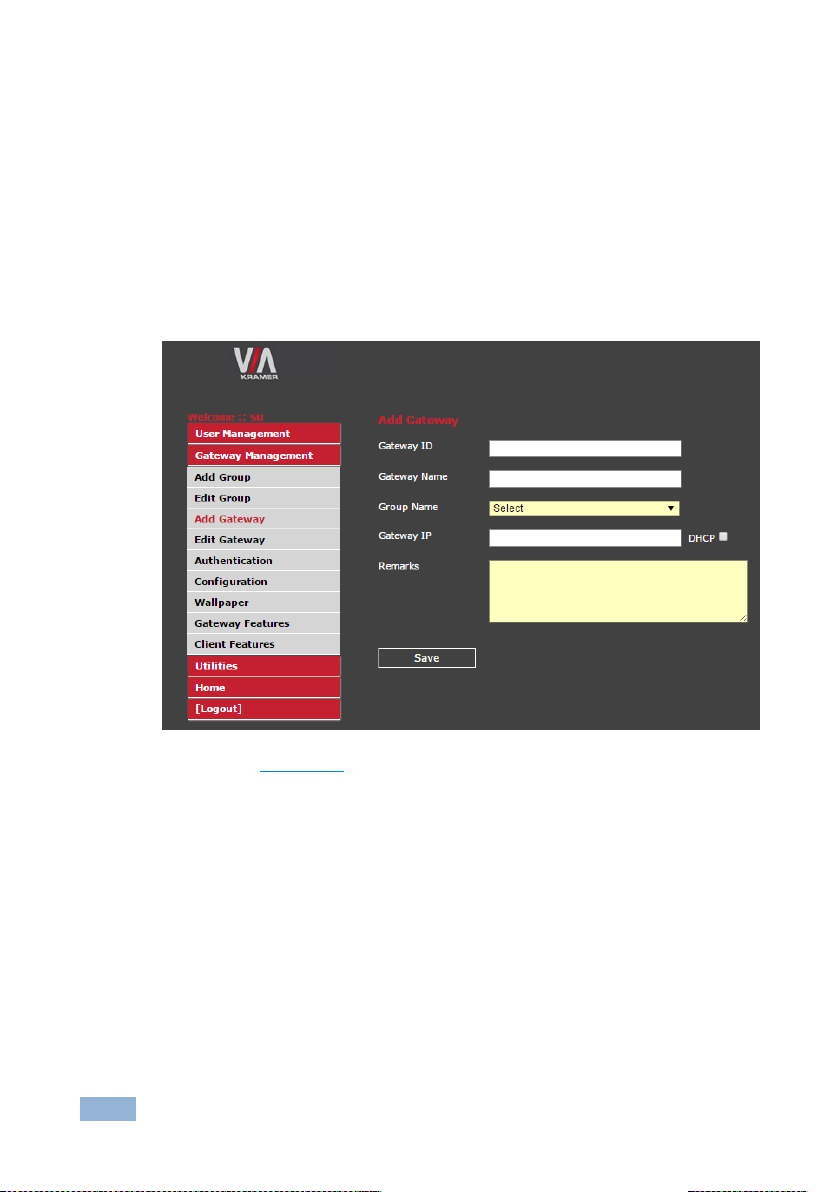
4.3 Add a Gateway
This feature allows you to add VIA Collage, Campus and Connect PRO units (also
called gateways) to previously created groups. Ensure that VSM and the gateways
are on the same network before performing the following steps:
1. Click Gateway Management.
2. Click Add Gateway. The following screen appears:
3. Enter a Gateway ID and its name.
4. From the dropdown menu, select a Group Name.
5. Enter a Gateway IP or check the DHCP checkbox if the added gateway has
a dynamic IP.
6. Enter additional details about the added gateway in the Remarks section.
Page 10

VIA Site Management - Gateway Management
9
4.4 Edit a Gateway
Clicking Edit Gateway shows all gateways added to a particular Site Management
Server:
4.4.1 What You Can Do
Check whether an added gateway is ON or OFF
To open the Web UI of each added gateway, click
To edit each gateway, click
Check if the added gateway is DHCP enabled. DHCP enabled gateways
show a red asterisk (*)
Delete gateways by checking the checkboxes and clicking Delete
To select and delete all added gateways in a group, click the checkbox
placed as a header in the last column
4.4.2 Edit a Gateway
Edit gateway allows you to modify the:
Gateway ID
Gateway Name
Group Name
Gateway IP
Page 11

10
VIA Site Management - Gateway Management
Check the DHCP checkbox and leave this field blank to assign
dynamic IP to a gateway.
Remarks
4.5 Authentication
Making changes to this section reflects on all gateways, which were set to import
their authentication settings from VIA Site Management software. It enables a
moderator-participant mode.
4.5.1 Moderator-Participant mode
Moderator mode is an arrangement wherein a meeting or a lecture is hosted by a
single entity. If a participant has to display the contents of his device, permission is
sought from the moderator who then allows the content to be displayed as wished.
Activate Moderator Mode enables three different modes:
Database Based Mode enforces a username and password login created
from the Add Users page in a gateway. A database of users must be
created and credentials are assigned to each user.
Active Directory Mode authentication verifies the login information from the
active directory details specified on the authentication page of a gateway
(refer to the Active Directory Whitepaper).
In Basic Mode the first person logging in becomes the moderator; everyone
logging in later is a participant.
Page 12

VIA Site Management - Gateway Management
11
4.6 Configuration
The configuration page has separate settings for VIA Collage, Campus and
Connect PRO. Each radio button opens a feature set available for that machine
type. The date and time format enforces the selected date and time format on the
VIA units that are added to the VIA Site Management software using the Add
Gateways option.
1. Click Gateway Management and click Configuration.
2. Select Collage/Campus or Connect PRO to make the necessary settings
for each machine type.
3. Add VIA Collage, Campus or Connect PRO units then sync their
configuration settings from this page.
Page 13

12
VIA Site Management - Gateway Management
4.6.1 Configuration Option Comparison – Collage, Campus &
Options
Collage
Campus
Connect
PRO
Start HDMI Input on Startup
V - -
Activate PIP Mode
V - -
Activate System Log
V V V
Activate Media Mode
V V -
Enable Quick Client Access
V V V
Activate / Deactivate Chat by Moderator
V V V
Disable Always on Top – VIA minimized icon
V V -
Do Not Disturb
V V V
Activate 3rd party shortcut
V V -
Activate Energy Saver Mode
- - V
Enable QR Code
V V V
Dynamic Display Layout Stack Auto-Hide
V V -
Room Name & Room Code Settings
V V V
Room Code Refresh Time
V V V
Show Date Time on Wallpaper
V V V
Room Name/Code on Second Display (Dual
Display Only)
V V -
Auto Power Off Timing
V V V
Select Language (Out Of 7 Languages)
V V V
Date and Time Format
V V V
Connect PRO
The following table compares configuration options of the two units:
Page 14

VIA Site Management - Gateway Management
13
4.7 Wallpaper
For branding purposes it is always desirable to have the same wallpaper on all VIA
units. This tab sets the wallpaper and all VIA units can be configured to accept it.
1. Select Gateway Management and click Wallpaper.
2. To upload different wallpaper, click the Click Here to Upload button.
3. A window opens allowing you to navigate to the location of the desired
wallpaper.
Only JPG/JPEG and PNG images can be uploaded to the VIA Site Management
software.
4. Select a wallpaper and click Open to upload it to the Site Management
Server.
5. Previously selected wallpapers and their resolutions are also available. They
can be selected as required.
Page 15

14
VIA Site Management - Gateway Management
4.8 Gateway Features
VIA application features available on a gateway can be managed. This is ideal
when, during a presentation or a lecture, some features need deactivation.
Click ‘x’ on the undesired options and click Apply
The reset button brings back all the disabled features
To bring back only certain features click on the thumbnail that reads “No
Application Associated” and select the desired feature
VIA Collage - Gateway
Page 16

VIA Site Management - Gateway Management
15
VIA Campus - Gateway
VIA Connect PRO - Gateway
Page 17

16
VIA Site Management - Gateway Management
4.9 Client Features
VIA Collage - Client
VIA Campus - Client
Page 18

VIA Site Management - Gateway Management
17
VIA Connect PRO - Client
4.10 Mobile Features
VIA Collage - Mobile
Page 19

18
VIA Site Management - Gateway Management
VIA Campus - Mobile
VIA Connect PRO - Mobile
Page 20

VIA Site Management - Gateway Management
19
4.11 Utilities
The following utilities are available on the Utility tab:
VIA Activity Logs
Webadmin Activity Logs
Gateway Status
Update Firmware
License Details
Reboot
Shutdown
4.11.1 Gateway Activity Log
The gateway activity log shows the activities of all users for all connected
gateways.
4.11.2 Web Admin Activity Log
The Web admin activity log records the activity of a Web administrator on the VIA
Site Management software.
Page 21

20
VIA Site Management - Gateway Management
4.11.3 Gateway Status
This option opens in a new tab and shows the status of the indicated options on
the connected gateways. The never updated entries are for gateways that are no
longer used. Any changes made for a gateway set the ‘HQ’ red until the update is
applied.
Use the following tool to filter your search:
Status Legend:
CPU_Status <51 – Normal (green)
CPU_Status between 50 and 80 – Moderate (orange)
CPU_Status >80 – High (red)
HD_Status <51 – Normal (green)
HD_Status between 50 and 70 – Moderate (orange)
HD_Status >70 – High (red)
Page 22

VIA Site Management - Gateway Management
21
4.11.4 Update Firmware
Use this option to update the firmware on all connected gateways simultaneously.
Since the update files have different extensions, the option defines if the update is
for Collage, Campus or Connect PRO.
4.11.5 License Details
Check the status of your VSM license.
VSM license is free of charge for managing up to 3 VIA devices. To apply for a
license to manage more devices, follow the following steps:
Click on the VSM License application icon on your desktop:
Page 23

22
VIA Site Management - Gateway Management
It opens a window with details of the current evaluation license:
If you want to apply for a license (for 4 devices and up), click on “Unlock
application” and note the Site Code and the MID number. Send them to your
Kramer Sales Representative.
You receive an activation code as well as a serial number that you type into
the “Activation Code” and “Serial Number” fields.
At any time, you can check the status of your active license by launching this
“VSM_License” application from your desktop and it shows you the following
window:
Page 24

VIA Site Management - Gateway Management
23
4.11.6 Reboot & Shutdown
Though VIA Site Management software has been designed to not require
frequent reboots, this option reboots and shuts down a VIA Site Management
software if needed.
Page 25

24
VIA Site Management - Gateway Configuration
5 Gateway Configuration
Some changes must be made to the gateway before it can be managed from a
VIA Site Management software.
5.1 VIA Site Management Configuration
Note: Before beginning the following steps, ensure that the gateway to add, and the Site
Management Server where the VIA unit is being added, are on the same network.
1. Connect a PC/Mac laptop to the same network as the VIA unit.
2. On the browser, type the IP address of the VIA unit you want to add.
3. Login using Web Administrator credentials:
Default User: su
Default password: supass
4. Click VIA Management.
5. Click VIA Site Management.
Page 26

VIA Site Management - Gateway Configuration
25
6. On the page that opens:
Type the VIA Site Management software IP
Type a Gateway ID (see the next section)
Click Validate and Save
For the changes to take effect, click Reboot to restart the unit
7. Choose the settings “From VIA Site Management” to download the setting
from the VSM server or choose “From Gateway” to keep the local settings.
For example, there are two of ten rooms for which you want to use
different wallpaper. You can choose it from the gateway.
5.1.1 Gateway ID
Below are some notable points about a gateway ID.
Only numbers are acceptable as gateway ID, the first digit can’t be “0”.
A gateway ID should be unique to a Collage/Campus/Connect PRO unit.
A gateway ID is not related to a unit’s IP address, MAC address or its serial
number. These numbers have no effect on a unit’s ID and vice versa.
This essentially means that a gateway ID can be a random number, as long as it is unique.
It helps identify the VIA Collage, Campus or Connect PRO unit in question.
Page 27

For the latest information on our products and a list of Kramer distributors,
visit our Web site where updates to this user manual may be found.
We welcome your questions, comments, and feedback.
Web site: www.kramerAV.com
E-mail: info@kramerel.com
SAFETY WARNING
Disconnect the unit from the power
supply before opening and servicing
P/N:
2900-300496
Rev:
1
!
 Loading...