

Kramer Electronics Ltd.
PS-1DN Power Supply Installation
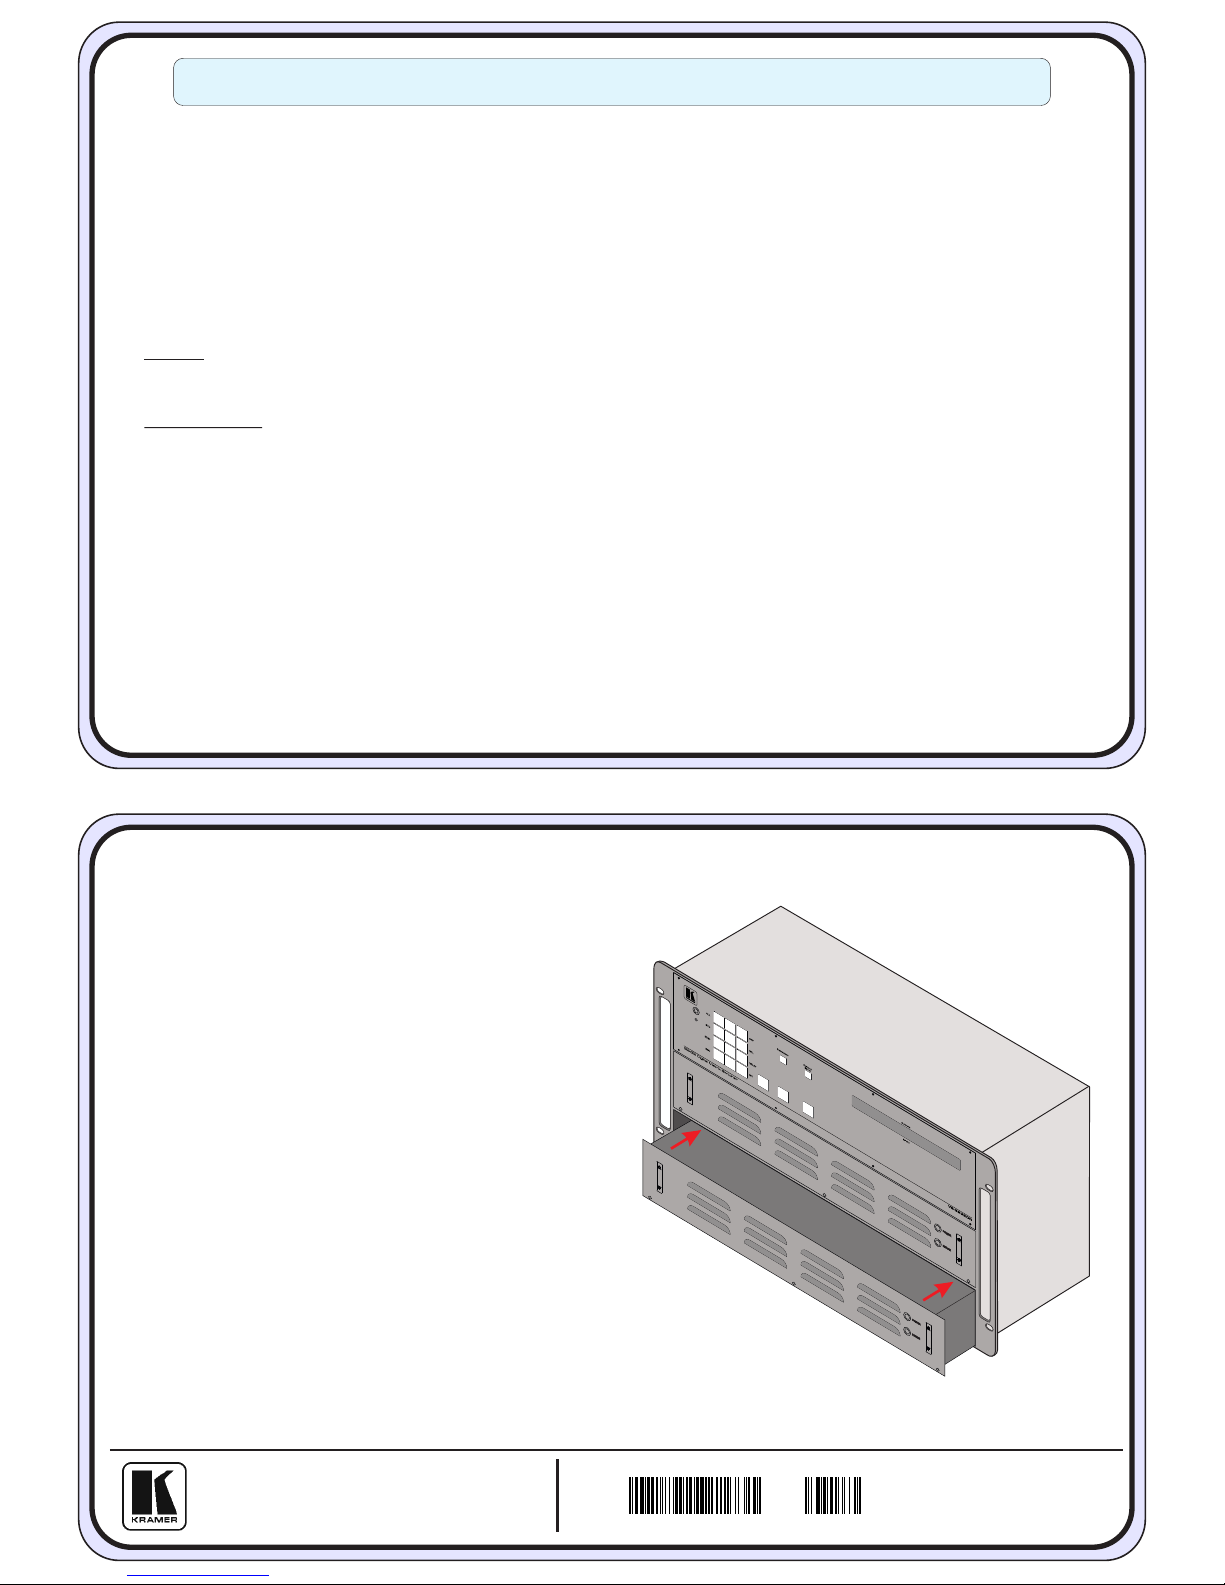
4. Align the new power supply with the rails
inside the space for the power supply and
slide it into the chassis. Ensure that you
slide the power supply straight within the
rails until it makes contact with the rear
connector.
5. Press the power supply firmly into place
until the front panel of the power supply is
flush with the front panel of the chassis in
order to seat the rear connector.
6. Tighten the four thumbscrews.
7. Power on the chassis.
To install a new power supply:
1. Remove the new power supply from its shipping box and anti-static bag. Place the
packaging including the anti-static bag to one side.
2. Power down the chassis.
3. Remove the blank panel that covers the location of the new power supply by removing
the four screws.
The VS-3232DN and Matrix Switchers support redundant power supplies. The
switchers are able to continue to operate with a minimum of one (VS-3232DN) or two
(VS-6464DN) power supplies installed. It is necessary to power down the chassis in order
to install/exchange a power supply. The VS-3232DN is shown as an example, the
VS-6464DN follows the same principle.
VS-6464DN
PS-1DN Power Supply Installation
(P/N: 2900-300231 REV 1)
1
P/N:
Rev:
2900- 300231
WARNING: All normal static discharge precaution measures must be observed to prevent
damage to the equipment.
Note: The VS-6464DN must have a minimum of two working power supplies to operate
correctly.
 Loading...