

Page 1
OPERATING INSTRUCTIONS
HARD DISK EXPANSION
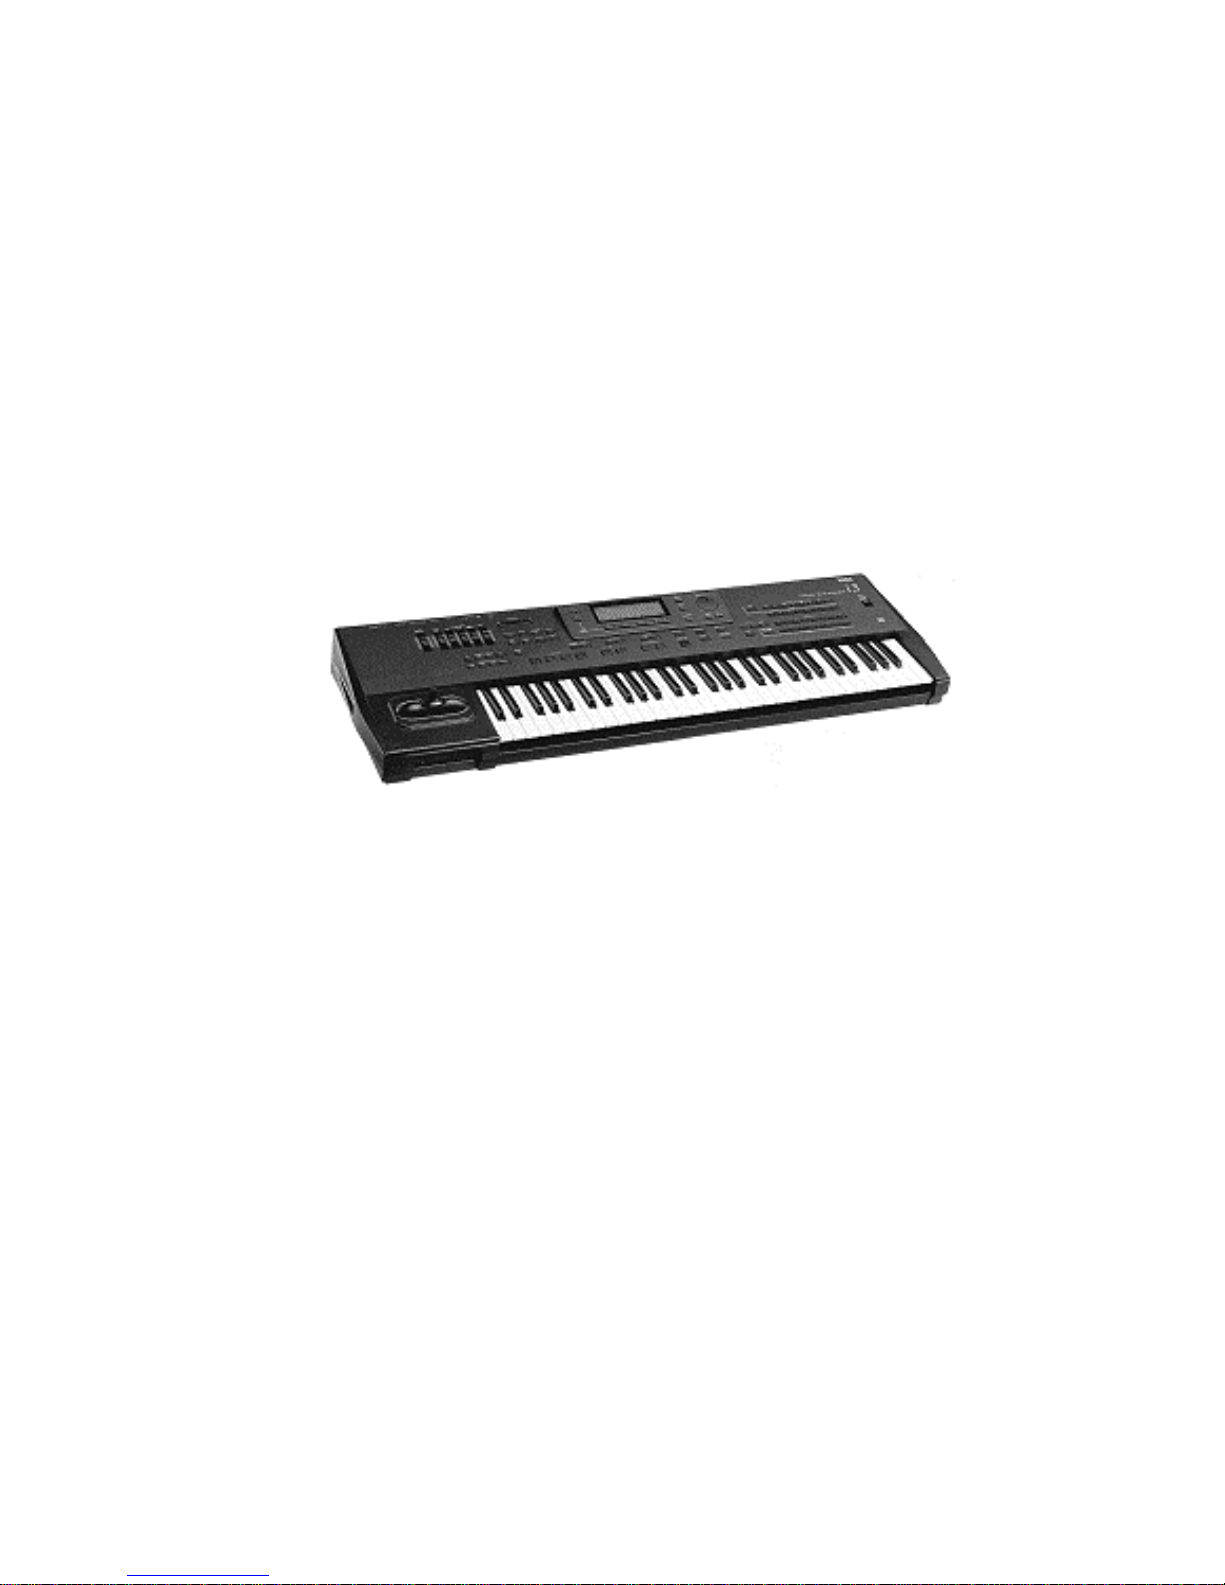
KORG i2HD/i3HD
Table of Contents:
Introduction
1. Function "LOAD ONE SONG"
2. Function "LOAD STANDARD MIDI FILE"
3. Function "COPY FILE"
4. Function "NEXT SONG"
5. Function "FORMAT"
©1996 musitronics GmbH
Page 2
2
INTRODUCTION
Basically i2/i3 instruments equipped with a hard disk have the same user interface as conventional
i2/i3 instruments. Additional buttons or switches are not required.
You can use all the loading (LOAD) and saving (SAVE) commands for data (All Data, Programs,
Arrangements, Styles, Backing Sequences, Sequences) as you did before. This goes for the i2/i3 HD
as well as for i2/i3 instruments with a hard disk and User Style Expansion (i2/i3 EX).
Until now page 1 of DISK mode (DISK 1: LOAD ALL) has provided a LOAD ALL DATA command, with
which all the data from a floppy disk drive could be loaded. The following functions were shown in the
display (see ill. 1).
ill. 1
DISK 2: LOAD ONE
File: BSEQ- BSEQ0
k
Load One Program
Load One Song
Load One Pattern
Load One Arrangement
Load One Style
Load One Drum Kit
Load Std MIDI File
LOAD
Load One B.Sequence
DANCE1
A B C D E F G H
Until now "FILE:" has been shown above cursor position key A. Cursor position keys B or C have been
used to load the files stored on floppy disk.
With the new operating system you can choose between the floppy disk drive and the 10 hard disk
partitions (C-L) by pressing cursor position key A and using the VALUE dial or the DOWN/UP keys
(see ill. 2).
ill. 2
DISK 2: LOAD ONE
File: ----------- --- 000 Song- S0
k
Load One Program
Load One Song
Load One Pattern
Load One Arrangement
Load One Style
Load One B.Seq
Load One Drum Kit
Load Std MIDI File
LOAD
HD-D:
Load One Song
A B C D E F G H
First press cursor position key A. Then you can use the VALUE dial or the DOWN/UP keys to select
the various partitions. After selecting the hard disk partition you can use all loading and saving
commands as usual.
For the normal operational steps please refer to the Player's Guide or the Reference Guide of your
KORG i2/i3!
The following functions offer new options:
1. LOAD ONE SONG
2. LOAD STANDARD MIDI FILE
3. COPY FILE
4. NEXT SONG
Page 3

3
1. Function "LOAD ONE SONG"
Please select "LOAD ONE SONG" on page 2 of DISK mode. After pressing cursor position key A you
can choose between the floppy disk drive and hard disk partition by using the
VALUE
dial or the
DOWN/UP
keys. Now use cursor position key B or C to call up the table of contents of the selected
partition.
Songs
can be selected
alphabetically
as well as
numerically
(song location number):
If you are used to assigning the songs of your repertoire to fixed memory locations on your mass
storage device (hard disk) you can do the same with the hard disk of your i2/i3. Load the songs one
after another in the desired order. The memory locations (song numbers) will be kept unchanged until
you delete the files.
Select the hard disk partition and use cursor position key B or C to call up the corresponding directory
(table of contents).
SELECTING SONGS NUMERICALLY
To
select songs numerically,
hold down cusor position key D and use the
Arrangement/Style keys
(
DATA ENTRY keys) to enter the desired song number (see
ill. 3, 3.1
).
ill. 3
DISK 2: LOAD ONE
HD-D: ----------- --- Song- S0
k
Load One Program
Load One Song
Load One Pattern
Load One Arrangement
Load One Style
Load One B.Seq
Load One Drum Kit
Load Std MIDI File
LOAD
Load One Song
000
A B C D E F G H
SELECTING SONGS ALPHABETICALLY
To
select songs alphabetically
, press cursor position key B or C and use the
VALUE
dial or the
DOWN/UP
keys.
SONG START
After you have pressed the
START/STOP
key, the user interface of the sequencer appears and the
song will be played back automatically. You can stop the song at any point by pressing the
START/STOP
key again. At the end of the song the display automatically enters DISK mode.
EDITING THE SONG IN SEQUENCER MODE
After you have selected the song, press the "
LOAD
" button (cursor position key
H,
followed by cursor
position key E and F) to edit the song in the sequencer.
Page 4

NOTE: Controller, program and note commands of the Standard MIDI File format (GM) are
internationally standardized. If you prefer using specific KORG outboard effect processors or the
additional Programs in banks C and D as well as the convenient user interface of the song format
which is provided on the main page of the sequencer, you can store any Standard MIDI File in the
song format of your i2/i3 HD as well. This results in shorter loading times of the processor and allows
you to create song chains of any length (please refer to "4. Function NEXT SONG").
2. Function "LOAD STANDARD MIDI FILE"
Select "LOAD STANDARD MIDI FILE" on page 2 of DISK mode. Press cursor position key A and use
the VALUE dial or the DOWN/UP keys to choose between the floppy disk drive and hard disk
partitions. Then use cursor position key B or C to call up the desired Standard MIDI File.
Standard MIDI Files (SMFs) can be selected alphabetically as well as numerically
(song location
number):
If you are used to assigning the songs of your repertoire to fixed memory locations on your mass
storage device (hard disk), you can do the same with the hard disk of your i2/i3. Simply load the
Standard MIDI Files one after another in the desired order. The memory locations (file numbers) will be
kept unchanged until you delete the files.
SELECTING SMFs NUMERICALLY
Select the hard disk partition and use cursor position key B or C to call up the corresponding directory
(table of contents).
To select Standard MIDI Files numerically, hold down cusor position key E and use the
Arrangement/Style keys (DATA ENTRY keys) to enter the desired file number (see ill. 4).
ill. 4
DISK 2: LOAD ONE
HD-D: ----------- --- - S0
k
Load One Program
Load One Song
Load One Pattern
Load One Arrangement
Load One Style
Load One B.Seq
Load One Drum Kit
Load Std MIDI File
LOAD
Load One Song
000
Load Std Midi File
A B C D E F G H
SELECTING SMFs ALPHABETICALLY
To select Standard MIDI Files alphabetically, press cursor position key B or C and use the VALUE
dial or the DOWN/UP keys.
Page 5

5
SMF START
After you have pressed the START/STOP key, the user interface of the sequencer appears and the file
will be played back automatically. You can stop the music at any point by pressing the START/STOP
key again. At the end of the song the display automatically enters DISK mode.
EDITING THE SMF IN SEQUENCER MODE
After you have selected the song, press the "LOAD" button to edit the song in the sequencer.
TIPS FOR EDITING SONGS AND STANDARD MIDI FILES:
After the song or Standard MIDI File has been edited, it should be stored to the same memory
location of the hard disk partition!
OPERATIONAL STEPS FOR EDITING SONGS:
a) Load the song into the song memory (please refer to the corresponding section).
b) Edit the song.
c) Use the "DELETE SONG" function on page 5: UTILITY of DISK mode to delete the old song.
d) Select "SAVE ALL SONG" on page 3 of Song mode and save the edited song.
OPERATIONAL STEPS FOR EDITING SMFs:
a) Load the SMF into the SMF memory (please refer to the corresponding section).
b) Edit the SMF.
c) Use the "DELETE FILE" function on page 5: UTILITY of the DISK menu to delete the old SMF.
d) Select "SAVE SMF" on page 3 of File mode and save the edited SMF.
3. Function "COPY FILE"
On Page 5 of DISK mode the menu item "COPY FILE FUNCTION" offers a Direct Copy function. You
can use this function to copy all data (Arrangements, Styles, Songs, Programs) from a floppy disk or
hard disk partition directly to a different hard disk partition.
Select page 5 "UTILITY" of DISK mode. Use the cursor position key to select the "COPY FILE"
function. Press cursor position key A to choose the drive from which the data (FILES) will be copied.
Use cursor position key B or C to select the desired files and cursor position key E to choose the hard
disk partition or floppy drive to which the data will be stored. Use cursor position keys H and E to
execute this command.
Page 6

6
4. Function "NEXT SONG"
This function can be used to chain together several songs of the same partition in any order and play
them back one after another without a break.
NOTE:
When you create a song chain, the command "Go to song XY" is added to the end of each
song (except for the last one).
If you want to play back a single song out of a song chain, you must press the
STOP
key at the end of
desired song. Otherwise the next song will be started.
Example:
Song A and Song B will be played back in a song chain.
a) Use the numerical song selection method to check the number to which Song A is assigned.
b) DISK mode, page 1: select
LOAD ALL SONG
.
c) Press cursor position key B.
d) Use the
VALUE
dial or the
DOWN/UP
keys to select the song that will be used as Song A.
e) Use cursor position keys H and E to load Song A.
f) After you have pressed the
SONG
and
PAGE+
keys, select
page 11: UTILITY
of the
Song menu
.
g) Enter the number of Song B into submenu "
NEXT SONG
" and use the
VALUE
dial or the
DOWN/UP
keys to enable the
AUTO START
function above cursor position key H.
h) Use the "
DELETE SONG
" function on page 5: UTILITY of DISK mode to delete Song A from the
hard disk.
i) Select page 3:
SAVE
of DISK mode and save Song A to hard disk.
After Song A has been played back to the end, Song B will start automatically. To chain Song C to the
end of Song B, repeat steps a) to i) accordingly. The same goes for Songs D, E, F, etc. until all 112
songs of a partition have been chained together.
5. Function "FORMAT"
If you want to format a Hard Disk you have to press the "
EDIT STYLE"
and the
"EDIT PROGRAM"
keys and while you press these keys switch the I2/I3 on.
x
Select the
DISK mode
and go with the buttom
PAGE+ to
the page
DISK 5: UTILITY
. Now go with
the cursor to function
FORMAT DISK
and select it. Select with either the
UP/DOWN
keys or with
the value dial the according partition. Press the cur sor position k eys
G or H
to format the partition
and confirm it with cursor position keys
E or F
.
x
If the formatted partition contains Data Files the message appears:
DISK: CONTAINS XY FILES
on the display. Check the data on these Hard Disk partition and des ide if you want erase all data
wtith format or not.
x
If the message appears:
HARDDISK: ERROR
switch the keybord off immediadely and check the
installation of the Hard Disk drive kit. These message is a sign that the operating system doesen´t
regognize the Hard Disk and is operating not well.
NOTE:
We are not liable for any loss of data caused by faulty hardware!
 Loading...