

Page 1

Mail Remote Notification
System Manual
Sep. 2002
Ver 1.1
KONICA MINOLTA BUSINESS TECHNOLOGIES, INC.
TECHNOLOGY SUPPORT CENTER
TOKYO JAPAN
Page 2
Mail remote notification system manual
1.Introduction
What is Mail remote notification system?
Mail remote notification system allows to acquire machine data, that have been available as “List Output
Mode” in 36 mode from copier, through internet mail (E-mail).
This function is achieved without visiting customer site and printing on paper if the simple keyword is e-mailed.
Operation environment
Following conditions should be satisfied in order to use mail remote notification system.
• The mail server
*1
that allows copier to receive mail in POP3 or IMAP protocol.
(It is preferred that mail server can receive external mail and service constantly.)
• The mail server
*2
that allows copier to transmit mail in SMTP protocol.
(It is preferred that mail server can send external mail and service constantly.)
• Mail remote notification system disabling conditions on copier are as follows.
o Main power switch is OFF.
o Sub power switch is OFF.
(The function works during JAM, SC or Low power mode, but does not work during shut-off.) However,
the sent mail does not disappear and the copier process the mail after next starting up. During low
power mode, the machine operation is as usual.
Main functions
Following functions are available by using Mail remote notification system.
Mail remote notification system allows to acquire desired data list of copier by sending simple keyword
to copier.
Available data lists at the moment are following 10 types.
• JOB memory list
• User management list
• Font pattern list
• Machine management list 1
• Adjustment data list
• Parameter list
• E.K.C. management list
• Machine management list 2
• Counter list
• Pixel ratio list
*1
qpopper, Lotus Notes, Mercury Mail etc. Assign one account per one copier.
It can be the same machine to the SMTP server.
“Mail remote notification system” corresponds to “POP before SMTP”.
*2
Sendmail 8.9, qmail, Lotus Notes, Mercury Mail etc. It can be the same machine to the receiving server.
1/14
Page 3
Step1
Step2
Step3
Step4
Step5
Step1
Step2
Step3
etup] button and display [Environment setup log in]
Mail remote notification system manual
2. Initial setting
In order to use Mail remote notification system, settings such as network parameter on copier and account
registration on mail server are necessary.
2.1 Setting on operation panel
In order to connect the copier main body to network, IP address of the copier should be set on operation panel.
If it is already set, please go to next setting.
Select [Key operator mode] on operation panel.
Select [1. System initial setting]
Select [3. IP address setting]
Input [IP address], [Subnetmask] and [Gateway address]
Turn OFF/ON power switch of copier.
2.2 Setting on Web
Next, input setting for mail server from Web browser. Please use PC*4 connected to the network in order to
use Web browser.
*3
Notes on setting
• No blank space should be entered for any column.
• Following characters cannot be used for the E-mail address.
( ) < > , ; : ¥ " [ ]
• When the error message is displayed on the web browser, correct the input error following to the
message. If the error is not corrected, mail sending or receiving may fail.
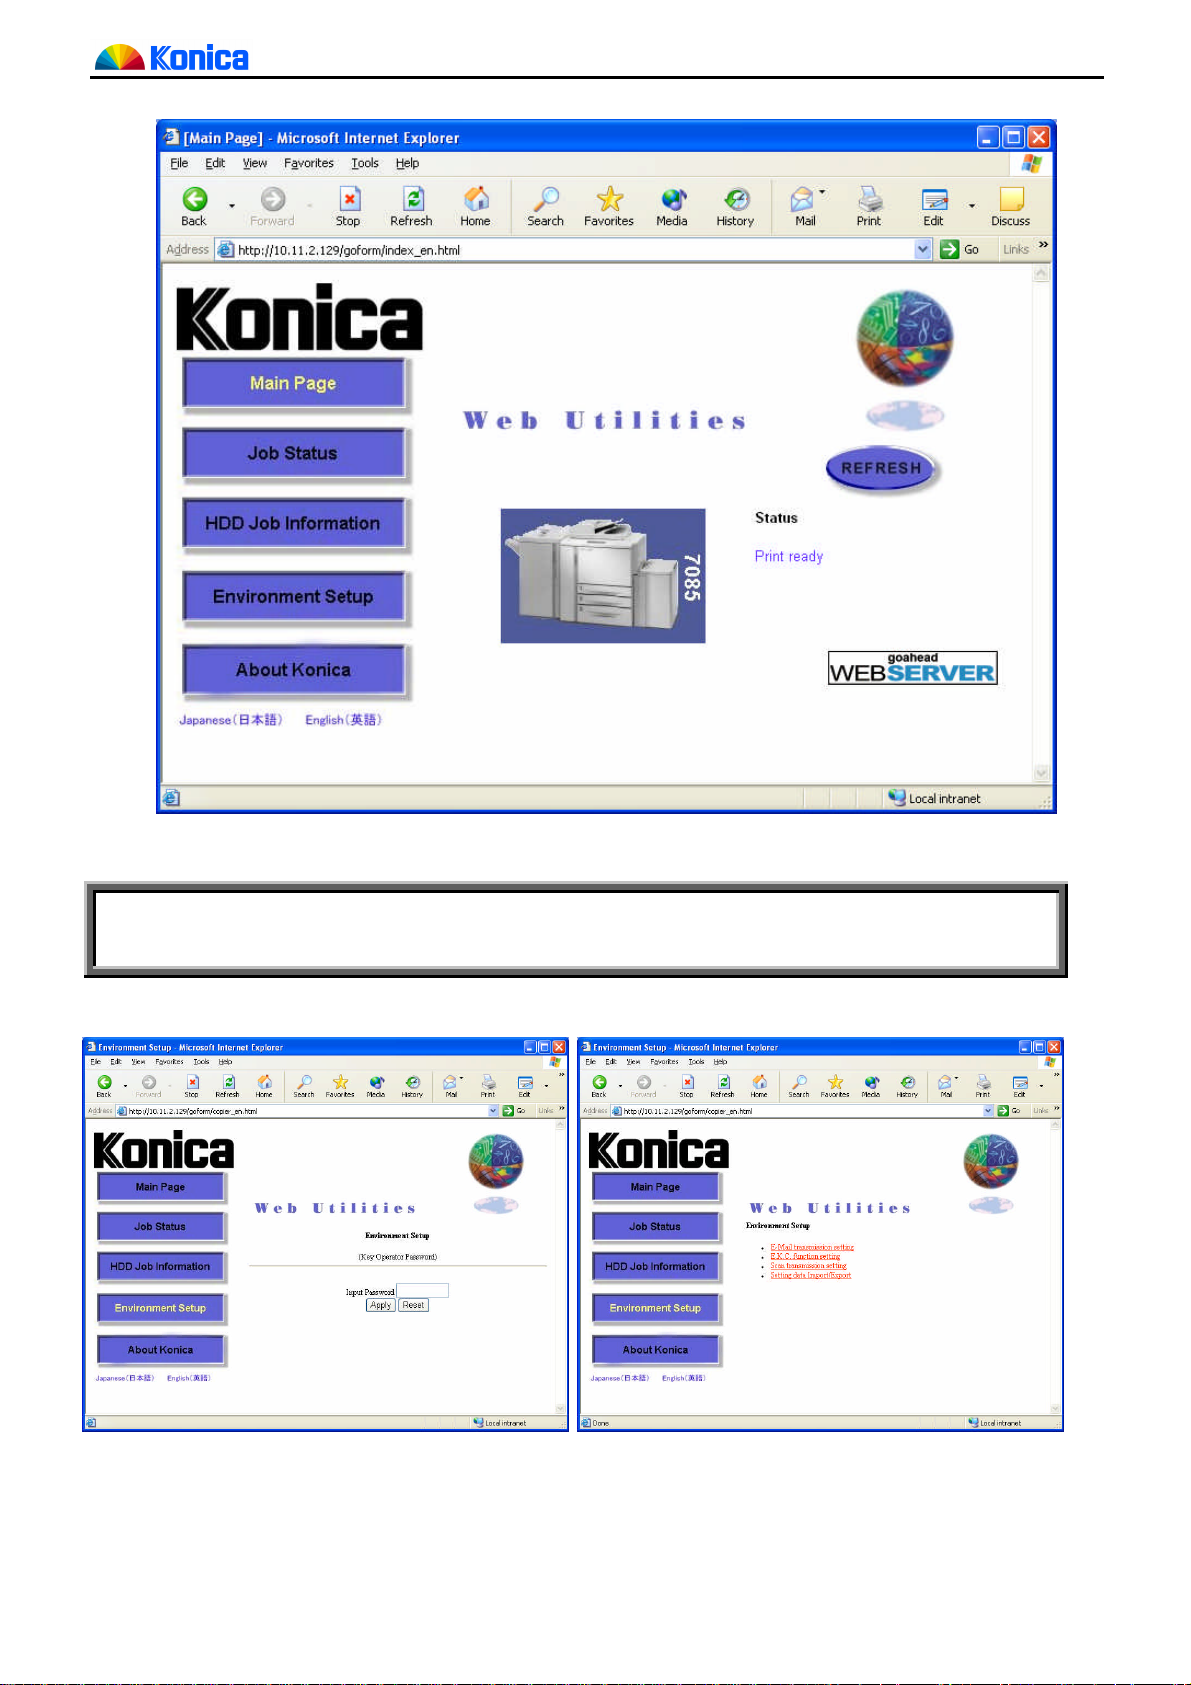
Start up Web browser
Type IP address of the copier you input to the [2.1 Setting from operation panel]
When accessing Web, the [main page] (see upper figure in next page) is displayed.
In [Main] page, click [Environment S
page.
*3
System administrator usually assigns IP address and network related setting to copier.
Please ask system administrator for details.
*4
Prepare PC; borrow the customer's one or bring notebook computer.
*5
If proxy is set on Web browser, it may not possible to access web utilities of copier. Please ask system
administrator for details. KC recommends to use Internet explorer or Netscape as the Web browser.
Do not perform setting from the two or more browsers concurrently.
2/14
*5
Page 4
Mail remote notification system manual
Copier Web utilities main page
Step4 Input key operator password in [Environment setup log in] page, then click [Apply].
[Environment set up] page is displayed. Then click [E-Mail transmission setting].
Even key operator password set “0000” in 25-mode setting, input “0000”.
Environment setup log in page Environment setup page
Web design is subject to change without notice.
3/14
Page 5
Mail remote notification system manual
12h00min)
is input.
Step5 Set the transmission setting.
In order to use Mail remote notification system, registration of E-mail address of manager (machine
administrator), and sending (SMTP) server input is mandatory.
Manager Address
*6
DNS Server IP Address Input as needed. If not needed, leave it blank.
Time difference
*6
Sending mail (SMTP) sever
To specify E-mail address of machine manager.
The e-mail address to notify error from SMTP.
The send time of mail is calculated referring this value.
Input the time difference from UTC within the range -1200(to +1200 (+12h00min).
If setting is not made, it is +0000 (the same as UTC).
For example, the time difference in New York is -5 hours, - 500
*6
The IP address of SMTP sever.
*7
*7
Condition Informing Address
E-Mail Transmission
*6
It is for mail transmission system.
*6
You may leave it blank when mail transmission system is not used.
It is for mail transmission system.
You may leave it blank when mail transmission system is not used.
*6
The same setting can be set on LCD of the copier. But do not set concurrently from web browser and Web.
If the setting is made from both, the last setting is valid.
*7
Please see the “INSTRUCTION MANUAL” of copier if use the mail transmission system.
4/14
Page 6

Mail remote notification system manual
E-Mail transmission setting page
Click [Apply] button to finish input.
5/14
Page 7

Mail remote notification system manual
Step6 Test mail sending
Click [Sending test] button and then a test mail is sent to SMTP server. Test mail is sent to [Manager
address] set on Step5. Click [Sending test] to display result of the test mail. If it is failed, please re-confirm
the setting following to error message.
Step7 Set the reception setting.
In the [Extension for maintenance] column at the bottom of the page, input the
password to change the mode then click the initial setting.
The password is “9272”.
Extension for maintenance page (for customer engineer)
The records of sent and received mails listed on mail log on the [Extension for maintenance] page are the
latest 10 mails. Even the main power switch is turned OFF, the communication is logged and kept though
there are some restrictions.
6/14
Page 8

Mail remote notification system manual
E-Mail reception setting page
Click [Apply] button to finish input.
7/14
Page 9

Mail remote notification system manual
Enable E-mail notification
Select [Yes] to use Mail remote notification system.
Default is [No].
Interval between checking mail on receiving mail server from copier. The
Interval between fetching mails
interval can be set within the range from 1 min. to 60 min.
Usually, set around 10 min. considering load for network.
Receiving mail server The IP address of receiving mail server.
Kind of mail spool Select [POP3] or [IMAP]. Default is [POP3].
User name on the server *8 The account name for copier assigned on receiving mail server.
Password *9 The password for the above user name.
E-Mail Address of this copy
machine
Nickname
CE Password
*10
*9
E-mail address of the copier.
Usually, the name is [User name@receiving mail server name].
The name added to the mail subject sent from the copier.
It can be blank
Input password used for the “Subject” of the mail sent to the copier.
The copier uses this password for security check.
Also Notice to the administrator (CC mail)
- No
- Only illegal mails
- All mails
Administrator E-Mail address
Announce delay time in reply
*11
mail
Enable POP (IMAP) before
SMTP
Default (Do not send the e-mail to the administrator)
Specify whether to transfer mail in following conditions; When the mail
received by copier does not match to the registered password or the mail
size is 10 k-byte or larger.
Transfer all sending mails from Mail remote notification system.
Input address for the transfer if above [Only illegal mail] or [all mails] is
selected.
Select whether to contain the time difference from CE`s transmission and
copier reception on the mail. Default is [No].
Select whether SMTP server transmits the mail after POP (IMAP) server
attests. Default is [Yes].
Step8 Test mail sending and receiving.
Click [Sending and receiving test] button and then sending and receiving tests are performed by one
transaction.
It checks whether the sent mail is correctly received.
Click [Sending and receiving test] to display result of the test.
If it is failed, please re-confirm the setting following to error message.
Sending mail test
Receiving mail test
Mail sending test is performed to SMTP server.
Test mail is sent to [E-Mail Address of the copy machine] set on Step7.
Receiving test from receiving mail server is performed.
Test mail is received by [E-Mail Address of the copy machine] set on Step7.
Step9 Turn OFF/ON power switch of copier.
*8
Consult system administrator and create mail account for copier on receiving mail server.
*9
No echo back from the password.
*10
Use it as identifier, when managing multiple copiers.
*11
Use it to check the copier. is turned ON or not. If the time of the copier or the mail application software is
not set correctly (including time difference), wrong time is described. In that case, select [No].
8/14
Page 10

Mail remote notification system manual
] specified by the following is returned by mail.
3. How to use Mail remote notification system
3.1 Functions
CE can use following functions of Mail remote notification system by e-mailing simple keyword to copier.
CE can receive the data of the desired copier data list by the e-mail. Available data lists at the moment are
following 10 types.
• JOB memory list
• User management list
• Font pattern list
• Machine management list 1
• Adjustment data list
• Parameter list
• E.K.C. management list
• Machine management list 2
• Counter list
• Pixel ratio data list
Special layout to display counter list on cellular phone is prepared.
The password to certify mail can be changed.
Operation instruction for the Mail remote notification system can be received by e-mail.
In order to use above function, the simple keyword (command) must be sent by e-mail.
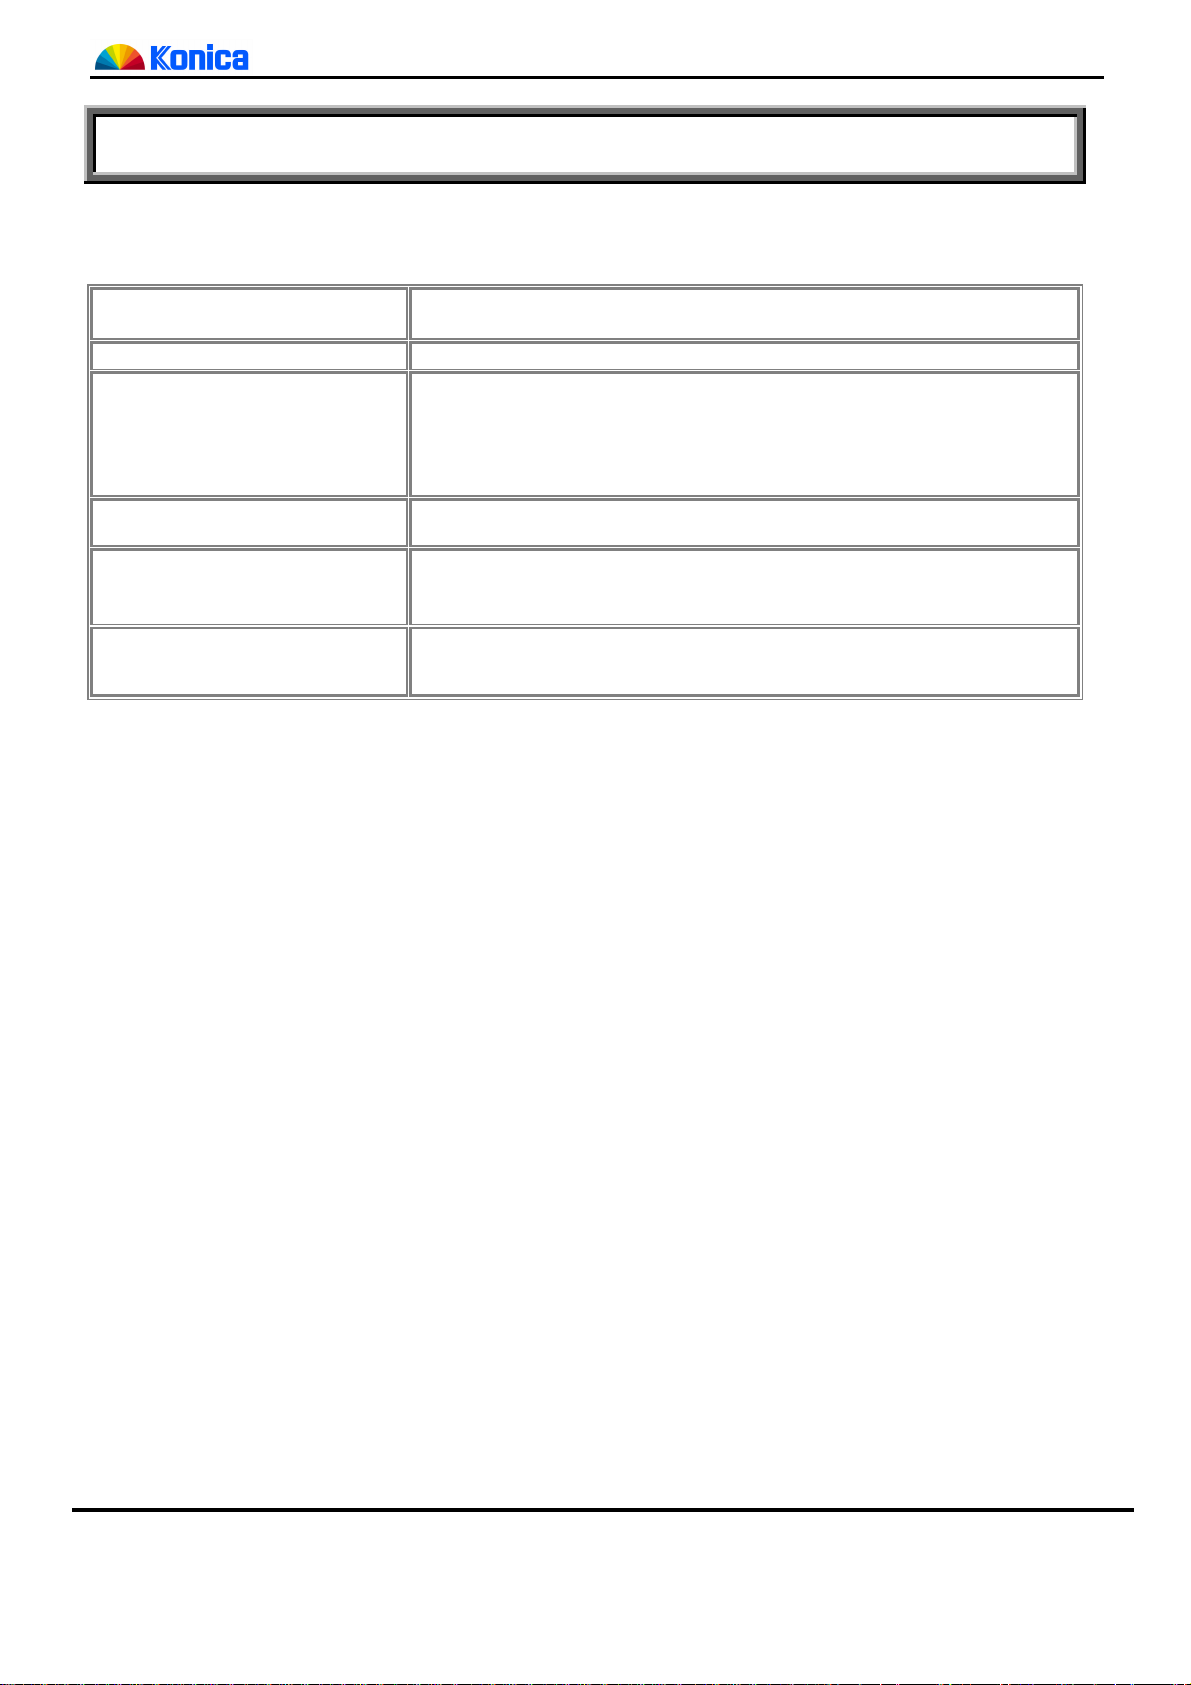
The following table shows the command and options.
Command Options Explanation
GETLOG
CHPASS
HELP Not specified Help mail explaining usage of the above commands is sent. H
[List output] The [List output
JOB [JOB memory list] J
USER [User management list] U
FONT [Font pattern list] F
MANAGEMENT [Machine management list 1] M
ADJUSTMENT [Adjustment data list] A
PARAMETER [Parameter list] P
EKC [EKC management list] E
2MANAGEMENT [Machine management list 2] 2
COUNTER [Counter list] C
PIXEL [Pixel ratio data list] PI
ALL All of above list data. AL
Not specified Edited [Counter list] for the cellular phone display.
[OldPasswd]
[NewPasswd]
[OldPasswd] Specify current password
[NewPasswd] Specify new password
To change the password used to certify mail. C
Minim
um
G
9/14
Page 11

Mail remote notification system manual
3.2 Send mails
The example of the mail containing the command to the copier is shown. The command and option on the
mail are recognized by the top letters without distinction between capital and small letters. Accordingly, not all
letters of the command must be typed. It is recognized by the minimum letters in the above table
sending mail to the copier, please note followings.
• Mail software on any OS, handy terminal, free-mail using browser can be used without any difference.
• When sending mail on mail software, be sure to use text mode.
(Mail in HTML mode cannot be handle properly.)
• As for the reception on mail software, the desirable maximum displayable letters per one line is 128 and over
(single-byte).
(The length of the one line reaches to 128 letters in the part of the data list mail. Accordingly, mail may not
be easily seen on the cellular phone or other mobile devices.)
*12
. When
• Put minimum one space or TAB
• Use only single-byte alphanumeric character (ASCII character) for the command on mail. Otherwise, an
*13
between the command and option on the mail.
error mail, [Command Not Found], is returned.
• Type command from the beginning of the line. If the line starts with blank or TAB, the line is ignored.
• Maximum number of commands that can be contained in one mail is 10. The eleventh and onwards
commands are ignored.
• Do not attach file to the mail sent to the copier. Depending on file size, it is handled as illegal mail.
• Do not attach signature to the mail sent to the copier. If automatic attachment of the signature is already
set to the mail software, change the setting not to attach the signature. The signature is regarded as
command and error mail may be returned.
• While copier is sending or receiving the mail, if the power switch of the copier is turned OFF or list output is
performed on the copier, two mails may be returned.
• The maximum number of the mails that copier receives from the mail server is 5 per one time. If the mail
server has more received mails at a time, remaining mails are processed after the [interval between fetching
mails].
*12
Example: All of G, GE, GET, GETL, GETLO, GETLOG equal to specify GETLOG.
*13
Return cannot be used.
10/14
Page 12

Mail remote notification system manual
3.2.1 Send GETLOG command
Following should be described in the sending mail.
• Subject: Input “SE password” set in reception setting.
• To: Input E-mail address of the copier.
• Body: Input command.
Example of mail requesting counter list
Mail address of the copier
Password for certification
Command
Example of mail requesting counter list
*14
Serial number of copier
Mail address of the sender
Nickname of the copier
Delay time
*14
Language of the returned mail is English only.
Requested counter list
11/14
Page 13

Mail remote notification system manual
> GetLog
When option is not specified
GETLOG command without option is specified, Counter list for the cellular phone display is returned.
Sending mail
GetLog
Example of returned mail
To receive multiple data list
Data lists in reply to GETLOG command are separately returned by mails; one list per mail. If the same list is
requested twice or more in a mail, the list is returned only once.
When followings are described in a mail, both counter list mail and machine management list 1 mail are
returned.
GetLog Counter
GetLog Management
When the commands are written in one line continuously, Management (the later command) is ignored and
only counter list (the first command) is returned.
GetLog Counter Management
When unrecognizable option is specified.
Sending mail
GetLog Log
Returned mail
Option Not Found -
12/14
Page 14

Mail remote notification system manual
3.2.2 Send CHPASS command
The sending mail password described on the subject can be changed remotely.
Specify 20 or less letters to [OldPasswd] and [NewPasswd]. Use ASCII characters except space.
Password cannot be changed by mail if you don’t remember the old password. Change the [CE password]
from the browser, explained in Chapter 2.
Example of correct password change
In this case, old password [U-BIX] is changed to new password [Sitios].
Sending mail
ChPass U-BIX Sitios
Returned mail
When the password is changed, use [NewPasswd] from the next mail. When the mail is sent with
[OldPasswd], it is treated as illegal mail.
SE’s Password was changed successfully. -> New Password:[Sitios]
Example of invalid password change old password [U-BIX] is changed to new password
[Sitios].
Sending mail
Returned mail
Then, password was not changed. Accordingly, the password is unchanged and [U-BIX].
Sending mail
Returned mail
When the new password is blank, password is not changed.
ChPass Sitios U-BIX
Old Password is Invalid. ->ChPass Sitios U-BIX
ChPass Sitios
Violation on format by new password. ->ChPass Sitios
13/14
Page 15

Mail remote notification system manual
3.2.3 Send HELP command
The manual describing above usage of the commands is returned by mail. Use this function when you forget
how to use command and option.
Sending mail
Returned mail
Help
4. Disabling system
In order to disable Mail remote notification system, in Mail reception setting, select [No] for the “Enable E-Mail
notification” and then click [Apply] button.
14/14
 Loading...